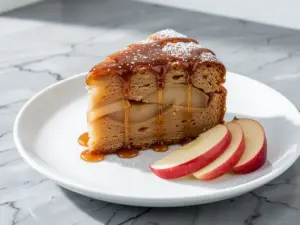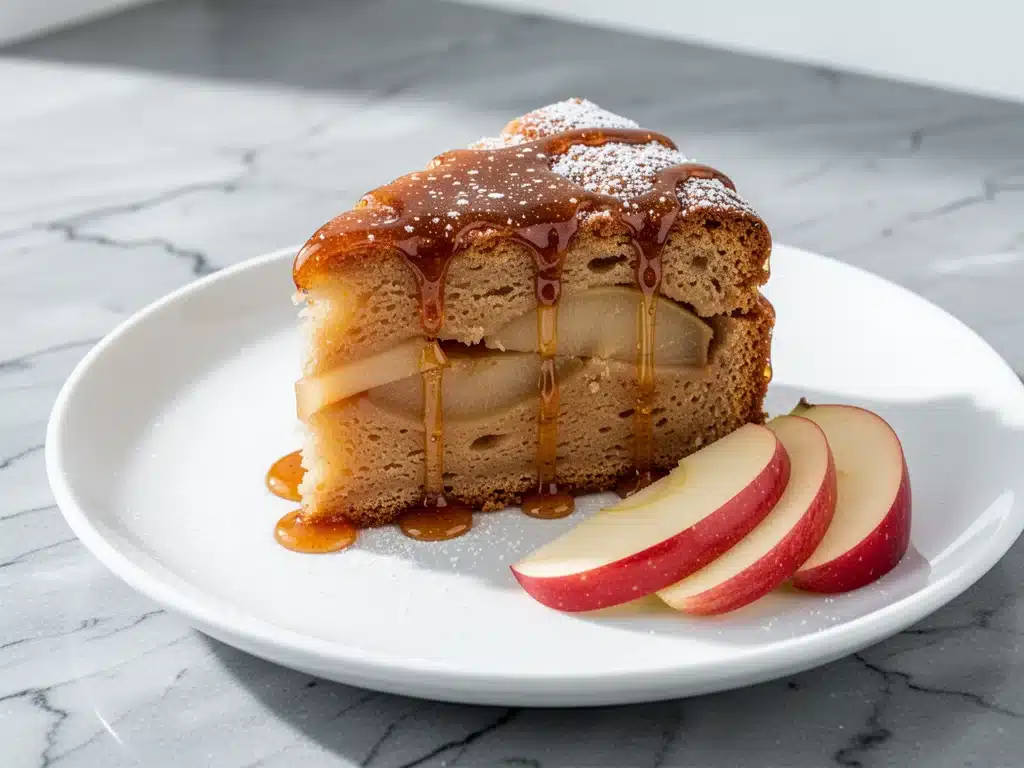
The smell of honey and warm cinnamon is my personal time machine. For me, it doesn’t just smell like dessert; it smells like my Bubbe’s kitchen in Brooklyn. I can still picture her standing at that chipped white enamel counter, her hands dusted with flour, carefully slicing the apples so thin they were almost translucent. She’d drizzle the honey in a slow, deliberate spiral, watching it pool into the crevices before sliding the pan into the oven. The house would fill with that sweet, heavy scent that promised something good was coming. It was the smell of Rosh Hashanah, the Jewish New Year, and for a kid, it meant one thing: a fresh start.
But here’s the thing. When I first tried to recreate this cake on my own, I failed. Spectacularly. I used chunky apple pieces, and the center stayed gummy while the edges burned. I used too much honey, and it turned into a sticky, overly sweet mess that made my teeth ache. I burned my fingers trying to flip the pan. I was ready to just buy the dense, store-bought version and call it a day. That was until I remembered one specific trick Bubbe whispered to me: the apples need to cook down *before* they hit the batter, and the honey needs to be balanced with a little acid to cut the sweetness.
So, I tweaked the recipe. I adjusted the ratios. I tested it with Gala apples, then Granny Smith, then a mix. I’ve made this Rosh Hashanah Honey Apple Cake at least a dozen times since then, perfecting the texture until it’s moist, tender, and perfectly spiced. It’s not just a cake; it’s a tradition I’ve finally mastered. This version is easier than Bubbe’s original (no pre-cooking the apples required if you slice them right), but it hits all the same nostalgic notes. It’s sweet, it’s comforting, and it’s the perfect centerpiece for your holiday table. If you’re looking for a way to honor the season while keeping your sanity intact, you’ve found it.
Why You’ll Love This Rosh Hashanah Honey Apple Cake
There are about ten reasons I keep coming back to this cake every September, but here are the big ones that will win you over too.
It’s Deeply Symbolic — This isn’t just about taste. In Jewish tradition, we eat apples dipped in honey to symbolize a sweet new year. This cake takes that simple ritual and turns it into something substantial and celebratory. It feels meaningful, which matters when you’re cooking for family.
Stupid Simple to Assemble — Seriously, if you can peel an apple and whisk eggs, you can make this. I’ve made this cake while juggling a toddler on my hip and a phone call with my mom. It’s a one-bowl mix (mostly) and comes together in under 15 minutes of active prep.
Perfectly Balanced Sweetness — A lot of honey cakes can be cloyingly sweet. I’ve found that using a mix of tart and sweet apples, plus a splash of vanilla and cinnamon, keeps the honey flavor prominent but not overwhelming. It’s sophisticated but not fussy.
Great Make-Ahead Dessert — This cake actually tastes better the next day. The flavors meld together overnight, and the texture becomes even more moist. I often bake it the night before Rosh Hashanah, which saves me so much stress during the actual holiday meal.
Gluten-Free Friendly Option — I have a cousin who is gluten-intolerant, and this cake works beautifully with a 1:1 gluten-free flour blend. She’s asked for the recipe so many times I’ve lost count.
This is my go-to when I need a dessert that feels special but doesn’t require a pastry chef’s degree. It’s reliable, delicious, and makes everyone happy.
Ingredients You’ll Need
Here’s the best part: you probably have most of this already in your pantry. The beauty of this recipe is its simplicity. I’m particular about three ingredients here, and I’ll tell you exactly why.
For the Apples:
Granny Smith apples (3 medium, about 750g) — I use these because they hold their shape and provide a necessary tartness. If you only have Gala or Fuji, use those, but mix them with something tart if you can. Peeled and thinly sliced.
Honey (½ cup / 120ml) — Use raw honey if you have it. It has a deeper flavor that stands up to the spices. Clover honey works too, but avoid anything too mild.
Butter (2 tablespoons / 30g) — Unsalted butter to sauté the apples. This adds richness and helps the honey caramelize slightly.
For the Batter:
Vegetable oil (½ cup / 120ml) — I use oil instead of butter for the batter because it keeps the cake incredibly moist. Butter can make it dense; oil keeps it tender. Canola oil works fine too.
Granulated sugar (¾ cup / 150g) — Even with the honey, you need sugar to help the cake rise and get that golden crust. Don’t reduce this too much or it won’t bake right.
Eggs (3 large) — Room temperature eggs are best for a smooth batter. If you’re in a rush, just set them in warm water for 5 minutes.
Vanilla extract (1 teaspoon) — Pure vanilla. The fake stuff tastes chemical and ruins the delicate flavor profile.
For the Dry Mix:
All-purpose flour (1 ½ cups / 190g) — Spoon and level this. Don’t scoop it directly from the bag or you’ll pack too much in and get a dry cake. If you’re making it gluten-free, use a 1:1 blend like King Arthur Measure for Measure.
Baking powder (1 teaspoon) — Make sure it’s fresh! Old baking powder is why cakes turn out flat. I replace mine every 6 months.
Baking soda (½ teaspoon) — This reacts with the honey and apples to help the cake rise.
Cinnamon (1 ½ teaspoons) — The star spice. Don’t be shy. Ground cinnamon is fine; I don’t bother grinding my own unless I’m feeling fancy.
Nutmeg (¼ teaspoon) — Just a pinch. It adds warmth without being noticeable.
Salt (½ teaspoon) — Crucial. Salt balances the sweetness. Never skip it.
Optional but Recommended:
Walnuts or Pecans (½ cup, chopped) — I love the crunch they add. Toast them in a dry pan for 2 minutes before adding for extra flavor.
Cinnamon Sugar (for topping) — Mix 1 tablespoon sugar with ½ teaspoon cinnamon to sprinkle on top before baking.
Equipment Needed
You don’t need fancy equipment for this. Here’s what I actually use.
9-inch Round Cake Pan — I use a standard 9-inch metal pan. Glass pans work but might bake faster, so check it 5 minutes early. Line the bottom with parchment paper for easy removal.
Large Skillet — 10-inch is perfect for sautéing the apples. Cast iron is great for even heating, but any heavy-bottomed skillet works.
Large Mixing Bowl — Something with a spout is nice for pouring, but any bowl works.
Whisk — For combining the wet and dry ingredients. A balloon whisk is standard.
Peeler and Knife — A Y-peeler is faster, but a paring knife works for slicing the apples thin.
Cooling Rack — Essential. Letting the cake cool in the pan will make it steam and get soggy. Move it to a rack immediately.
Measuring Cups and Spoons — Standard stuff. Dollar store versions work fine.
Parchment Paper — I never bake without it. It’s the difference between a stuck cake and an easy release.
How to Make It: Step-by-Step
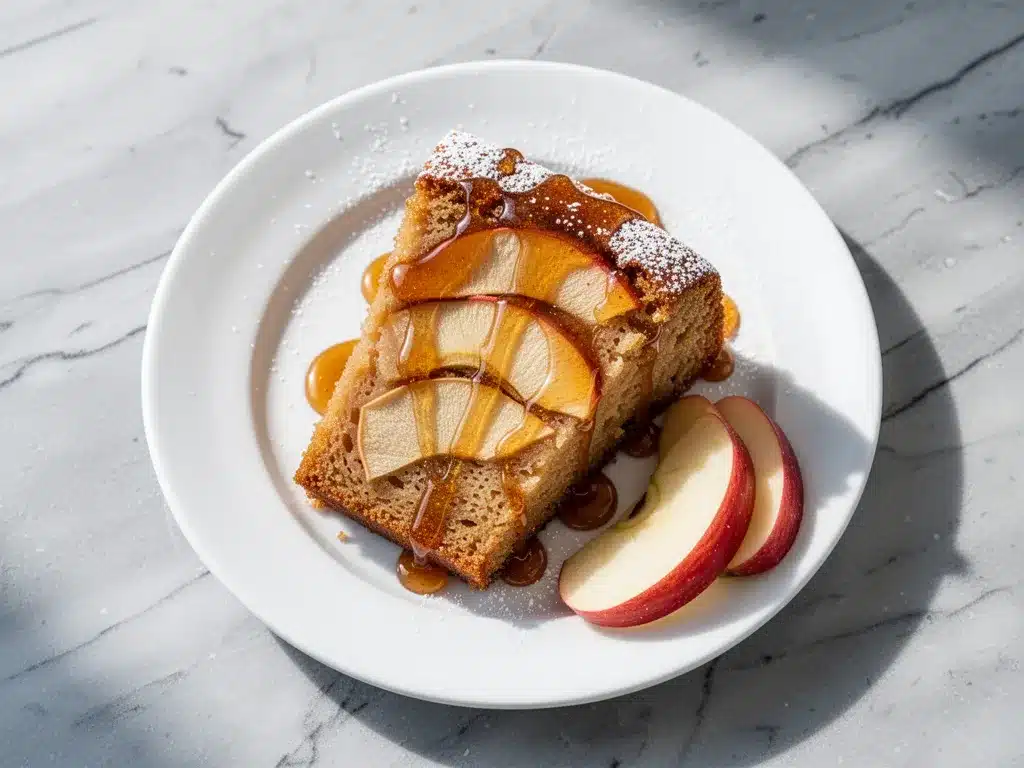
Alright, let’s make this! I’m walking you through exactly how I do it, including the little tricks I’ve picked up.
Step 1: Prep Your Pan and Oven (5 minutes)
Preheat your oven to 350°F (175°C). Grease your 9-inch cake pan with butter or cooking spray. Then, line the bottom with a circle of parchment paper. This is non-negotiable for easy removal. Dust the pan with a little flour or cornstarch if you’re worried about sticking, but the parchment is your safety net.
Step 2: Slice the Apples (10 minutes)
Peel and core the apples. Slice them as thinly as possible. I use a mandoline for speed and uniformity, but a sharp knife works fine. The key is thin slices—they’ll cook through and soften in the oven. If they’re too thick, you’ll get raw apple chunks in the center. Arrange them in a bowl as you go.
Step 3: Sauté the Apples (5 minutes)
In your skillet, melt the 2 tablespoons of butter over medium heat. Add the sliced apples and toss to coat. Cook for about 3-4 minutes, just until they start to soften and release some juices. This step draws out excess moisture so your cake doesn’t get soggy. Remove from heat and let them cool slightly.
Step 4: Mix the Wet Ingredients (3 minutes)
In your large mixing bowl, whisk together the oil, honey, sugar, eggs, and vanilla. Whisk vigorously for about a minute. You want the mixture to look emulsified and slightly lighter in color. This incorporates air and helps the cake rise.
Step 5: Combine Dry Ingredients (2 minutes)
In a separate small bowl (or right into the wet mix if you’re lazy), whisk together the flour, baking powder, baking soda, cinnamon, nutmeg, and salt. If you’re using nuts, add them here.
Step 6: Bring It All Together (2 minutes)
Pour the dry ingredients into the wet ingredients. Stir gently with a spatula until just combined. Do not overmix! A few lumps are fine. Overmixing develops gluten and makes the cake tough. Fold in the sautéed apples gently. They’ll sink to the bottom a bit, which is okay.
Step 7: Bake (40-45 minutes)
Pour the batter into the prepared pan. Smooth the top. Sprinkle with the cinnamon sugar if using. Bake for 40-45 minutes. The cake is done when a toothpick inserted into the center comes out clean or with just a few moist crumbs. The edges should be pulling away slightly from the pan.
Step 8: Cool Completely (1 hour)
Let the cake cool in the pan for 10 minutes, then transfer it to a wire rack to cool completely. This takes patience, but slicing it warm will make it fall apart. Wait until it’s room temperature.
Expert Tips & Tricks
Here’s everything I’ve learned from making this dozens of times. These tips will save you from my mistakes.
Thin Slices Are Non-Negotiable
I cannot stress this enough. Thick apple slices = raw centers. Use a mandoline if you have one. It’s safer than you think, and the uniform thickness ensures even baking.
Don’t Skip the Sauté
Raw apples release a lot of water as they bake. Sautéing them first removes some of that moisture and starts the caramelization process. It concentrates the flavor and prevents a soggy bottom.
Room Temperature Ingredients
I know it’s annoying, but room temperature eggs and oil mix better. Cold eggs can cause the batter to curdle slightly, which affects the texture. Just set them out while you prep the apples.
Test for Doneness Early
Ovens vary. Check your cake at 35 minutes. If the toothpick is clean, pull it. If it’s wet, give it 5 more minutes. Overbaked honey cake is dry and bitter.
Storage is Key
This cake tastes better the next day. The honey continues to hydrate the crumb overnight. Wrap it tightly in plastic wrap and store at room temperature for up to 3 days, or in the fridge for up to 5 days.
Variations & Substitutions
Once you’ve nailed the basic version, here’s how you can mix it up. I’ve tried all of these.
Gluten-Free Version
Swap the all-purpose flour for a 1:1 gluten-free baking blend. I recommend King Arthur Measure for Measure or Bob’s Red Mill. Add ¼ teaspoon of xanthan gum if your blend doesn’t include it. It works perfectly.
Spiced Apple Variation
Add a pinch of cardamom and allspice along with the cinnamon. It gives it a more complex, holiday-like flavor. I love this for winter holidays too.
Drizzle Upgrade
Once the cake is cooled, drizzle it with a simple glaze. Mix ½ cup powdered sugar with 1-2 tablespoons milk or lemon juice. Drizzle over the top for a sweeter, more decorative finish.
Nut-Free
Simply omit the walnuts or pecans. The cake is still delicious without them. If you want crunch, try adding a tablespoon of rolled oats to the batter.
Mini Cakes
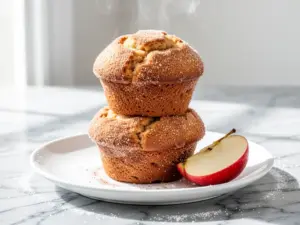
You can divide the batter into a greased muffin tin and bake for 20-25 minutes. Great for individual portions or lunchboxes.
Serving & Storage
How to Serve:
I usually serve this cake plain, but if I’m feeling fancy, I add a dollop of whipped cream or a scoop of vanilla ice cream. The contrast of cold cream and warm cake is amazing. It also pairs well with a cup of tea or coffee.
Side Dishes:
Since this is a sweet cake, it doesn’t need a savory side. It’s the star of the dessert table. But if you’re serving it as a brunch item, it goes great with soft garlic knots (served savory) or fluffy cinnamon swirl pancakes for a full sweet breakfast spread.
Storage Instructions:
Refrigerator: Store in an airtight container for up to 5 days. The honey acts as a preservative, so it stays moist for a long time.
Freezer: Yes, it freezes well! Wrap the whole cake or individual slices tightly in plastic wrap, then in foil. Freeze for up to 3 months. Thaw overnight in the fridge.
Reheating: Microwave a slice for 20-30 seconds to warm it up. It brings back the fresh-baked texture.
Nutrition Information
I’m not a nutritionist, but here’s the breakdown if you’re tracking. This is a rich cake, so portion control is key.
Per Serving (based on 8 slices):
- Calories: 320
- Protein: 4g
- Carbs: 48g
- Fiber: 2g
- Sugar: 32g
- Fat: 12g
- Saturated Fat: 3g
- Cholesterol: 35mg
- Sodium: 180mg
My Take:
Look, this is a sweet cake with honey and sugar. It’s not a diet recipe. But it’s homemade, so you know exactly what’s in it. When I want to make it lighter, I reduce the sugar to ½ cup and use applesauce to replace half the oil. But usually? I just enjoy a small slice and savor the flavors.
Final Thoughts
So that’s my go-to Rosh Hashanah Honey Apple Cake! I’ve probably talked your ear off at this point, but when you make a recipe this often, you have a lot to say about it. This cake has saved my holiday desserts more times than I can count. It’s my answer to “what’s for dessert” when I want something traditional but don’t have hours to bake.
Make it yours! Try different nuts, adjust the spices, or add that glaze. The best recipes are the ones you adapt to your family’s tastes. If you make this, drop a comment and let me know what you think! I love hearing how recipes turn out in your kitchen.
Happy cooking! And I hope your kitchen smells half as good as mine does right now.
Frequently Asked Questions
Can I use store-bought apple pie filling?
You can, but I don’t recommend it. It’s too sweet and has a weird texture. Fresh apples give you that authentic, tender bite that makes this cake special. If you’re in a huge rush, you can use canned sliced apples, but drain them very well.
Why did my cake sink in the middle?
This usually happens if the oven door was opened too early, or if the baking powder was old. Make sure your leavening agents are fresh. Also, don’t open the oven door for the first 30 minutes of baking.
Can I make this cake ahead of time?
Absolutely. In fact, it’s better the next day. You can bake it 1-2 days ahead. Store it covered at room temperature. Bring it to room temperature before serving for the best texture.
Is this cake too sweet?
It’s sweet, but balanced by the tart apples and cinnamon. If you’re sensitive to sugar, reduce the granulated sugar to ½ cup. The honey will still provide plenty of sweetness.
Can I add raisins?
Some traditional recipes include raisins. If you like them, add ½ cup of plump raisins (soaked in warm water for 10 minutes, then drained) to the batter. They add a chewy texture.
What kind of honey is best?
Raw, local honey is best for flavor. But any liquid honey works. Avoid honey that is crystallized unless you warm it up first. Darker honeys like buckwheat will give a stronger, molasses-like flavor, while clover is milder.
Pin This Recipe!
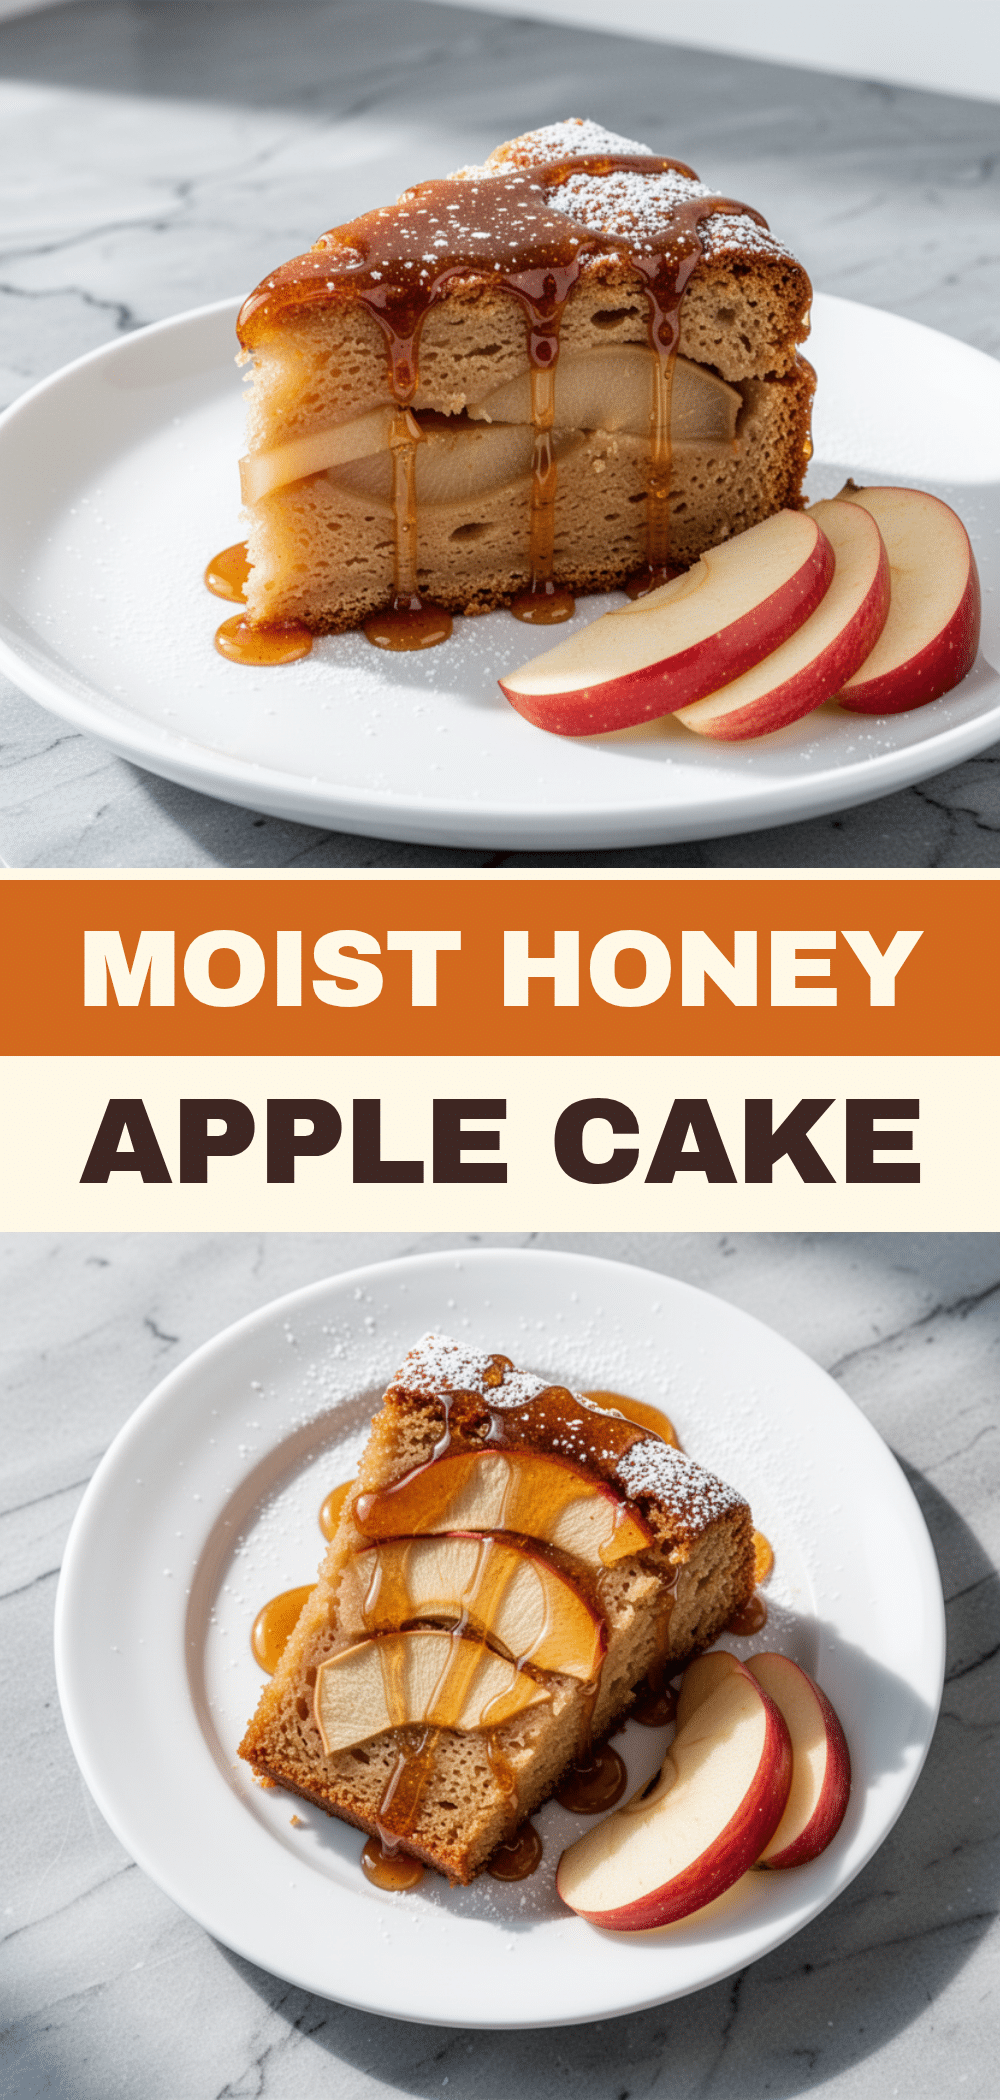
Rosh Hashanah Honey Apple Cake: Best Easy Holiday Recipe
- Total Time: 1 hour 15 minutes
- Yield: 8 servings 1x
Description
A moist, tender, and perfectly spiced honey apple cake that honors Jewish New Year traditions. This easy one-bowl dessert balances sweet honey with tart apples and warm spices for a nostalgic holiday centerpiece.
Ingredients
- 3 medium Granny Smith apples (peeled and thinly sliced)
- ½ cup (120ml) raw honey
- 2 tablespoons (30g) unsalted butter
- ½ cup (120ml) vegetable oil
- ¾ cup (150g) granulated sugar
- 3 large eggs (room temperature)
- 1 teaspoon vanilla extract
- 1 ½ cups (190g) all-purpose flour
- 1 teaspoon baking powder
- ½ teaspoon baking soda
- 1 ½ teaspoons ground cinnamon
- ¼ teaspoon ground nutmeg
- ½ teaspoon salt
- Optional: ½ cup chopped walnuts or pecans
- Optional: 1 tablespoon sugar mixed with ½ teaspoon cinnamon for topping
Instructions
- Preheat oven to 350°F (175°C). Grease a 9-inch round cake pan and line the bottom with parchment paper.
- Peel, core, and thinly slice the apples. Arrange them in a bowl.
- In a large skillet, melt 2 tablespoons of butter over medium heat. Add sliced apples and sauté for 3-4 minutes until they start to soften and release juices. Remove from heat and let cool slightly.
- In a large mixing bowl, whisk together the vegetable oil, honey, sugar, eggs, and vanilla extract vigorously for about a minute until emulsified.
- In a separate bowl, whisk together the flour, baking powder, baking soda, cinnamon, nutmeg, and salt.
- Pour the dry ingredients into the wet ingredients and stir gently with a spatula until just combined. Do not overmix.
- Fold in the sautéed apples (and nuts if using) gently into the batter.
- Pour batter into the prepared pan, smooth the top, and sprinkle with cinnamon sugar if using.
- Bake for 40-45 minutes, or until a toothpick inserted into the center comes out clean.
- Let the cake cool in the pan for 10 minutes, then transfer to a wire rack to cool completely before slicing.
Notes
Thinly slicing the apples is crucial to prevent raw centers. Sautéing the apples first removes excess moisture and prevents a soggy cake. The cake tastes better the next day as flavors meld. It can be stored at room temperature for 3 days or refrigerated for 5 days. For a gluten-free version, use a 1:1 gluten-free flour blend.
- Prep Time: 15 minutes
- Cook Time: 45 minutes
- Category: Dessert
- Cuisine: Jewish
Nutrition
- Serving Size: 1 slice
- Calories: 320
- Sugar: 32
- Sodium: 180
- Fat: 12
- Saturated Fat: 3
- Carbohydrates: 48
- Fiber: 2
- Protein: 4
Keywords: Rosh Hashanah, Honey Apple Cake, Jewish Holiday Recipe, Easy Dessert, Gluten-Free Option, Holiday Baking, Apple Cake