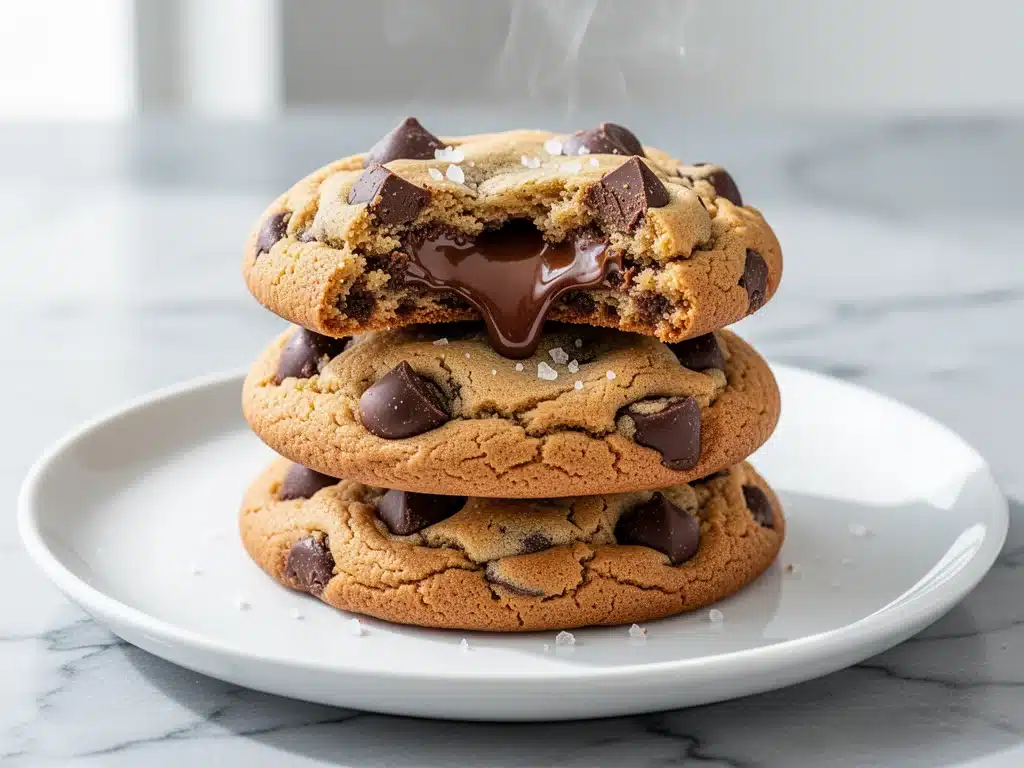
It was 7:15 PM on a Tuesday, and my kitchen looked like a crime scene. Flour dusted the counter like snow, chocolate chips were scattered across the floor (because gravity is a cruel mistress), and my kids were staring at me with that specific brand of desperation that only develops after a long day of school. “Can we have cookies?” my oldest asked. Not cake. Not ice cream. Cookies. And I had exactly twenty minutes before dinner needed to be on the table.
I could have said no. I could have told them to make do with fruit. But I knew that “no” was going to turn into a negotiation, and I didn’t have the energy for that. So, I did what I do when I’m tired but determined: I went for the brown butter chocolate chip cookies.
Now, before you roll your eyes and say, “Cookies take too long,” hear me out. These aren’t the complicated, multi-day chilled dough cookies you see on Instagram. These are the kind of cookies that come together in the time it takes to boil water for pasta. The secret? Brown butter. It sounds fancy, like something you’d order at a bistro, but it’s just butter cooked until it smells like hazelnuts and dreams. It adds this deep, nutty richness that makes a simple chocolate chip cookie taste like it came from a high-end bakery, but the whole process takes about 30 minutes from start to finish.
I’ve made these brown butter chocolate chip cookies perfect for busy weeknights at least a dozen times since that Tuesday. They’ve been my savior on rainy afternoons, last-minute dinner party preparations, and those rare moments when I actually want to treat myself. The best part? The kids don’t even know they’re eating something “special.” They just know it’s the best cookie I’ve ever made. And honestly? I think they’re right.
Why You’ll Love This Recipe
Let’s be real: baking on a weeknight is an exercise in patience. You’re tired, the house is messy, and you just want something sweet without the stress. This brown butter chocolate chip cookie recipe changes the game because it’s designed for real life. Here’s why it’s become a staple in our house:
- Stupid Simple — Seriously, if you can melt butter and mix a bowl, you can make these. I’ve walked my teenage son through it over FaceTime, and he got perfect results on the first try. No fancy techniques required.
- Lightning Fast — 30 minutes from start to finish, with only 10 minutes of active work. I make this on weeknights when I get home at 7pm and need dinner by 8:30. It fits into the cracks of a busy schedule.
- Pantry-Friendly — You probably have 80% of these ingredients already. Butter, sugar, eggs, flour, chocolate chips. I keep the key items stocked just so I can make this on a whim when the craving hits.
- Crowd-Pleaser — I’ve served these to my picky eater nephew, my gluten-free neighbor (with a swap), and my husband’s entire golf team. Everyone asks for the recipe. It’s that reliable.
- Makes Amazing Leftovers — Actually tastes better the next day. The brown butter flavor deepens as they cool. I deliberately make extra for lunch throughout the week, paired with a glass of cold milk.
- Budget-Smart — Feeds 4-6 people for under $10. That’s less than one trip to the bakery or a box of store-bought cookies. Homemade wins every time.
This is my go-to when I need dessert to just work. No complicated techniques, no weird ingredients, just reliable, delicious food that makes everyone happy. It’s the kind of recipe that makes you feel like a hero, even if you’re just standing in your pajamas.
Ingredients You’ll Need
Here’s the best part: you probably have most of this already. I’m particular about three ingredients here, and I’ll tell you exactly why. The rest is basic pantry stuff. Let’s get into it.
For the Base
Unsalted butter (1 cup / 226g) — This is where the magic happens. We’re browning it, so use good quality butter. I use 80% fat butter; lower fat won’t brown the same way. Salted butter works if you reduce the added salt in the recipe, but unsalted gives you more control.
Granulated sugar (½ cup / 100g) — Adds crispness to the edges. Don’t skip this. I use regular white sugar, but light brown sugar works too if you want a slightly lighter color.
Brown sugar (1 cup / 200g, packed) — This is the chewy factor. Dark brown sugar has more molasses, which gives a deeper flavor. I use light brown sugar for a milder taste, but dark is great if you want a toffee-like note.
Large eggs (2 large) — Room temperature eggs mix better. If I’m in a rush, I just put them in a bowl of warm water for 5 minutes. Cold eggs can make the butter seize up.
Vanilla extract (2 teaspoons) — Use real vanilla, not imitation. It makes a huge difference in flavor. I keep a bottle of Nielsen-Massey on hand, but any pure extract works.
For the Structure
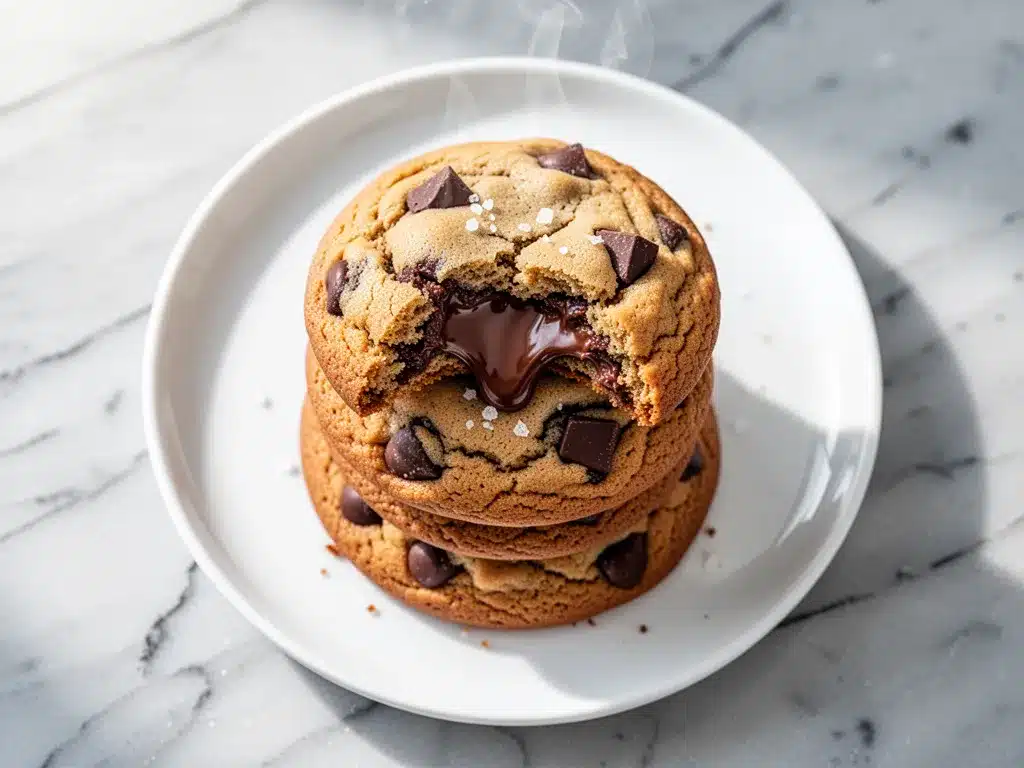
All-purpose flour (2 ¼ cups / 280g) — I always spoon and level my flour. Scooping directly from the bag packs it down, and you’ll end up with dry cookies. If you’re worried about accuracy, weighing is best, but spoon and level works fine.
Baking soda (1 teaspoon) — Helps the cookies spread and brown. Make sure it’s not old! If it’s more than 6 months old, it might not work. Test it with a little vinegar to see if it fizzles.
Salt (1 teaspoon) — Enhances the chocolate flavor. Use fine sea salt or table salt. Kosher salt is fine too, just use a bit more because the crystals are bigger.
For the Good Stuff
Chocolate chips (2 cups / 340g) — I use semi-sweet chocolate chips. Ghirardelli or Nestlé Toll House both work well. I also like to throw in some chopped chocolate bars for variety. It’s like having two cookies in one.
Optional: Flaky sea salt (for topping) — A sprinkle of Maldon salt on top right after baking is non-negotiable for me. It contrasts with the sweet chocolate and makes them taste gourmet.
Personal Tips:
- Brand recommendations: I always use King Arthur flour—it’s consistent and reliable.
- Shopping shortcuts: I buy chocolate chips in bulk from Costco. It’s cheaper per pound and they last forever in the pantry.
- Substitutions: No chocolate chips? Try chopped nuts or white chocolate. Or both!
- Storage: Brown sugar hardens quickly. Keep it in an airtight container with a piece of bread to keep it soft.
Equipment Needed
You don’t need fancy equipment for this. Here’s what I actually use.
Medium saucepan — I use a 2-quart stainless steel pot. It needs to be wide enough to spread the butter out so it browns evenly. My old non-stick pot works too, but stainless steel lets you see the color change better.
Mixing bowl — A large bowl, about 4-5 quarts. Glass or ceramic is nice because it doesn’t hold heat, but plastic works fine.
Wooden spoon or spatula — For mixing. I prefer a sturdy silicone spatula because it scrapes the sides of the bowl better.
Measuring cups and spoons — Pretty standard stuff. Dollar store versions work fine for dry ingredients. For liquids, a glass measuring cup is easier to read.
Baking sheets — Two standard 9×13 inch sheets. I line them with parchment paper. It’s a game-changer for cleanup and prevents sticking. I don’t use silicone mats because they can sometimes prevent browning.
Whisk — For beating the eggs and sugar until light. A small whisk works best.
Cooling rack — Optional but nice. I usually just let them cool on the pan for 5 minutes, then move them to a plate.
Optional but nice:
- Ice cream scoop — Makes uniform cookies. I use a #40 scoop (about 1.5 tablespoons).
- Kitchen scale — For precise measurements. I use it for flour, but I eyeball the rest.
How to Make It: Step-by-Step
Alright, let’s make this! I’m walking you through exactly how I do it, including the little tricks I’ve picked up. This brown butter chocolate chip cookie recipe is straightforward, but the brown butter step is the key to getting it right.
Step 1: Brown the Butter (5-7 minutes)
Melt the butter in a medium saucepan over medium heat. Stir constantly with a wooden spoon. At first, it’ll just be melting. Then it’ll start to foam and bubble. Listen closely—you’ll hear a crackling sound. That’s the water evaporating. Keep stirring! Watch for the color to turn a deep golden brown and smell nutty, like hazelnuts. This takes about 5-7 minutes. Don’t walk away! If it smells like burnt toast, you’ve gone too far. As soon as it’s done, pour it into a heatproof bowl to stop the cooking. Let it cool for 10 minutes.
Step 2: Mix the Sugars and Butter (2 minutes)
Once the brown butter is slightly cooled (still warm, not hot), add it to your mixing bowl. Add the granulated sugar and brown sugar. Whisk vigorously for about 2 minutes. You want the mixture to look glossy and smooth. This step incorporates air, which helps with texture.
Step 3: Add Eggs and Vanilla (1 minute)
Add the eggs one at a time, whisking well after each addition. Then add the vanilla extract. Whisk until the mixture is uniform and slightly pale. It should look like a thick, creamy sauce.
Step 4: Combine Dry Ingredients (1 minute)
Add the flour, baking soda, and salt. Switch to a wooden spoon or spatula. Mix on low speed or by hand until just combined. Do not overmix! You want to stop as soon as you no longer see streaks of flour. Overmixing leads to tough cookies.
Step 5: Fold in Chocolate Chips (1 minute)
Add the chocolate chips. Fold them in gently. If you’re using chopped chocolate, distribute it evenly. I like to save a handful of chips to press onto the tops of the cookies later for that bakery look.
Step 6: Scoop and Bake (12-14 minutes)
Preheat your oven to 350°F (175°C). Line two baking sheets with parchment paper. Scoop dough onto the sheets, spacing them about 2 inches apart. They will spread. Bake for 12-14 minutes. You want the edges to be golden brown and set, but the centers to still look slightly soft and underdone. They will firm up as they cool. This is crucial for chewy cookies.
Step 7: Cool and Serve (5 minutes)
Remove from the oven and let the cookies cool on the baking sheet for 5 minutes. This allows them to set. Then transfer to a cooling rack or plate. Sprinkle with flaky sea salt if using. Eat warm with a glass of milk. Trust me.
Built-in Troubleshooting:
- Cookies are too flat: Your butter was too hot when you mixed it, or you didn’t chill the dough. Next time, let the brown butter cool completely before mixing.
- Cookies are dry: You overbaked them. Take them out when they look slightly underdone. They continue cooking on the hot pan.
- Cookies are cakey: You measured too much flour. Remember to spoon and level, or weigh your flour.
Expert Tips & Tricks
Here’s everything I’ve learned from making this dozens of times. These tips will save you from my mistakes.
The Brown Butter Breakdown
This is the #1 tip. Browning butter changes the flavor profile entirely. It adds a nutty, toasty depth that regular melted butter can’t match. The key is to watch it closely. It goes from perfect to burnt in seconds. If you’re nervous, use a light-colored pan so you can see the color change. Stop when it smells like hazelnuts and looks like peanut butter.
Chill the Dough (Optional but Recommended)
I know it’s a busy weeknight, and chilling takes time. But if you can spare 30 minutes, chill the dough. It prevents over-spreading and concentrates the flavors. If you’re in a rush, skip it, but your cookies might be slightly thinner. I usually chill them if I’m making them for a dinner party, but not for a quick weeknight treat.
Don’t Overmix the Flour
Once you add the flour, mix until just combined. Overmixing develops gluten, which makes cookies tough. You want tender, chewy cookies, not bread. It’s okay if there are a few tiny streaks of flour; they’ll disappear during baking.
Use a Cookie Scoop
I know it’s an extra tool, but a cookie scoop ensures uniform size. Uniform size means even baking. If you scoop by hand, some cookies will be huge and others tiny, and they’ll bake at different rates. I use a #40 scoop, which gives me about 24 cookies.
Underbake Slightly
This is the secret to soft, chewy cookies. Take them out when the edges are golden but the centers still look soft. They will firm up as they cool. If you bake them until they look firm in the center, they’ll be crisp all the way through. I prefer chewy.
Add Flaky Salt on Top
Right after taking them out of the oven, sprinkle a pinch of flaky sea salt on top. It enhances the chocolate flavor and adds a sophisticated touch. It’s like the bakery version. My kids think it’s “fancy salt” and love it.
Variations & Substitutions
Once you’ve nailed the basic version, here’s how you can mix it up. I’ve tried all of these.
White Chocolate Macadamia
Swap the semi-sweet chips for white chocolate chips and add 1 cup of chopped macadamia nuts. It’s rich and tropical. My daughter’s favorite. It pairs beautifully with the nutty brown butter.
Peanut Butter Chip
Use peanut butter chips instead of chocolate. Or mix chocolate and peanut butter chips. The combination is addictive. If you’re a peanut butter lover, this is your version.
Double Chocolate
Add 2 tablespoons of cocoa powder to the dry ingredients and use dark chocolate chips. It’s intense and fudgy. Great for chocolate lovers. I use Ghirardelli dark chocolate chips for this.
Gluten-Free
Use a 1:1 gluten-free flour blend. I’ve used King Arthur Gluten-Free Flour Measure and it works great. The texture is slightly different but still delicious. Make sure your baking soda and chocolate chips are certified gluten-free.
Dairy-Free
Replace butter with dairy-free butter sticks (like Earth Balance). Browning dairy-free butter is tricky because it has a different water content, but it works. Use dairy-free chocolate chips. It’s not quite the same, but still tasty.
Vegan
Replace butter with vegan butter sticks. Replace eggs with flax eggs (2 tablespoons ground flax + 6 tablespoons water). Use dairy-free chocolate chips. The texture will be different, but it’s still good. I’ve made this for my vegan friend, and she loved them.
Nut-Free
Simply omit any nuts. The base recipe is naturally nut-free if you use nut-free chocolate chips. Great for school bake sales.
Serving & Storage
How to Serve
I usually serve these straight from the cooling rack, warm. They’re best fresh out of the oven, but they’re good for days. Here are other ways I’ve enjoyed them:
- With a glass of cold milk (obviously)
- Warmed slightly in the microwave with a scoop of vanilla ice cream
- Crumbled over ice cream for a cookie crumble topping
- As a dessert for dinner parties, served with coffee
Storage Instructions
Room Temperature: Store in an airtight container for up to 5 days. They actually get chewier after day 1. I keep them on my counter, and they disappear fast.
Refrigerator: Not recommended. The fridge dries out cookies. If you must, store in an airtight container for up to a week. Bring to room temperature before eating.
Freezing Dough: This is my favorite method. Scoop the dough onto a baking sheet and freeze until solid (about 2 hours). Then transfer the dough balls to a freezer bag. They’ll last for 3 months. When you want cookies, just bake them frozen, adding 1-2 minutes to the bake time. This is perfect for busy weeknights because you always have dough ready to go.
Freezing Baked Cookies: Store in an airtight container for up to 3 months. Thaw at room temperature. They might be slightly less chewy, but still good.
Pro tip: If your cookies get a bit stale, warm them in the microwave for 10 seconds with a cup of water. The steam restores softness. It’s a neat trick.
Nutrition Information
I’m not a nutritionist, but here’s the breakdown if you’re tracking. This is per cookie, based on 24 cookies.
| Nutrient | Amount |
|---|---|
| Calories | 180 |
| Protein | 2g |
| Carbs | 24g |
| Fiber | 1g |
| Sugar | 16g |
| Fat | 9g |
| Saturated Fat | 5g |
| Cholesterol | 25mg |
| Sodium | 110mg |
What’s Good:
- Decent satisfaction factor. One or two cookies is a perfect treat.
- Real ingredients. No weird additives.
- Can be made gluten-free or dairy-free if needed.
What to Know:
- Higher in calories from butter and sugar. It’s a dessert, after all.
- Contains dairy and gluten.
- Moderate sugar content. Adjust portions if watching sugar intake.
My Take: Look, this is a cookie. It’s butter and sugar and chocolate. It’s not a health food. But it’s way better than store-bought, costs less, and I know exactly what’s in it. When I want to make it lighter, I reduce the sugar by ¼ cup and add more chocolate chips. But usually? I just eat one or two and enjoy it.
Final Thoughts
So that’s my brown butter chocolate chip cookie recipe! I’ve probably talked your ear off at this point, but when you make a recipe this often, you have a lot to say about it. These cookies have saved weeknight desserts more times than I can count. They’re my answer to “what’s for dessert” when I’m tired, don’t want takeout, and still want something that tastes really good. My kids are happy, my husband’s happy, and I’m happy because I’m not stressed about baking.
Make it yours! Try different add-ins, swap in your favorite chocolate, or adjust the salt. The best recipes are the ones you adapt to your family’s tastes. If you make these, drop a comment and let me know what you think! I love hearing how recipes turn out in your kitchen. And if something doesn’t work, tell me that too—I’m here to help troubleshoot.
Happy baking! And I hope your kitchen smells half as good as mine does right now.
Frequently Asked Questions
Can I use salted butter instead of unsalted?
You can, but you’ll need to reduce the added salt in the recipe. Salted butter varies in salt content, so start with ½ teaspoon of salt in the dough and taste before adding more. I prefer unsalted because it gives me more control over the final flavor. If you use salted butter, the cookies might be slightly saltier, which some people actually like.
Why did my cookies spread too much?
This usually happens if the butter was too hot when you mixed it, or if the dough wasn’t chilled. Brown butter cools down quickly, but if you add it to the sugar while it’s still piping hot, it can melt the sugar too much. Let the brown butter cool for 10-15 minutes before mixing. Also, make sure your baking sheets are cool before adding the dough. If you bake on a hot pan, the cookies will spread before they set.
Can I make this dough ahead of time?
Absolutely! You can refrigerate the dough for up to 3 days, or freeze it for up to 3 months. I often make a batch of dough on Sunday and freeze it in scoops. Then I can bake fresh cookies anytime during the week. This is perfect for busy weeknights because you skip the prep time. Just bake from frozen, adding 1-2 minutes to the bake time.
Why did my cookies come out cakey?
Cakey cookies usually mean you used too much flour or overmixed the dough. Make sure you’re spooning and leveling your flour, not scooping it directly from the bag. Also, mix the flour until just combined. Overmixing develops gluten, which makes cookies tough and cakey. If you want chewy cookies, undermix slightly and underbake slightly.
Can I use mini chocolate chips?
Yes! Mini chips distribute more evenly throughout the cookie. You’ll need about 3 cups of mini chips to replace 2 cups of regular chips. They melt faster, so keep an eye on the bake time. I like to use a mix of mini and regular chips for variety.
How do I reheat leftover cookies?
Warm them in the microwave for 10-15 seconds. They’ll be soft and chewy again. You can also warm them in a 350°F oven for 5 minutes. Avoid the toaster oven if you’re reheating just one or two, as it can dry them out. A damp paper towel in the microwave helps retain moisture.
Can I double this recipe?
Yes, double everything and use your biggest mixing bowl. The cooking times stay the same. I do this when I’m meal-prepping or feeding a crowd. Just make sure your baking sheets are big enough for the dough balls. You might need to bake in two batches. Don’t overcrowd the pans, or the cookies will spread into each other.
Pin This Recipe!
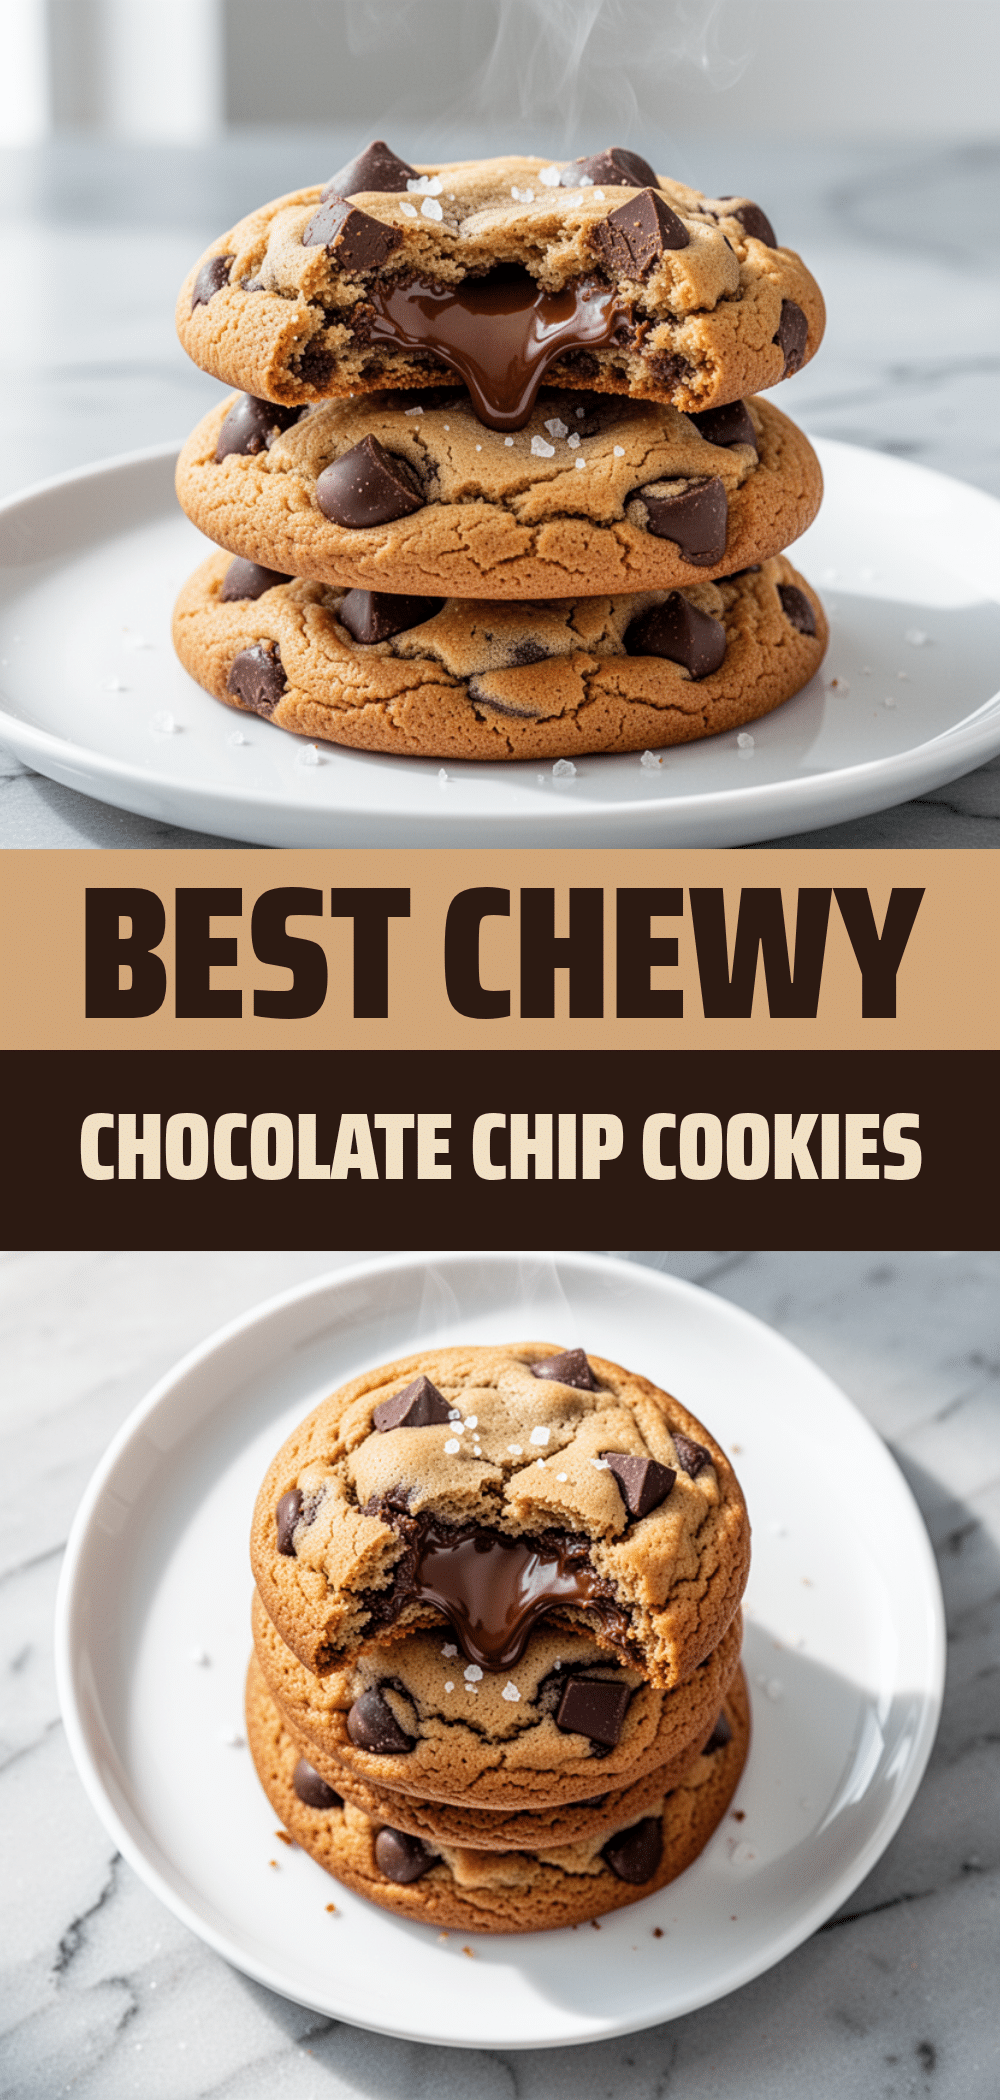

Brown Butter Chocolate Chip Cookies: Easy Weeknight Dessert
- Total Time: 30 minutes
- Yield: 24 cookies 1x
Description
These brown butter chocolate chip cookies are the perfect weeknight dessert, coming together in just 30 minutes. The secret is browning the butter for a deep, nutty flavor that rivals high-end bakery cookies, with a chewy texture and simple pantry ingredients.
Ingredients
- 1 cup (226g) unsalted butter
- ½ cup (100g) granulated sugar
- 1 cup (200g) packed brown sugar (light or dark)
- 2 large eggs, room temperature
- 2 teaspoons vanilla extract
- 2 ¼ cups (280g) all-purpose flour
- 1 teaspoon baking soda
- 1 teaspoon salt
- 2 cups (340g) semi-sweet chocolate chips
- Flaky sea salt, for topping (optional)
Instructions
- Brown the butter: Melt butter in a medium saucepan over medium heat. Stir constantly until it foams, crackles, and turns deep golden brown with a nutty aroma (5-7 minutes). Pour into a heatproof bowl and let cool for 10 minutes.
- Mix sugars and butter: In a large mixing bowl, combine the slightly cooled brown butter, granulated sugar, and brown sugar. Whisk vigorously for 2 minutes until glossy and smooth.
- Add wet ingredients: Add eggs one at a time, whisking well after each addition. Add vanilla extract and whisk until the mixture is uniform and slightly pale.
- Combine dry ingredients: Add flour, baking soda, and salt. Mix with a wooden spoon or spatula on low speed or by hand until just combined. Do not overmix.
- Fold in chocolate chips: Gently fold in the chocolate chips. Reserve a handful to press onto cookie tops later if desired.
- Preheat and prep: Preheat oven to 350°F (175°C). Line two baking sheets with parchment paper.
- Scoop and bake: Scoop dough onto sheets, spacing 2 inches apart. Bake for 12-14 minutes until edges are golden brown but centers look slightly soft.
- Cool and serve: Let cookies cool on the baking sheet for 5 minutes to set, then transfer to a cooling rack. Sprinkle with flaky sea salt if using. Serve warm.
Notes
Brown butter changes flavor significantly; watch closely to avoid burning. Let brown butter cool for 10 minutes before mixing to prevent melting the sugar. Spoon and level flour for accurate measurements to avoid dry cookies. Underbake slightly for chewy texture. Dough can be frozen for up to 3 months.
- Prep Time: 10 minutes
- Cook Time: 20 minutes
- Category: Dessert
- Cuisine: American
Nutrition
- Serving Size: 1 cookie
- Calories: 180
- Sugar: 16
- Sodium: 110
- Fat: 9
- Saturated Fat: 5
- Carbohydrates: 24
- Fiber: 1
- Protein: 2
Keywords: brown butter cookies, chocolate chip cookies, weeknight dessert, easy baking, nutty cookies, chewy cookies, homemade cookies