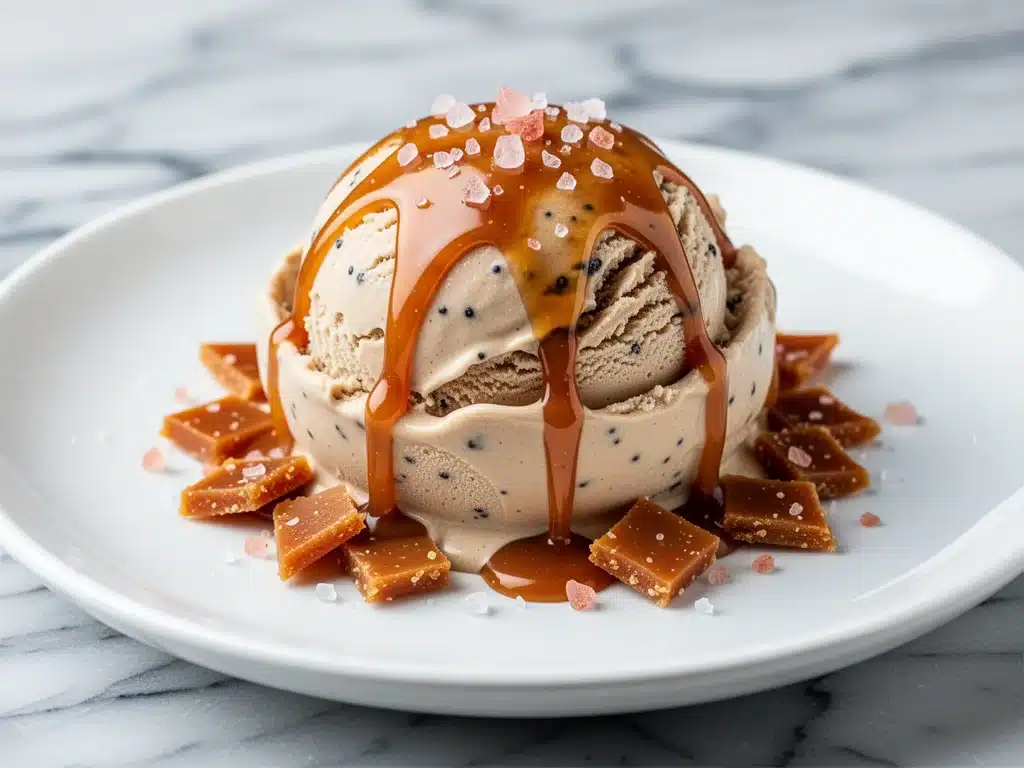
I used to think no-churn ice cream was a cute idea, but not actually good. You know the type—it’s that airy, slightly icy dessert you make when you don’t own an ice cream machine or you’re living in a dorm room. I remember making a batch of vanilla bean no-churn in my first apartment, excited to be “adulting,” only to end up with a block of frozen whipped cream that tasted like sweetened air. It wasn’t terrible, but it wasn’t ice cream. It was a disappointment.
That changed last summer. My neighbor handed me a container of her no-churn salted caramel ice cream after a backyard barbecue. I took one spoonful and immediately asked for the recipe. It was dense, rich, and had that perfect snap when you dug into it. It tasted like it came from a fancy gelato shop, not a mixing bowl. That was the moment I realized I’d been doing it wrong. The secret isn’t just the ingredients; it’s the technique. And once I cracked the code, I’ve been making this ultra-creamy no-churn salted caramel ice cream every single week of July.
There is something magical about summer desserts that don’t require turning on the oven. When the temperature hits 90 degrees, the last thing you want to do is heat up your kitchen for an hour. This recipe takes about 20 minutes of active prep, and then it does all the work while you’re swimming, gardening, or just trying to stay cool. It’s the ultimate lazy luxury. I’ve tested this recipe at least a dozen times, tweaking the salt levels and the caramel consistency until it was absolutely perfect. Now, I’m sharing that perfected version with you. It’s rich, it’s salty, it’s sweet, and it’s going to become your new summer obsession.
Why You’ll Love This Recipe
Let’s be real: buying premium ice cream at the store is expensive, and often, the brands you trust have weird additives you can’t pronounce. Making this ultra-creamy no-churn salted caramel ice cream at home gives you total control over what goes into your freezer. But beyond the health angle (which is minimal, let’s be honest), here’s why this recipe has completely taken over my kitchen:
- Zero Special Equipment Needed — Seriously. If you have a stand mixer or a hand mixer and a loaf pan, you’re good to go. No ice cream machine, no churning, no waiting for a bowl to freeze. It’s literally just mix, pour, and freeze. I’ve made this on weeknights after work when I’m too tired to do anything complicated.
- Texture That Actually Works — Most no-churn recipes are fluffy. This one is dense and creamy. By using a specific ratio of condensed milk to heavy cream, and by chilling everything beforehand, you get that rich, custard-like mouthfeel without any eggs. It’s the kind of texture that makes you close your eyes when you take a bite.
- Salty-Sweet Perfection — The caramel in this recipe isn’t just drizzled on top; it’s folded throughout, and the sea salt is balanced perfectly. It hits that sweet spot where it’s indulgent but not cloying. My husband says it tastes like a candy bar melted into cream, and I’m not mad at that comparison.
- Make-Ahead Friendly — This is the ultimate party saver. You can make it three days before your get-together. In fact, I recommend making it a day or two ahead. It needs time to set properly, and the flavors meld together beautifully overnight. It’s the only dessert I can prep in the morning and serve at dinner without any stress.
- Uses Simple Pantry Staples — You don’t need exotic ingredients. Sweetened condensed milk, heavy cream, vanilla, and salt are things most people have on hand. The caramel can be store-bought if you’re in a rush (I won’t judge), or homemade if you have time. It’s flexible for your schedule.
This is my go-to when I want to impress guests without spending hours in the kitchen. It’s reliable, it’s delicious, and it makes everyone feel like you went to extra effort, even though you basically just mixed things in a bowl.
Ingredients You’ll Need
Here’s the best part about this recipe: the ingredient list is short, and you probably have most of it already. I’m particular about a few things here, so pay attention to the details. Quality matters more with fewer ingredients.
For the Base
Heavy whipping cream (2 cups / 480ml) — This is non-negotiable. You need full-fat heavy cream with at least 35% fat content. Light cream or half-and-half won’t whip up properly, and your ice cream will be icy. I use a brand like Clover or Organic Valley, but any high-quality heavy cream works. Make sure it’s very cold before you start.
Sweetened condensed milk (1 can / 14oz or 397g) — Do not substitute with evaporated milk. They are completely different. Condensed milk is thick, sugary, and helps prevent ice crystals from forming. This is the secret to the creamy texture. I buy the canned version; it’s consistent and easy to find.
Vanilla extract (2 teaspoons) — Use real vanilla extract, not imitation. The flavor of the ice cream is simple, so the vanilla needs to shine. I like to use a good bourbon vanilla for depth, but any pure vanilla extract will work. If you want a more intense flavor, you can scrape in one vanilla bean, but it’s not necessary.
Salt (½ teaspoon fine sea salt) — This is crucial. Salt enhances the sweetness and balances the richness. I use fine sea salt because it dissolves easily into the cream. If you only have kosher salt, use a bit less, as the grains are larger. This is what makes it “salted caramel” and not just sweet caramel.
For the Caramel Swirl
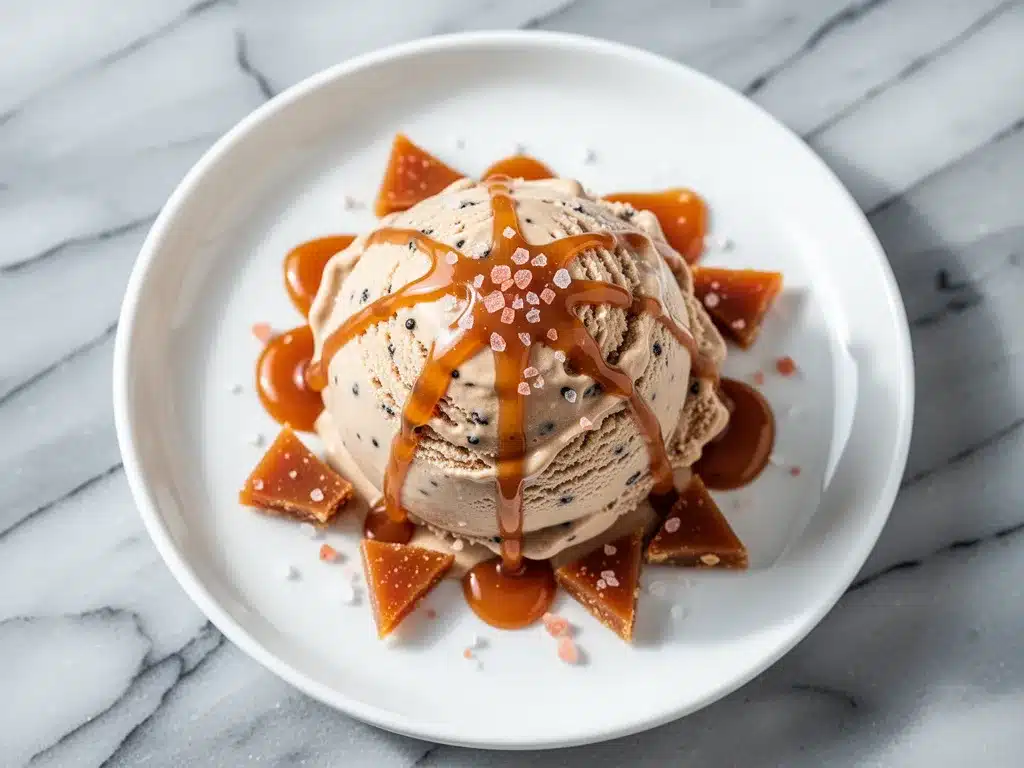
Homemade Salted Caramel Sauce (1 cup / 240ml) — I have a favorite caramel recipe that I use for this, but you can also buy high-quality store-bought caramel sauce. If you make it yourself, you’ll want to let it cool completely before folding it in. Warm caramel will melt the whipped cream, and nobody wants soup. The homemade version is worth the extra 15 minutes because you control the salt and the thickness.
Flaky sea salt (for garnish, optional) — I like to sprinkle a little Maldon salt on top before serving. It adds a nice crunch and visual appeal. It’s not essential, but it makes it feel fancy.
Chocolate chips or pretzel pieces (optional add-ins) — I sometimes add semi-sweet chocolate chips or crushed pretzels for extra texture. It’s like having a cookie dough ice cream or a salty snack in every bite. But honestly? The caramel is enough. Don’t overcomplicate it.
Pro Tip: I always measure my condensed milk into a separate bowl before starting. If you try to scoop it out of the can while the cream is whipping, you’re going to make a mess. Prep is everything.
Equipment Needed
You don’t need fancy gadgets for this. Here’s what I actually use in my kitchen:
Stand mixer or hand mixer — A stand mixer is great for consistency, but a hand mixer works perfectly fine. I’ve used both for years. Just make sure the beaters are clean and dry. Any moisture will prevent the cream from whipping.
Large mixing bowl — If you’re using a hand mixer, use a deep bowl to prevent splatter. I use a stainless steel bowl because it chills faster. If you don’t have one, just throw your regular bowl in the fridge for 10 minutes before starting.
8×4 inch loaf pan — This is the perfect size for no-churn ice cream. It freezes evenly and is easy to unmold. I line it with plastic wrap or parchment paper for easy removal later. If you don’t have a loaf pan, a small baking dish or even a large bowl works, but the loaf pan is the most convenient for slicing.
Plastic wrap or parchment paper — Essential for lining the pan. It makes unmolding the ice cream a breeze and keeps it from sticking. I use two sheets of parchment paper crossed over each other for a perfect “sling” to lift the ice cream out.
Spatula — A sturdy silicone spatula is best for folding. You need to be gentle to keep the air in the whipped cream. A metal spoon will deflate the mixture, and you want that air structure for the creamy texture.
Whisk — Just for mixing the caramel and salt together before folding. A small whisk is fine.
How to Make It: Step-by-Step
Alright, let’s make this! It’s simpler than it looks, but there are a few tricks to getting that ultra-creamy texture. I’m walking you through exactly how I do it.
Step 1: Chill Your Equipment (5 minutes)
Before you start, make sure your heavy cream, mixing bowl, and beaters are cold. If you’re using a hand mixer, throw the beaters in the freezer for 10 minutes. Cold cream whips faster and holds its shape better. This step is the difference between fluffy peaks and sad, runny cream.
Step 2: Whip the Heavy Cream (5 minutes)
Pour the cold heavy cream into your chilled bowl. Using your mixer on medium-high speed, whip the cream until you form stiff peaks. This means when you lift the beater, the cream stands up straight and doesn’t droop. Be careful not to over-whip! If you whip it too long, it will start to turn into butter. You want it smooth and glossy, not grainy. This usually takes 3-5 minutes.
Step 3: Prepare the Caramel Mixture (5 minutes)
In a separate medium bowl, combine the sweetened condensed milk, vanilla extract, and fine sea salt. Whisk them together until smooth. If you’re using homemade caramel, let it cool to room temperature. If it’s too warm, it will melt the whipped cream. Stir in about half of your caramel sauce into this mixture. Reserve the rest for swirling later.
Step 4: Fold It Together (5 minutes)
This is the most important step. Add the condensed milk mixture to the whipped cream. Using your spatula, gently fold the two together. Use a cutting motion, slicing down through the center and folding the bottom up over the top. Rotate the bowl and repeat. You want to combine them thoroughly without deflating the air you worked so hard to whip in. It should look uniform and creamy. Don’t rush this.
Step 5: Swirl the Caramel (5 minutes)
Transfer about two-thirds of the ice cream mixture into your prepared loaf pan. Smooth the top with your spatula. Take the reserved caramel sauce and drizzle it over the top. Use a knife or a skewer to gently swirl it into the ice cream. Don’t over-mix; you want visible ribbons of caramel, not a uniform brown color. Add the remaining ice cream mixture on top and smooth it out. Swirl the top caramel again for a pretty finish.
Step 6: Freeze It (6 hours minimum)
Cover the loaf pan tightly with plastic wrap or a lid. Place it in the freezer for at least 6 hours, but overnight is best. The ice cream needs time to firm up completely. If you try to scoop it too soon, it’ll be soft and messy. Patience is key here.
Step 7: Serve
When you’re ready to serve, let the ice cream sit at room temperature for 5-10 minutes to soften slightly. This makes it much easier to scoop. Use an ice cream scoop to portion it out. Sprinkle with flaky sea salt if you’re feeling fancy. Enjoy immediately.
Total Time: About 20 minutes active, plus 6+ hours freezing.
Expert Tips & Tricks
Here’s everything I’ve learned from making this dozens of times. These tips will save you from my mistakes.
- Cold is King — I cannot stress this enough. If your cream isn’t cold, it won’t whip. If your bowl isn’t cold, it won’t whip. Keep everything chilled until the moment you start mixing.
- Don’t Over-Mix the Caramel — When swirling the caramel, less is more. If you mix it too thoroughly, you lose the beautiful contrast of white cream and dark caramel. It still tastes good, but it doesn’t look as appetizing.
- Use Quality Caramel — If you buy store-bought caramel, look for one that’s thick and rich. Thin, watery caramel will make the ice cream icy. I prefer a sauce that holds its shape when drizzled.
- Softening Before Scooping — No-churn ice cream freezes very hard because of the sugar content. Letting it sit out for 5-10 minutes before serving makes a huge difference in scoopability. Don’t skip this step.
- Storage Matters — Store your ice cream in an airtight container to prevent freezer burn. If you don’t have a lid for your loaf pan, press plastic wrap directly onto the surface of the ice cream before covering the pan.
Common Mistakes (and how to avoid them)
Mistake: Ice cream is icy
Fix: This usually means the cream wasn’t whipped enough, or the caramel was too warm. Make sure you have stiff peaks and cool caramel.
Mistake: Ice cream is too soft
Fix: You didn’t freeze it long enough. No-churn ice cream needs at least 6 hours to set. If you’re in a hurry, freeze it for 4 hours, then let it sit out for 20 minutes.
Mistake: Ice cream is too sweet
Fix: You might be using a very sweet caramel sauce. Reduce the amount of caramel or add a bit more salt to balance it out. Taste your caramel before adding it.
Variations & Substitutions
Once you’ve nailed the basic version, here’s how you can mix it up. I’ve tried all of these.
Tested Variations
Chocolate Caramel
Add ½ cup of cocoa powder to the condensed milk mixture. It creates a mocha-like flavor that pairs amazingly with the caramel.
Peanut Butter Swirl
Swap half the caramel for salted peanut butter. Swirl it in the same way. It’s like a Reese’s cup in ice cream form.
Coconut Version
Substitute the heavy cream with full-fat coconut cream (chilled overnight, scoop the solid part) and use coconut condensed milk. It’s dairy-free and tastes like a tropical vacation.
Bourbon Caramel
Add 1 tablespoon of bourbon to the caramel sauce before folding it in. It adds a sophisticated depth of flavor that’s perfect for adults.
Dietary Modifications
Dairy-Free
Use coconut cream and coconut condensed milk. The texture is slightly different but still creamy. It’s a great option for those with dairy sensitivities.
Lower Sugar
This is hard to do with condensed milk, but you can try using a sugar-free condensed milk alternative. The texture might be slightly less creamy, but it’s a viable option.
Serving & Storage
I usually serve this straight from the loaf pan at the dinner table—it looks rustic and stays cold. But here are other ways I’ve enjoyed it:
Side Dishes
This ice cream pairs well with grilled desserts, like grilled corn salad or grilled peaches. The smoky flavors complement the sweet caramel beautifully. It’s also great with warm brownies or as a topping for no-bake pumpkin pie in the fall.
Toppings Bar
When I have guests, I put out: extra caramel sauce, crushed pretzels, chocolate chips, and flaky sea salt. Everyone customizes their bowl.
Storage Instructions
Refrigerator: Ice cream doesn’t store well in the fridge; it melts. Keep it in the freezer.
Freezer: Store in an airtight container for up to 2 weeks. After that, it might develop freezer burn or lose its creamy texture. Label it with the date so you know when to eat it.
Reheating: Never reheat ice cream. Just let it sit out for a few minutes to soften.
Pro Tip
If leftovers are drying out, press plastic wrap directly onto the surface before covering. This prevents ice crystals from forming.
Nutrition Information
I’m not a nutritionist, but here’s the breakdown if you’re tracking. Keep in mind that this is a rich dessert, so portion control is key.
Per Serving (based on 8 servings):
- Calories: 320
- Protein: 4g
- Carbs: 38g
- Fiber: 0g
- Sugar: 35g
- Fat: 18g
- Saturated Fat: 11g
- Cholesterol: 60mg
- Sodium: 150mg
What’s Good:
- It’s a treat, so enjoy it guilt-free.
- Homemade means you know exactly what’s in it.
- No artificial preservatives.
What to Know:
- High in sugar and fat due to the condensed milk and cream.
- Contains dairy.
- Moderate sodium from the salt.
My Take:
Look, this is dessert. It’s meant to be enjoyed. It’s way better than store-bought versions with weird ingredients, and you can control the sweetness. When I want to make it lighter, I use less caramel and add more fruit. But usually? I just eat a reasonable portion and savor every bite.
Final Thoughts
So that’s my go-to ultra-creamy no-churn salted caramel ice cream! I’ve probably talked your ear off at this point, but when you make a recipe this often, you have a lot to say about it.
This has saved summer dinners more times than I can count. It’s my answer to “what’s for dessert” when I’m tired, don’t want to bake, and still want something that tastes really good. My kids are happy, my husband’s happy, and I’m happy because I’m not stressed about cooking.
Make it yours! Try different add-ins, swap in your favorite fruits, or adjust the salt. The best recipes are the ones you adapt to your family’s tastes. If you make this, drop a comment and let me know what you think! I love hearing how recipes turn out in your kitchen. And if something doesn’t work, tell me that too—I’m here to help troubleshoot.
Happy cooking! And I hope your kitchen smells half as good as mine does right now.
Frequently Asked Questions
Q: Can I use light cream instead of heavy cream?
A: You can, but the texture won’t be as creamy. Light cream doesn’t have enough fat to whip into stiff peaks, so your ice cream will be softer and icier. I recommend sticking with heavy cream for the best results. If you’re out of heavy cream, you can try freezing coconut cream, but it’s a different texture.
Q: My sauce came out watery—what happened?
A: Usually means you didn’t let the caramel cool completely before folding it in. Warm caramel melts the whipped cream, resulting in a runny mixture. Always let your caramel cool to room temperature or even chill it in the fridge for 10 minutes before adding it to the ice cream base.
Q: Can I make this ahead for a dinner party?
A: Absolutely! This is actually better when made ahead. You can make it up to 2 days before your party. It needs time to set properly, so making it the day before is ideal. Just keep it in the freezer until you’re ready to serve.
Q: Why did my ice cream get grainy?
A: This usually happens if the cream was over-whipped or if the caramel was too warm. Make sure you stop whipping when you see stiff peaks, not butter. Also, ensure your caramel is cool before folding it in. If it’s grainy, it’s still edible, just not as smooth.
Q: Can I use jarred caramel sauce?
A: Yes! Store-bought caramel sauce works fine, but look for one that’s thick and rich. Thin sauces can make the ice cream icy. If you have time, homemade is better, but jarred is a great shortcut when you’re in a rush.
Q: How do I reheat leftovers without it getting dry?
A: You don’t reheat ice cream! Just let it sit at room temperature for 5-10 minutes before serving. This softens it enough to scoop without melting it completely. If you leave it out too long, it will become soup.
Q: Can I double this recipe?
A: Yes, but you’ll need a larger bowl and a larger container. Double everything and use a 9×5 loaf pan or a large airtight container. The mixing time might be slightly longer, so watch your cream closely to avoid over-whipping.
Pin This Recipe!
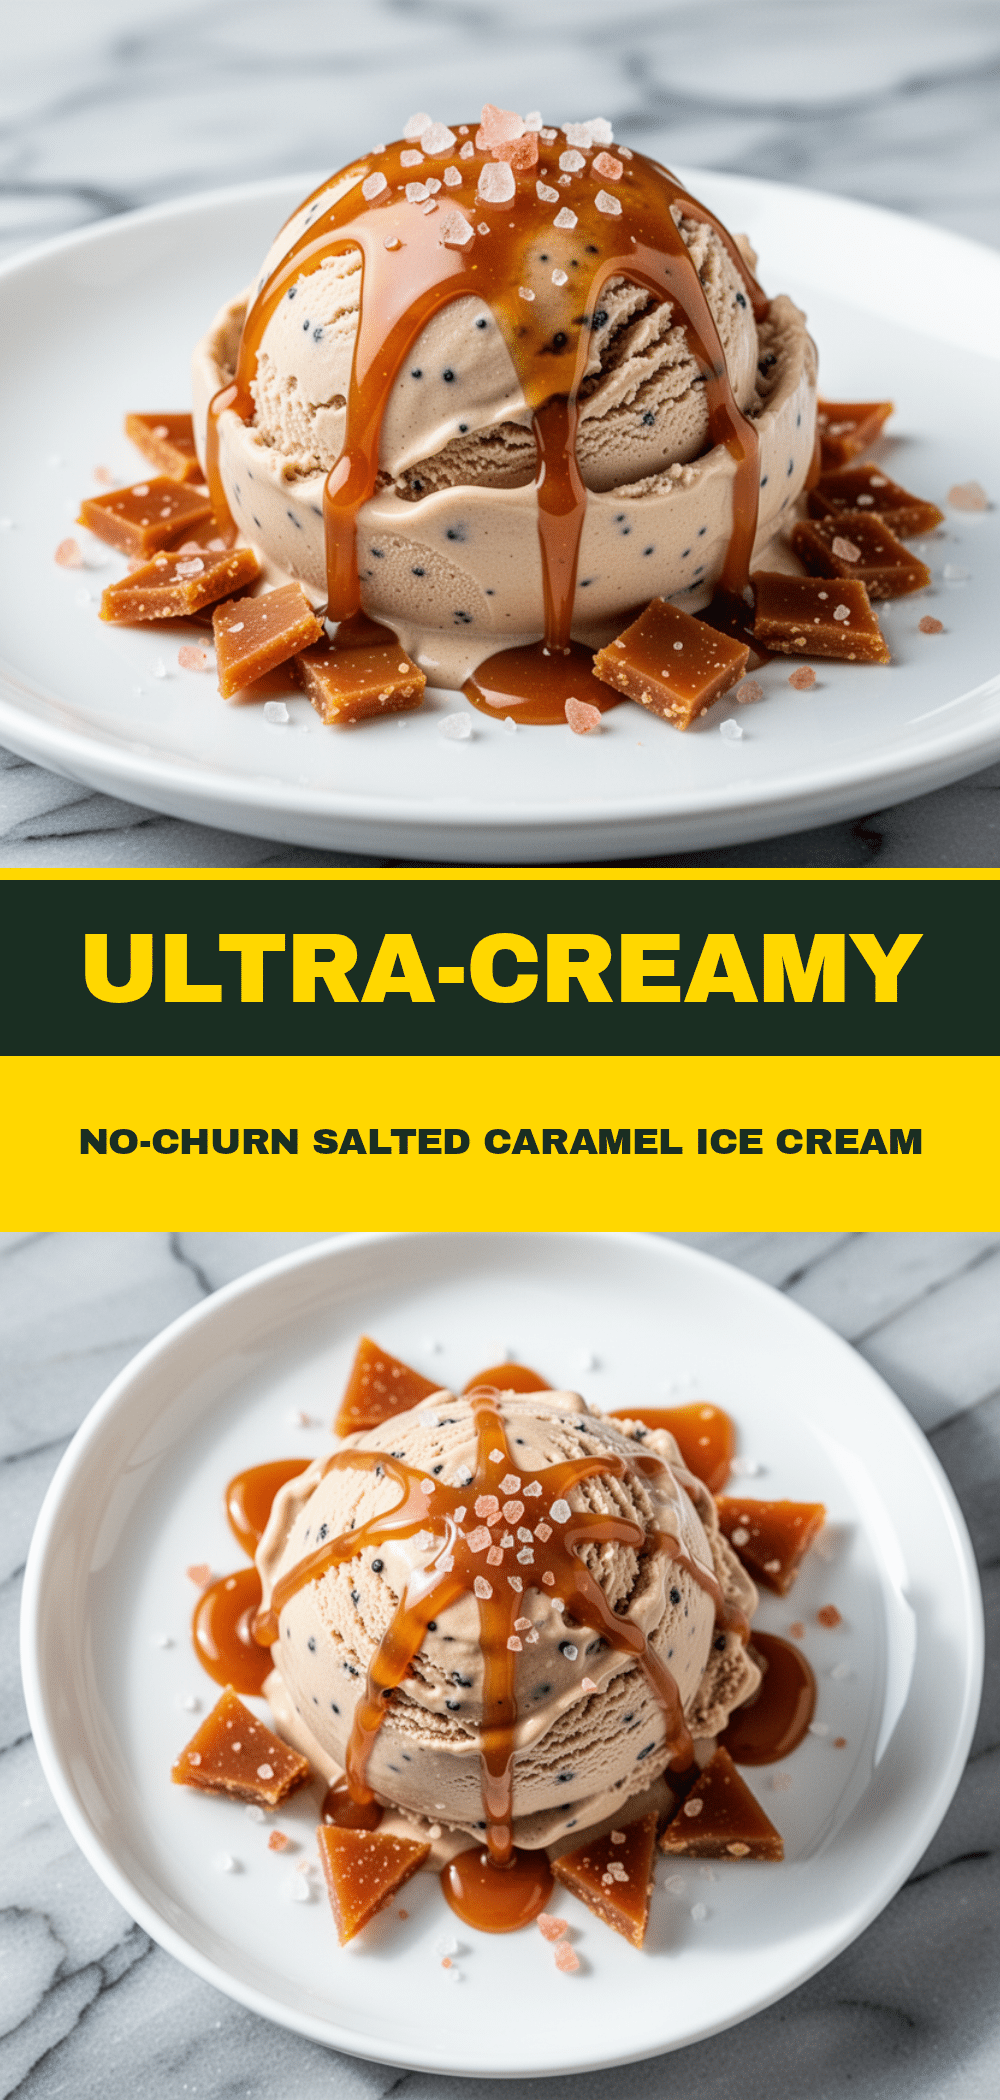

Ultra-Creamy No-Churn Salted Caramel Ice Cream
- Total Time: 6 hours 20 minutes
- Yield: 8 servings 1x
Description
A rich, dense, and creamy no-churn salted caramel ice cream that requires no ice cream machine. This recipe uses simple pantry staples like heavy cream and sweetened condensed milk to create a gelato-like texture with a perfect sweet-salty balance.
Ingredients
- 2 cups (480ml) heavy whipping cream, very cold
- 1 can (14oz / 397g) sweetened condensed milk
- 2 teaspoons pure vanilla extract
- 1/2 teaspoon fine sea salt
- 1 cup (240ml) homemade or high-quality store-bought salted caramel sauce, cooled
- Flaky sea salt, for garnish (optional)
- Chocolate chips or pretzel pieces, for add-ins (optional)
Instructions
- Chill your heavy cream, mixing bowl, and beaters in the refrigerator or freezer for at least 10 minutes.
- Pour the cold heavy cream into the chilled bowl and whip on medium-high speed until stiff peaks form (about 3-5 minutes). Be careful not to over-whip.
- In a separate medium bowl, whisk together the sweetened condensed milk, vanilla extract, and fine sea salt until smooth.
- Stir about half of the cooled caramel sauce into the condensed milk mixture.
- Gently fold the condensed milk mixture into the whipped cream using a spatula. Use a cutting motion to combine without deflating the air.
- Transfer about two-thirds of the ice cream mixture into an 8×4 inch loaf pan lined with plastic wrap or parchment paper.
- Drizzle the reserved caramel sauce over the ice cream and swirl gently with a knife to create ribbons.
- Add the remaining ice cream mixture on top, smooth it out, and swirl the top caramel again.
- Cover tightly with plastic wrap or a lid and freeze for at least 6 hours, preferably overnight.
- Before serving, let the ice cream sit at room temperature for 5-10 minutes to soften slightly for easier scooping. Garnish with flaky sea salt if desired.
Notes
Ensure all equipment and ingredients are very cold to help the cream whip properly. Do not use warm caramel as it will melt the whipped cream. For best results, freeze overnight. Store in an airtight container in the freezer for up to 2 weeks.
- Prep Time: 20 minutes
- Cook Time: 0 minutes
- Category: Dessert
- Cuisine: American
Nutrition
- Serving Size: 1 scoop
- Calories: 320
- Sugar: 35
- Sodium: 150
- Fat: 18
- Saturated Fat: 11
- Carbohydrates: 38
- Protein: 4
Keywords: no-churn ice cream, salted caramel ice cream, homemade ice cream, summer dessert, easy dessert, dairy dessert, frozen dessert