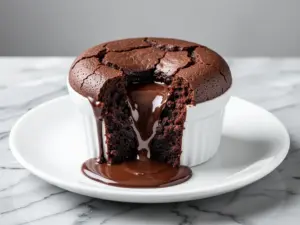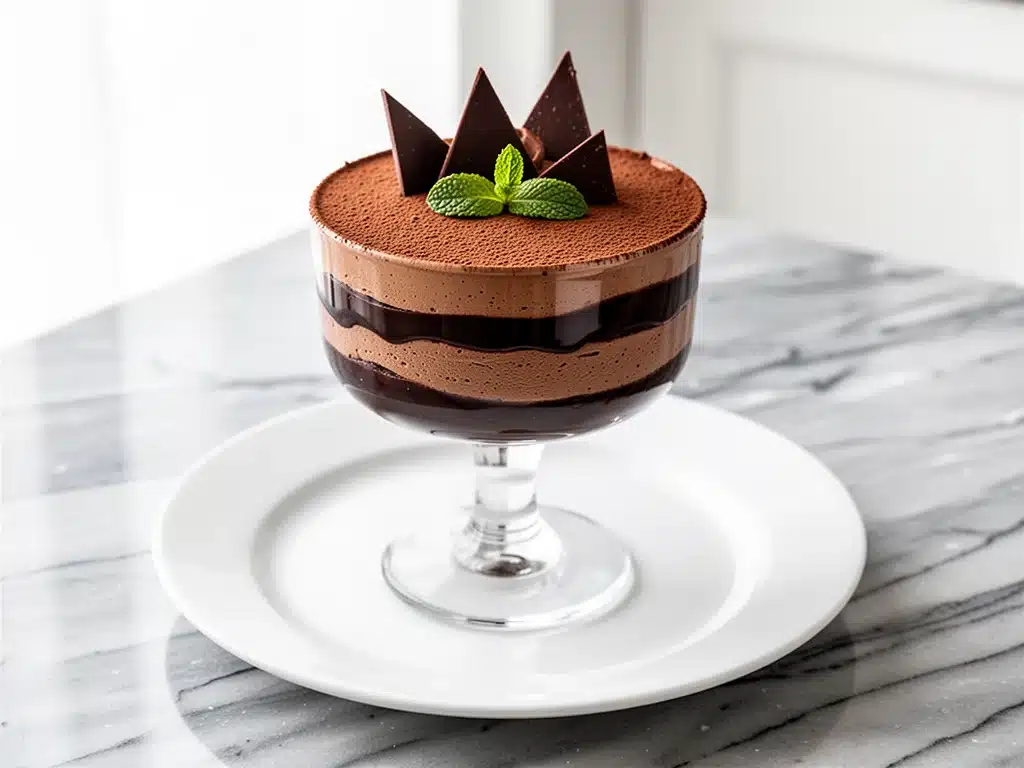
Last month, I was standing in my kitchen at 9 PM, staring at a clock that was ticking way too loudly, while my in-laws were supposed to arrive in two hours for dessert. I had zero plan. I had zero motivation to bake a complicated pie, and I definitely didn’t have the energy to decorate cookies. So, I did what any desperate home cook does: I raided the pantry for anything chocolate and anything caffeinated.
What came out of the oven wasn’t just edible; it was the kind of dessert that makes people stop mid-bite and ask, “Did you buy this from a fancy bakery?” This espresso chocolate mousse cake is the answer to every “what’s for dessert” panic attack I’ve ever had. It’s rich, it’s deeply chocolatey, but that espresso kick keeps it from being too heavy. It’s the kind of dessert that feels like you spent hours in the kitchen, but honestly? It’s mostly hands-off time.
I’ve made this espresso chocolate mousse cake at least a dozen times since that night. I’ve served it to dinner parties where people thought I was a professional pastry chef, and I’ve served it to my kids on a random Tuesday when they just wanted something sweet. The beauty of this recipe is its texture. It’s not a dense, dry brownie, and it’s not a fluffy, airy mousse that collapses if you look at it wrong. It’s somewhere in between—a dense, fudgy cake with a silky, mousse-like center that sets up perfectly in the fridge.
If you’re looking for a dessert that actually impresses without the stress, this is it. You don’t need special equipment, you don’t need fancy ingredients you can only find at a gourmet shop, and you definitely don’t need to be a master baker. Just a few simple items, some patience, and a willingness to let the chocolate do its thing. Trust me, once you try this espresso chocolate mousse cake, you’ll never go back to boxed mixes or store-bought ice cream again.
Why You’ll Love This Recipe
There are about ten reasons I keep making this, but here are the big ones that have converted my skeptical family into believers.
- Zero-Bake Vibes (Mostly) — Okay, strictly speaking, you do bake it, but it’s not a traditional cake. It’s more like a baked custard or a panna cotta that’s been given a chocolate upgrade. This means no dry edges, no cracked tops, and no worrying about over-mixing. It’s foolproof. I’ve made this with my teenage son, and he didn’t burn anything once.
- Deep, Complex Flavor — If you think chocolate and coffee don’t go together, you’re missing out. The espresso doesn’t make the cake taste like coffee; it makes the chocolate taste like *chocolate*. It amplifies the cocoa flavor in a way that’s impossible to ignore. It’s the same trick chefs use in brownies, but applied to a mousse cake, and it’s genius.
- Make-Ahead Magic — This is the ultimate stress-buster. The cake actually needs to chill for several hours (or overnight) to set. That means you can make it the day before your dinner party. You can spend your evening hosting, drinking wine, and relaxing while your dessert chills in the fridge. When you pull it out, it’s already perfect.
- Minimal Cleanup — You’re basically using one large bowl and a few measuring cups. No stand mixer, no dozen pans, no complicated piping. Just mix, bake, chill, eat. It’s the easiest dessert I know how to make.
- Gluten-Free Friendly — Since this recipe relies on eggs and cocoa powder rather than flour, it’s naturally gluten-free. I’ve served this to my celiac friend, and she couldn’t tell the difference. It’s a lifesaver for mixed-diet households.
This is my go-to when I need a dessert that looks elegant but requires almost zero effort. It’s rich, it’s satisfying, and it tastes like you really tried. But here’s the thing—you didn’t. You just followed a few simple steps.
Ingredients You’ll Need
Here’s the best part: you probably have most of this already. This isn’t a recipe that requires a trip to three different specialty stores. It’s pantry staples and fridge basics.
For the Base
Dark Chocolate Chips (12 ounces / 340g) — Use high-quality semi-sweet or bittersweet chocolate. I prefer a bar that’s at least 60% cocoa, chopped up, but chips work fine if that’s what you have. Avoid the cheap stuff that’s full of wax; it affects the texture. Good chocolate makes a huge difference here.
Unsalted Butter (1/2 cup / 113g) — Room temperature is best. This adds richness and helps the mousse set with a smooth mouthfeel. Don’t substitute with oil; you need that fat for the structure.
Eggs (4 large) — Room temperature eggs incorporate better into the chocolate mixture. If you’re in a rush, just drop them in warm water for 5 minutes. Don’t skip this step; cold eggs can seize the chocolate.
For the Flavor
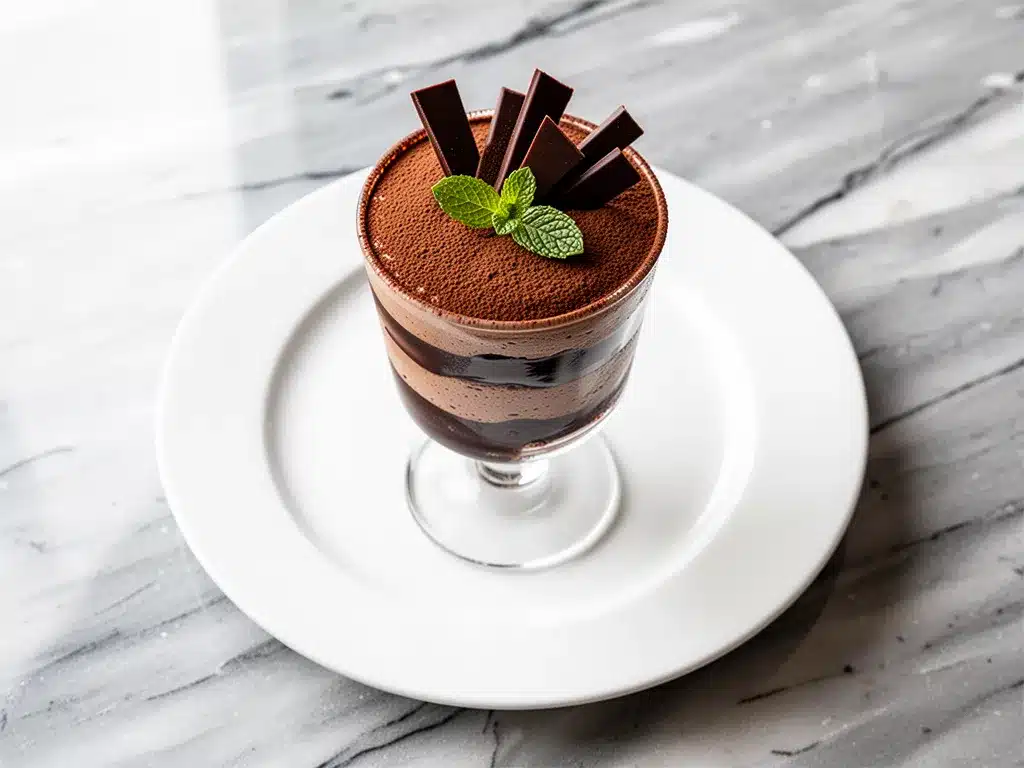
Espresso Powder (2 tablespoons) — This is the secret weapon. You can use instant espresso crystals or instant coffee granules. Do not use brewed coffee; the liquid will throw off the balance. Espresso powder is concentrated and dissolves instantly. If you hate coffee, you can skip it, but you’ll miss out on that depth. Trust me.
Cocoa Powder (1/4 cup / 25g) — Unsweetened Dutch-process cocoa is my preference because it’s darker and less acidic, but regular natural cocoa works too. Make sure it’s fresh; old cocoa powder loses its punch.
Sugar (1 cup / 200g) — Granulated white sugar. I’ve tried substituting with brown sugar, and while it adds a molasses note, it changes the texture too much. Stick with white for that clean, fudgy sweetness.
Vanilla Extract (1 teaspoon) — Real vanilla, not imitation. It rounds out the bitter notes of the chocolate and coffee.
Optional Add-ins
Salt (1/4 teaspoon) — A pinch of flaky sea salt on top before serving elevates the whole thing. It makes the chocolate pop.
Nuts (1/2 cup chopped walnuts or pecans) — If you like crunch, fold these in at the end. I usually skip them because I love the smooth texture, but they’re great if you’re serving a crowd that likes variety.
Heavy Cream (1/2 cup / 120ml) — For whipping into peaks to fold in later. This is what gives the “mousse” part its airiness. Don’t use light cream; it won’t whip up properly.
Equipment Needed
You don’t need fancy equipment for this. Here’s what I actually use.
Double Boiler or Heatproof Bowl — I use a glass bowl set over a pot of simmering water. This is the gentlest way to melt chocolate without burning it. If you don’t have a double boiler, just use a microwave-safe bowl and heat in 30-second bursts.
Large Mixing Bowl — Something big enough to whisk eggs and fold in cream without spilling. I usually use my biggest stainless steel bowl.
Electric Hand Mixer or Whisk — You’ll need to whip the egg whites and the heavy cream. An electric mixer makes this way easier, but a strong arm and a wire whisk works too. It takes about 5-7 minutes of whisking for the cream to peak.
8-inch Round Cake Pan — Or a similar-sized baking dish. Grease it well. I line the bottom with parchment paper for easy removal, though it’s not strictly necessary since you’ll be serving it directly from the pan or a platter.
Spatula — A silicone spatula is perfect for folding. You want to be gentle to keep the air in the mousse.
How to Make It: Step-by-Step
Alright, let’s make this! I’m walking you through exactly how I do it, including the little tricks I’ve picked up.
Step 1: Melt the Chocolate and Butter (5 minutes)
Set up your double boiler. Fill a saucepan with about an inch of water and bring it to a gentle simmer. Place your chopped chocolate and butter in a heatproof bowl. Set the bowl over the simmering water (make sure the bottom of the bowl doesn’t touch the water). Stir occasionally until completely smooth. This should take about 3-5 minutes. Remove from heat and let it cool slightly. It should be warm, not hot. If it’s too hot, it’ll cook the eggs when we add them.
Step 2: Mix the Base (3 minutes)
In your large mixing bowl, whisk together the whole eggs, sugar, espresso powder, cocoa powder, and vanilla extract. Whisk vigorously for about 2 minutes until the mixture is pale and slightly thickened. This incorporates air and dissolves the sugar. Then, slowly pour in the melted chocolate mixture while whisking constantly. The mixture will look glossy and dark. Set aside.
Step 3: Whip the Cream (3 minutes)
In a separate clean, dry bowl, pour your cold heavy cream. Using your electric mixer or whisk, beat the cream until stiff peaks form. This means when you lift the beaters, the cream stands up straight. Don’t over-whip it into butter, though. Stop just when it holds its shape.
Step 4: Whip the Egg Whites (2 minutes)
Wait, did we separate eggs? No. But we’re going to whip the *whole* mixture again? Actually, no. In this specific recipe, we rely on the cream for the lift. However, for an even fluffier texture, you can separate 2 eggs, whip those whites to stiff peaks, and fold them in along with the cream. If you want to keep it simple, just folding in the whipped cream is enough. I usually stick to just the cream to save time and dishes.
Step 5: Fold It All Together (2 minutes)
Here’s the critical part. Add about one-third of the whipped cream to the chocolate mixture and stir gently to lighten it up. Then, add the rest of the cream. Use your spatula to fold the cream into the chocolate. Fold from the bottom up, turning the bowl. You’re looking for a uniform color with no white streaks. Be gentle! You’re trying to keep all that air in there. If you stir too hard, you’ll deflate the mousse.
Step 6: Bake and Chill (Bake 20 mins, Chill 4+ hours)
Preheat your oven to 350°F (175°C). Pour the batter into your prepared 8-inch cake pan. Bake for 18-20 minutes. The edges should be set, but the center should still jiggle slightly like Jell-O. It will look underdone, but that’s exactly what you want. It continues to cook as it cools. Remove from the oven and let it cool in the pan for 10 minutes.
Then, transfer the pan to the refrigerator. This is where the magic happens. The mousse needs to chill for at least 4 hours, but overnight is best. This allows the structure to set and the flavors to meld. If you try to cut it warm, it’ll be a soup. Patience pays off.
Step 7: Serve
Once chilled, run a thin knife around the edge to loosen it. You can serve it directly in the pan, or flip it onto a serving platter. Top with a dollop of whipped cream, a sprinkle of sea salt, or some fresh berries. The contrast of the dark, rich cake with fresh fruit is amazing.
Expert Tips & Tricks
Here’s everything I’ve learned from making this dozens of times. These tips will save you from my mistakes.
- Temperature Matters — Your chocolate mixture should be warm, not hot, when you add the eggs. If it’s too hot, you’ll scramble the eggs. If it’s too cold, the chocolate will start to harden and create lumps. Aim for “touching your wrist and feeling warmth, not heat.”
- Dry Bowl for Cream — When whipping the heavy cream, make sure your bowl and beaters are completely dry. Even a drop of water can prevent the cream from whipping up. I keep my bowls in the fridge for 15 minutes before using them for extra insurance.
- Fold, Don’t Stir — When combining the cream and chocolate, use the folding motion. Imagine you’re painting the wall, not mixing paint. Lift from the bottom and fold over. This preserves the air bubbles that make the mousse light.
- Don’t Skip the Chill — I know it’s tempting to dig in right after baking. Don’t. The texture won’t be right. It needs time to set. If you’re in a rush, freeze it for 1 hour, then chill for 3 more. But overnight is ideal.
- Quality Chocolate — Since there are only a few ingredients, the chocolate is the star. Use good chocolate. If you use cheap, waxy chips, the mousse will feel greasy and lack flavor. Lindt, Ghirardelli, or Baker’s chocolate are all great options.
Variations & Substitutions
Once you’ve nailed the basic version, here’s how you can mix it up. I’ve tried all of these.
Flavor Twists
Mint Chocolate — Add 1/2 teaspoon of peppermint extract to the chocolate mixture. Top with crushed candy canes. This is huge around the holidays.
Raspberry Swirl — Before baking, dollop 2 tablespoons of raspberry jam on top and swirl it with a knife. The tartness cuts through the richness perfectly.
Espresso Coffee Cake — Increase the espresso powder to 3 tablespoons and add a cinnamon-sugar crumble topping before baking. It’s like a coffee cake mousse.
Dietary Modifications
Dairy-Free — Swap the butter for coconut oil and the heavy cream for full-fat coconut cream (chilled). It will be slightly denser but still delicious. The coconut flavor will be noticeable, so it pairs well with the chocolate.
Gluten-Free — This recipe is naturally gluten-free. Just ensure your chocolate and cocoa powder are certified gluten-free to avoid cross-contamination.
Lower Sugar — You can reduce the sugar to 3/4 cup, but it will affect the texture. The sugar helps stabilize the mousse. Use a sugar substitute designed for baking, like erythritol, but note that it may cool the mixture differently.
Serving & Storage
How to Serve: I usually serve this straight from the fridge. It’s best cold, almost like a truffle. Slice it into wedges. A simple dusting of powdered sugar or cocoa powder looks elegant. Fresh raspberries or strawberries are the perfect accompaniment.
Refrigerator: Store leftovers in an airtight container for up to 5 days. It actually tastes better on day 2 as the flavors deepen.
Freezing: Yes, you can freeze this! Wrap the whole cake (or individual slices) tightly in plastic wrap and then foil. It will keep for up to 2 months. Thaw in the fridge overnight. The texture might be slightly less airy after thawing, but it’s still great.
Pro Tip: If you’re serving this for a dinner party, make it two days ahead. It has plenty of time to set, and you won’t be stressed the night of.
Nutrition Information
I’m not a nutritionist, but here’s the breakdown if you’re tracking. This is a rich dessert, so a little goes a long way.
Per Serving (based on 8 servings):
- Calories: 380
- Protein: 6g
- Carbs: 35g
- Fiber: 3g
- Sugar: 28g
- Fat: 24g
- Saturated Fat: 14g
What’s Good: High in antioxidants from the dark chocolate. Naturally gluten-free. Good source of iron.
What to Know: High in sugar and saturated fat. It’s a treat, not a health food. Enjoy it in moderation.
Final Thoughts
So that’s my go-to espresso chocolate mousse cake! I’ve probably talked your ear off at this point, but when you make a recipe this often, you have a lot to say about it. This has saved me more times than I can count. It’s my answer to “I need to impress someone” or “I need comfort food.” My family is obsessed, and I hope you will be too.
Make it yours! Try different toppings, swap in your favorite chocolate, or add a splash of liqueur like Kahlua for an adult twist. The best recipes are the ones you adapt to your tastes.
If you make this, drop a comment and let me know what you think! I love hearing how recipes turn out in your kitchen. And if something doesn’t work, tell me that too—I’m here to help troubleshoot. Happy baking! And I hope your kitchen smells half as good as mine does right now.
Frequently Asked Questions
Can I use brewed coffee instead of espresso powder?
You can, but you’ll need to adjust the liquid. Brewed coffee adds water, which can throw off the texture. If you use it, reduce any other liquids (though there aren’t any in this recipe) and use a very strong, concentrated brew. Espresso powder is much more convenient and potent, so I highly recommend sticking with it. If you don’t have it, instant coffee granules work in a pinch.
Why did my mousse turn out watery?
This usually happens if the chocolate wasn’t cooled enough before adding the eggs, or if the heavy cream didn’t whip up properly. Make sure your cream is very cold and your bowl is dry. Also, don’t over-fold the mixture; you want to keep the air in. If it’s still watery after chilling, it might just need more time. Give it another hour in the fridge.
Can I make this in a muffin tin?
Absolutely! This works great as individual mousse cakes. Fill muffin liners 3/4 full and bake for 12-15 minutes. The chilling time remains the same. These are perfect for portion control or dinner parties. They look adorable with a single raspberry on top.
Is this recipe gluten-free?
Yes, this recipe is naturally gluten-free because it contains no flour. Just ensure your chocolate and cocoa powder are certified gluten-free if you have celiac disease or a severe sensitivity.
Can I use milk chocolate instead of dark chocolate?
You can, but the dessert will be much sweeter and less intense. The espresso helps balance the bitterness of dark chocolate, so with milk chocolate, you might want to add a pinch more espresso powder to keep the flavor profile interesting. I prefer dark chocolate for the sophisticated taste, but milk chocolate is great for kids.
How do I know when it’s done baking?
The edges should be set and slightly pulling away from the pan, but the center should still jiggle like Jell-O when you shake the pan. It will look underdone, but that’s correct. It continues to cook as it cools and sets in the fridge. If you bake it until the center is firm, it will be dry and crumbly.
Pin This Recipe!
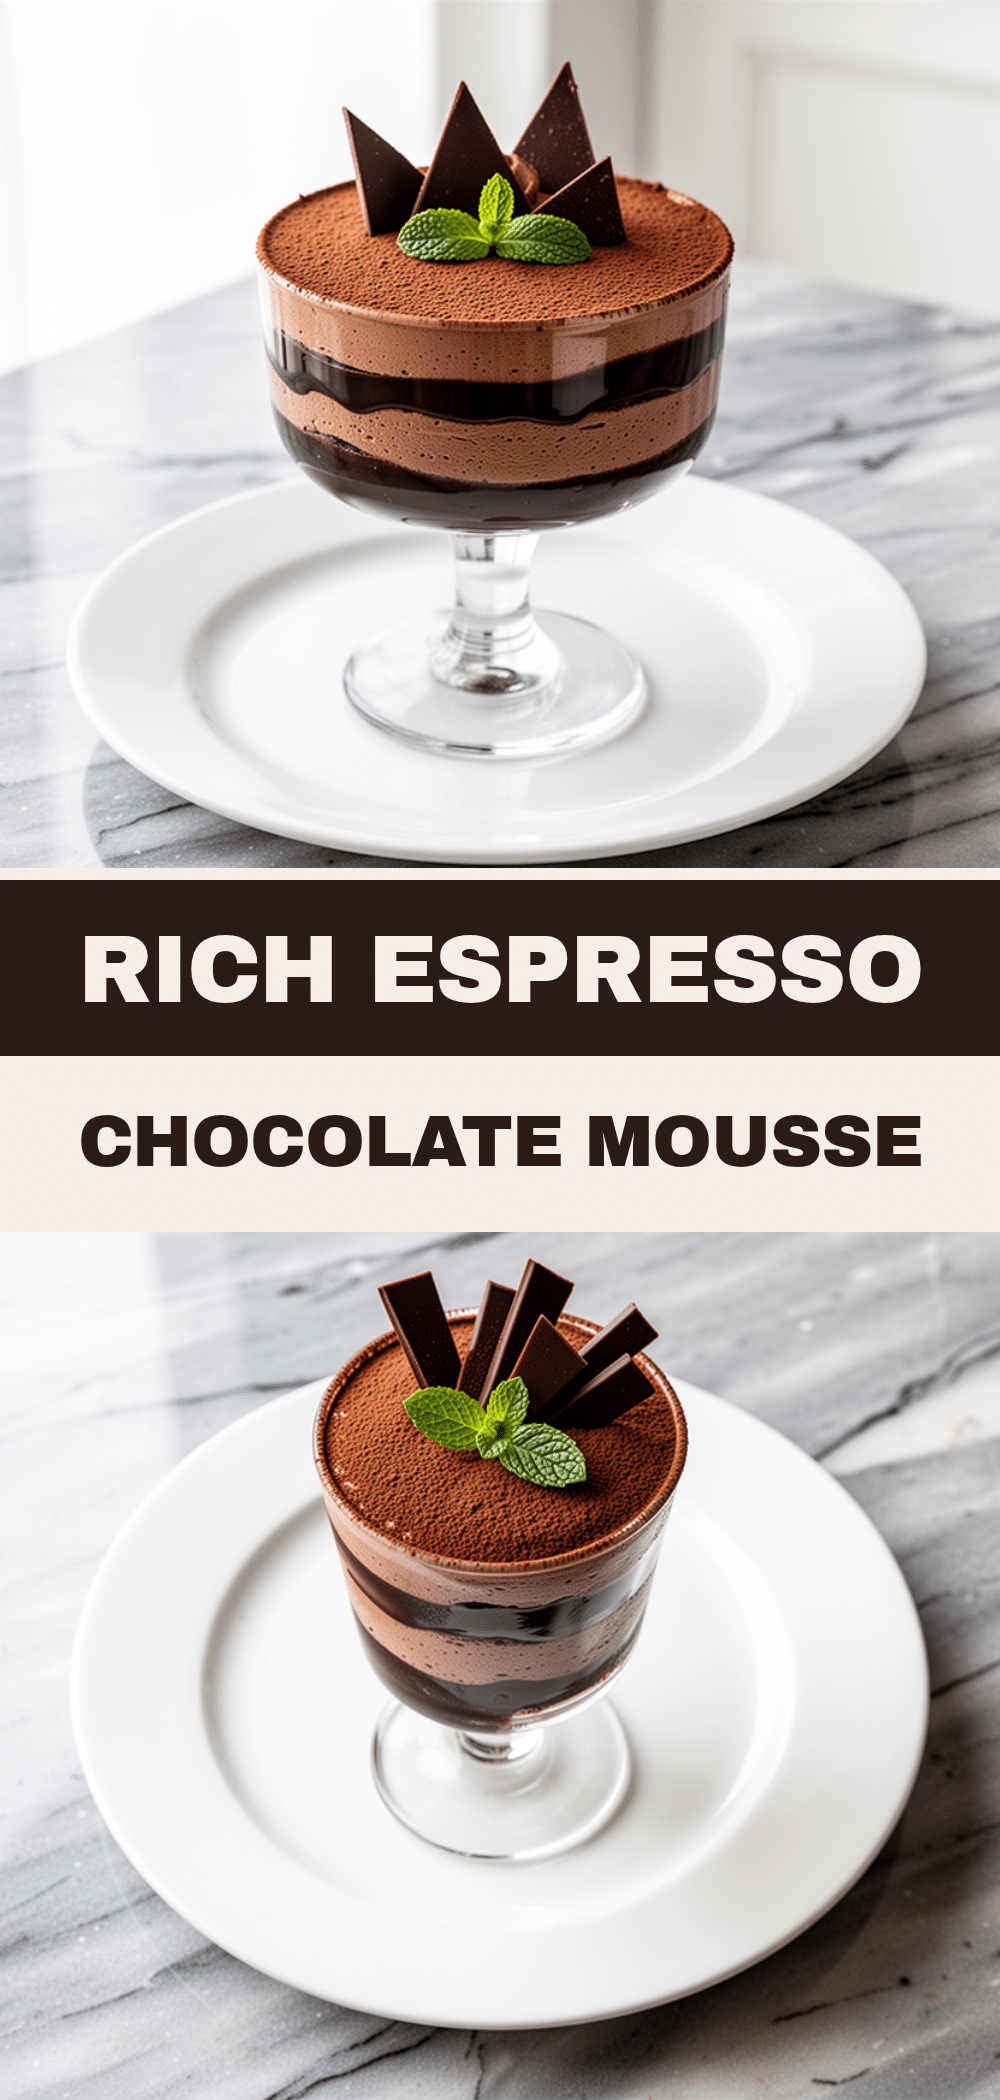
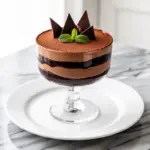
Espresso Chocolate Mousse Cake: Easy & Best
- Total Time: 4 hours 35 minutes
- Yield: 8 servings 1x
Description
A rich, fudgy chocolate cake with a silky mousse-like center that sets in the fridge. This easy, mostly hands-off dessert is naturally gluten-free and uses pantry staples for a deep, complex flavor.
Ingredients
- 12 ounces (340g) dark chocolate chips or chopped high-quality chocolate (semi-sweet or bittersweet)
- 1/2 cup (113g) unsalted butter, room temperature
- 4 large eggs, room temperature
- 1 cup (200g) granulated white sugar
- 2 tablespoons espresso powder (instant espresso crystals or instant coffee granules)
- 1/4 cup (25g) unsweetened cocoa powder (Dutch-process preferred)
- 1 teaspoon vanilla extract
- 1/2 cup (120ml) heavy cream, cold
- 1/4 teaspoon salt (optional, for topping)
- 1/2 cup chopped walnuts or pecans (optional)
Instructions
- Preheat oven to 350°F (175°C). Grease an 8-inch round cake pan and line the bottom with parchment paper.
- Set up a double boiler by filling a saucepan with an inch of water and bringing it to a gentle simmer. Place chopped chocolate and butter in a heatproof bowl over the water (ensure the bowl doesn’t touch the water). Stir occasionally until smooth (3-5 minutes). Remove from heat and let cool slightly until warm, not hot.
- In a large mixing bowl, whisk together eggs, sugar, espresso powder, cocoa powder, and vanilla extract vigorously for 2 minutes until pale and thickened.
- Slowly pour the warm chocolate mixture into the egg mixture while whisking constantly until glossy and combined.
- In a separate clean, dry bowl, whip the cold heavy cream until stiff peaks form.
- Add one-third of the whipped cream to the chocolate mixture and stir gently to lighten. Fold in the remaining cream using a spatula, lifting from the bottom and turning the bowl until just combined. Do not over-mix.
- Pour batter into the prepared pan. Bake for 18-20 minutes. The edges should be set, but the center should jiggle slightly like Jell-O.
- Let cool in the pan for 10 minutes, then transfer to the refrigerator.
- Chill for at least 4 hours, preferably overnight, until fully set.
- Serve chilled, optionally topped with sea salt, fresh berries, or whipped cream.
Notes
Ensure the chocolate mixture is warm, not hot, before adding eggs to avoid scrambling them. The bowl for whipping cream must be completely dry. Do not skip the chilling time as the cake needs to set. For a fluffier texture, you can separate 2 eggs, whip the whites to stiff peaks, and fold them in with the cream.
- Prep Time: 15 minutes
- Cook Time: 20 minutes
- Category: Dessert
- Cuisine: American
Nutrition
- Serving Size: 1 slice (1/8 of cake
- Calories: 380
- Sugar: 28
- Fat: 24
- Saturated Fat: 14
- Carbohydrates: 35
- Fiber: 3
- Protein: 6
Keywords: espresso chocolate mousse cake, gluten-free dessert, easy chocolate cake, make-ahead dessert, rich chocolate cake, no-bake mousse cake, coffee chocolate dessert