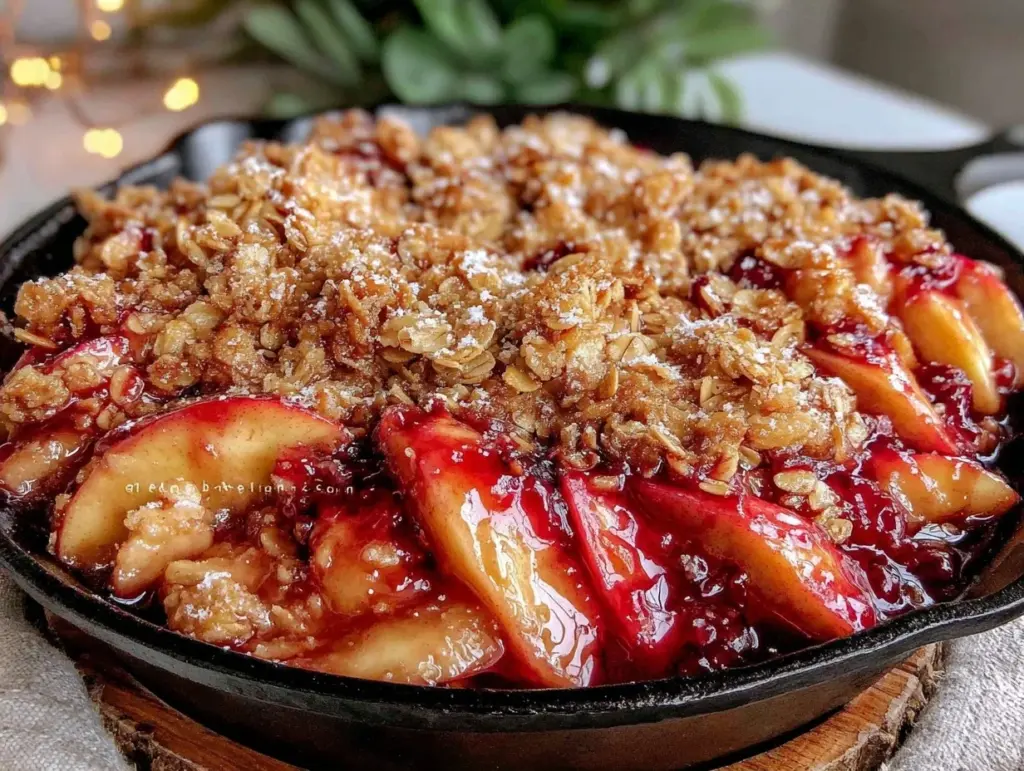
I still remember the first time I made this cast iron skillet apple crisp for a dinner party. I was nervous, honestly. I had guests with celiac disease coming, and I wanted something that felt special—something that said, “I care about you,” not “I threw together a quick snack.” I pulled out my oldest, most seasoned 10-inch cast iron skillet, filled it with tart apples, and topped it with a streusel made from brown butter and gluten-free oats. When I pulled it out of the oven, the smell alone stopped people in their tracks. It smelled like nostalgia. Like my grandmother’s kitchen, but… better. Richer. Deeper.
That was three years ago. Since then, this cast iron skillet apple crisp has become my go-to proof that dietary restrictions don’t mean giving up comfort food. I’ve made it for holidays, for casual Tuesday nights, and even as a breakfast dessert (don’t judge me, it’s delicious). Every single time, I get the same question: “Wait, this is gluten-free? It tastes exactly like regular apple crisp!” And that’s the best compliment I could ask for.
What makes this version stand out isn’t just that it’s gluten-free. It’s the brown butter. Most apple crisp recipes just melt regular butter into the oats. But browning the butter first? It adds this nutty, toasty depth that transforms the whole dish. Paired with the crispy texture of the cast iron skillet, it’s hands-down the best way to serve apple crisp. You don’t need fancy ingredients or complicated techniques. Just good apples, some pantry staples, and a little patience while the butter browns. Let’s get into why this is the only apple crisp recipe you’ll ever need.
Why You’ll Love This Recipe
This cast iron skillet apple crisp has completely changed how I think about desserts. It’s not just about being gluten-free; it’s about the flavor profile and the texture. Here’s why I keep coming back to it:
- Brown Butter Magic — Seriously, this is the game-changer. Browning the butter before mixing it with the oats creates a nutty, caramel-like flavor that regular melted butter just can’t match. I tasted the difference immediately, and my family noticed too. It adds a sophistication that feels like you spent hours on it.
- Gluten-Free That Actually Crisps — I know what you’re thinking. Gluten-free oats can be gummy or sandy. Not these. When you use certified gluten-free rolled oats and toast them slightly in the brown butter, they stay crunchy. I’ve tested this dozens of times, and the streusel stays crisp even after sitting on the warm apples for 20 minutes. It’s a miracle.
- One-Pan Wonder — You mix the filling in one bowl, the topping in another, and bake it all in the skillet. No complicated assembly. No extra dishes to scrub. I can handle this on a busy weeknight after work. If I can do it after a 10-hour workday, so can you.
- Cast Iron Keeps It Warm — This isn’t just about looks (though it does look stunning on the table). The cast iron retains heat incredibly well. By the time everyone finishes their main course and sits down for dessert, the crisp is still piping hot. It’s a practical benefit that makes serving so much easier.
- Perfectly Sweet, Not Cloying — I use a mix of tart and sweet apples, which balances the sugar in the streusel. It’s sweet enough to satisfy a craving but not so sweet that you feel sluggish afterward. I usually serve it with a little whipped cream, but it’s great on its own too.
This is my answer to “what’s for dessert?” when I want something cozy, impressive, and safe for everyone at the table. No one feels left out. No one feels like they’re eating “diet” food. They just eat delicious apple crisp.
Ingredients You’ll Need
Here’s the best part: you probably have most of this already. The beauty of this recipe is that it relies on simple, high-quality ingredients. I’m particular about three things here: the apples, the oats, and the butter. Let’s break it down.
For the Apple Filling:
Apples (6 medium / about 2.5 lbs) — I use a mix of Honeycrisp and Granny Smith. Honeycrisp gives that juicy sweetness, while Granny Smith holds its shape and adds tartness. Avoid Red Delicious—they turn to mush. Peel them if you prefer a smoother texture, but leaving the skins on adds fiber and color. I usually leave them on for rustic charm.
Lemon Juice (2 tablespoons / 30ml) — This prevents the apples from browning while you’re slicing them and adds a bright note that cuts through the richness. Fresh is best, but bottled works in a pinch.
Granulated Sugar (½ cup / 100g) — I use white sugar because it dissolves evenly. Brown sugar works too, but it can make the filling a bit too sticky. You can reduce this to ⅓ cup if you like less sweetness, but don’t go below that or the apples won’t caramelize properly.
Cinnamon (1 teaspoon / 2g) — Ground cinnamon is standard, but I love adding a pinch of nutmeg and allspice for warmth. It’s subtle but adds depth. If you’re spice-averse, stick to just cinnamon.
Gluten-Free All-Purpose Flour (1 tablespoon / 8g) — This helps thicken the juices so you don’t end up with a soupy bottom. Bob’s Red Mill or King Arthur work great. You don’t need much.
Butter (1 tablespoon / 14g, melted) — Just a little toss in with the apples to help them sweat and soften.
For the Brown Butter Oat Streusel:
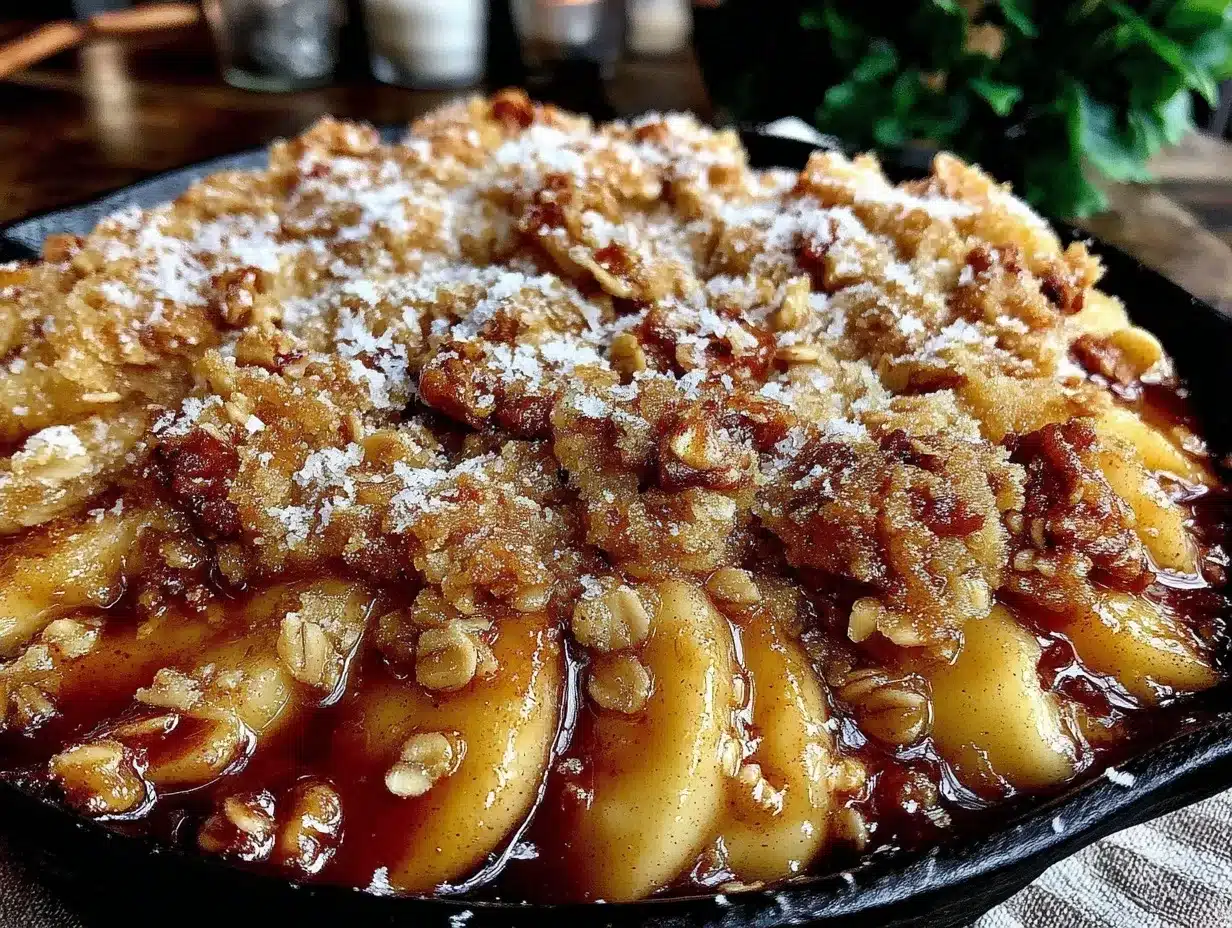
Unsalted Butter (½ cup / 113g) — This is where the magic happens. You’ll brown this. Use good quality butter if you can—the flavor difference is real. Salted butter can work, but you’ll need to reduce any added salt in the recipe.
Certified Gluten-Free Rolled Oats (1 cup / 90g) — Do not use quick oats. They’ll turn to mush. Rolled oats (old-fashioned) give that perfect chewy-crisp texture. Make sure the package says “certified gluten-free” if you’re sensitive, as regular oats are often cross-contaminated.
Gluten-Free All-Purpose Flour (½ cup / 60g) — Same as above. It binds the streusel so it doesn’t fall apart.
Light Brown Sugar (½ cup / 100g) — This adds molasses notes that pair beautifully with the browned butter. Packed down when measuring.
Sea Salt (½ teaspoon / 3g) — Crucial for balancing the sweetness. Don’t skip it. The salt makes the brown butter flavor pop.
Vanilla Extract (1 teaspoon / 5ml) — Pure vanilla, not imitation. It adds a warm, aromatic finish to the topping.
Optional Add-ins:
Chopped Walnuts or Pecans (½ cup / 60g) — I add these for crunch. Toast them lightly in a dry pan before mixing into the streusel for extra flavor. If you have nut allergies, skip this or use seeds like pumpkin seeds.
Vanilla Ice Cream or Whipped Cream — For serving. This is non-negotiable for me. The hot crisp and cold ice cream is the perfect contrast.
Equipment Needed
You don’t need fancy equipment for this. Here’s what I actually use:
10-Inch Cast Iron Skillet — This is the star. It needs to be well-seasoned. If you don’t have one, a 9×9 inch baking dish works, but you lose the rustic look and the heat retention. I use my Lodge skillet—it’s heavy but durable.
Medium Saucepan — For browning the butter. A light-colored pan helps you see the color change. Stainless steel or enameled cast iron works well.
Large Mixing Bowl — For tossing the apples.
Small Mixing Bowl — For the streusel.
Wooden Spoon or Silicone Spatula — For stirring the butter and mixing the streusel.
Peeler or Knife — For peeling and slicing apples.
Measuring Cups and Spoons — Standard stuff. Dollar store versions work fine.
Wire Rack — To cool the skillet slightly before serving. Never put a hot cast iron skillet directly on a table or counter.
How to Make It: Step-by-Step
Alright, let’s make this! I’m walking you through exactly how I do it, including the little tricks I’ve picked up.
Step 1: Prep the Apples (10 minutes)
Peel, core, and slice the apples into ½-inch wedges. Toss them in a large bowl with lemon juice, sugar, cinnamon, nutmeg, allspice, and the tablespoon of gluten-free flour. The flour helps thicken the juices. Toss until every piece is coated. Let them sit while you make the topping.
Step 2: Brown the Butter (5 minutes)
This is the most important step. Melt the ½ cup of butter in a medium saucepan over medium heat. Stir occasionally. It will foam up, then settle. Keep watching. Once the foaming subsides, you’ll see brown bits form at the bottom and smell a nutty aroma. This takes about 3-5 minutes. As soon as it smells like toasted hazelnuts and turns amber, remove it from the heat immediately. Pour it into a heat-proof bowl to stop the cooking. Don’t walk away! It goes from perfect to burnt in seconds.
Step 3: Make the Streusel (3 minutes)
In a small bowl, combine the gluten-free oats, gluten-free flour, brown sugar, and sea salt. Pour the warm brown butter over the mixture. Add the vanilla. Stir with a fork until it comes together in clumps. If you add chopped nuts, fold them in now. The mixture should look wet but hold together when squeezed.
Step 4: Assemble (2 minutes)
Preheat your oven to 375°F (190°C). Pour the apple mixture into your greased cast iron skillet. Spread it out evenly. Sprinkle the streusel topping over the apples. You don’t need to cover every inch; some apple peeking through is beautiful. Press the streusel down gently so it sticks to the apples.
Step 5: Bake (45-50 minutes)
Place the skillet in the oven. Bake for 45-50 minutes. You’ll know it’s done when the streusel is golden brown and the juices are bubbling up around the edges. If the top is browning too fast, tent it loosely with foil for the last 10 minutes.
Step 6: Cool and Serve (15 minutes)
Remove from the oven and let it cool for at least 15 minutes. This allows the filling to thicken slightly. If you cut into it immediately, the juices will run out. Serve warm with vanilla ice cream or whipped cream.
Expert Tips & Tricks
Here’s everything I’ve learned from making this dozens of times. These tips will save you from my mistakes.
Watch the Butter Like a Hawk
Brown butter is tricky. If you leave it for 10 seconds too long, it burns. The smell is your best indicator. When it smells nutty, it’s done. If it smells bitter, start over. I always have a towel ready to grab the pan off the heat quickly.
Use a Mix of Apples
Don’t use just one type. A mix of tart and sweet apples creates a more complex flavor and better texture. If you only have one kind, add a bit more lemon juice to balance it.
Don’t Skip the Salt
Salt enhances the flavor of the butter and the apples. Without it, the crisp tastes flat. Use flaky sea salt on top if you want a nice crunch.
Cool Before Cutting
I know it’s hard to wait, but cooling is essential. The filling needs time to set. If you rush it, you’ll get a soupy mess. Use this time to scoop out ice cream.
Gluten-Free Flour Blend
Make sure your gluten-free flour blend has xanthan gum in it. If it doesn’t, add ½ teaspoon. It helps the streusel bind together.
Variations & Substitutions
Once you’ve nailed the basic version, here’s how you can mix it up. I’ve tried all of these.
Pear Crisp
Swap apples for ripe pears. Pears are softer, so reduce baking time by 5-10 minutes. Add a little cardamom to the spice mix.
Strawberry Rhubarb
Use 3 cups strawberries and 1 cup rhubarb. Add 1 tablespoon cornstarch to thicken. Rhubarb is tart, so you might want to increase sugar slightly.
Dairy-Free Version
Replace butter with coconut oil or a dairy-free butter alternative. The flavor will be slightly different, but still delicious. Use dairy-free ice cream for serving.
Nut-Free
Simply omit the nuts. The streusel is still crunchy and tasty without them.
Lower Sugar
Reduce sugar in both filling and topping by 25%. Use stevia or monk fruit sweetener if needed, but note that these don’t caramelize the same way.
Serving & Storage
How to Serve:
I usually serve this straight from the skillet at the dinner table. It looks rustic and stays warm. Pair it with a simple green salad or roasted vegetables if you want a balanced meal. For dessert, vanilla ice cream is classic, but salted caramel sauce is amazing too.
Storage:
Store leftovers in the refrigerator, covered with foil or plastic wrap, for up to 4 days. The streusel will soften, but the flavor remains good.
Reheating:
Reheat in the oven at 350°F for 10-15 minutes to crisp up the streusel. Microwave works in a pinch but won’t restore the crunch. Add a splash of milk if the filling seems dry.
Freezing:
You can freeze the unbaked crisp. Assemble it, wrap tightly in plastic and foil, and freeze for up to 3 months. Thaw overnight in the fridge before baking. Adding 5-10 minutes to the baking time is usually needed.
Nutrition Information
I’m not a nutritionist, but here’s the breakdown if you’re tracking. Note that this is an estimate and can vary based on specific brands and apple sizes.
| Per Serving (1/8 of recipe) | Amount |
|---|---|
| Calories | 280 |
| Protein | 3g |
| Carbs | 42g |
| Fiber | 4g |
| Sugar | 28g |
| Fat | 12g |
| Saturated Fat | 7g |
| Sodium | 180mg |
Look, this is a dessert. It’s going to have sugar and fat. But it’s also got fiber from the oats and apples, and it’s made with real ingredients. When I want to make it lighter, I use less sugar and serve it with Greek yogurt instead of ice cream. But usually? I just enjoy a reasonable portion and savor it.
Final Thoughts
So that’s my cast iron skillet apple crisp with brown butter oat streusel. I’ve probably talked your ear off at this point, but when you make a recipe this often, you have a lot to say about it. This has saved holiday dinners more times than I can count. It’s my answer to “what’s for dessert?” when I want something cozy, impressive, and safe for everyone at the table.
Make it yours! Try different apples, add nuts, or swap the spices. The best recipes are the ones you adapt to your family’s tastes. If you make this, drop a comment and let me know what you think! I love hearing how recipes turn out in your kitchen. And if something doesn’t work, tell me that too—I’m here to help troubleshoot.
Happy cooking! And I hope your kitchen smells half as good as mine does right now.
Frequently Asked Questions
Q: Can I use quick oats instead of rolled oats?
A: I don’t recommend it. Quick oats are thinner and will turn mushy when baked. Rolled oats (old-fashioned) hold their structure better and give you that nice chewy-crisp texture. If you must use quick oats, toast them longer in the brown butter to dry them out a bit.
Q: Why did my streusel turn out soggy?
A: This usually happens if the butter wasn’t browned enough or if you didn’t let the crisp cool before cutting. Brown butter adds flavor and helps the oats crisp up. Also, if the filling is too watery, it can soak into the topping. Make sure you use apples that hold their shape and don’t overload the skillet.
Q: Can I make this ahead of time?
A: Yes! You can prep the apples and the streusel separately and store them in the fridge. Assemble and bake right before serving. You can also freeze the unbaked crisp for up to 3 months.
Q: Is this recipe really gluten-free?
A: Yes, as long as you use certified gluten-free oats and gluten-free flour. Regular oats are often processed in facilities with wheat, so they can be contaminated. Certified gluten-free oats are safe for celiacs.
Q: Can I use a baking dish instead of cast iron?
A: Yes, a 9×9 inch baking dish works. You might need to adjust baking time slightly, checking for doneness at 40 minutes. The cast iron just keeps it warmer longer, which is nice for serving.
Q: How do I store leftovers?
A: Cover tightly with foil or plastic wrap and store in the fridge for up to 4 days. Reheat in the oven to restore crispiness.
Q: Can I double this recipe?
A: Yes, but you’ll need a larger skillet or a 9×13 inch baking dish. Increase baking time by 10-15 minutes. Keep an eye on the top to prevent burning.
Pin This Recipe!
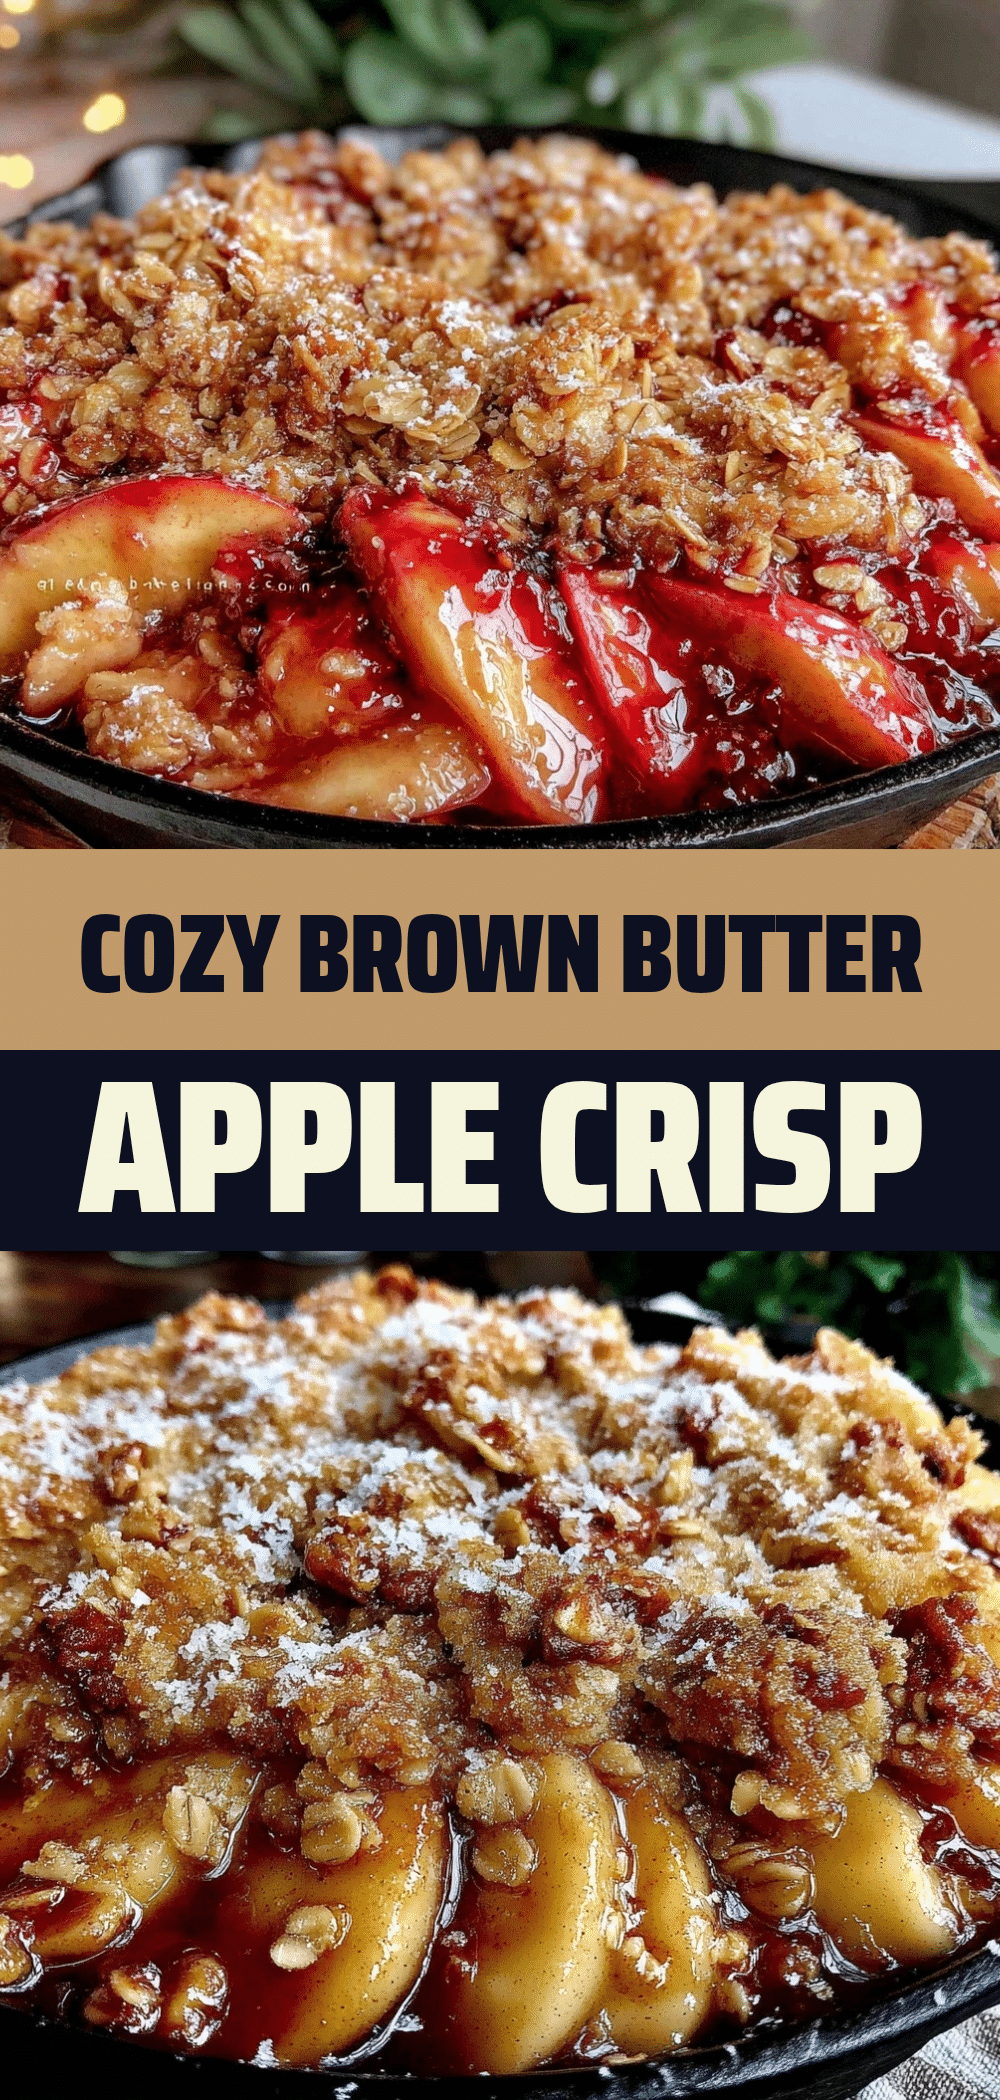

Cast Iron Skillet Apple Crisp: Easy Gluten-Free
- Total Time: 55-60 minutes
- Yield: 8 servings 1x
Description
A rich, nutty apple crisp made with brown butter and gluten-free oats, baked in a cast iron skillet for a crispy, warm dessert that is safe for celiacs and delicious for everyone.
Ingredients
- 6 medium apples (mix of Honeycrisp and Granny Smith), peeled and sliced into ½-inch wedges
- 2 tablespoons lemon juice
- ½ cup granulated sugar
- 1 teaspoon ground cinnamon
- Pinch of nutmeg and allspice (optional)
- 1 tablespoon gluten-free all-purpose flour
- 1 tablespoon butter, melted
- ½ cup unsalted butter (for browning)
- 1 cup certified gluten-free rolled oats
- ½ cup gluten-free all-purpose flour
- ½ cup light brown sugar, packed
- ½ teaspoon sea salt
- 1 teaspoon vanilla extract
- ½ cup chopped walnuts or pecans (optional)
Instructions
- Preheat oven to 375°F (190°C).
- In a large bowl, toss sliced apples with lemon juice, granulated sugar, cinnamon, nutmeg, allspice, gluten-free flour, and melted butter until coated. Let sit.
- In a medium saucepan over medium heat, melt the ½ cup of butter. Stir occasionally until it foams, then settles. Watch closely for brown bits and a nutty aroma (3-5 minutes). Remove from heat immediately and pour into a heat-proof bowl.
- In a small bowl, combine gluten-free oats, gluten-free flour, brown sugar, and sea salt. Pour the warm brown butter over the mixture and add vanilla. Stir until clumps form. Fold in nuts if using.
- Pour the apple mixture into a greased 10-inch cast iron skillet. Sprinkle the streusel topping evenly over the apples, pressing down gently.
- Bake for 45-50 minutes until the streusel is golden brown and juices are bubbling. Tent with foil if browning too quickly.
- Remove from oven and let cool for at least 15 minutes to allow filling to thicken. Serve warm with ice cream or whipped cream.
Notes
Ensure oats are certified gluten-free to avoid cross-contamination. Brown butter carefully as it burns quickly. Let the crisp cool for 15 minutes before cutting to prevent a soupy texture. Can be stored in the fridge for up to 4 days or frozen unbaked for up to 3 months.
- Prep Time: 10 minutes
- Cook Time: 45-50 minutes
- Category: Dessert
- Cuisine: American
Nutrition
- Serving Size: 1/8 of recipe
- Calories: 280
- Sugar: 28
- Sodium: 180
- Fat: 12
- Saturated Fat: 7
- Carbohydrates: 42
- Fiber: 4
- Protein: 3
Keywords: gluten-free, apple crisp, cast iron skillet, brown butter, dessert, celiac-friendly, oat streusel