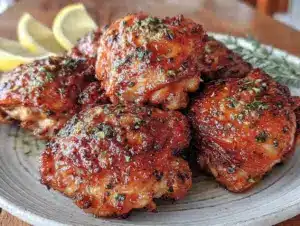
Three weeks ago, I served my husband a chicken breast that was so dry it sounded like sandpaper when he chewed. I was mortified. We’d just moved into a new house, the kitchen was still half-unpacked, and I was running on empty. I had promised a “quick, easy weeknight dinner,” and instead, I’d served him a culinary hockey puck. He didn’t say anything, but the look on his face said it all. That night, I went to bed vowing to figure out why boneless, skinless chicken breasts always turned out tougher than a leather shoe.
I’ve spent the last month obsessing over this. I’ve checked the internal temperature with every precision I could muster. I’ve tried brining, pounding, marinating, and sous-vide. But the real revelation didn’t come from a fancy gadget. It came from understanding one simple, non-negotiable rule: the resting trick.
Most people think resting is for big roasts. They think, “It’s just a chicken breast, I’ll eat it straight off the pan.” But here’s the thing—chicken breasts are lean. They have no fat buffer to protect the meat fibers. If you cut into them the second they leave the heat, all that precious juice runs out onto the cutting board, leaving you with dry, stringy meat. By letting them rest, you give the fibers time to relax and reabsorb that liquid. It’s not just a suggestion; it’s the difference between a sad, dry dinner and the juiciest, most flavorful chicken you’ve ever tasted.
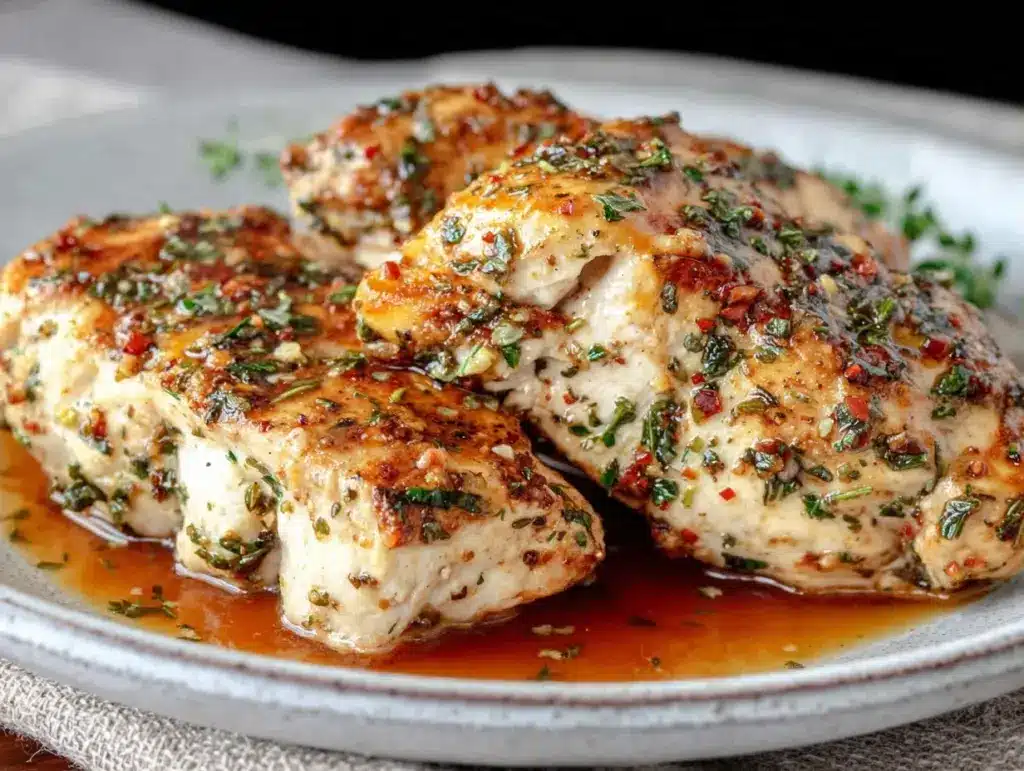
This recipe for Never-Dry Oven Baked Chicken Breast with Garlic Herb Butter is my answer to that sad night. It’s simple, it’s forgiving, and it uses a garlic herb butter baste that keeps the meat moist from the inside out. It’s perfect for busy weeknights when you want something that feels special but doesn’t require an hour of prep. Let’s talk about how to actually get it right.
Why You’ll Love This Recipe
I’ve made this chicken recipe at least a dozen times since that embarrassing night, and it has completely changed how I cook chicken. It’s not just about avoiding dryness; it’s about adding actual flavor to a cut of meat that usually tastes like cardboard. Here’s why this method has taken over our weeknight rotation:
- Zero Guesswork — The garlic herb butter acts as a built-in moisture meter. When the butter stops foaming and starts bubbling clearly, you know it’s done. No more poking it with a fork to check for “juiciness” (which releases the juices you’re trying to save!).
- Under 30 Minutes — From preheating the oven to plating, this takes about 25 minutes. It’s faster than ordering takeout, and it actually tastes better. I make this on Tuesdays when I’m exhausted and just want good food.
- Pantry-Friendly Ingredients — You probably have all of this already. Butter, garlic, parsley, thyme, lemon. If you have a fridge and a pantry, you’re good to go. No obscure spices or weird oils needed.
- Versatile Base — This chicken works with almost anything. Throw it on top of my wild rice and mushroom casserole for a hearty meal, or slice it over a simple green salad. It’s the ultimate meal-prep protein because it stays moist even after refrigeration.
- Restaurant-Quality Finish — The butter baste creates a glossy, golden crust that looks like you spent hours in the kitchen. My kids think I’m a genius when I serve this. (They have no idea about the resting trick.)
This is my go-to when I need dinner to just work. No complicated techniques, no weird ingredients, just reliable, delicious food that makes everyone happy.
Ingredients You’ll Need
Here’s the best part: you probably have most of this already. I’m particular about three ingredients here—the butter, the garlic, and the lemon—and I’ll tell you exactly why they matter for this specific technique.
For the Chicken:
Boneless, skinless chicken breasts (2 large, about 1.5 lbs / 680g) — I prefer larger breasts because they’re less likely to overcook. If yours are huge (over 8oz each), pound them gently to an even ½-inch thickness. Uniform thickness is key for even cooking. You want them all to finish at the same time.
Extra virgin olive oil (2 tablespoons) — Use a decent quality one. This helps conduct the heat and prevents the chicken from sticking to the pan. Don’t skimp on this; it helps the butter adhere later.
Salt and black pepper — Kosher salt is best because it’s easier to control. I season generously. Chicken breasts are lean, so they need that salt to actually taste like chicken.
For the Garlic Herb Butter Baste:
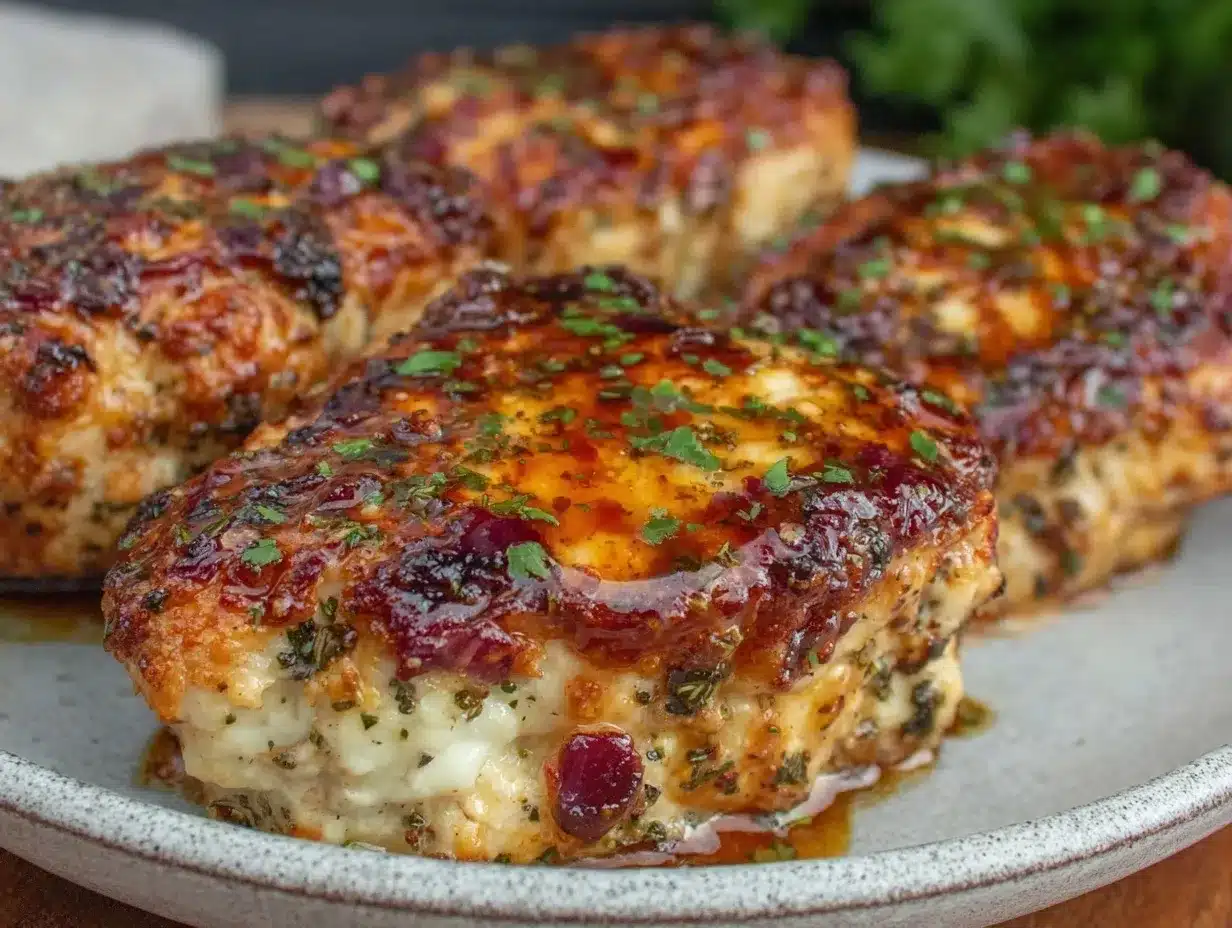
Unsalted butter (4 tablespoons / 60g) — I use unsalted so I can control the sodium. If you only have salted, reduce the added salt in the seasoning by half. The butter is the star here—it bastes the chicken as it bakes.
Garlic (4 cloves, minced / about 2 tablespoons) — Yes, four cloves. Don’t be scared. When roasted in butter, garlic loses its sharp bite and becomes sweet and mellow. Fresh only—no jarred garlic in this recipe. Jarred garlic has preservatives that can make the butter taste metallic.
Fresh parsley (2 tablespoons, finely chopped) — Flat-leaf parsley is my go-to. It has a cleaner, brighter flavor than curly parsley. If you don’t have fresh, you can use 1 teaspoon dried, but fresh makes a huge difference in the final flavor profile.
Fresh thyme (1 teaspoon, leaves stripped) — Or ½ teaspoon dried thyme. Thyme pairs beautifully with garlic and chicken. It adds an earthy, floral note that elevates the whole dish.
Lemon (1 medium) — We’ll use the zest in the butter and the juice at the end. The acid cuts through the richness of the butter and brightens the whole dish. Don’t skip the zest; that’s where the essential oils are.
Optional Add-ins:
Red pepper flakes (½ teaspoon) — If you like a little kick, add this to the butter. It adds a nice warmth that balances the savory garlic.
White wine (2 tablespoons) — Deglaze the pan with a splash of white wine after removing the chicken. Makes a quick pan sauce. I keep a bottle of Pinot Grigio open for this exact purpose.
Equipment Needed
You don’t need fancy equipment for this. Here’s what I actually use.
9×13-inch baking dish or sheet pan — I prefer a baking dish because it holds the butter juices better, creating a mini-broth that bastes the chicken. A sheet pan works too, but you’ll need to spoon the butter over the chicken more often. My ancient 9×13 ceramic dish from college still works fine.
Small saucepan or microwave-safe bowl — For melting the butter. I use a small saucepan so I can whisk in the garlic and herbs easily. If you’re lazy, a microwave bowl works, but you have to be careful not to burn the garlic.
Instant-read thermometer — This is non-negotiable for never-dry chicken. I use an instant-read thermometer for everything. It takes the guesswork out. If you don’t have one, you’re flying blind.
Measuring spoons — Pretty standard stuff. Dollar store versions work fine.
Sharp knife and cutting board — For mincing garlic and chopping parsley. Dull knives make you cry more—learned this the hard way.
Tongs — For turning the chicken. Forks puncture the meat and let juices escape. Use tongs.
How to Make It: Step-by-Step
Alright, let’s make this! I’m walking you through exactly how I do it, including the little tricks I’ve picked up over the years. The key here is patience during the resting phase.
Step 1: Prep the Chicken (5 minutes)
Pat the chicken breasts completely dry with paper towels. This sounds like a minor step, but dry surface = better browning. If they’re wet, they steam instead of sear. Place them in the baking dish. If they’re unevenly thick, pound the thicker ends gently with a rolling pin or meat mallet until they’re about ½-inch thick all around. Season both sides generously with salt and pepper.
Step 2: Make the Garlic Herb Butter (2 minutes)
Melt the butter in a small saucepan over low heat. Once melted, remove from heat and whisk in the minced garlic, chopped parsley, thyme leaves, lemon zest, and red pepper flakes (if using). The butter should be liquid but not brown. If it’s bubbling too hard, let it cool for a minute so the garlic doesn’t burn.
Step 3: Bake the Chicken (18-22 minutes)
Preheat your oven to 400°F (200°C). Pour half of the garlic herb butter over the chicken breasts. Place the dish in the oven. Bake for 12 minutes. After 12 minutes, take the dish out and spoon the remaining butter over the chicken. This ensures both sides get flavored. Return to the oven and bake for another 6-10 minutes. The exact time depends on the thickness of your breasts.
Step 4: Check the Temperature (Critical Step)
Insert your instant-read thermometer into the thickest part of the chicken. You want to pull it out when it hits 155°F (68°C). Do not wait for 165°F (74°C) in the oven. The residual heat will carry it to 165°F while it rests. If you wait until it hits 165°F in the oven, it will be overcooked by the time you rest it. Trust me on this.
Step 5: The Resting Trick (5-10 minutes)
Remove the chicken from the oven. Transfer the breasts to a clean plate or cutting board. Do not skip this. Let them rest for at least 5 minutes, ideally 10. During this time, pour any juices from the baking dish over the chicken. This is when the fibers relax and reabsorb the juices. If you cut into it now, you’ll see the meat is plump and juicy, not dry and stringy.
Step 6: Serve
Slice the chicken against the grain. Drizzle with the pan juices. Serve immediately with your favorite sides. I love it with honey-roasted rainbow carrots for a sweet and savory contrast.
Expert Tips & Tricks
Here’s everything I’ve learned from making this dozens of times. These tips will save you from my mistakes.
The Resting Trick Explained
This is the #1 tip. When chicken cooks, the proteins tighten and squeeze out moisture. If you cut it immediately, that moisture escapes. Resting allows the proteins to relax slightly, trapping the juice inside. It’s basic physics, but it’s the difference between dry and juicy. I set a timer on my phone the second I take the chicken out. I’ve lost count of how many times I’ve been tempted to cut it early. Don’t be tempted.
Pound for Evenness
Chicken breasts are rarely uniform. The thick end cooks slower than the thin end. If you don’t pound them, the thin end will be dry and rubbery while the thick end is still raw. Pounding them to an even ½-inch thickness ensures they cook at the same rate. It takes 30 seconds and saves you from disappointment.
Don’t Overcrowd the Pan
If you’re cooking for a crowd, use two pans or a larger sheet pan. Overcrowding creates steam, which prevents browning. You want roasted chicken, not steamed chicken. Space them out.
Squeeze Lemon at the End
Add a fresh squeeze of lemon juice over the chicken right before serving. The heat from the chicken will release the citrus oils, adding a bright pop of flavor that balances the rich butter.
Common Mistakes (and how to avoid them):
Mistake: Chicken is dry. Fix: You either overcooked it or didn’t rest it. Aim for 155°F pull temp and rest for 10 minutes.
Mistake: Garlic is burnt. Fix: You added the garlic to hot butter. Always remove the butter from heat before adding garlic. Minced garlic burns very quickly.
Mistake: Chicken is pale. Fix: Your oven was too cold, or you didn’t use enough oil. Make sure your oven is fully preheated to 400°F.
Variations & Substitutions
Once you’ve nailed the basic version, here’s how you can mix it up. I’ve tried all of these.
Lemon Pepper Chicken
Skip the parsley and thyme. Add extra lemon zest and 1 teaspoon of black pepper to the butter. Simple, classic, and always a hit.
Herb Crusted Chicken
Mix 2 tablespoons of panko breadcrumbs with the herb butter. Brush it on top before baking. Adds a nice crunch. I like this when I want something more substantial.
Spicy Garlic Chicken
Add 1 teaspoon of cayenne pepper and 1 teaspoon of smoked paprika to the butter. It adds a deep, smoky heat that pairs well with creamy au gratin potatoes.
Dairy-Free Option
Replace the butter with olive oil or avocado oil. The garlic and herbs will still infuse the oil beautifully. It won’t be as rich, but it’s still delicious.
Gluten-Free
This recipe is naturally gluten-free. Just make sure your herbs and spices are certified gluten-free if you’re sensitive.
Serving & Storage
I usually serve this straight from the cutting board at the dinner table—it looks rustic and stays warm. But here are other ways I’ve enjoyed it:
Side Dishes:
- Maple-glazed roasted sweet potatoes
- Tangy broccoli bacon salad
- Simple green beans with almonds
- Mashed potatoes (soak up that garlic butter!)
Storage Instructions:
Refrigerator: Store in an airtight container for up to 4 days. The chicken will stay moist if stored in the pan juices.
Reheating: Best method: Add a splash of chicken broth or water to a skillet, add the chicken, and heat gently over low heat. Cover to trap steam. Microwave method: Heat in 30-second intervals, covered with a damp paper towel. This prevents it from drying out.
Freezing: You can freeze cooked chicken, but the texture may change slightly. I recommend freezing it in the pan juices for best results. Thaw in the fridge overnight before reheating.
Meal Prep:
This is my favorite meal prep protein. I bake a batch on Sunday, slice it, and store it in containers. I add it to salads, grain bowls, or wraps throughout the week. It stays juicy even after reheating.
Nutrition Information
I’m not a nutritionist, but here’s the breakdown if you’re tracking.
Per Serving (based on 4 servings):
| Calories | 320 |
| Protein | 35g |
| Carbs | 2g |
| Fiber | 0g |
| Sugar | 0g |
| Fat | 18g |
| Saturated Fat | 9g |
| Cholesterol | 110mg |
| Sodium | 450mg |
What’s Good: High in protein, low in carbs, contains healthy fats from olive oil and butter.
What to Know: Higher in calories from the butter. If you’re watching your fat intake, you can reduce the butter to 2 tablespoons.
Look, this is comfort food. It’s not a diet recipe. But it’s way better than takeout, costs less, and I know exactly what’s in it. When I want to make it lighter, I use less butter and load up on vegetables. But usually? I just eat a reasonable portion and enjoy it.
Final Thoughts
So that’s my go-to never-dry oven baked chicken breast! I’ve probably talked your ear off at this point, but when you make a recipe this often, you have a lot to say about it.
This has saved weeknight dinners more times than I can count. It’s my answer to “what’s for dinner” when I’m tired, don’t want takeout, and still want something that tastes really good. My kids are happy, my husband’s happy, and I’m happy because I’m not stressed about cooking.
Make it yours! Try different herbs, swap in your favorite vegetables, adjust the garlic (though more is always better in my opinion). The best recipes are the ones you adapt to your family’s tastes.
If you make this, drop a comment and let me know what you think! I love hearing how recipes turn out in your kitchen. And if something doesn’t work, tell me that too—I’m here to help troubleshoot.
Happy cooking! And I hope your kitchen smells half as good as mine does right now.
Frequently Asked Questions
Q: Can I use bone-in chicken breasts?
A: Yes, but the cooking time will increase by about 10-15 minutes. The skin will get crispy, which is delicious, but you’ll need to check the temperature in the thickest part near the bone. Aim for 165°F (74°C).
Q: Why did my chicken turn out dry?
A: Usually, this means you overcooked it or didn’t rest it. Chicken breasts cook very quickly. Use a thermometer and pull it at 155°F. Then, let it rest for 10 minutes. The residual heat will finish the cooking process without drying it out.
Q: Can I make this ahead for a dinner party?
A: Sort of. You can marinate the chicken ahead of time, but I recommend baking it fresh. If you must bake ahead, bake it, let it rest, and then reheat it gently in a skillet with a splash of broth. It won’t be quite as good as fresh, but it’s close.
Q: Can I use dried herbs instead of fresh?
A: Yes, but use less. Dried herbs are more potent. Use 1 teaspoon of dried parsley and ½ teaspoon of dried thyme. Add them to the melted butter just before pouring over the chicken.
Q: How do I know when the chicken is done without a thermometer?
A: It’s risky, but you can check by cutting into the thickest part. The juices should run clear, not pink. The meat should feel firm but not hard. However, I strongly recommend using a thermometer for consistent results.
Q: Can I freeze the garlic herb butter?
A: Yes! Make a big batch of the butter, freeze it in ice cube trays, and then transfer to a bag. Thaw it in the fridge before using. It’s great for future weeknights.
Q: What’s the best way to reheat leftovers?
A: Add a splash of milk or broth to a skillet, add your leftover chicken, and heat gently over low heat, stirring frequently. The extra liquid brings back the creamy texture. Microwave sort of works but tends to dry it out. If you do microwave, definitely add a splash of liquid first and heat in short bursts, stirring between.
Pin This Recipe!
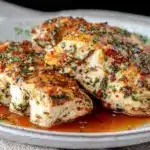
Never-Dry Oven Baked Chicken Breast with Garlic Herb Butter
- Total Time: 25 minutes
- Yield: 4 servings 1x
Description
Juicy, oven-baked chicken breasts basted with a garlic herb butter mixture. The key to this recipe is the ‘resting trick’ and precise temperature control to ensure tender, flavorful meat every time.
Ingredients
- 2 large boneless, skinless chicken breasts (about 1.5 lbs / 680g)
- 2 tablespoons extra virgin olive oil
- Kosher salt and black pepper, to taste
- 4 tablespoons unsalted butter
- 4 cloves garlic, minced
- 2 tablespoons fresh parsley, finely chopped
- 1 teaspoon fresh thyme leaves
- Zest of 1 medium lemon
- Juice of 1 medium lemon
- Optional: ½ teaspoon red pepper flakes
- Optional: 2 tablespoons white wine for pan sauce
Instructions
- Preheat oven to 400°F (200°C).
- Pat chicken breasts dry with paper towels. If uneven, pound thicker ends to achieve uniform ½-inch thickness. Season generously with salt and pepper.
- Melt butter in a small saucepan over low heat. Remove from heat and whisk in minced garlic, parsley, thyme, lemon zest, and red pepper flakes (if using).
- Place chicken in a 9×13-inch baking dish. Pour half of the garlic herb butter over the chicken.
- Bake for 12 minutes. Remove from oven and spoon the remaining butter over the chicken.
- Return to oven and bake for another 6-10 minutes, or until the internal temperature reaches 155°F (68°C).
- Remove chicken from oven and transfer to a plate or cutting board. Let rest for 5-10 minutes. Pour pan juices over the chicken during resting.
- Slice chicken against the grain and serve immediately, drizzled with pan juices and fresh lemon juice.
Notes
The key to juicy chicken is resting. Pull the chicken at 155°F; residual heat will bring it to 165°F while resting. Do not skip the 5-10 minute rest period. Pound chicken to even thickness for uniform cooking. Use fresh garlic and herbs for best flavor.
- Prep Time: 5 minutes
- Cook Time: 20 minutes
- Category: Main Course
- Cuisine: American
Nutrition
- Serving Size: 1 chicken breast
- Calories: 320
- Sodium: 450
- Fat: 18
- Saturated Fat: 9
- Carbohydrates: 2
- Protein: 35
Keywords: chicken breast, oven baked chicken, garlic herb butter, juicy chicken, weeknight dinner, meal prep, gluten-free, high protein