There is a specific kind of dread that hits me on Sunday afternoon. It’s not the dread of the week ahead—it’s the dread of the “what’s for dinner?” conversation that usually erupts at 5:30 PM on a Tuesday when we are all hangry and tired. I used to solve this by ordering takeout. Again. And then I’d feel guilty about the grease and the wasted money, vowing to do better.
Then I realized the problem wasn’t my cooking skills; it was my lack of a system. I was treating dinner like a daily emergency instead of a planned event. That’s when I started meal prepping properly. Not the sad, gray-looking boxes of sad lettuce we’ve all seen in movies. I mean real, hearty, flavorful food that actually tastes good on Wednesday night, three days after it was made.
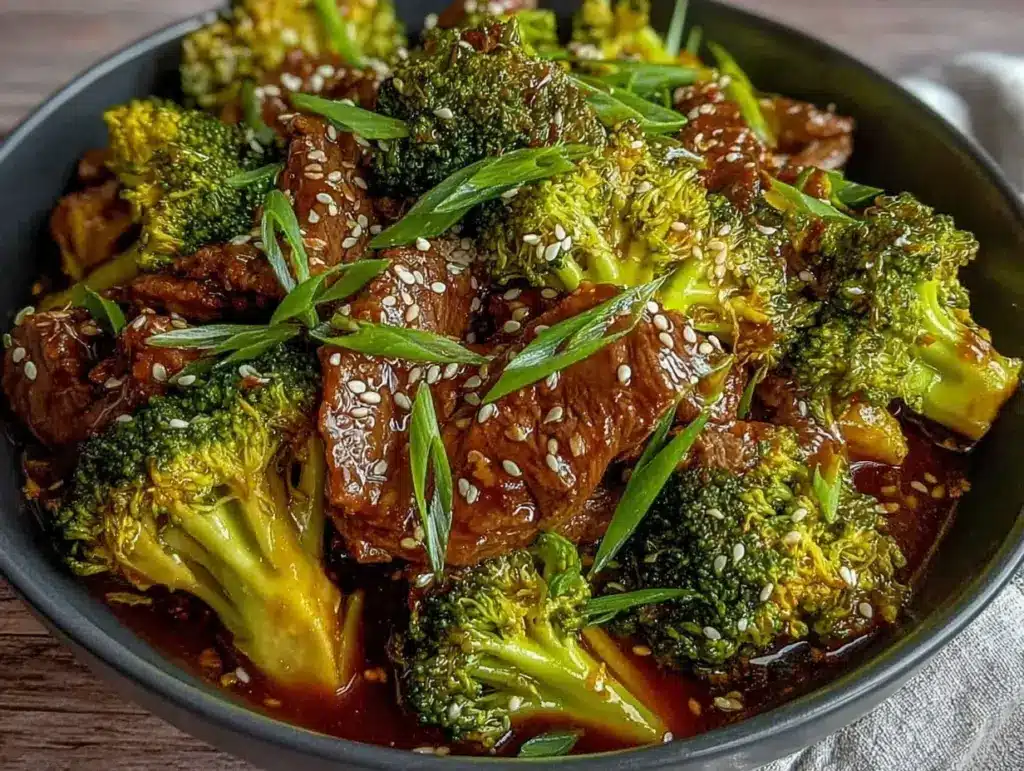
That’s how I fell in love with this Instant Pot Beef and Broccoli. It’s my anchor recipe. I make it once on Sunday, portion it out into four containers, and suddenly, my week is safe. I don’t have to stress. I don’t have to wonder. I just grab a container, pop it in the microwave, and I’m eating better, cheaper, and faster than if I’d ordered out. It’s the ultimate “make it once, eat it four times this week” strategy.
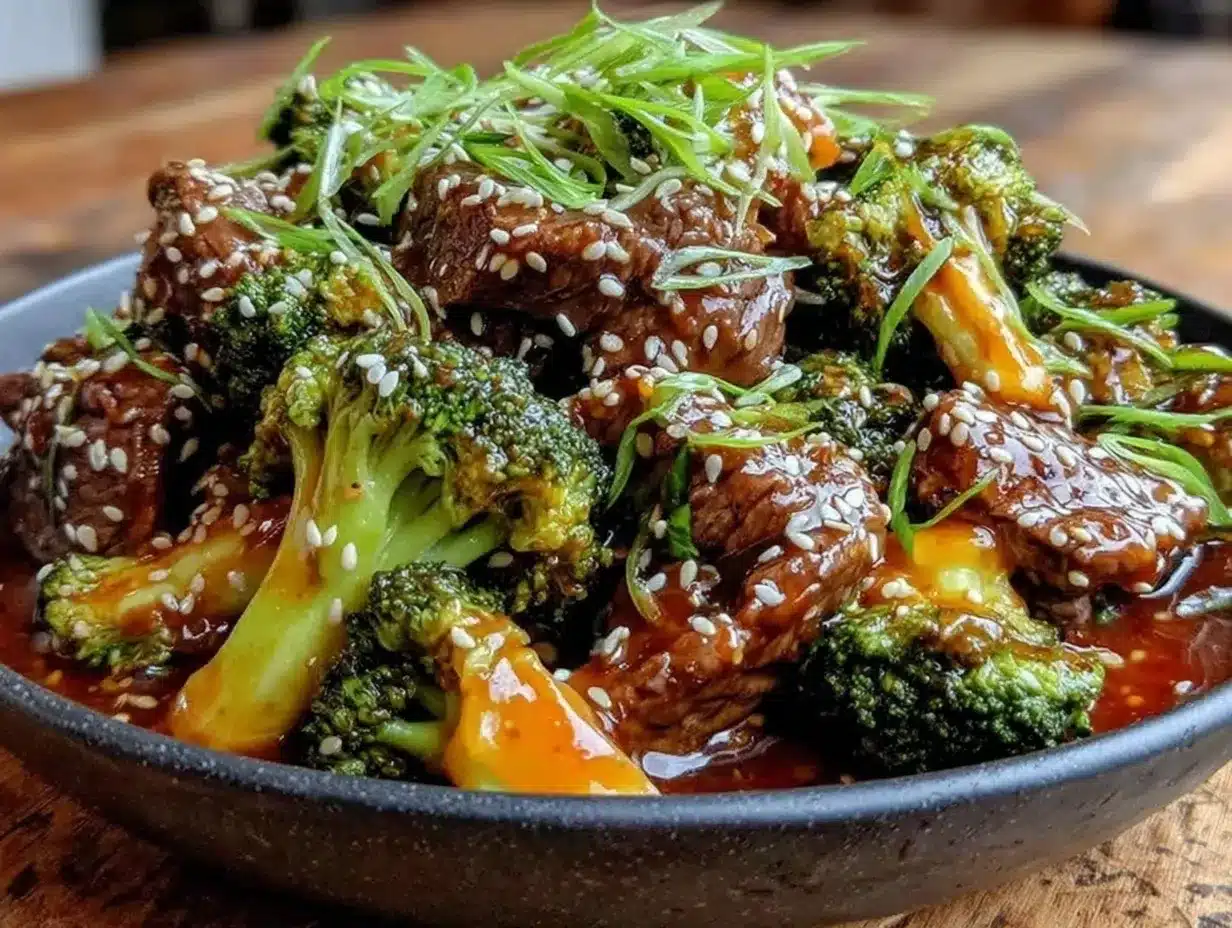
I’ve tested this recipe probably twenty times now, tweaking the cornstarch slurry and the beef cuts until I got it perfectly tender and glossy. It’s not just convenient; it’s genuinely delicious. The beef is silky, the broccoli is crisp-tender, and that savory-sweet sauce clings to everything in the best way possible. If you’re trying to get ahead of your week without sacrificing flavor, this is the recipe you need to know.
Why You’ll Love This Recipe for Meal Prep
Most Chinese takeout dishes are a nightmare to reheat. The noodles get mushy, the vegetables turn to slime, and the sauce separates into an oily mess. Not this one. This Instant Pot Beef and Broccoli is specifically designed to survive the fridge and the microwave. Here’s why it’s become my Sunday ritual:
- It Actually Reheats Well — Seriously. The sauce thickens slightly as it cools, which is a good thing. When you reheat it, the flavors meld even more. I’ve had this on Wednesday night, and it tasted just as good as it did on Sunday. Better, even.
- Freezer-Friendly — This isn’t just a fridge meal. I portion this out and freeze half of it for those weeks when I’m too exhausted to even think about cooking. It thaws in the fridge overnight and reheats perfectly. No texture loss.
- Protein-Packed — Meal prep needs to keep you full. This dish is loaded with lean beef and protein-rich broccoli. It’s not just empty carbs. I feel energized after eating this, not sluggish.
- Customizable Portions — Want more veggies? Throw in extra broccoli. Want more meat? Add another pound of flank steak. The sauce ratio is forgiving, so you can tweak it to fit your appetite without ruining the dish.
- Fast Cooking Time — The Instant Pot does the heavy lifting. You spend about 10 minutes chopping and 30 minutes cooking (mostly hands-off). That’s it. You can prep this while listening to a podcast or helping the kids with homework.
This recipe has saved my weeknight sanity. It’s reliable, it’s tasty, and it fits into a busy schedule without demanding every ounce of my energy. If you’re looking for a way to streamline your dinners, start here.
Ingredients You’ll Need
One of the best parts about this meal prep recipe is that the ingredients are simple. You don’t need a trip to a specialty Asian market. You can get almost everything at your local grocery store. Here’s exactly what I use and why.
For the Beef and Base
Flank Steak (1.5 lbs / 680g) — This is the secret to tender beef. Flank steak has a great beefy flavor and cooks quickly. Slice it against the grain, and it will be melt-in-your-mouth tender. Sirloin works too, but flank is my go-to.
Broccoli Florets (2 large heads / about 600g) — Fresh is best here. Cut them into bite-sized pieces. If they’re too big, they won’t cook evenly in the pressure cooker. You want them to be uniform so every bite has the right texture.
Vegetable Oil (2 tablespoons) — I use canola or avocado oil. You need a high smoke point oil for the searing step. Olive oil can burn and taste bitter here.
For the Sauce
Low-Sodium Soy Sauce (½ cup / 120ml) — I use low-sodium because I can control the salt level. Regular soy sauce can make the dish too salty, especially since you’re adding other salty ingredients. Kikoman is a reliable brand.
Beef Broth (½ cup / 120ml) — Adds depth and body to the sauce. I use low-sodium broth so I don’t over-salt the dish. If you don’t have broth, water works, but the flavor will be flatter.
Dark Soy Sauce (1 tablespoon) — This is optional, but it gives the sauce that rich, dark color and a slightly molasses-like sweetness. If you can’t find it, just use a bit more regular soy sauce.
Shaoxing Wine (2 tablespoons) — This is the Chinese cooking wine. It adds a unique aroma and depth. If you don’t drink alcohol, you can substitute with dry sherry or even chicken broth with a splash of vinegar. It’s not strictly necessary, but it makes a big difference.
Garlic (4 cloves, minced) — Fresh garlic is non-negotiable. Jarred garlic just doesn’t have the same punch. Mince it finely so it distributes evenly through the sauce.
Ginger (1 tablespoon, freshly grated) — Fresh ginger is essential. It adds that bright, zesty kick that cuts through the richness of the beef. Grate it on a microplane for the smoothest texture.
Brown Sugar (2 tablespoons) — Balances the saltiness of the soy sauce. I like the molasses notes in brown sugar, but white sugar works too.
Red Pepper Flakes (½ teaspoon) — For a little heat. I like a bit of spice, but adjust to your taste. If you’re sensitive to heat, skip it or use just a pinch.
For the Thickening
Cornstarch (2 tablespoons) — This is what makes the sauce glossy and clingy. Mix it with cold water to create a slurry (more on that in the steps).
Water (2 tablespoons) — Used to dissolve the cornstarch.
Equipment Needed
You don’t need a fancy kitchen for this. Here’s what I actually use:
Instant Pot (or any Electric Pressure Cooker) — I use a 6-quart model. It’s the perfect size for this recipe. If you don’t have one, you can make this in a wok or large skillet, but the cooking times and texture will be different. The pressure cooker ensures the beef is tender and the veggies cook evenly.
Sharp Chef’s Knife — For slicing the beef and chopping the broccoli. A sharp knife is crucial for slicing the beef against the grain. If your knife is dull, you’ll tear the meat instead of slicing it cleanly.
Small Bowl — For mixing the cornstarch slurry. I keep a small bowl near the stove so I don’t forget to mix it.
Spatula — For stirring the sauce and scraping the bottom of the pot. A silicone spatula works best because it won’t scratch the non-stick insert.
Meal Prep Containers — I use glass containers with dividers. They’re durable, don’t stain, and look nice in the fridge. Plastic works too, but glass heats more evenly in the microwave.
How to Make It: Step-by-Step
Alright, let’s get cooking. I’m walking you through exactly how I do it, including the little tricks I’ve picked up from making this dozens of times.
Step 1: Prep the Beef (5 minutes)
Take your flank steak out of the fridge. Let it sit for 10 minutes while you chop your veggies. This helps it come to room temperature, which ensures even cooking. Pat it dry with paper towels—this is important for getting a good sear. Slice the beef against the grain into thin, bite-sized strips. If you slice with the grain, the beef will be chewy and tough. Trust me on this.
Step 2: Sear the Beef (5 minutes)
Set your Instant Pot to “Sauté” mode. Add the vegetable oil and let it heat up until it shimmers. Add the beef in a single layer (do this in batches if your pot is small). Sear for 2-3 minutes per side until browned. You don’t need to cook it all the way through yet; you just want color. Remove the beef to a plate and set aside. Don’t skip this step! Searing adds flavor that pressure cooking alone can’t achieve.
Step 3: Make the Sauce (2 minutes)
In a small bowl, whisk together the soy sauce, beef broth, dark soy sauce, Shaoxing wine, brown sugar, minced garlic, grated ginger, and red pepper flakes. Whisk until the sugar is dissolved. Set aside.
Step 4: Pressure Cook (5 minutes)
Add the broccoli florets to the pot. Then, add the seared beef and any juices from the plate back into the pot. Pour the sauce mixture over everything. Stir gently to combine. Lock the lid and set the valve to “Sealing.” Press “Manual” or “Pressure Cook” on high for 5 minutes. The pot will take about 10 minutes to come to pressure.
Step 5: Quick Release
Once the timer beeps, do a Quick Release. Carefully turn the valve to “Venting” to release the steam. Once the pin drops, open the lid. The broccoli should be bright green and crisp-tender. If it looks too soft, you can leave the lid off for a minute to let excess moisture evaporate.
Step 6: Thicken the Sauce (3 minutes)
Set the Instant Pot back to “Sauté” mode. Stir the cornstarch and cold water together in a small bowl until smooth. Slowly pour the slurry into the pot while stirring constantly. The sauce will thicken quickly. Let it simmer for 1-2 minutes until it’s glossy and coats the back of a spoon. If it’s too thick, add a splash of water. If it’s too thin, add a little more slurry.
Step 7: Cool and Portion
Turn off the Instant Pot. Let the dish cool for 10 minutes. This is important for meal prep—it stops the cooking process so the broccoli doesn’t get mushy. Once cooled, divide the beef and broccoli into your meal prep containers. I usually make four portions, but you can adjust based on your needs.
Total Time: About 45 minutes (10 minutes prep, 35 minutes cook time)
Expert Tips & Tricks
Here’s everything I’ve learned from making this dozens of times. These tips will save you from my mistakes.
Slice Against the Grain — This is the #1 rule for tender beef. Look at the direction the muscle fibers run, and slice perpendicular to them. Short fibers mean tender bites. Long fibers mean chewy, tough meat.
Don’t Skip the Sear — I know it’s an extra step, but searing the beef first adds a layer of flavor that you just can’t get from pressure cooking alone. It’s worth the extra 5 minutes.
Use Fresh Ginger and Garlic — Powdered ginger and garlic just don’t have the same brightness. Fresh is key for that authentic Chinese restaurant taste.
Cool Before Refrigerating — Don’t put hot food directly into the fridge. It raises the temperature of your fridge and can spoil other foods. Let it cool to room temperature first, then cover and refrigerate.
Freeze in Flat Bags — If you’re freezing portions, lay the bags flat in the freezer. They stack better and thaw faster. I use freezer-safe ziplock bags for this.
Reheat with a Splash of Water — When reheating, the sauce can thicken too much. Add a tablespoon of water or broth to the container before microwaving. It helps loosen the sauce and keeps the beef moist.
Variations & Substitutions
Once you’ve nailed the basic version, here’s how you can mix it up. I’ve tried all of these.
Chicken Version — Swap the beef for chicken thighs. Cut them into chunks and sear them the same way. Cook on high pressure for 3 minutes instead of 5. Chicken cooks faster, so adjust the time.
Tofu Version — Use extra-firm tofu. Press it first, cut into cubes, and pan-fry until crispy. Then add it to the pot with the broccoli. It absorbs the sauce beautifully.
Extra Veggies — I sometimes add sliced bell peppers or snap peas. Add them with the broccoli. They hold up well in the pressure cooker.
Spicy Version — Add a tablespoon of Sriracha or chili garlic sauce to the sauce mixture. If you like heat, this is a great way to amp it up.
Gluten-Free — Use tamari instead of soy sauce, and make sure your Shaoxing wine is gluten-free (or substitute with dry sherry). Everything else is naturally gluten-free.
Serving & Storage
How to Serve: — I usually serve this over steamed jasmine rice. The rice soaks up the sauce perfectly. But it’s also great on its own if you’re watching carbs. You can also serve it over cauliflower rice for a low-carb option.
Side Dishes: — I keep sides simple. A quick cucumber salad with sesame oil and vinegar is refreshing and cuts through the richness. Or just stick with the rice.
Refrigerator Storage: — Store in airtight containers for up to 4 days. The beef stays tender, and the broccoli holds its texture. I find it tastes best on days 2 and 3.
Freezer Storage: — This freezes well for up to 3 months. I portion it into single-serving containers or freezer bags. Label them with the date so you know when to eat them.
Reheating: — Microwave for 2-3 minutes, stirring halfway through. Add a splash of water if needed. If you’re thawing from frozen, let it thaw in the fridge overnight and reheat gently.
Nutrition Information
I’m not a nutritionist, but here’s the breakdown if you’re tracking. This is per serving (based on 4 servings with rice).
- Calories: 450
- Protein: 35g
- Carbs: 40g
- Fat: 18g
- Fiber: 4g
This dish is high in protein and moderate in carbs. It’s a balanced meal that keeps you full. If you add more broccoli, you’ll boost the fiber and nutrients without adding many calories.
Final Thoughts
So that’s my go-to Instant Pot Beef and Broccoli for meal prep! I’ve probably talked your ear off at this point, but when you make a recipe this often, you have a lot to say about it.
This has saved my weeknight dinners more times than I can count. It’s my answer to “what’s for dinner” when I’m tired, don’t want takeout, and still want something that tastes really good. My family is happy, I’m happy because I’m not stressed about cooking, and we’re eating better food.
Make it yours! Try different add-ins, swap in your favorite vegetables, adjust the spice level. The best recipes are the ones you adapt to your family’s tastes.
If you make this, drop a comment and let me know what you think! I love hearing how recipes turn out in your kitchen. And if something doesn’t work, tell me that too—I’m here to help troubleshoot.
Happy cooking! And I hope your kitchen smells half as good as mine does right now.
Frequently Asked Questions
Can I use flank steak that’s frozen?
You can, but it’s better to thaw it first. If you’re using frozen beef, you’ll need to increase the cooking time by 2-3 minutes. Also, make sure to slice it as soon as it’s thawed enough to handle. Frozen beef can be tricky to slice thinly, so partially freezing it (for 30 minutes) can make slicing easier.
Why did my sauce turn out watery?
This usually happens if you didn’t simmer the sauce long enough after adding the cornstarch slurry. Make sure you let it cook on “Sauté” mode for at least 2-3 minutes after adding the slurry. Also, make sure your cornstarch slurry is mixed well before adding it. If it’s still too thin, add a little more slurry.
Can I make this in a slow cooker?
You can, but the texture will be different. Sear the beef first, then add everything to the slow cooker. Cook on low for 6-8 hours. Add the cornstarch slurry in the last 30 minutes to thicken the sauce. The broccoli might get softer, so add it in the last hour if you can.
How do I prevent the broccoli from getting mushy?
Don’t overcook it. 5 minutes on high pressure is usually perfect for broccoli florets. If you prefer crunchier broccoli, reduce the time to 3-4 minutes. Also, do a quick release immediately after cooking to stop the cooking process.
Can I use soy sauce instead of tamari for gluten-free?
No, regular soy sauce contains wheat. Use tamari, which is a gluten-free version of soy sauce. It has a similar flavor but is safe for gluten-free diets. Just check the label to make sure it’s certified gluten-free.
What’s the best way to reheat this without drying it out?
Add a splash of water or broth to the container before microwaving. Cover it with a damp paper towel or a microwave-safe lid to trap steam. Heat in 1-minute intervals, stirring in between, until heated through. This keeps the beef moist and the sauce loose.
Can I double this recipe for a bigger batch?
Yes, but you might need to cook it in batches. If you double the beef and broccoli, you’ll need a larger Instant Pot (8-quart) or cook it in two batches. Also, you’ll need to double the sauce ingredients and the cornstarch slurry. Keep an eye on the cooking time—it might need an extra minute or two if the pot is full.
Pin This Recipe!
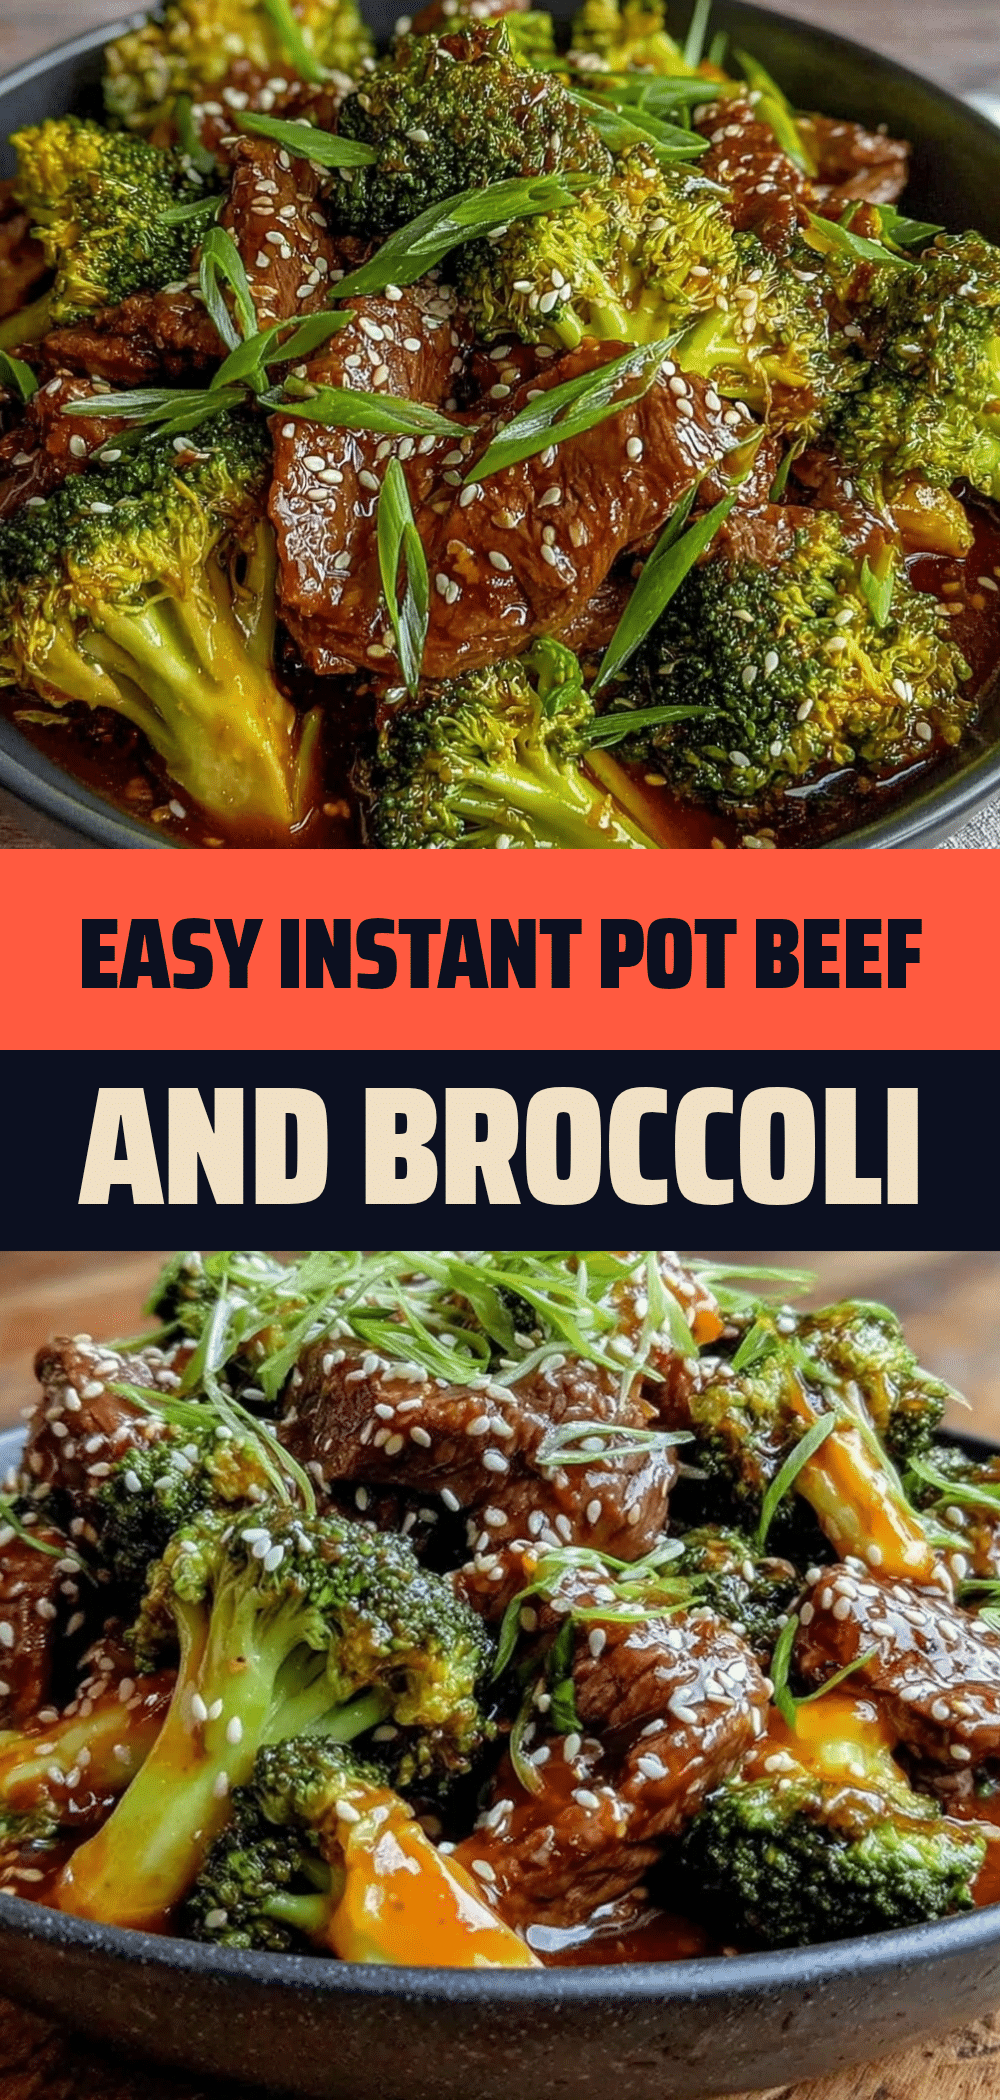
Instant Pot Beef and Broccoli: Easy Meal Prep
- Total Time: 45 minutes
- Yield: 4 servings 1x
Description
A reliable, freezer-friendly Instant Pot Beef and Broccoli recipe designed for meal prep. It features tender flank steak, crisp-tender broccoli, and a savory-sweet sauce that reheats perfectly for up to four days.
Ingredients
- 1.5 lbs flank steak
- 2 large heads broccoli florets (about 600g)
- 2 tablespoons vegetable oil (canola or avocado)
- 1/2 cup low-sodium soy sauce
- 1/2 cup low-sodium beef broth
- 1 tablespoon dark soy sauce
- 2 tablespoons Shaoxing wine
- 4 cloves garlic, minced
- 1 tablespoon fresh ginger, grated
- 2 tablespoons brown sugar
- 1/2 teaspoon red pepper flakes
- 2 tablespoons cornstarch
- 2 tablespoons cold water
Instructions
- Let flank steak sit for 10 minutes to reach room temperature. Pat dry and slice against the grain into thin, bite-sized strips.
- Set Instant Pot to ‘Sauté’ mode. Add vegetable oil and heat until shimmering.
- Sear beef in a single layer (in batches if necessary) for 2-3 minutes per side until browned. Remove beef to a plate.
- In a small bowl, whisk together soy sauce, beef broth, dark soy sauce, Shaoxing wine, brown sugar, garlic, ginger, and red pepper flakes until sugar is dissolved.
- Add broccoli florets and seared beef (with juices) back into the pot. Pour sauce mixture over everything and stir gently.
- Lock lid, set valve to ‘Sealing’, and pressure cook on high for 5 minutes.
- Perform a Quick Release by turning the valve to ‘Venting’ once the timer beeps. Open lid when pin drops.
- Set Instant Pot back to ‘Sauté’ mode. Whisk cornstarch and cold water together to create a slurry.
- Slowly pour slurry into the pot while stirring constantly. Simmer for 1-2 minutes until sauce is glossy and thickened.
- Turn off Instant Pot and let dish cool for 10 minutes to stop cooking process.
- Divide into 4 meal prep containers.
Notes
Slice beef against the grain for tenderness. Do not skip searing the beef for flavor. Cool completely before refrigerating. Reheat with a splash of water to keep sauce loose. Can be frozen for up to 3 months.
- Prep Time: 10 minutes
- Cook Time: 35 minutes
- Category: Main Course
- Cuisine: Chinese
Nutrition
- Serving Size: 1 container (approx.
- Calories: 450
- Fat: 18
- Carbohydrates: 40
- Fiber: 4
- Protein: 35
Keywords: Instant Pot, Beef and Broccoli, Meal Prep, Chinese Food, Pressure Cooker, Healthy Dinner, High Protein