I’m not going to lie to you. When I first started trying to eat well on a tight budget, I thought “comfort food” and “cheap” were two different languages. I assumed that if I wanted creamy, cheesy goodness, I’d have to spend $10 on a box of artisanal pasta and three different types of imported cheese. I was wrong. Dead wrong.
Last Tuesday, I was staring at my bank app after paying rent, and the number made my stomach drop. I needed dinner. I didn’t want cereal. I didn’t want toast. I needed something hot, salty, and satisfying that would actually keep me full until Thursday. So, I raided my pantry and fridge. I had a box of pasta, a block of cheddar I’d been hoarding for weeks, some milk that was about to expire, and a tiny bit of butter. I threw together what I thought would be a sad, watery mess.
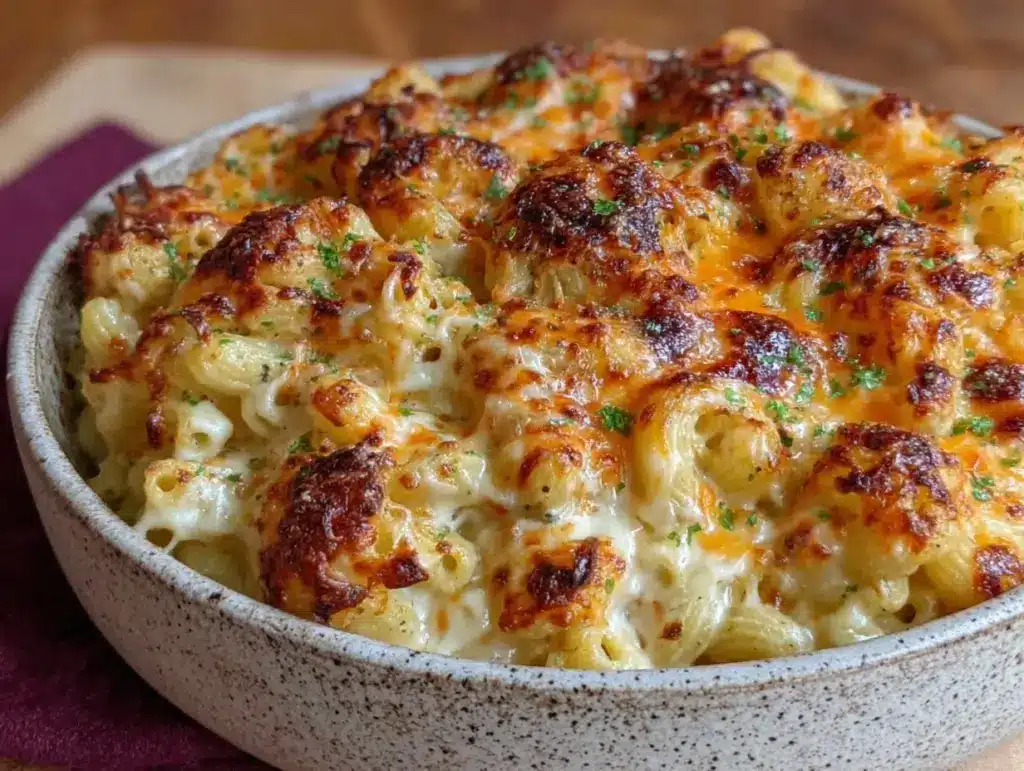
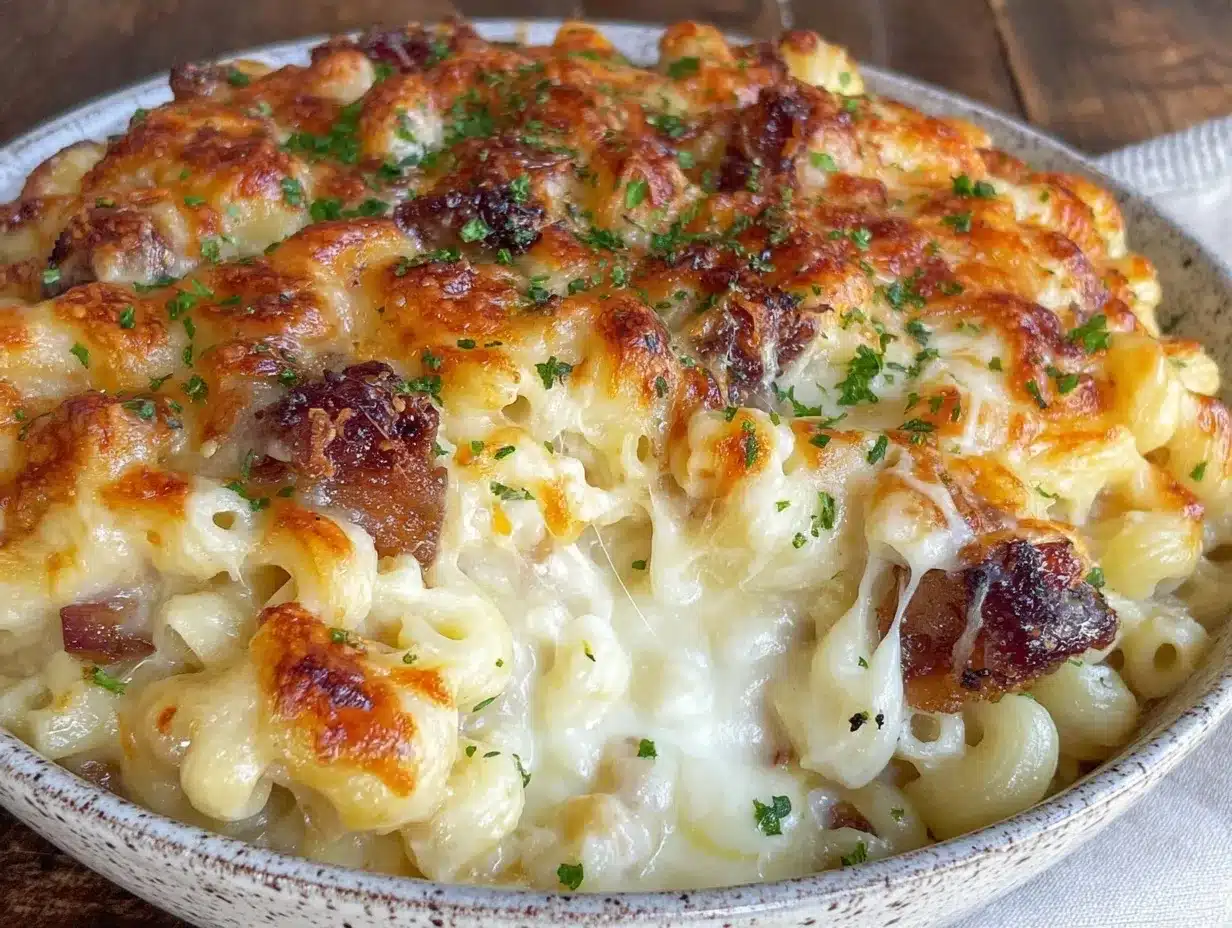
Instead, I got the ultra-creamy baked mac and cheese that saved my week. It cost me less than $3 to make. Less than three dollars. And it tasted better than the $14 version at that diner downtown. This budget-friendly 1-serving meal is my secret weapon. It’s not just about being cheap; it’s about making the cheap stuff taste expensive. It’s practical, it’s warm, and it fits perfectly into a weekly plan that includes things like cozy fall creamy wild rice and mushroom casserole because, let’s be honest, I like variety even when I’m counting pennies.
If you’re tired of paying a premium for comfort, this recipe is for you. I’ve tested this single-serving version dozens of times to make sure the cheese sauce doesn’t break, the pasta doesn’t get mushy, and the result is genuinely decadent. Here’s how you do it without breaking the bank.
Why You’ll Love This Recipe
This isn’t just “mac and cheese.” It’s a hack for your wallet and your taste buds. I’ve made this for friends who thought I was feeding a small army, only to reveal it was just for me. Here’s why this specific method works so well for the solo cook on a budget:
- Actually Ultra-Creamy — Most one-serving cheese sauces turn into a rubbery brick when they cool. This one stays soft and gooey because of the specific ratio of milk to starch. I use a technique that emulsifies the cheese properly so it coats every noodle.
- Zero Food Waste — I don’t like buying ingredients I’ll only use once. This recipe uses staples: milk, butter, flour, and cheese. If you’re making this, you’re probably already buying these things for breakfast or other meals. It’s efficient.
- Under $3.00 Per Serving — Seriously. If you buy the cheapest reasonable ingredients, this costs about $2.50. That’s cheaper than a coffee. And unlike coffee, this keeps you full for hours.
- 15 Minutes Max — I’m a busy person. Sometimes I’m exhausted. This recipe takes 10 minutes of active time. You can make this while watching one episode of a show. It’s not complicated.
- Leftover Magic — Even though it’s a single serving, I often make a tiny bit extra. It reheats beautifully in the microwave. I pair it with simple sides like maple-glazed roasted sweet potatoes when I want a complete meal, but the mac is strong enough to stand alone.
This is my go-to when I need dinner to just work. No fancy techniques, no weird ingredients from the international aisle, just reliable, delicious food that proves you don’t need a lot of money to eat well.
Ingredients You’ll Need
Here’s the best part: you probably have most of this already. I’m particular about a few things here, but mostly, this is about using what’s cheap and effective.
For the Base
Elbow macaroni (1 cup / 115g dry) — Don’t overthink the shape. Elbows hold sauce best. I buy the store-brand boxes because they cook the same as the name brands but cost half as much. For one person, you only need about 1 cup dry, which makes a huge bowl of cooked pasta.
Butter (2 tablespoons / 28g) — This is your flavor foundation. Don’t skip it. Don’t use margarine if you can help it. Butter adds that rich taste that makes cheap pasta feel fancy. If you’re out of butter, you can use a little oil, but the taste won’t be as good.
All-purpose flour (2 tablespoons / 16g) — This is what makes the roux. The roux thickens the milk into a sauce. It’s the cheapest thickener in the world. You likely have a bag in your cabinet right now.
For the Sauce
Whole milk (1 cup / 240ml) — Do not use skim milk. It will be watery. Do not use half-and-half unless you want to blow your budget. Whole milk is cheap and has the fat content needed for creaminess. If you’re lactose intolerant, oat milk works, but it changes the flavor slightly.
Cheddar cheese (1 cup / 100g, shredded) — Here is the secret. Buy a block of sharp cheddar and grate it yourself. Pre-shredded cheese is coated in cellulose (wood pulp) to keep it from clumping. That stuff does not melt well. It makes your sauce grainy. A block of store-brand cheddar costs about $3 for a huge amount. You only need a cup. Grate it with a box grater—it takes two minutes.
Mustard powder (½ teaspoon) — This is the “adult” ingredient. It doesn’t make it taste like mustard. It just boosts the cheese flavor. It’s in the spice aisle with the other cheap spices. If you don’t have it, skip it, but it makes a difference.
Garlic powder (½ teaspoon) — Just a pinch. It adds depth without the hassle of mincing fresh garlic. Fresh garlic is great, but for a $3 meal, garlic powder is the pragmatic choice.
Optional Add-ins
Breadcrumbs (2 tablespoons) — If you have old bread or a box of crumbs, sprinkle them on top for crunch. If not, skip it. The sauce is the star.
Pancreas (Just kidding. But seriously, maybe some bacon bits if you have leftover cheesy bacon egg hash brown cups from breakfast. It’s a nice touch, but not necessary.)
Equipment Needed
You don’t need fancy equipment for this. Here’s what I actually use.
Saucepan (small to medium) — I use a 2-quart saucepan. It needs to be big enough to hold the milk and roux without boiling over. My old stainless steel one works fine.
Whisk — Essential for the roux. If you don’t have a whisk, a fork works, but it’s harder. A whisk makes the sauce smooth.
Box grater — For grating the cheese block. If you don’t have one, buy one. It’s $3 at the dollar store. It will change your life for cheese.
Bowl — To serve the mac and cheese. A deep bowl is best so the sauce doesn’t spill.
Measuring cups and spoons — Pretty standard stuff. I keep a basic set. Dollar store versions work fine.
Optional: Small baking dish or ramekin — If you want to broil the top for a crispy crust, you need something oven-safe. A ramekin is perfect for one person.
How to Make It: Step-by-Step
Alright, let’s make this! I’m walking you through exactly how I do it, including the little tricks I’ve picked up.
Step 1: Cook the Pasta (8-10 minutes)
Bring a pot of salted water to a boil. It should taste like the ocean. Add 1 cup of elbow macaroni. Cook according to package directions until al dente (usually 8-10 minutes). IMPORTANT: Before draining, scoop out ¼ cup of pasta water and set it aside. This starchy water is magic for the sauce. Drain the pasta and set it in a bowl. Don’t rinse it!
Step 2: Make the Roux (3 minutes)
In your saucepan, melt 2 tablespoons of butter over medium heat. Once it’s foaming, add 2 tablespoons of flour. Whisk constantly for about 1-2 minutes. You want it to turn a light blonde color and smell nutty. This cooks out the raw flour taste. If you don’t do this, your sauce will taste like raw dough.
Step 3: Build the Sauce (5 minutes)
Slowly pour in 1 cup of whole milk while whisking constantly. This is the tricky part. If you dump it all in at once, you’ll get lumps. Add a little, whisk, add a little more. Once all the milk is in, keep whisking. Add ½ teaspoon mustard powder and ½ teaspoon garlic powder. Let it simmer for 3-4 minutes. It will thicken into a white sauce (béchamel). It’s ready when it coats the back of a spoon.
Step 4: Add the Cheese (2 minutes)
Remove the pan from the heat. This is crucial. High heat makes cheese grainy. Add the 1 cup of freshly grated cheddar gradually. Stir until melted and smooth. If it’s too thick, add a splash of that reserved pasta water. If it’s too thin, let it sit for a minute—it’ll thicken up. The sauce should be glossy and creamy.
Step 5: Combine and Bake (5 minutes)
Stir the cooked pasta into the cheese sauce. Make sure every noodle is coated. If you want a crispy top, dump it into a small baking dish or ramekin. Sprinkle 2 tablespoons of breadcrumbs on top. Put it under the broiler for 2-3 minutes. Watch it like a hawk! You want it golden, not black. If you don’t want the crust, just eat it straight from the pan.
Total Time: About 15 minutes (5 minutes active prep, 10 minutes cooking/baking).
Troubleshooting Tips
- Sauce too thick? Add milk or pasta water one tablespoon at a time.
- Sauce too thin? Let it simmer longer on low heat. The starch needs time to activate.
- Grainy cheese? The heat was too high when you added the cheese. Always remove from heat before adding cheese.
Expert Tips & Tricks
Here’s everything I’ve learned from making this dozens of times. These tips will save you from my mistakes.
Grate Your Own Cheese
I cannot stress this enough. Pre-shredded cheese is the enemy of creamy mac and cheese. The anti-caking agents prevent it from melting smoothly. Buy a block of sharp cheddar. It’s cheaper per ounce and melts better. It’s worth the two minutes of grating.
Don’t Skip the Mustard Powder
It sounds weird, but it’s not. Mustard powder enhances the flavor of the cheese without making it taste like mustard. It’s a flavor bomb. It’s in the spice aisle and costs pennies.
Save the Pasta Water
That starchy water is liquid gold. It helps bind the sauce to the pasta. If your sauce looks separated, a splash of pasta water will bring it back together.
Use a Roux
Some people just melt cheese into milk. That works, but it’s often greasy. A roux (butter + flour) creates a stable emulsion. It makes the sauce velvety and prevents it from breaking.
Broil with Caution
If you’re going for the crispy top, your broiler is hot. Set a timer for 2 minutes. Check it. If it’s not golden, check every 30 seconds. Burnt breadcrumbs taste bitter.
Variations & Substitutions
Once you’ve nailed the basic version, here’s how you can mix it up. I’ve tried all of these.
Spicy Kick
Add a pinch of cayenne pepper or a dash of hot sauce to the sauce before adding the cheese. It adds heat without overwhelming the flavor. I like this when I’m craving something bold.
Veggie-Loaded
Toss in some steamed broccoli or sautéed spinach in the last minute. It adds color and nutrients. My kids (and friends) love it when I sneak veggies in. It’s a great way to stretch the meal further.
Pancetta or Bacon
If you have leftover loaded nacho cheese fries ingredients lying around, maybe you have bacon. Crisp up some bacon bits and mix them in. It adds salt and crunch. But be careful with salt, as bacon is salty.
Dairy-Free Option
Use plant-based butter and oat milk. For the cheese, use a dairy-free cheddar shreds. It’s not the same, but it’s edible. I’ve tried it when friends are coming over who are lactose intolerant. It’s not my favorite, but it works.
Gluten-Free
Use gluten-free pasta and gluten-free flour for the roux. Most gluten-free pastas absorb more water, so you might need a bit more milk. Taste test as you go.
Serving & Storage
How to Serve
I usually serve this straight from the baking dish. It looks rustic and stays warm. But here are other ways I’ve enjoyed it:
Side Dishes:
- A simple green salad with balsamic vinaigrette (cuts the richness).
- Honey-roasted rainbow carrots for a sweet contrast.
- Steamed green beans with lemon.
Toppings Bar:
If I’m having guests, I put out: extra cheddar, red pepper flakes, chopped chives. Everyone customizes their bowl.
Storage Instructions
Refrigerator:
Store leftovers in an airtight container for up to 3 days. The sauce will thicken in the fridge—totally normal.
Reheating:
Best method: Add a splash of milk to a skillet, add your leftover pasta, and heat gently over low heat, stirring frequently. The extra liquid brings back the creamy texture. Microwave sort of works but tends to dry it out. If you do microwave, definitely add a splash of milk first and heat in short bursts, stirring between.
Freezing:
Honestly, this doesn’t freeze well. The dairy separates when thawed. It becomes grainy. Make it fresh or store in the fridge for up to 3 days.
Nutrition Information
I’m not a nutritionist, but here’s the breakdown if you’re tracking.
Per Serving (1 bowl):
- Calories: 450
- Protein: 18g
- Carbs: 50g
- Fiber: 2g
- Sugar: 6g
- Fat: 18g
- Saturated Fat: 10g
- Cholesterol: 45mg
- Sodium: 500mg
What’s Good:
- Decent protein from the cheese and pasta.
- Calcium from the cheddar.
- It’s filling. You won’t be hungry an hour later.
What to Know:
- Higher in calories from the cheese and butter. It’s comfort food.
- Contains dairy and gluten.
- Moderate sodium (use low-sodium cheese if you’re watching salt).
Look, this is comfort food with cream and cheese. It’s not a diet recipe. But it’s way better than takeout, costs less, and I know exactly what’s in it. When I want to make it lighter, I use half the cheese and add more broccoli. But usually? I just eat a reasonable portion and enjoy it.
Final Thoughts
So that’s my go-to ultra-creamy baked mac and cheese! I’ve probably talked your ear off at this point, but when you make a recipe this often, you have a lot to say about it.
This has saved weeknight dinners more times than I can count. It’s my answer to “what’s for dinner” when I’m tired, don’t want takeout, and still want something that tastes really good. It’s practical, it’s cheap, and it’s delicious. My wallet is happy, and my stomach is happy.
Make it yours! Try different add-ins, swap in your favorite vegetables, adjust the garlic (though more is always better in my opinion). The best recipes are the ones you adapt to your tastes.
If you make this, drop a comment and let me know what you think! I love hearing how recipes turn out in your kitchen. And if something doesn’t work, tell me that too—I’m here to help troubleshoot.
Happy cooking! And I hope your kitchen smells half as good as mine does right now.
Frequently Asked Questions
Can I use milk instead of heavy cream?
You can, but the sauce will be much thinner and less rich. If you want to try it, use whole milk (not skim) and add 2 tablespoons of flour to thicken it. Whisk the flour into the milk before adding to the pan. I’ve done this when I ran out of cream—it works okay, just not as good as the real thing. Half-and-half is a better middle ground, but it’s more expensive.
My sauce came out watery—what happened?
Usually means you didn’t let it simmer long enough to thicken, or you added too much pasta water at the end. Let the cream mixture simmer for a full 3-4 minutes before adding cheese. If it’s already watery, turn up the heat and let it reduce for another few minutes. The cheese will also thicken it up.
Can I make this ahead for a dinner party?
Sort of. Make the sauce up to 2 days ahead and store in the fridge. Cook the pasta fresh right before serving (takes 10 minutes). Reheat the sauce gently and toss with hot pasta. It won’t be quite as good as fresh, but it’s close and saves you stress during the party. I do this all the time.
Why did my sauce get grainy/lumpy?
The heat was too high when you added the cheese, which made it seize up. Cheddar needs gentle heat. Always remove the pan from the burner before adding cheese, then stir it in off heat. If it’s already grainy, try whisking in a splash of warm cream—sometimes you can save it.
Can I use jarred garlic?
You can, but fresh tastes so much better in this recipe. Jarred garlic has a weird metallic taste that really shows up in cream sauces. If you must use it, use half the amount because it’s stronger. But honestly, mincing 6 cloves takes like 2 minutes. Buy pre-peeled garlic cloves if you want to save time.
How do I reheat leftovers without it getting dry?
Add a splash of milk or cream to a skillet, add your leftover pasta, and heat gently over low heat, stirring frequently. The extra liquid brings back the creamy texture. Microwave sort of works but tends to dry it out. If you do microwave, definitely add a splash of milk first and heat in short bursts, stirring between.
Can I double this recipe?
Absolutely! Double everything and use your biggest pot. The cooking times stay the same. I do this when I’m meal-prepping or feeding a crowd. Just make sure your skillet is big enough for the sauce—you might need to use two pans or a very large skillet.
Pin This Recipe!
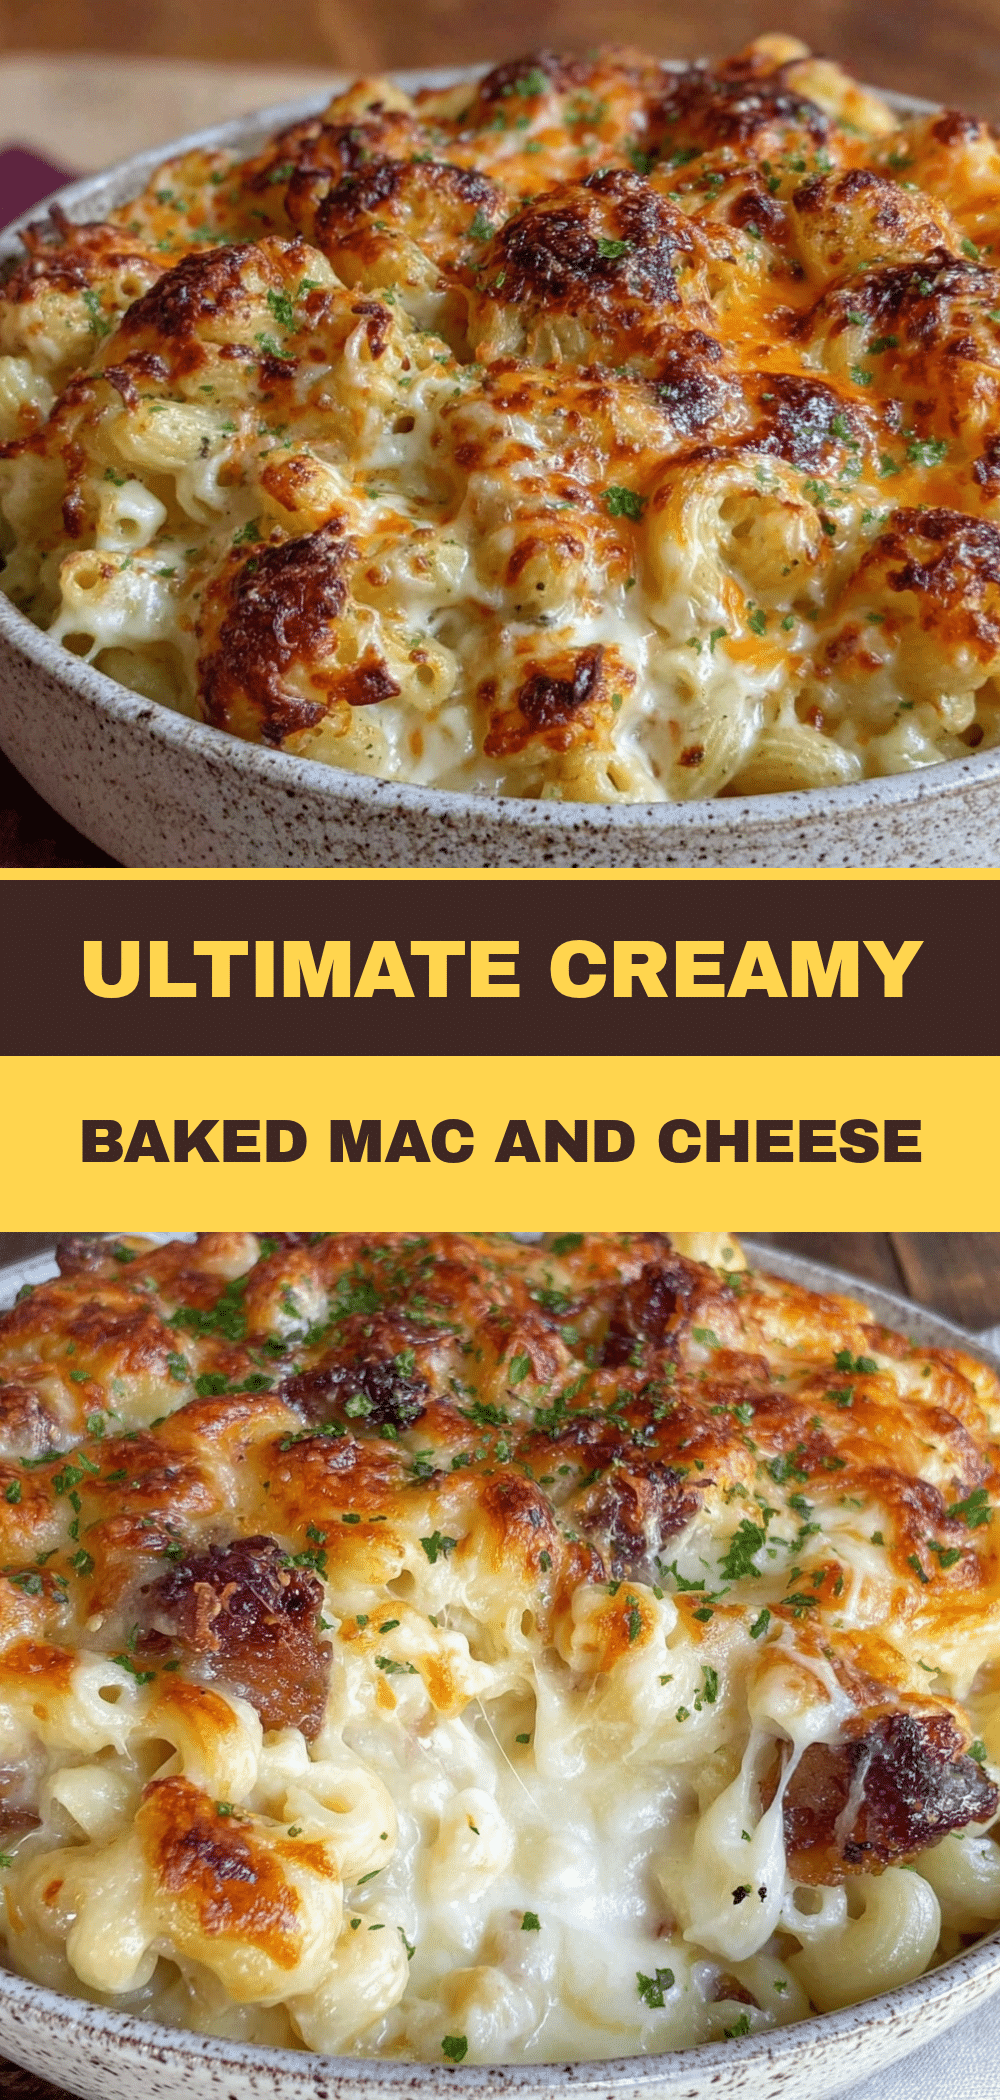

Ultra-Creamy Baked Mac and Cheese: Budget-Friendly 1-Serving
- Total Time: 15 minutes
- Yield: 1 serving 1x
Description
A budget-friendly, ultra-creamy baked mac and cheese recipe designed for a single serving. It costs less than $3, takes only 15 minutes to make, and uses a roux-based sauce with freshly grated cheddar for maximum flavor and texture.
Ingredients
- 1 cup (115g) elbow macaroni
- 2 tablespoons (28g) butter
- 2 tablespoons (16g) all-purpose flour
- 1 cup (240ml) whole milk
- 1 cup (100g) sharp cheddar cheese, freshly grated
- 1/2 teaspoon mustard powder
- 1/2 teaspoon garlic powder
- 2 tablespoons breadcrumbs (optional)
- Salt for pasta water
Instructions
- Bring a pot of salted water to a boil. Add 1 cup of elbow macaroni and cook until al dente (8-10 minutes).
- Before draining, scoop out 1/4 cup of pasta water and set aside. Drain the pasta and set it in a bowl.
- In a small to medium saucepan, melt 2 tablespoons of butter over medium heat.
- Add 2 tablespoons of flour to the melted butter and whisk constantly for 1-2 minutes until the mixture turns light blonde and smells nutty.
- Slowly pour in 1 cup of whole milk while whisking constantly to prevent lumps.
- Add 1/2 teaspoon mustard powder and 1/2 teaspoon garlic powder. Simmer for 3-4 minutes until the sauce thickens enough to coat the back of a spoon.
- Remove the pan from the heat. Gradually add the 1 cup of freshly grated cheddar cheese, stirring until melted and smooth.
- If the sauce is too thick, add a splash of reserved pasta water. If too thin, let it sit for a minute to thicken.
- Stir the cooked pasta into the cheese sauce until every noodle is coated.
- Optional: Transfer to a small baking dish or ramekin, sprinkle with 2 tablespoons of breadcrumbs, and broil for 2-3 minutes until golden. Watch closely to prevent burning.
- Serve immediately.
Notes
Grate your own cheese from a block rather than using pre-shredded cheese to avoid anti-caking agents that prevent smooth melting. Always remove the pan from heat before adding cheese to prevent graininess. Save pasta water to help bind the sauce if it becomes too thick or separates.
- Prep Time: 5 minutes
- Cook Time: 10 minutes
- Category: Main Course
- Cuisine: American
Nutrition
- Serving Size: 1 bowl
- Calories: 450
- Sugar: 6
- Sodium: 500
- Fat: 18
- Saturated Fat: 10
- Carbohydrates: 50
- Fiber: 2
- Protein: 18
Keywords: mac and cheese, budget recipe, single serving, comfort food, cheap dinner, creamy mac and cheese, baked mac and cheese, quick meals