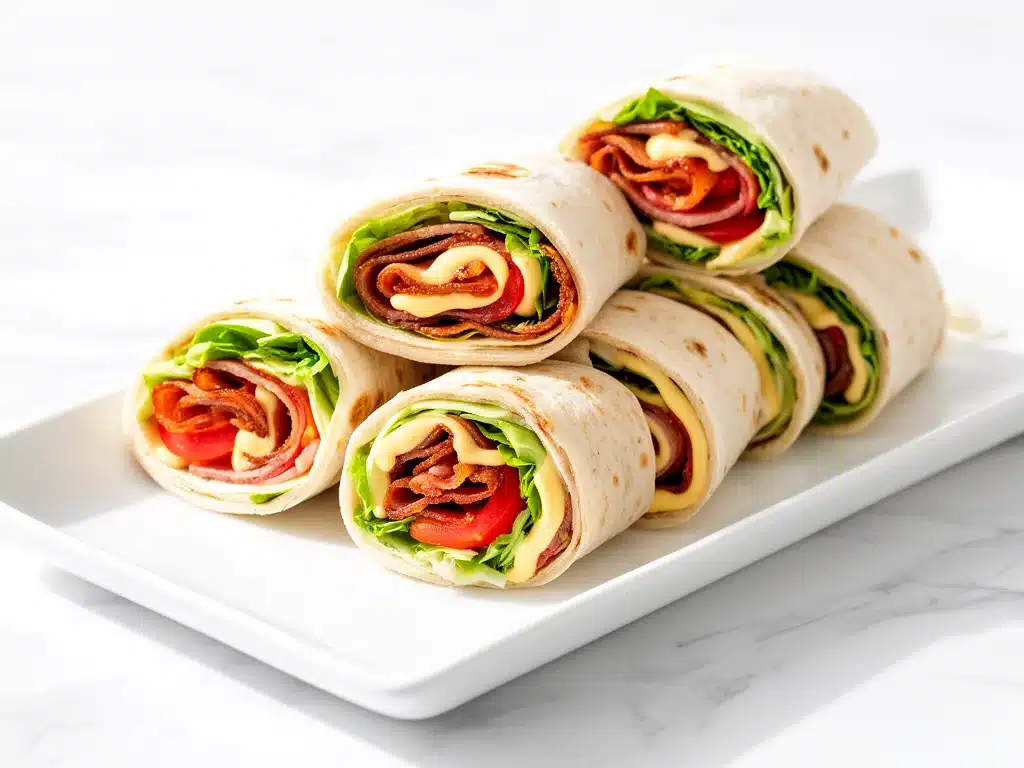
Last August, just days before my kids headed back to school, I found myself scrambling to figure out quick, tasty snacks that could survive the lunchbox chaos. I wanted something easy to prep ahead, that wouldn’t sog out by lunchtime, and that my picky eaters would actually finish without complaint. Enter these Back-to-School BLT Wrap Pinwheels. Honestly, I stumbled on the idea while trying to use up some leftover bacon and tortillas, and it turned out to be a total game changer.
After making these pinwheels a dozen times in the weeks following, I’ve dialed in the perfect balance of crunchy, creamy, and savory—all wrapped up in a neat little bite. They’re portable, fridge-friendly, and so versatile that even my lunchbox critics ask for seconds. If you’ve ever wrestled with soggy sandwiches or last-minute snack panic, this recipe is about to become your new best friend.
I’m not exaggerating when I say these BLT Wrap Pinwheels have saved more than one rushed morning, and the best part? You can make them ahead of time with simple ingredients you probably already have in your kitchen.
Why You’ll Love This Recipe
This recipe has totally transformed my back-to-school snack routine. Here’s why I keep coming back to these BLT Wrap Pinwheels:
- Make-Ahead Convenience — I prep a batch on Sunday, and they’re ready to grab all week. That’s a lifesaver on hectic mornings.
- Simple Ingredients — No fancy stuff here. Just bacon, lettuce, tomato, cream cheese, and tortillas. My pantry and fridge are always stocked for these.
- Kid-Approved — My kids gobble these down without a fuss, and I’ve even packed them for school parties.
- Mess-Free and Portable — The pinwheel shape keeps everything together, so no soggy mess or dripping sauces in the lunchbox.
- Customizable — Add avocado, swap out turkey bacon, or throw in some cheddar. It’s easy to tweak for any taste or dietary need.
These pinwheels have become my go-to snack for busy mornings, after-school munchies, and even casual get-togethers. They’re proof that simple ingredients and a little prep can make life a whole lot easier.
Ingredients You’ll Need
Here’s the best part: the ingredient list is short and sweet, and most of it is probably sitting in your fridge or pantry right now. I’m picky about a few things here, so I’ll share my tips along the way.
- Flour tortillas (6 large, about 10 inches / 25 cm) — I prefer soft, fresh tortillas that are easy to roll. Flour works best here; whole wheat is a nice healthier alternative but can be a bit drier.
- Bacon (12 slices) — Crisp, not chewy. I cook mine in the oven for even crisping. Turkey bacon is fine if you want a lighter option.
- Romaine or iceberg lettuce (1 cup, shredded) — Crunch is key here. Romaine holds up better without wilting.
- Tomato (1 large, thinly sliced / about 150g) — Use firm tomatoes to avoid sogginess. I slice thin so it rolls nicely.
- Cream cheese (8 oz / 225g, softened) — This is the glue that holds it together. Full-fat cream cheese gives the best texture and flavor.
- Mayonnaise (2 tablespoons) — Adds extra creaminess and tang. You can swap for Greek yogurt for a lighter touch.
- Garlic powder (¼ teaspoon) — Just a hint to amp up flavor without overpowering the classic BLT taste.
- Black pepper (to taste) — Freshly ground is best. Adds a little zing.
- Optional add-ins: Avocado slices, shredded cheddar, chopped green onions, or a dash of hot sauce for a little kick.
Equipment Needed
You don’t need much to whip up these pinwheels. Here’s what I use every time:
- Baking sheet — For cooking bacon evenly in the oven. I line mine with foil for easy cleanup.
- Mixing bowl — To combine cream cheese, mayo, and seasonings into a smooth spread.
- Sharp knife — For slicing tomatoes thinly and chopping lettuce finely.
- Cutting board — Any size works, but I like one big enough to roll out the tortillas comfortably.
- Plastic wrap or parchment paper — To wrap the rolled tortillas tightly before chilling.
- Sharp serrated knife — Essential for cleanly slicing the pinwheels without squishing them.
That’s it! No fancy gadgets, just everyday kitchen tools.
How to Make It: Step-by-Step
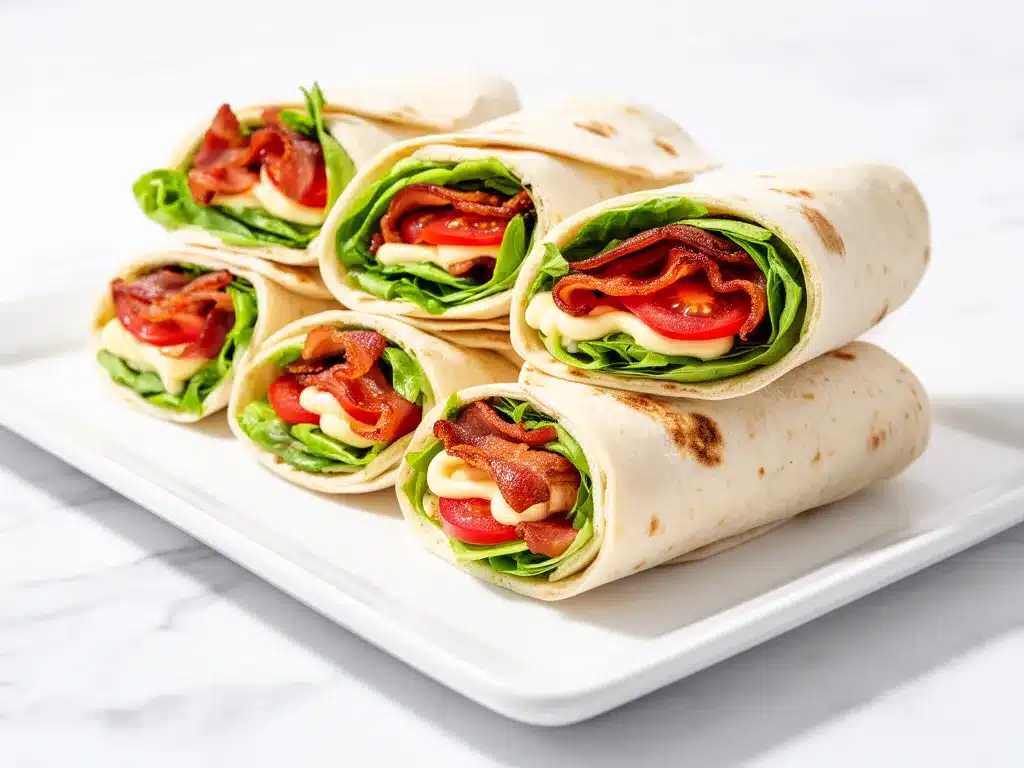
Alright, let’s make these Back-to-School BLT Wrap Pinwheels! I’m walking you through exactly how I do it, including the little tricks I’ve picked up to keep them perfect every time.
Step 1: Cook the Bacon (15-20 minutes)
Preheat your oven to 400°F (200°C). Lay the bacon slices on a foil-lined baking sheet without overlapping. Pop it in the oven for 15-20 minutes, flipping halfway if you like, until crispy but not burnt. Baking keeps the bacon flat and evenly crisp, which is perfect for rolling. Transfer to paper towels to drain.
Step 2: Prep the Spread and Veggies (10 minutes)
While the bacon cooks, soften the cream cheese in a bowl and mix in mayonnaise, garlic powder, and black pepper until smooth. This combo keeps the flavor balanced and spreads easily without tearing the tortilla.
Wash and shred the lettuce finely—too big and it won’t roll smoothly. Slice the tomato thinly and pat each slice with a paper towel to soak up excess moisture (this is a game-changer to prevent soggy wraps!).
Step 3: Assemble the Wraps (5-7 minutes)
Lay a tortilla flat on your cutting board. Spread a thin, even layer of the cream cheese mixture over the entire surface, right up to the edges. This acts as a barrier so the tomato juices don’t soak into the tortilla.
Next, layer shredded lettuce evenly, then place 2 slices of bacon side by side, and finally a few tomato slices. Don’t overload—too much filling makes rolling tricky.
Step 4: Roll and Chill (10 minutes)
Starting from one edge, roll the tortilla tightly but gently, making sure the filling stays in place. Wrap the roll tightly in plastic wrap or parchment paper and pop it in the fridge for at least 10 minutes (longer is fine). This chill time firms everything up and makes slicing clean pinwheels much easier.
Step 5: Slice and Serve
Use a sharp serrated knife to cut the roll into 1-inch (2.5 cm) pinwheels. Arrange them on a platter or pack straight into lunch containers. They keep well in the fridge for up to 3 days, making them perfect for meal prep.
Expert Tips & Tricks
- Pat your tomato slices dry: This one step prevents soggy wraps. I always slice tomatoes ahead and blot with a paper towel.
- Don’t skip chilling: Trying to slice without chilling leads to messy pinwheels. I learned that the hard way, with filling spilling everywhere.
- Bacon in the oven is hands-down the best method for crispy, flat slices that roll well. I tried pan-frying before and ended up with curled, chewy bacon that was hard to work with.
- Use full-fat cream cheese for the best texture. Low-fat versions tend to be runny or gritty.
- Customize your spread by adding a sprinkle of fresh herbs like chives or dill for extra flavor.
- Make a double batch and keep some in the freezer for quick snacks. Wrap tightly and freeze pinwheels individually. Thaw overnight in the fridge.
Variations & Substitutions
Once you’ve nailed the classic, here are some fun ways to switch things up:
- Turkey BLT: Swap bacon for sliced turkey bacon or even deli turkey for a leaner option.
- Veggie Blast: Replace bacon with grilled zucchini or roasted red peppers, and add shredded carrots for crunch.
- Spicy Kick: Mix a little sriracha or chipotle mayo into the cream cheese spread for heat.
- Cheesy Goodness: Add shredded cheddar or mozzarella under the bacon for a melty surprise.
- Gluten-Free: Use gluten-free tortillas. The assembly and taste stay just as great.
- Avocado Lover’s: Add thin avocado slices or mash avocado into the cream cheese for extra creaminess.
- Vegan Variation: Use vegan cream cheese, tempeh bacon, and vegan mayo. I haven’t tried this myself but have friends who swear by it.
Serving & Storage
I usually serve these BLT Wrap Pinwheels cold or at room temperature, straight from the fridge. They’re perfect finger foods for lunchboxes, picnics, or quick snacks on the go.
Side Ideas: Pair with crunchy veggie sticks like celery or carrot, or a small fruit cup for a balanced meal.
Storage: Store wrapped pinwheels in an airtight container in the fridge for up to 3 days. If you want to prep ahead for the week, I recommend assembling the wraps but waiting to slice until the day you plan to serve. This keeps them fresher and less likely to dry out.
Reheating: These are best cold, but if you want them warm, unwrap and microwave for 15-20 seconds. Avoid overheating or the tortillas get chewy.
Nutrition Information
I’m not a nutritionist, but here’s a rough breakdown per serving (based on 12 pinwheels):
| Calories | 150 |
|---|---|
| Protein | 6g |
| Carbohydrates | 12g |
| Fat | 9g |
| Saturated Fat | 4g |
| Sodium | 310mg |
| Fiber | 1g |
This snack packs a good balance of protein and carbs to keep energy up during busy school days. The fat comes mainly from the bacon and cream cheese, which adds satisfying richness. Add more veggies to boost fiber and vitamins.
Final Thoughts
So that’s my go-to recipe for Back-to-School BLT Wrap Pinwheels. I’ve probably talked your ear off, but after making these over and over, I’ve gathered a lot of tips to help you nail them on your first try.
They’ve saved more than one frantic morning and helped me pack lunches that don’t come back half-eaten. More importantly, they’re a snack my kids actually love, which in my book, makes them a winner.
Make them your own—add your favorite extras, swap ingredients, or try the variations. And if you give them a shot, drop a comment below and tell me how they turned out (or if you ran into any trouble—I’m here to help!).
Happy wrapping! I hope your kitchen smells as amazing as mine does right now.
Frequently Asked Questions
Q: Can I use low-fat cream cheese or Greek yogurt instead of full-fat cream cheese?
A: You can swap for low-fat cream cheese or Greek yogurt, but the texture will be less creamy and a bit tangier. Full-fat cream cheese gives the best binding and mouthfeel, especially since it spreads easily without tearing the tortilla.
Q: How far ahead can I make these pinwheels?
A: I recommend assembling the wraps and chilling them wrapped for up to 3 days. For best freshness, slice the pinwheels the day you plan to serve. If you slice them earlier, they can dry out or get soggy from the tomato.
Q: Why do my wraps get soggy?
A: Sogginess usually comes from juicy tomatoes or not chilling the wraps long enough. Pat tomato slices dry before assembling and make sure to spread the cream cheese layer fully to create a moisture barrier. Chilling helps everything set and prevents the tortillas from getting soggy.
Q: Can I freeze the pinwheels?
A: Yes! Wrap the assembled, uncut rolls tightly in plastic wrap and freeze for up to a month. Thaw overnight in the fridge before slicing and serving. Freezing sliced pinwheels isn’t ideal because they might get mushy.
Q: What’s the best way to slice the pinwheels cleanly?
A: Use a sharp serrated knife and slice gently with a sawing motion. Make sure the roll is well chilled before slicing to keep the pinwheels neat and prevent squishing.
Q: Can I add other meats or proteins?
A: Definitely! Turkey bacon, deli turkey, or even grilled chicken strips work great. Just keep the filling balanced so the roll still holds together well.
Q: Is there a vegetarian version of this snack?
A: Yes, try using crispy roasted chickpeas or grilled vegetables instead of bacon, and load up on extra lettuce, tomato, and cheese. You can also add a smoky paprika or liquid smoke to the cream cheese mixture for that classic “bacon” flavor.
Oh, and if you happen to be looking for a quick, crowd-pleasing snack with a bit more crunch, I’ve had great success with crispy garlic chicken bites that also make perfect make-ahead treats. Just saying.
Pin This Recipe!
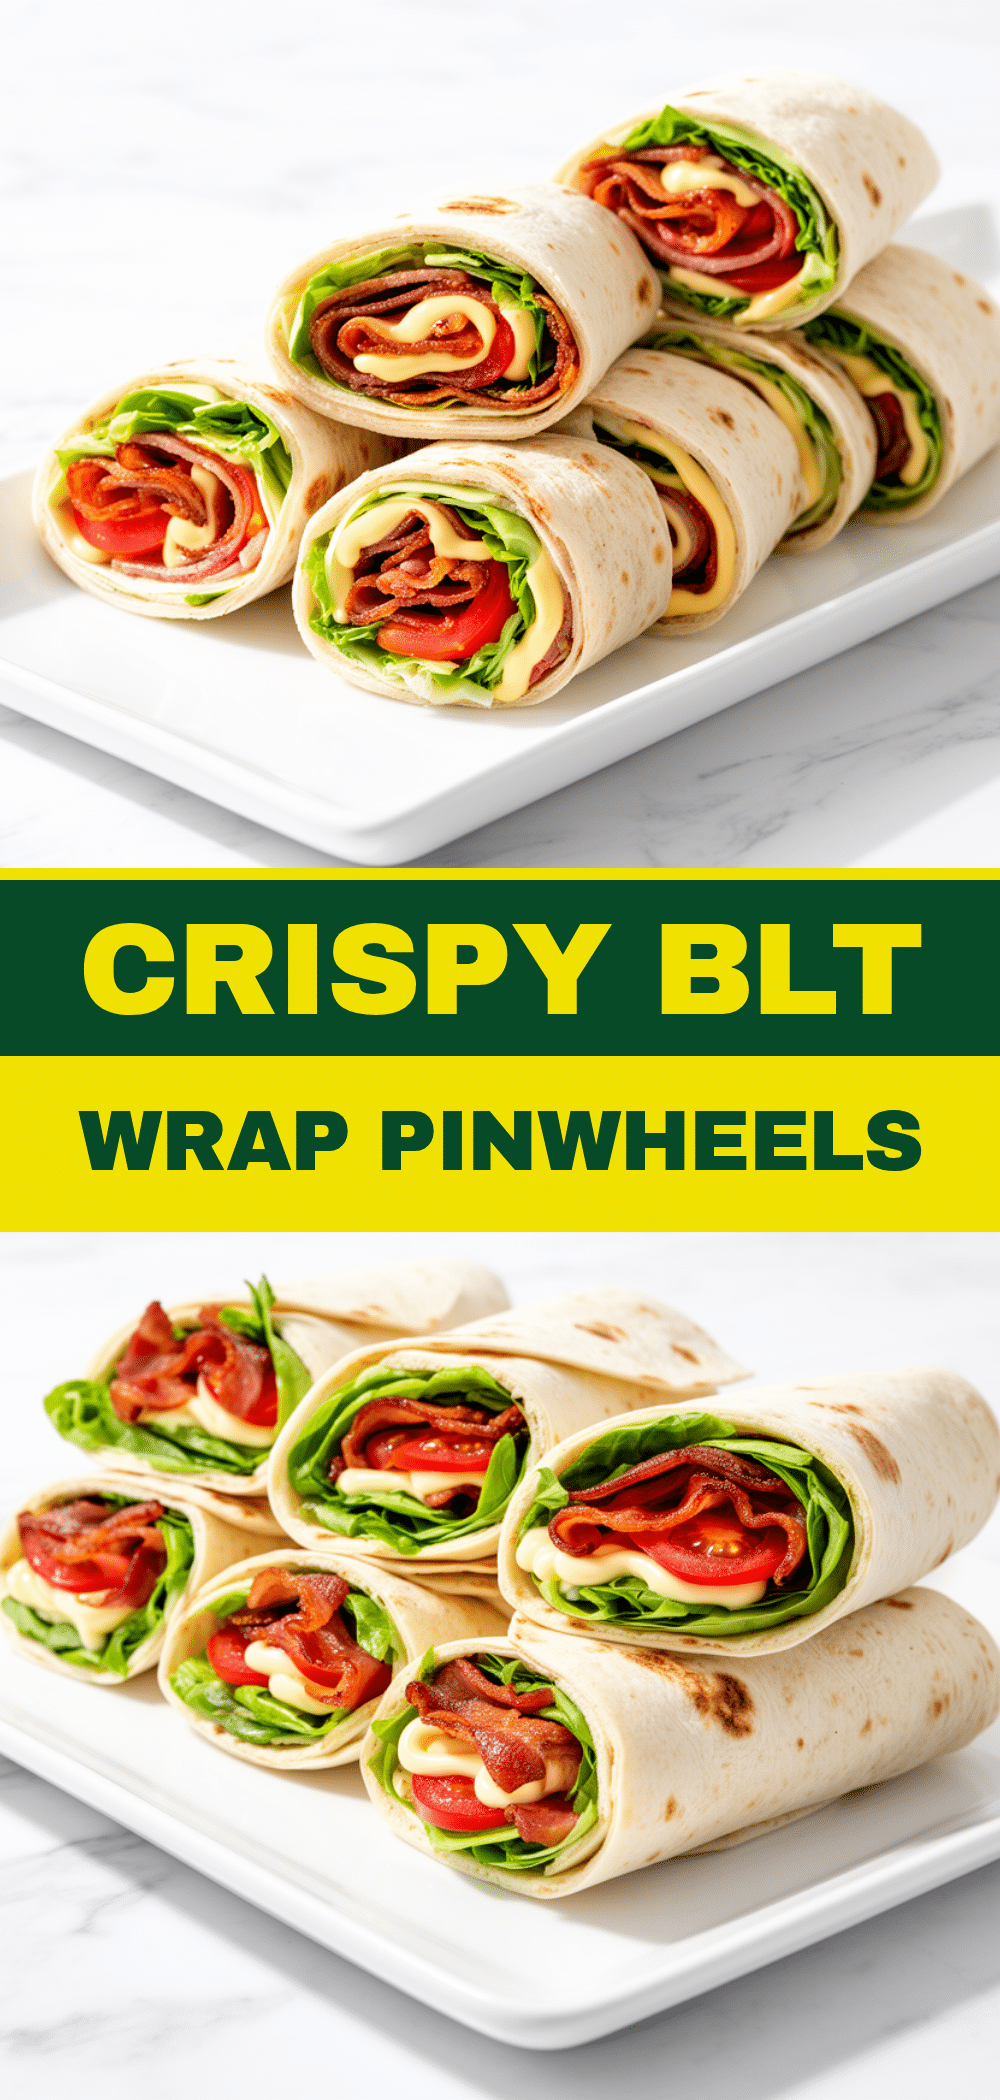

Back-to-School BLT Wrap Pinwheels
- Total Time: 30-35 minutes
- Yield: 12 pinwheels 1x
Description
These easy make-ahead BLT wrap pinwheels are a perfect portable snack for busy mornings and lunchboxes, combining crispy bacon, fresh lettuce, tomato, and creamy spread in a neat bite.
Ingredients
- 6 large flour tortillas (about 10 inches / 25 cm)
- 12 slices bacon, cooked crisp
- 1 cup shredded romaine or iceberg lettuce
- 1 large tomato (about 150g), thinly sliced
- 8 oz (225g) cream cheese, softened
- 2 tablespoons mayonnaise
- 1/4 teaspoon garlic powder
- Black pepper, to taste
- Optional add-ins: avocado slices, shredded cheddar, chopped green onions, hot sauce
Instructions
- Preheat oven to 400°F (200°C). Lay bacon slices on a foil-lined baking sheet without overlapping and bake for 15-20 minutes until crispy. Drain on paper towels.
- In a mixing bowl, combine softened cream cheese, mayonnaise, garlic powder, and black pepper until smooth.
- Wash and shred lettuce finely. Slice tomato thinly and pat dry with paper towels to remove excess moisture.
- Lay a tortilla flat and spread a thin, even layer of the cream cheese mixture over the entire surface.
- Layer shredded lettuce evenly, place 2 slices of bacon side by side, and add a few tomato slices on top.
- Roll the tortilla tightly but gently, wrap it in plastic wrap or parchment paper, and chill in the fridge for at least 10 minutes.
- Use a sharp serrated knife to cut the roll into 1-inch (2.5 cm) pinwheels. Serve cold or at room temperature.
Notes
Pat tomato slices dry to prevent soggy wraps. Chill the rolled wraps before slicing to keep pinwheels neat. Use full-fat cream cheese for best texture. Bacon baked in the oven stays flat and crispy, ideal for rolling. Pinwheels keep well in the fridge up to 3 days and can be frozen uncut for up to a month.
- Prep Time: 15 minutes
- Cook Time: 15-20 minutes
- Category: Snack
- Cuisine: American
Nutrition
- Serving Size: 1 pinwheel
- Calories: 150
- Sodium: 310
- Fat: 9
- Saturated Fat: 4
- Carbohydrates: 12
- Fiber: 1
- Protein: 6
Keywords: BLT, wrap pinwheels, back to school snack, make-ahead snack, bacon wrap, lunchbox snack, easy snack