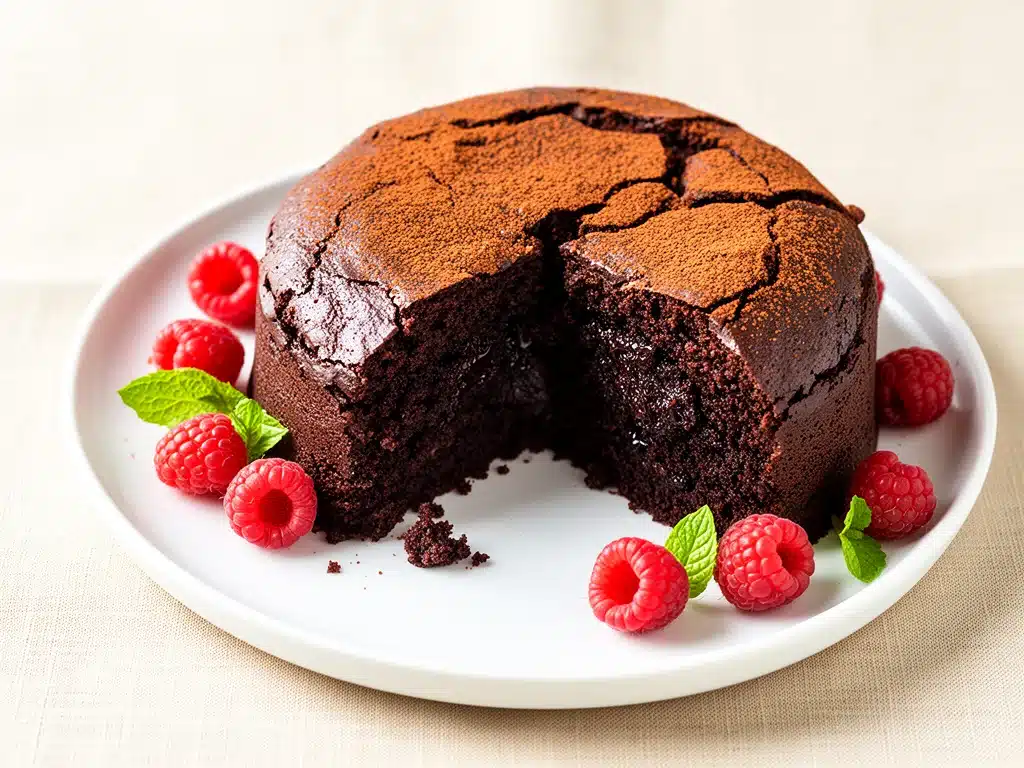
One rainy Sunday afternoon, I found myself staring at a nearly empty pantry and a serious chocolate craving that just wouldn’t quit. No flour, no fancy baking mixes—just eggs, cocoa powder, sugar, and a handful of staples. I figured I’d either end up with a total disaster or something surprisingly good. Spoiler alert: it turned out to be one of the best chocolate cakes I’ve ever made—not to mention it was completely gluten-free and flourless. Since then, this gluten-free flourless chocolate cake has become my secret weapon for last-minute desserts and celebrations alike.
What makes this cake special? It’s ridiculously simple, requires just a handful of ingredients (you probably already have), and delivers that rich, fudgy texture that chocolate lovers dream about. I’ve made it dozens of times now, tweaking here and there, and it always comes out perfect. Seriously, if you’re intimidated by flourless cakes or think gluten-free means complicated, this recipe will change your mind.
Plus, it’s the kind of dessert that impresses guests without making you sweat in the kitchen. I even brought it to a potluck once, and people were begging for the recipe. So, if you want an easy, decadent, repeat-worthy chocolate cake that’s naturally gluten-free, stick around. I’m about to share everything I’ve learned.
Why You’ll Love This Gluten-Free Flourless Chocolate Cake
This cake isn’t just good—it’s become my go-to for a bunch of reasons. Here’s why I keep making it:
- Simple Ingredients — No need for weird gluten-free flours or specialty items. You’ll mostly need cocoa, eggs, sugar, and butter. I’ve made this when my pantry was bare, and it still rocked.
- Rich and Fudgy — Unlike some flourless cakes that are dry or crumbly, this one stays moist and dense. It’s basically like eating a giant, soft chocolate truffle.
- Gluten-Free, Naturally — No flour means no gluten, making it perfect if you’re gluten-sensitive or baking for friends who are. No extra substitutions needed.
- Ready in Under an Hour — From start to finish, this cake takes about 50 minutes with only 15 minutes of active prep. I whip it up on busy weekends or whenever the chocolate bug bites.
- Impressive Yet Easy — It looks fancy enough for a dinner party but honestly, it’s one of the easiest cakes I know. My husband was convinced I bought it from a bakery.
- Perfect for Leftovers — Leftover cake? Yes, please! It tastes even better the next day, slightly chilled, with a dusting of powdered sugar or a scoop of vanilla ice cream.
So basically, this cake hits all the marks: easy, delicious, gluten-free, and crowd-pleasing. It’s the sweet spot between comfort food and fancy dessert.
Ingredients You’ll Need
Here’s the best part: you probably have most of these in your kitchen already. I’m picky about a few ingredients because they really make a difference, so I’ll share my favorite choices and substitutions.
- Bittersweet or Semisweet Chocolate (8 ounces / 225g) — Use a good-quality chocolate bar, not chips. I like Ghirardelli or Valrhona for richness. You can mix dark and semisweet if you want it less intense.
- Unsalted Butter (½ cup / 115g) — Gives the cake that silky texture. I always use unsalted so I can control salt levels.
- Granulated Sugar (¾ cup / 150g) — Sweetens without overpowering. You can swap half for coconut sugar if you want a deeper flavor.
- Large Eggs (4) — Eggs are the structure here since there’s no flour. Use room temperature eggs for best mixing.
- Cocoa Powder (¼ cup / 25g) — Use unsweetened Dutch-process cocoa if you have it—it’s smoother and less bitter. Natural cocoa powder works too, but the flavor will be more intense.
- Vanilla Extract (1 teaspoon) — Adds warmth and depth. Fresh vanilla makes a difference here.
- Salt (¼ teaspoon) — Balances the sweetness and intensifies chocolate flavor. Don’t skip it.
- Optional Toppings:
- Powdered sugar for dusting
- Fresh berries or whipped cream
- A scoop of vanilla ice cream (because why not?)
Quick tip: I always chop the chocolate into small pieces before melting for even melting and less chance of burning. Also, if you want to get fancy, a sprinkle of flaky sea salt on top before serving is amazing.
Equipment Needed
You don’t need anything fancy—just the basics that I bet are already in your kitchen.
- Heatproof Bowl — For melting chocolate and butter. Glass or metal works fine. I use a medium mixing bowl that fits over a pot for a double boiler.
- Small Saucepan — To gently melt chocolate and butter together. Alternatively, you can melt them in the microwave in short bursts.
- Mixing Bowl — For beating eggs and sugar.
- Whisk or Hand Mixer — A whisk works great here, but a hand mixer speeds things up.
- 8-inch Round Cake Pan — I use a springform pan for easy removal, but a regular cake pan lined with parchment works too.
- Parchment Paper — To line the pan and prevent sticking.
- Spatula — For folding ingredients gently.
Pro tip: If you don’t have a springform pan, just line your cake pan generously with parchment paper, leaving overhang on the sides to lift the cake out easily once it’s cooled.
How to Make Gluten-Free Flourless Chocolate Cake: Step-by-Step
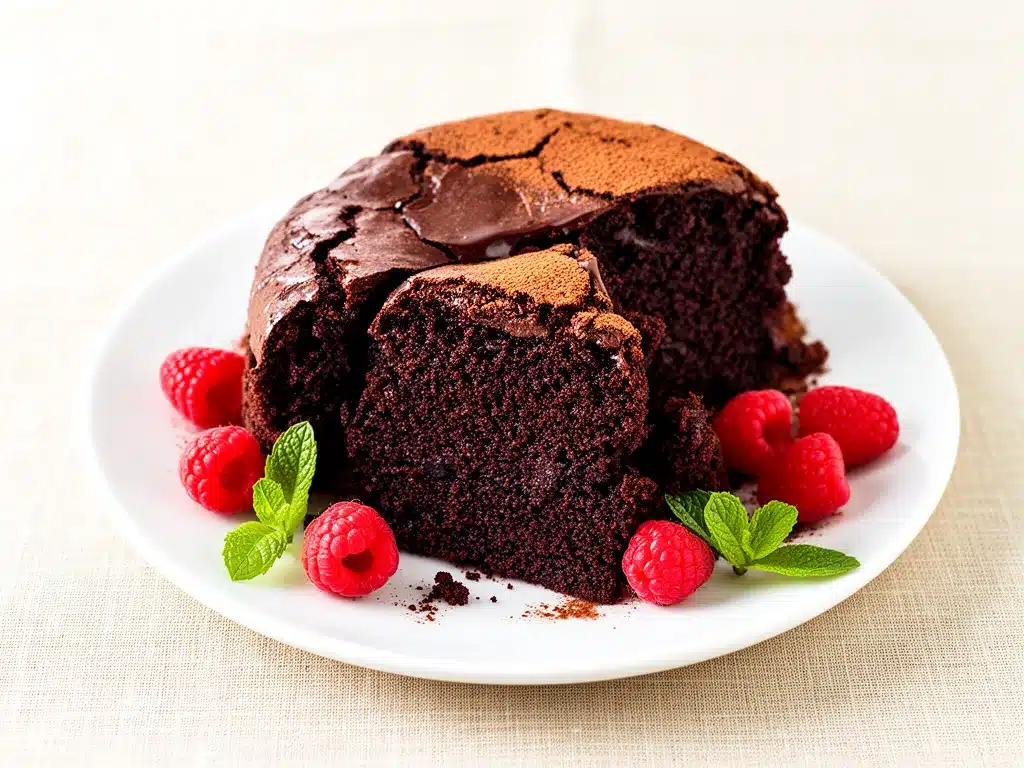
Alright, let’s make this! I’m walking you through exactly how I do it, including the little tricks I’ve picked up.
Step 1: Prep Your Pan and Ingredients (5 minutes)
Start by preheating your oven to 375°F (190°C). Line your 8-inch cake pan with parchment paper, making sure some overhangs for easy removal. Chop your chocolate into small pieces and cut the butter into cubes so they melt evenly.
Step 2: Melt Chocolate and Butter (5 minutes)
Place the chopped chocolate and butter in a heatproof bowl over a pot of simmering water (double boiler method). Stir frequently until smooth and glossy. If you don’t want to fuss, microwave in 20-second bursts, stirring in between until melted. Set aside to cool slightly.
Step 3: Whisk Eggs and Sugar (3 minutes)
In a separate large mixing bowl, whisk the eggs and granulated sugar together until pale and slightly thickened. This usually takes about 3 minutes by hand or 2 with a hand mixer. The texture should be light and frothy—this step helps create the cake’s airy crumb despite no flour.
Step 4: Combine Ingredients (3 minutes)
Pour the slightly cooled chocolate mixture into the egg mixture. Add vanilla extract, salt, and cocoa powder. Gently fold everything together with a spatula until just combined. Don’t overmix—you want to keep as much air as possible for that tender texture.
Step 5: Bake the Cake (25-30 minutes)
Pour the batter into your prepared pan and smooth the top. Bake for 25-30 minutes until the edges are set but the center still looks slightly soft (it will firm up as it cools). A toothpick inserted near the center should come out with moist crumbs, not wet batter.
Step 6: Cool and Serve (15 minutes)
Let the cake cool completely in the pan on a wire rack. Once cool, use the parchment overhang to lift it out gently. Dust with powdered sugar or top with berries and whipped cream if you like. Slice with a sharp knife (warm the knife under hot water and dry it for clean cuts).
Pro tip: This cake is best served at room temperature or slightly chilled. I love it with a scoop of vanilla ice cream on top for a decadent finish.
Expert Tips & Tricks
- Don’t Skip Room Temperature Eggs — Cold eggs don’t whip up as well, and you’ll miss out on that light crumb. Take them out 15 minutes before baking.
- Chop Chocolate Evenly — Large chunks take longer to melt and risk burning. Small pieces melt smoothly and quickly.
- Watch Your Bake Time — Overbaking dries out the cake. It should still jiggle slightly in the center when you take it out.
- Use Good-Quality Chocolate — This is a chocolate lover’s cake, so the better the chocolate, the better the cake.
- Let It Rest — The cake tastes better after chilling for a few hours or overnight. Flavors deepen and texture firms beautifully.
- Experiment with Toppings — A dusting of espresso powder or a drizzle of salted caramel sauce takes it next level.
- Don’t Fear the Butter — It’s key for the rich mouthfeel. Use unsalted so you control the salt.
Variations & Substitutions
Once you’ve nailed this basic gluten-free flourless chocolate cake, here are some ways to shake it up:
- Orange Zest — Add zest of one orange to the batter for a citrus twist. It brightens the rich chocolate perfectly.
- Espresso Kick — Stir in 1 tablespoon instant espresso powder with the cocoa for a mocha flavor.
- Nutty Crunch — Fold in ½ cup chopped toasted walnuts or pecans for added texture.
- Vegan Version — Replace eggs with ½ cup unsweetened applesauce per egg and use coconut oil instead of butter. Texture will be different but tasty.
- Dairy-Free — Swap butter with coconut oil and use dairy-free chocolate. The flavor will be slightly different but still decadent.
For a different kind of chocolate treat that’s also easy to make, my thick bakery-style double chocolate cookies are a hit in my house and just as addictive.
Serving & Storage
This cake is a showstopper served on its own or with simple sides:
- How to Serve: I usually slice it into small wedges because it’s rich. A dusting of powdered sugar, fresh raspberries, or a dollop of whipped cream makes it feel extra special.
- Pair It With: A cup of strong coffee or a glass of red wine. If you like cozy drinks, try pairing with a warm vanilla chai apple cider for a perfect autumn vibe.
- Storage: Store leftovers in an airtight container at room temperature for up to 2 days or in the fridge for up to 5 days. Bring to room temperature before serving for best texture.
- Freezing: Wrap the cooled cake tightly in plastic wrap and foil. Freeze for up to 3 months. Thaw overnight in the fridge and then bring to room temperature.
Nutrition Information
I’m not a nutritionist, but here’s the breakdown if you’re tracking (per serving, based on 8 servings):
| Calories | Protein | Carbs | Fat | Saturated Fat | Sugar |
|---|---|---|---|---|---|
| 320 | 5g | 35g | 20g | 12g | 28g |
This cake is rich in fat and sugar, as you’d expect from a flourless chocolate dessert, but it does provide some protein from the eggs and minerals from the dark chocolate. Adding fresh fruit on the side can help balance the indulgence.
Final Thoughts
So that’s my favorite gluten-free flourless chocolate cake recipe! I know I’ve probably rambled a bit, but when you find a cake this easy and delicious, you get chatty. This cake has saved me more times than I can count—whether it’s an unexpected guest, a last-minute dessert, or just a chocolate craving that won’t quit.
It’s simple, uses ingredients you already have, and delivers a rich, fudgy treat that everyone loves (even people who aren’t gluten-free). Plus, it’s so forgiving—you can tweak it a million ways and still come out a winner.
Make it your own. Add a little orange zest, some nuts, or a splash of espresso. Serve it with whipped cream or ice cream. And if you try it, drop a comment below—I want to hear how it turns out in your kitchen. If something doesn’t work, tell me that too. I’m here to help.
Happy baking! I hope your kitchen smells as amazing as mine does right now.
Frequently Asked Questions
Q: Can I use milk instead of butter in this cake?
A: Butter is key here for the rich texture and flavor, so I don’t recommend swapping it for milk. If you want a dairy-free alternative, coconut oil works well, but milk alone won’t give the right texture or fat content.
Q: Why did my cake crack on top?
A: Flourless chocolate cakes often develop cracks because they’re dense and fragile. It’s totally normal and doesn’t affect taste. To minimize cracks, avoid overbaking and cool the cake gradually.
Q: Can I make this cake ahead of time?
A: Absolutely! It actually tastes better after resting overnight. Just wrap it well and store it in the fridge. Bring to room temperature before serving, or warm slices gently in the microwave.
Q: How do I know when the cake is done?
A: The edges should be set and pull slightly away from the pan, but the center should still jiggle a bit when you gently shake the pan. A toothpick inserted near the center will come out with moist crumbs, not wet batter.
Q: Can I add flour or almond meal to this recipe?
A: You can add a tablespoon or two of almond meal for a slightly different texture and nuttiness, but it’s unnecessary. The cake’s charm is its simplicity and flourless structure.
Q: What’s the best way to serve leftovers?
A: Leftovers are great chilled or at room temperature. Serve with fresh berries or a scoop of ice cream. When reheating, warm gently in the microwave or oven to soften.
Q: Can I double this recipe?
A: Yes! Use a larger pan or two pans to ensure even baking. Baking time may increase slightly—start checking around 30 minutes.
Pin This Recipe!
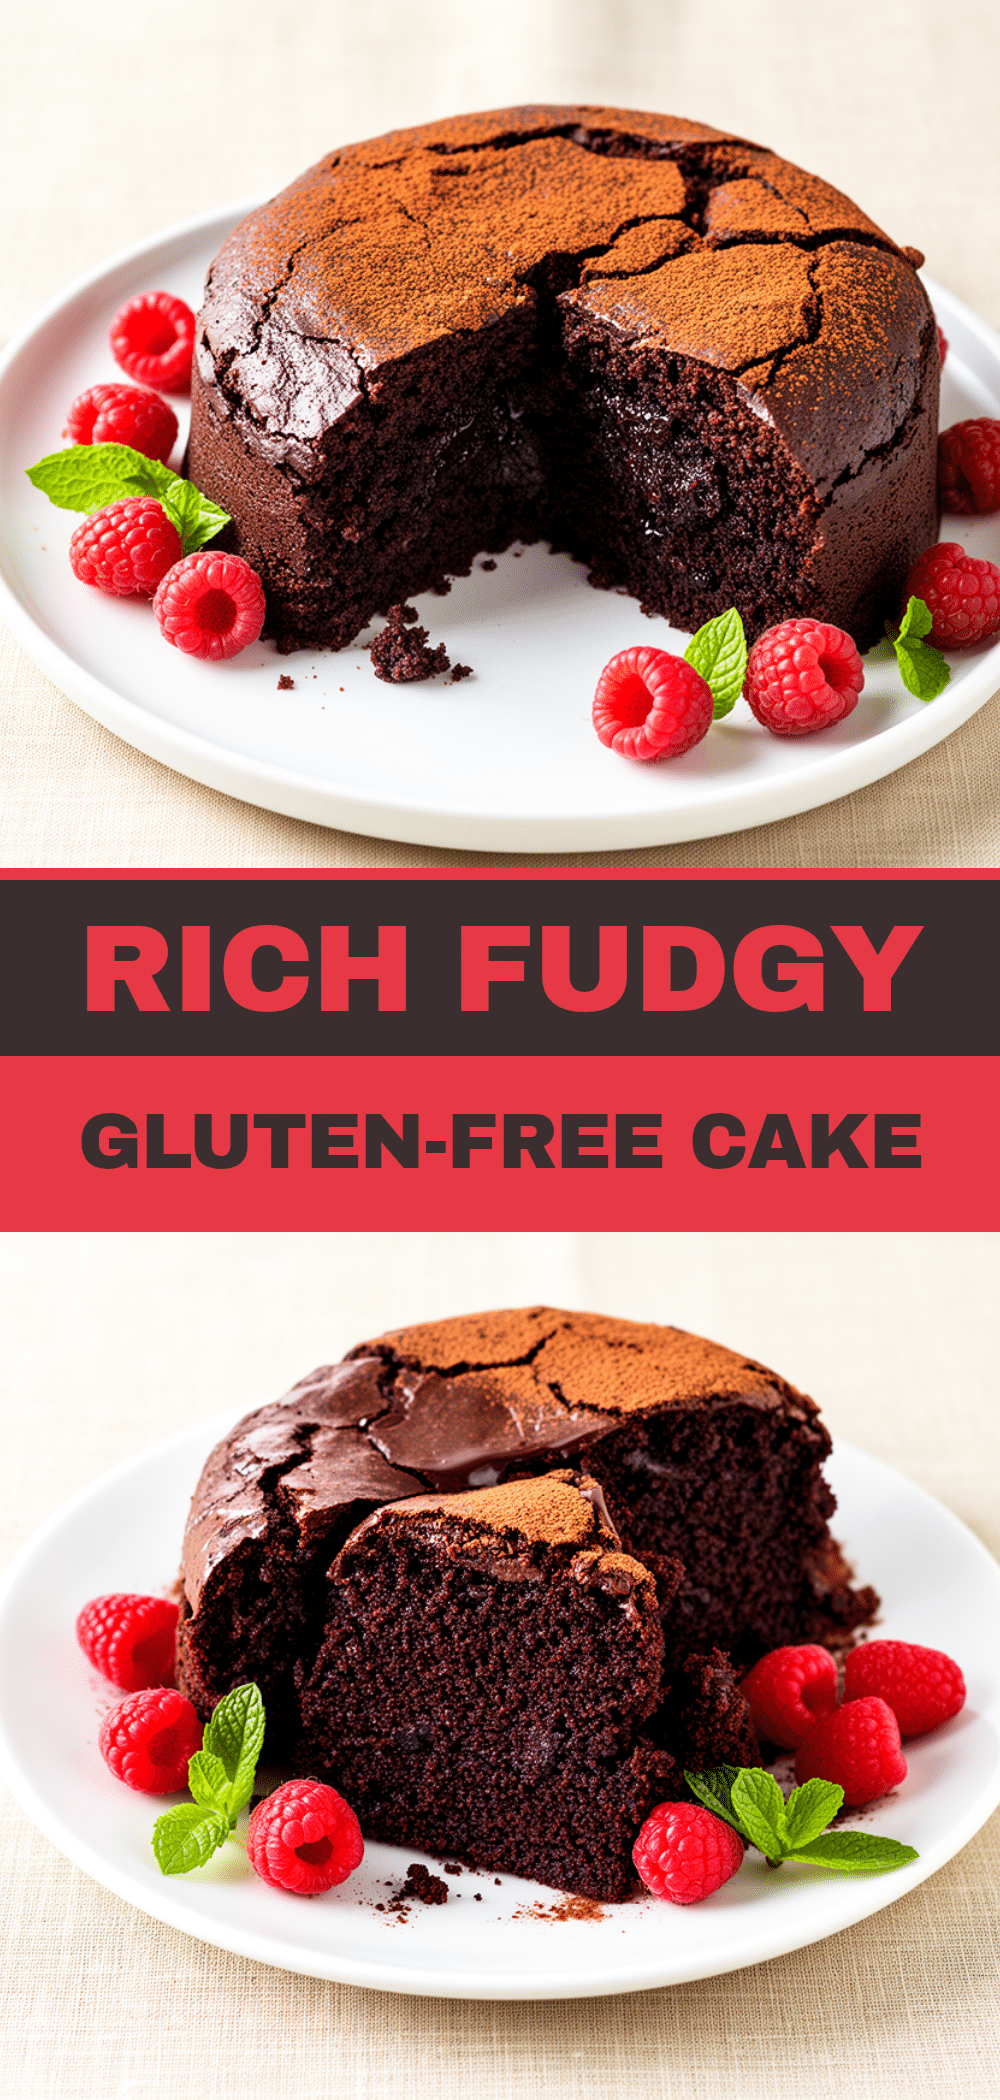
Gluten-Free Flourless Chocolate Cake Easy Recipe with Simple Ingredients
- Total Time: 45 minutes
- Yield: 8 servings 1x
Description
A rich, fudgy, and naturally gluten-free flourless chocolate cake made with simple ingredients like chocolate, eggs, sugar, and butter. Perfect for last-minute desserts and celebrations.
Ingredients
- 8 ounces bittersweet or semisweet chocolate (good-quality bar, not chips)
- 1/2 cup unsalted butter (115g)
- 3/4 cup granulated sugar (150g)
- 4 large eggs (room temperature)
- 1/4 cup unsweetened Dutch-process cocoa powder (25g)
- 1 teaspoon vanilla extract
- 1/4 teaspoon salt
- Optional toppings: powdered sugar for dusting, fresh berries, whipped cream, vanilla ice cream
Instructions
- Preheat oven to 375°F (190°C). Line an 8-inch round cake pan with parchment paper, leaving some overhang for easy removal. Chop chocolate into small pieces and cut butter into cubes.
- Melt chocolate and butter together in a heatproof bowl over simmering water (double boiler method), stirring frequently until smooth and glossy. Alternatively, melt in microwave in 20-second bursts, stirring in between. Set aside to cool slightly.
- In a large mixing bowl, whisk eggs and granulated sugar together until pale and slightly thickened, about 3 minutes by hand or 2 minutes with a hand mixer.
- Pour the slightly cooled chocolate mixture into the egg mixture. Add vanilla extract, salt, and cocoa powder. Gently fold with a spatula until just combined, being careful not to overmix.
- Pour batter into prepared pan and smooth the top. Bake for 25-30 minutes until edges are set but center still looks slightly soft. A toothpick inserted near the center should come out with moist crumbs, not wet batter.
- Cool cake completely in the pan on a wire rack. Use parchment overhang to lift cake out gently. Dust with powdered sugar or top with berries and whipped cream if desired. Slice with a warm, sharp knife.
Notes
Use room temperature eggs for best mixing. Chop chocolate into small pieces for even melting. Avoid overbaking to keep cake moist and fudgy. Cake tastes better after chilling overnight. Optional toppings include powdered sugar, fresh berries, whipped cream, or vanilla ice cream. For dairy-free version, substitute butter with coconut oil and use dairy-free chocolate.
- Prep Time: 15 minutes
- Cook Time: 30 minutes
- Category: Dessert
- Cuisine: American
Nutrition
- Serving Size: 1 slice (1/8 of cake
- Calories: 320
- Sugar: 28
- Fat: 20
- Saturated Fat: 12
- Carbohydrates: 35
- Protein: 5
Keywords: gluten-free, flourless, chocolate cake, easy dessert, fudgy cake, last-minute dessert, simple ingredients