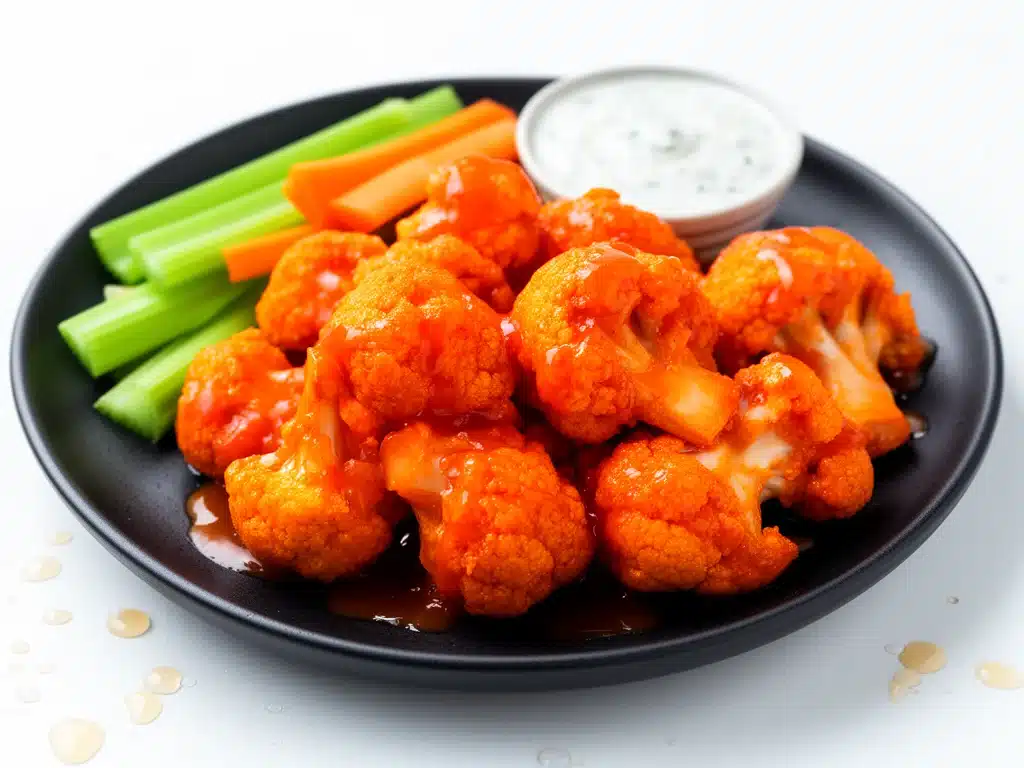
One Friday night, I found myself staring into the fridge, craving something crunchy, spicy, and totally satisfying—but without the usual messy chicken wings. I was tired of the same old takeout options and wanted a snack that felt indulgent but was actually made from simple ingredients I already had. That’s when I stumbled upon this crispy buffalo cauliflower wings recipe. I’ll admit, I burned the first batch (twice), thinking high heat meant crispier wings, but after some trial and error, I nailed the perfect crunch and fiery sauce balance. Now, this recipe is my go-to snack for game nights, casual gatherings, or just whenever I want that addictive buffalo flavor without the fuss. The best part? It uses straightforward ingredients and comes together faster than you’d expect.
If you’ve ever wondered how to make buffalo cauliflower wings that don’t turn soggy or bland, I’ve got you covered. After testing this recipe over a dozen times (and taste-testing by a very picky husband), I’m excited to share everything you need to know to get these crispy, flavorful bites just right. Ready to swap your usual snack for something that’s vegan-friendly, crunchy, and downright addictive? Let’s jump in.
Why You’ll Love This Crispy Buffalo Cauliflower Wings Recipe
This recipe completely changed how I think about cauliflower snacks. Here’s why I keep making it (and keep eating the leftovers for breakfast, no shame):
- Crazy Crispy Every Time — The secret baking technique locks in crunch without deep frying. I’ve shared these with friends who swear they taste fried, not baked.
- Simple Ingredients — No fancy sauces or hard-to-find spices. Just pantry basics like hot sauce, flour, and a head of cauliflower. I always have these on hand.
- Totally Customizable — Want it milder or extra spicy? You control the heat. Plus, you can add dairy-free ranch or blue cheese dips to amp it up.
- Vegan and Gluten-Free Friendly — With easy swaps, this snack fits all kinds of diets. My gluten-sensitive sister and vegan friend both love it.
- Perfect for Any Occasion — Game night, casual lunch, or a quick snack on a busy day. These wings have been my go-to for everything from easy batch snacks to party appetizers.
- Leftovers Reheat Great — Pop them back in the oven or air fryer to restore crispiness. I’ve even packed them in lunches with some crunchy veggies.
This is the kind of recipe that feels fancy but is foolproof enough to whip up on a whim. When I want something crunchy, spicy, and satisfying without the mess of traditional wings, this buffalo cauliflower recipe has my back.
Ingredients You’ll Need
Here’s the best part: these crispy buffalo cauliflower wings only need a handful of ingredients, most of which are probably hanging out in your pantry right now. I’m picky about a few key items, and I’ll explain why.
- Cauliflower (1 large head / about 600g) — The star of the show. Choose a firm, fresh head with tight florets. I like to cut into bite-sized pieces, roughly the size of traditional wing bites.
- All-purpose flour (¾ cup / 90g) — This creates the crispy coating. You can swap for gluten-free flour if needed. I tried chickpea flour once, and it added a nice nutty flavor.
- Water (¾ cup / 180ml) — Used to make the batter. Room temperature works best. I’ve experimented with using sparkling water for extra crispiness—works but a tiny bit messier.
- Garlic powder (1 teaspoon) — Adds savory depth. Fresh garlic would burn in the oven, so I stick to powder here.
- Paprika (1 teaspoon) — Smoky and mild, it gives the batter subtle warmth.
- Salt (½ teaspoon) — Balances flavors. Don’t skip it.
- Hot sauce (½ cup / 120ml) — I use Frank’s RedHot Classic. It’s tangy, spicy, and perfect for buffalo sauce. Feel free to swap for your favorite buffalo sauce or add more if you like it fiery.
- Vegan butter (2 tablespoons / 30g), melted — Mixes into the hot sauce to mellow the heat and add richness. Use regular butter if you’re not dairy-free.
- Optional: Celery sticks and ranch or blue cheese dressing — For serving. These add a refreshing crunch and cooling dip that balances the heat.
Equipment Needed
You don’t need any fancy gadgets for these buffalo cauliflower wings. Here’s what I actually use:
- Baking sheet — A rimmed sheet pan works best to catch drips. I line mine with parchment paper for easy cleanup.
- Mixing bowls — One for batter, one for sauce. I usually use glass or stainless steel.
- Whisk or fork — For mixing the batter smoothly. I’ve tried electric mixers but honestly, a fork works fine here.
- Tongs — For tossing the cauliflower in batter and sauce without breaking the florets.
- Cooling rack (optional but recommended) — Placing the battered cauliflower on a wire rack over the sheet pan helps air circulate and keeps the wings crispy.
- Measuring cups and spoons — Basic but essential for getting the batter right.
How to Make Crispy Buffalo Cauliflower Wings: Step-by-Step
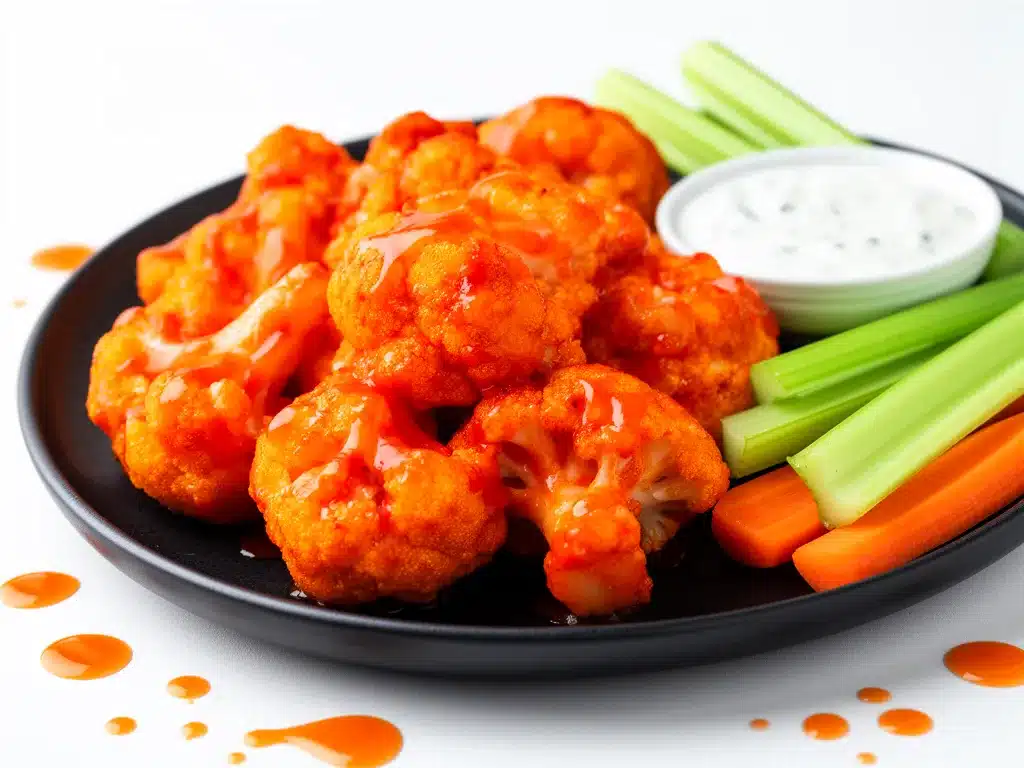
Alright, let’s get to the good stuff. I’m walking you through exactly how I make these crispy buffalo cauliflower wings, including the little tricks that make all the difference.
Step 1: Prep the Cauliflower (5 minutes)
Start by washing and drying your cauliflower well. Cut it into bite-sized florets—think about the size of traditional chicken wings. Make sure they’re roughly the same size so they cook evenly. Set aside while you mix the batter.
Step 2: Make the Batter (5 minutes)
In a mixing bowl, whisk together the all-purpose flour, water, garlic powder, paprika, and salt until you have a smooth, pancake-like batter. It should be thick enough to coat the cauliflower but still drip off your spoon. If it’s too thick, add a splash more water. Too thin? A little more flour. This batter is what gives the wings their signature crispy coating.
Step 3: Coat the Cauliflower (5 minutes)
Use tongs to dip each cauliflower floret into the batter, making sure it’s fully coated. Shake off any excess and place the florets on a cooling rack set over a parchment-lined baking sheet. Using a rack is a game-changer—it lets air circulate, so the batter crisps up instead of steaming. If you don’t have a rack, place them directly on the parchment but flip halfway through baking.
Step 4: Bake the Cauliflower (25-30 minutes)
Pop the tray in a preheated oven at 450°F (230°C). Bake for 25-30 minutes, flipping the florets halfway through so both sides get golden and crispy. Watch closely near the end—if they start to burn, lower the temperature by 25 degrees. You’ll know they’re done when they’re crisp on the outside and tender inside.
Step 5: Make the Buffalo Sauce (3 minutes)
While the cauliflower bakes, melt the vegan butter in a small saucepan or microwave. Stir the hot sauce into the melted butter until smooth and combined. This simple sauce is where all the buffalo flavor happens.
Step 6: Toss the Cauliflower in Sauce (2 minutes)
Once the cauliflower is out of the oven, transfer the florets to a large mixing bowl. Pour the buffalo sauce over them and toss gently with tongs until every piece is coated evenly. If you want extra crispy wings, spread them back on the rack and bake for another 5 minutes to set the sauce.
Step 7: Serve and Enjoy
Serve immediately with celery sticks and your favorite ranch or blue cheese dressing. Watch how fast these disappear!
Expert Tips & Tricks
- Use a Cooling Rack for Crispiness: Baking on a wire rack keeps the air flowing and prevents soggy bottoms. I learned this the hard way after soggy first batches.
- Don’t Skip the Flip: Flipping halfway through baking ensures even crisping. I set a timer so I don’t forget.
- Adjust the Heat: Feel free to add more hot sauce if you like it fiery or tone it down with extra melted butter for milder bites.
- Making It Ahead: Bake the cauliflower, toss in sauce, then cool completely. Store in the fridge for up to 3 days. Reheat in a hot oven or air fryer to bring back crispiness.
- Leftovers: Pop leftovers in the oven at 375°F (190°C) for 10 minutes to revive crispness. Microwave makes them soggy unless you add a splash of water and cover loosely.
- Don’t Overcrowd the Pan: Give the cauliflower space on the rack or baking sheet to avoid steaming.
- Try Air Frying: If you have an air fryer, cook at 400°F (200°C) for about 15 minutes, shaking halfway through. Same crispy result with less oven time.
Variations & Substitutions
Once you’ve nailed the classic crispy buffalo cauliflower wings, here are some ways to switch things up and keep it interesting:
- Spicy Garlic Wings: Add 1 teaspoon garlic powder to the buffalo sauce and a dash of cayenne pepper for extra kick.
- BBQ Cauliflower Wings: Swap out the buffalo sauce for your favorite smoky BBQ sauce. These pair perfectly with a side of coleslaw.
- Buffalo Cauliflower Tacos: Use these wings as a filling with slaw and avocado for a tasty twist.
- Gluten-Free Version: Substitute all-purpose flour with a gluten-free blend. I’ve had great results with Bob’s Red Mill 1-to-1 gluten-free flour.
- Dairy-Free Ranch: Serve with this easy homemade vegan ranch or a store-bought dairy-free dressing for dipping.
- Add Protein: Toss in some crispy tofu cubes or chickpeas seasoned with buffalo sauce for a heartier snack or meal.
Serving & Storage
Here’s how I like to enjoy and keep these buffalo cauliflower wings fresh:
- Serving Ideas: Serve hot with crunchy celery sticks and a cool ranch or blue cheese dip. They also pair amazingly with a crisp green salad or easy make-ahead snack kabobs for a balanced meal.
- Storing Leftovers: Store cooled wings in an airtight container in the fridge for up to 3 days. They’ll keep their flavor but lose some crispiness.
- Reheating: The oven or air fryer is your friend here. Reheat at 375°F (190°C) for 8-10 minutes to bring back that crunch. Microwave only if pressed for time, but expect a softer texture.
- Freezing: Not ideal. Cauliflower tends to get mushy when frozen and reheated. I recommend making fresh batches or freezing the sauce separately for quick reheating.
Nutrition Information
I’m not a nutritionist, but here’s a rough breakdown per serving (recipe makes about 4 servings):
| Nutrient | Amount |
|---|---|
| Calories | 210 |
| Protein | 5g |
| Carbohydrates | 25g |
| Fiber | 5g |
| Sugar | 3g |
| Fat | 9g |
| Saturated Fat | 3g |
| Cholesterol | 0mg (vegan version) |
| Sodium | 600mg |
| Calcium | 50mg |
This snack is veggie-heavy and packed with fiber, but the sauce adds a bit of heat and richness, so it’s definitely a treat. Adding celery and a light dip balances it out nicely.
Final Thoughts
So that’s my crispy buffalo cauliflower wings recipe! I’ve probably rambled on enough, but when a recipe becomes your go-to snack, you end up with plenty of stories and tips to share. This has saved me on so many nights when I wanted something flavorful, easy, and homemade without the grease and mess of traditional wings.
It’s perfect as-is, but don’t hesitate to make it your own. Add more garlic if you’re like me, or swap in your favorite hot sauce. The simple ingredients mean you can tweak it to your family’s tastes with zero stress. If you love quick, crowd-pleasing snacks like these, you might also enjoy my chicken bacon ranch sliders for a hearty dinner or the thick bakery-style double chocolate cookies for an indulgent sweet treat afterward.
If you make these crispy buffalo cauliflower wings, I’d love to hear how they turn out! Drop a comment below with your tweaks, questions, or if you accidentally burned the first batch like I did. I’m here to help you get that perfect crunch every time.
Happy cooking! And may your kitchen soon smell like spicy, crispy heaven.
Frequently Asked Questions
Q: Can I use milk instead of water in the batter?
A: You can, but I prefer water because it keeps the batter light and crispy. Milk tends to make the coating a bit denser and less crunchy. If you want extra richness, try swapping half the water for unsweetened almond milk or oat milk—just don’t make it too thick.
Q: Why did my wings turn out soggy?
A: Most likely, they were overcrowded on the pan or baked without a cooling rack. Give the cauliflower plenty of space so air can circulate, and use a wire rack if you have one. Also, don’t skip flipping halfway through baking.
Q: Can I make these in an air fryer?
A: Absolutely! Air fry at 400°F (200°C) for about 15 minutes, shaking halfway. This method crisps them up nicely with less oil and faster cooking.
Q: How spicy are these wings?
A: The heat depends on the hot sauce you use. I use Frank’s RedHot, which has a moderate kick—not overwhelming but definitely noticeable. Feel free to add more sauce for extra heat or mix in some melted butter to mellow it.
Q: Can I prepare the batter and sauce ahead of time?
A: You can prep the sauce a day ahead and store it in the fridge. The batter is best made fresh to keep the right consistency. However, you can cut and store the cauliflower florets in water for a few hours to save time.
Q: Is this recipe vegan?
A: Yes! Use vegan butter and a hot sauce that doesn’t contain dairy, and you’re good to go. It’s naturally vegan and gluten-free if you use a gluten-free flour blend.
Q: How do I reheat leftovers without losing crispiness?
A: Reheat in the oven or air fryer at 375°F (190°C) for 8-10 minutes. Avoid microwaving unless you add a splash of water and cover loosely, but it won’t be as crispy.
Pin This Recipe!
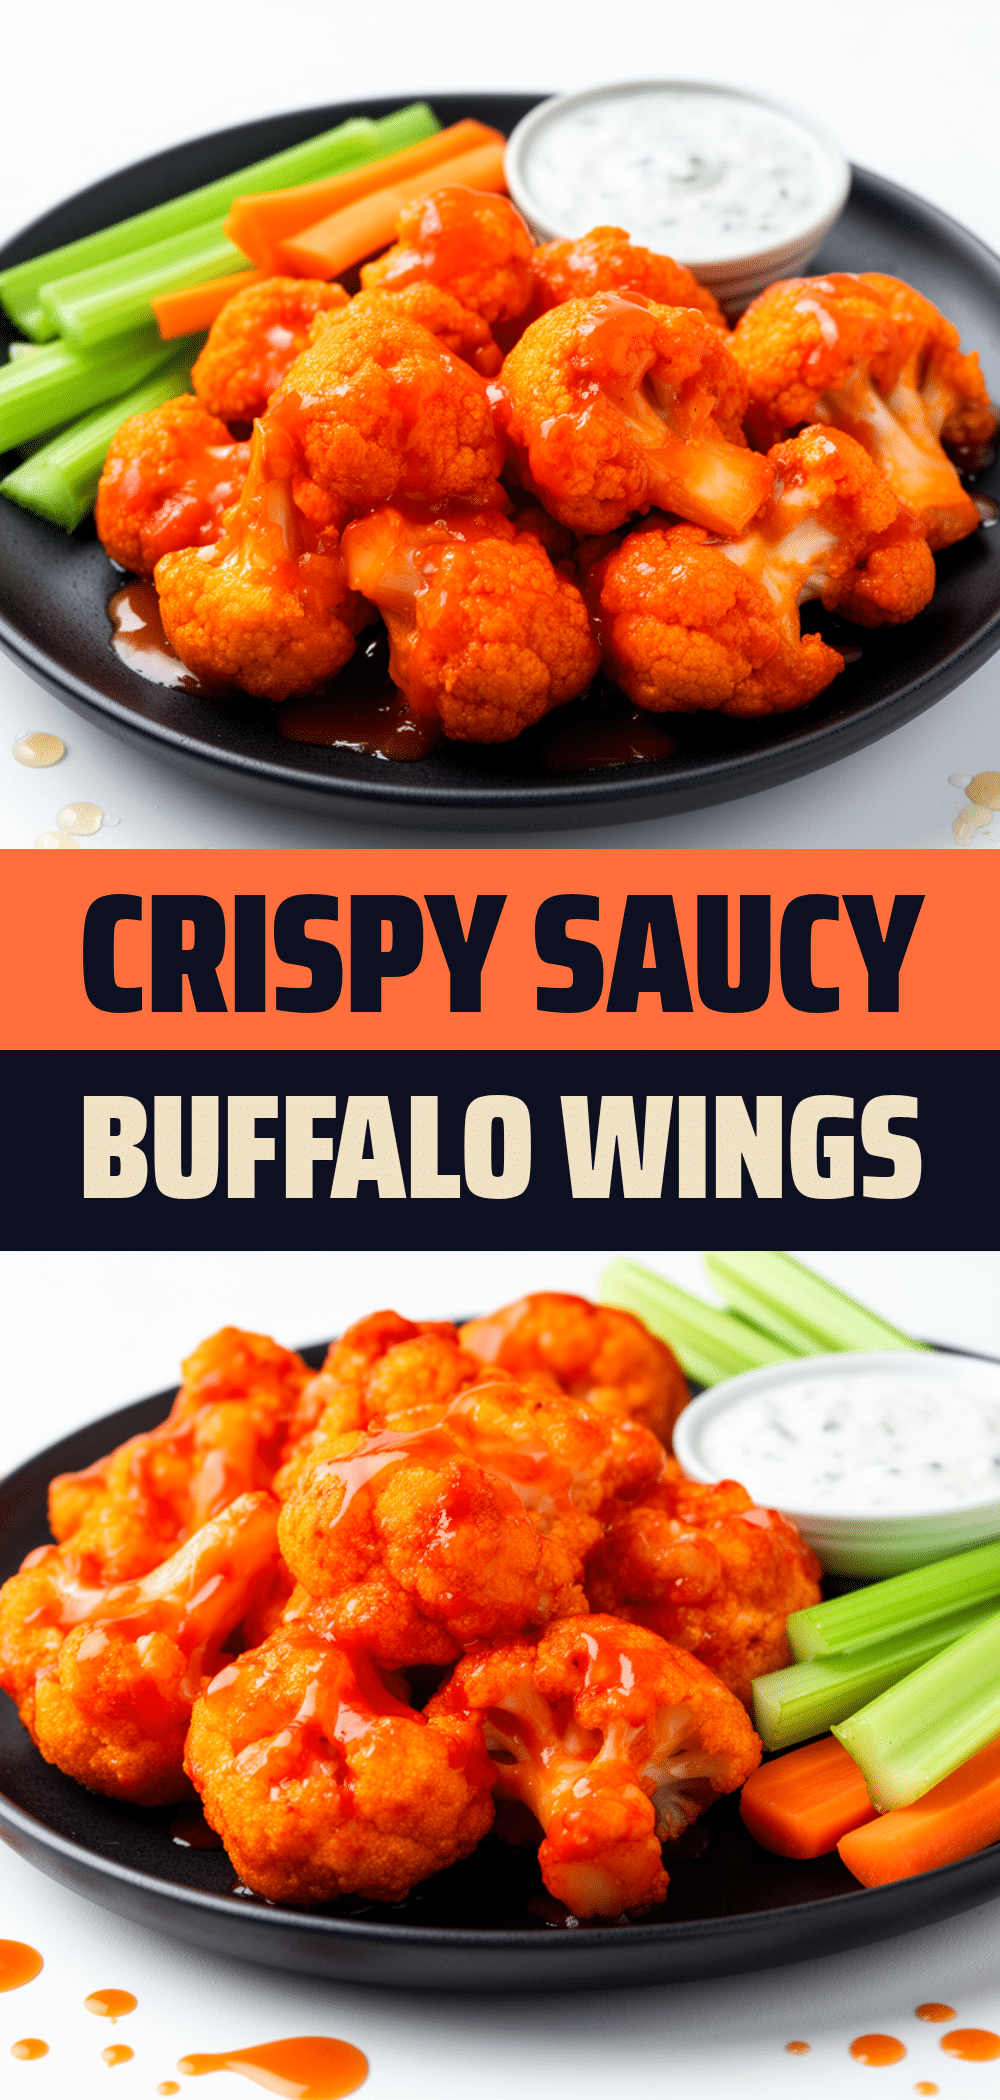

Crispy Buffalo Cauliflower Wings
- Total Time: 45 minutes
- Yield: 4 servings 1x
Description
A vegan and gluten-free snack featuring crispy baked cauliflower florets coated in a spicy buffalo sauce, perfect for game nights or casual gatherings.
Ingredients
- 1 large head cauliflower (about 600g / 1.3 lbs), cut into bite-sized florets
- 3/4 cup all-purpose flour (90g) or gluten-free flour blend
- 3/4 cup water (180ml), room temperature
- 1 teaspoon garlic powder
- 1 teaspoon paprika
- 1/2 teaspoon salt
- 1/2 cup hot sauce (120ml), such as Frank’s RedHot Classic
- 2 tablespoons vegan butter (30g), melted
- Optional: celery sticks and ranch or blue cheese dressing for serving
Instructions
- Wash and dry the cauliflower well. Cut into bite-sized florets, roughly the size of traditional chicken wings.
- In a mixing bowl, whisk together flour, water, garlic powder, paprika, and salt until smooth and pancake-batter consistency. Adjust thickness with more water or flour as needed.
- Use tongs to dip each cauliflower floret into the batter, coating fully. Shake off excess batter.
- Place coated florets on a cooling rack set over a parchment-lined baking sheet. If no rack, place directly on parchment paper.
- Preheat oven to 450°F (230°C). Bake cauliflower for 25-30 minutes, flipping halfway through, until golden and crispy. Lower temperature by 25°F if they start to burn.
- While baking, melt vegan butter and stir in hot sauce until smooth to make buffalo sauce.
- Transfer baked cauliflower to a large bowl, pour buffalo sauce over, and toss gently to coat evenly.
- For extra crispiness, spread coated florets back on the rack and bake for an additional 5 minutes.
- Serve immediately with celery sticks and ranch or blue cheese dressing.
Notes
[‘Use a cooling rack to keep wings crispy and prevent soggy bottoms.’, ‘Flip florets halfway through baking for even crisping.’, ‘Adjust hot sauce quantity to control heat level.’, ‘Bake coated wings again for 5 minutes after tossing in sauce for extra crispiness.’, ‘Store leftovers in an airtight container in the fridge up to 3 days; reheat in oven or air fryer to restore crispiness.’, ‘Avoid overcrowding the pan to prevent steaming.’, ‘Air fryer option: cook at 400°F (200°C) for about 15 minutes, shaking halfway through.’]
- Prep Time: 15 minutes
- Cook Time: 30 minutes
- Category: Snack
- Cuisine: American
Nutrition
- Serving Size: About 1/4 of the rec
- Calories: 210
- Sugar: 3
- Sodium: 600
- Fat: 9
- Saturated Fat: 3
- Carbohydrates: 25
- Fiber: 5
- Protein: 5
Keywords: buffalo cauliflower wings, vegan buffalo wings, gluten-free snack, crispy cauliflower, buffalo sauce, vegan appetizer, game day snack