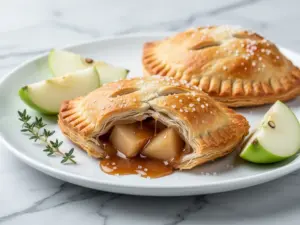
Last November, I was standing in my kitchen at 11 PM, staring at a bag of store-bought pie crusts with absolute disdain. It was supposed to be a “quick dessert” for my kids after their late soccer practice. You know the drill: you buy the shortcuts because you’re tired, you’re hungry, and you just want something sweet. But as I peeled back the plastic, I realized I didn’t have the heart to serve those soggy, flavorless discs to my family. They deserve better than cardboard crusts.
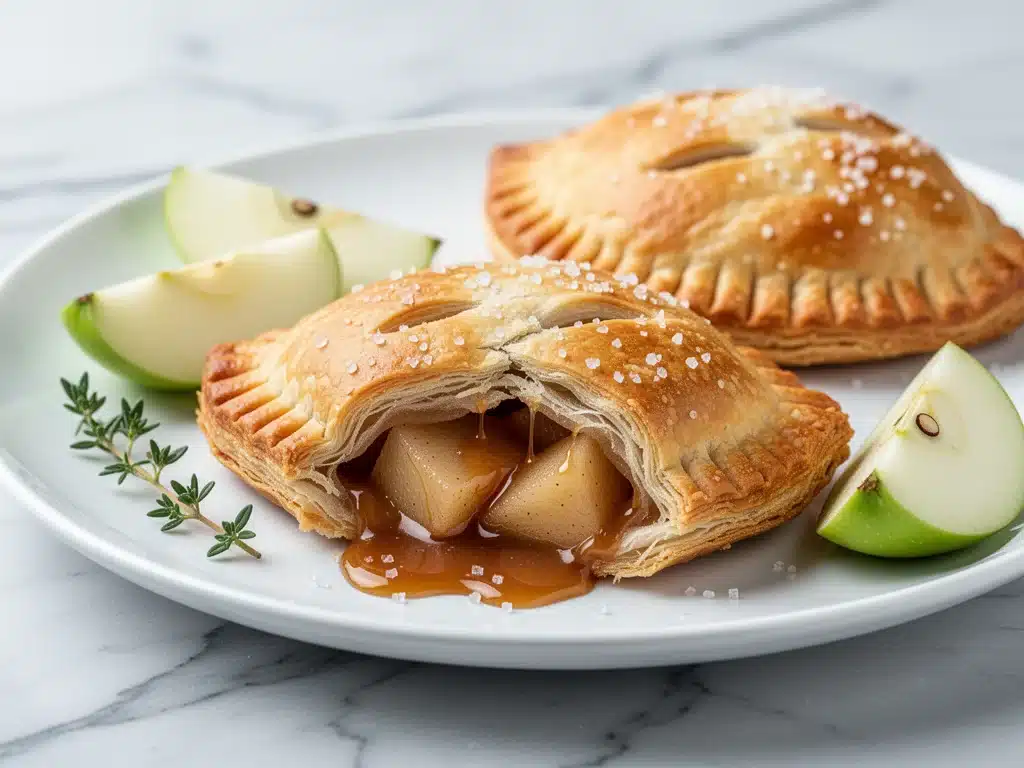
So, I did what I always do when I’m stressed about dinner (or dessert): I improvised. I grabbed a few apples, some brown sugar, a splash of vanilla, and a stick of butter. I rolled out some dough I had in the freezer (yes, I keep homemade dough on hand, don’t judge) and created what I now call my Flaky Salted Caramel Apple Hand Pies. They were messy, they were warm, and they were absolutely perfect.
That night, my son asked for the recipe. Not the store-bought ones. The real ones. That was the moment I knew I had struck gold. Since then, I’ve made these hand pies about fifteen times. I’ve tweaked the spice blend, I’ve tried different apples, and I’ve even experimented with adding a hint of bourbon to the caramel (which is delicious, but maybe too adult for the kids). Now, I have the definitive version.
These aren’t just apple pie in disguise. They’re portable, they’re ridiculously flaky, and that salted caramel swirl? It’s the secret weapon that takes them from “okay” to “addicted.” If you’ve ever wanted the cozy comfort of apple pie but didn’t want to commit to a 9-inch pan, this is your answer. It’s basically cheesy jalapeno cornbread muffins but for dessert—simple, satisfying, and always a crowd-pleaser.
Let’s be honest, baking can feel intimidating. But making hand pies? It’s playful. It’s tactile. It’s perfect for getting the kids involved (and letting them eat the leftover dough scraps, which I won’t tell on you). Whether you’re prepping for a fall gathering, a school bake sale, or just a Tuesday night craving, these flaky salted caramel apple hand pies are the answer. They’re sweet, salty, spiced, and utterly irresistible.
Why You’ll Love This Recipe
There are a hundred reasons I keep making these little pastry packages, but let’s cut to the chase. This recipe has completely changed how I approach dessert. Here’s why you’re going to fall in love with them:
- Stupid Simple Dough — Seriously, if you can boil water and mix butter with flour, you can make this crust. I’ve walked my teenage son through it over FaceTime, and he nailed it the first time. No fancy equipment needed.
- Portable Pie — No forks required. No plates needed. These are perfect for hiking, car rides, or just eating while standing at the counter. I make them for lunchbox treats, and they stay flaky even after sitting in a bag for a day.
- The Salted Caramel Factor — Plain apple filling is good. Salted caramel apple filling is *obsession*. The salt cuts through the sweetness and makes the apple flavor pop. It’s a game-changer.
- Make-Ahead Friendly — I often make the dough and the filling on Sunday, then assemble and bake them Wednesday night. Or, you can freeze the unbaked pies and bake them straight from frozen later. Life is too short to stress about timing.
- Leftovers That Actually Taste Good — Most apple pie tastes stale by day two. Not these. The caramel keeps the filling moist, and the crust stays crisp if you reheat it gently. I deliberately make extra for the next day’s breakfast-with-a-side-of-coffee.
- Customizable — Hate cinnamon? Use nutmeg. Want dark chocolate chips in there? Go for it. These hand pies are a blank canvas for your sweet tooth.
This is my go-to when I need a dessert that feels homemade and special but doesn’t take up my entire afternoon. No complicated lattice work, no broken crusts, just reliable, delicious, flaky goodness that makes everyone happy.
Ingredients You’ll Need
Here’s the best part: you probably have most of this already. I’m particular about three ingredients here, and I’ll tell you exactly why. Don’t skip the tips!
For the Flaky Crust
All-purpose flour (2 ½ cups / 315g) — The foundation. Don’t use pastry flour; you want a bit of structure here. Spoon and level it, don’t scoop, or you’ll end up with a dense crust.
Unsalted butter (1 cup / 226g, cold and cubed) — This is non-negotiable. Cold butter creates steam pockets in the oven, which equals flaky layers. If your butter is soft, your crust will be tough. I keep half the butter in the freezer for 10 minutes before starting.
Vegetable shortening (½ cup / 113g) — I know, some people hate shortening. But for hand pies, it adds tenderness that butter alone can’t always achieve. It keeps the crust soft enough to bite through without crumbling apart. If you must, use all butter, but the texture changes slightly.
Ice water (6-8 tablespoons) — Use actual ice water. Warm water melts the butter before it hits the oven. If you don’t have ice, keep your water in the fridge until the last second.
Salt (1 teaspoon) — Enhances all the flavors. Don’t skip it.
Egg wash (1 egg beaten with 1 tbsp water) — For that golden, bakery-style shine. Optional, but highly recommended.
For the Apple Caramel Filling
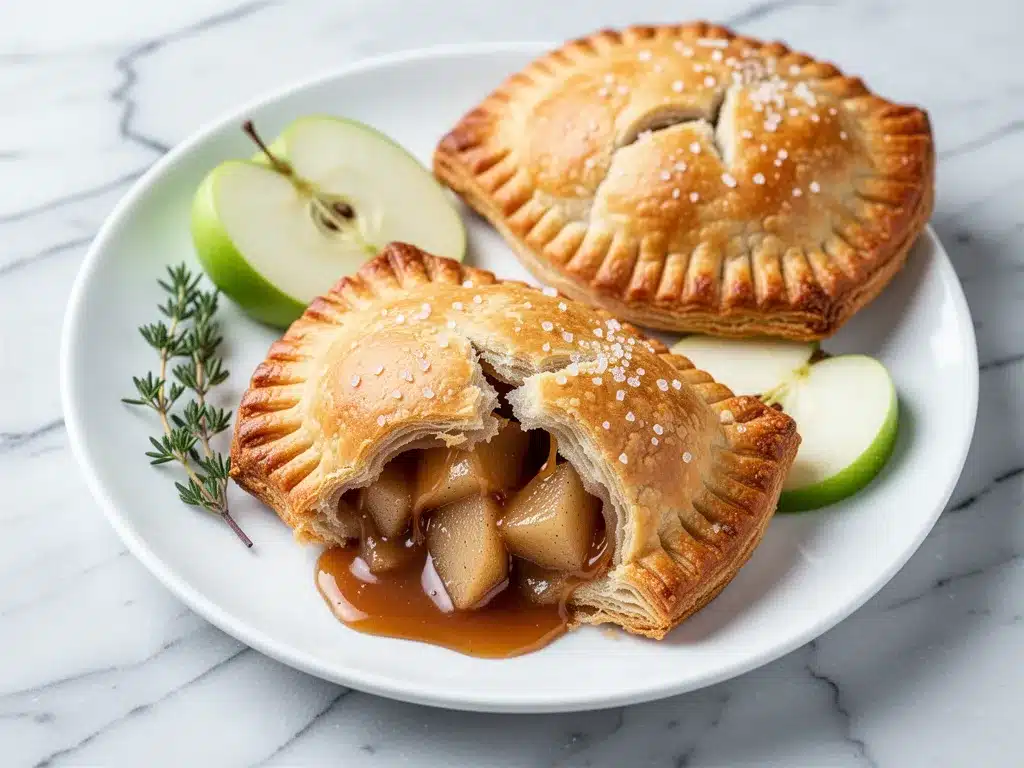
Granny Smith apples (3 large, peeled and diced) — I use Granny Smiths because they hold their shape and offer a tart contrast to the sweet caramel. Honeycrisp or Fuji work too, but they get mushier. I prefer a bit of bite.
Brown sugar (¾ cup / 150g) — Packed. The molasses content adds depth. Light brown is fine, but dark brown is richer.
Butter (2 tablespoons) — To sauté the apples slightly before baking. It concentrates the flavor.
Cinnamon (1 teaspoon) — The classic apple spice. Add nutmeg (¼ tsp) if you want extra warmth.
Salted caramel sauce (½ cup) — I make my own (recipe below), but good quality store-bought works in a pinch. Look for one with visible salt crystals.
Flaky sea salt (for topping) — A pinch on top of each pie before baking. It makes the caramel sing.
For the Homemade Salted Caramel (Optional but Better)
Granulated sugar (1 cup) — Wait for it to turn amber.
Heavy cream (½ cup, warm) — Be careful when adding this to hot sugar.
Butter (2 tablespoons)
Salt (1 teaspoon)
Vanilla extract (1 teaspoon)
Equipment Needed
You don’t need fancy equipment for this. Here’s what I actually use:
Large mixing bowl — For the dough. A ceramic or glass bowl works best so you can see the texture.
Pastry cutter or food processor — I use a pastry cutter by hand because I like to feel when the butter is the right size. A food processor works faster but can overwork the dough if you’re not careful.
Rolling pin — Standard wooden or marble. Marble stays cool, which is nice.
Cookie cutters or a small bowl — I use a 4-inch round cutter, but any small bowl works as a guide. You want them bite-sized.
Baking sheets — Two standard sheets. Line them with parchment paper for easy cleanup.
Paring knife — For peeling and dicing apples. A sharp knife makes this step way faster.
Saucepan — Small, for making the caramel sauce if you’re doing it from scratch.
How to Make It: Step-by-Step
Alright, let’s make this! I’m walking you through exactly how I do it, including the little tricks I’ve picked up.
Step 1: Make the Dough (10 minutes)
In your large bowl, whisk together the flour and salt. Add the cold, cubed butter and shortening. Use a pastry cutter or your fingers to work the fat into the flour until it looks like coarse meal with some pea-sized chunks of butter remaining. Those chunks are crucial for flakiness.
Drizzle in the ice water, one tablespoon at a time, mixing gently with a fork. Stop when the dough just starts to come together. Don’t overwork it. If it’s too dry, add another tablespoon of water. If it’s sticky, add a sprinkle of flour.
Divide the dough into two disks, wrap tightly in plastic wrap, and refrigerate for at least 30 minutes (or up to 2 days). This rest time relaxes the gluten and re-chills the butter.
Step 2: Make the Salted Caramel (15 minutes)
If you’re using store-bought, skip to Step 3. If you’re making it from scratch, melt the sugar in a saucepan over medium heat. Swirl the pan (don’t stir!) until the sugar melts and turns a deep amber color. This takes about 5-7 minutes. Watch it closely; it goes from perfect to burnt in seconds.
Remove from heat. Carefully whisk in the warm heavy cream (it will bubble up vigorously). Then whisk in the butter and salt. Stir in the vanilla. Let it cool until it’s thick but still pourable. This is your caramel sauce.
Step 3: Prep the Apple Filling (10 minutes)
Peel, core, and dice the apples into small, uniform cubes (about ½ inch). In a skillet, melt the 2 tablespoons of butter over medium heat. Add the apples and brown sugar. Sauté for 5-7 minutes until the apples are slightly softened and the sugar has dissolved into a syrup. Remove from heat and stir in the cinnamon. Let this cool completely. If you fill the pies with hot apples, the dough will melt and leak.
Step 4: Assemble the Hand Pies (15 minutes)
Preheat your oven to 375°F (190°C). Line two baking sheets with parchment paper.
On a lightly floured surface, roll out one disk of dough to about ⅛ inch thickness. Use your cutter or bowl to cut out circles. You should get about 6-8 circles per disk.
Place a spoonful of the cooled apple mixture in the center of each circle. Then, add a tiny dollop (about 1 teaspoon) of the salted caramel sauce on top of the apples. Do not overfill, or they will burst.
Brush the edges of the dough with water. Fold the dough over the filling to create a half-moon shape. Press the edges firmly with a fork to seal. Use the fork to poke 2-3 small holes in the top for steam to escape.
Repeat with the second disk of dough.
Step 5: Bake Until Golden (20-25 minutes)
Brush the tops with the egg wash and sprinkle with flaky sea salt. Bake for 20-25 minutes, rotating the pans halfway through, until the crust is deep golden brown and the caramel is bubbling through the vents.
Let them cool on the baking sheet for at least 10 minutes. The filling will be molten hot right out of the oven, and the caramel will set as it cools.
Expert Tips & Tricks
Here’s everything I’ve learned from making these dozens of times. These tips will save you from my mistakes.
Keep Everything Cold
I cannot stress this enough. If your butter melts before it hits the oven, you lose the flakiness. Keep your dough in the fridge if it gets warm while you’re rolling. If your kitchen is hot, work in batches.
Don’t Skip the Egg Wash
It’s not just for looks. The egg wash helps the sea salt stick and gives you that professional, glossy finish. Without it, the pies look matte and pale.
Cool the Filling Completely
This is the most common mistake. Hot filling = leaking pies. If you rush this step, you’ll end up with a caramel lava on your baking sheet instead of a pie. Patience pays off.
Use Flaky Sea Salt
Regular table salt won’t give you the same crunch or visual appeal. Maldon or any flaky sea salt is perfect for sprinkling on top.
Freeze for Later
These freeze beautifully. Place unbaked pies on a baking sheet in the freezer until solid, then transfer to a bag. Bake from frozen, adding 5-7 minutes to the cook time. Perfect for last-minute guests.
Variations & Substitutions
Once you’ve nailed the basic version, here’s how you can mix it up. I’ve tried all of these.
Maple Pecan Variation
Skip the caramel. Toss the apples with maple syrup, chopped pecans, and a pinch of cardamom. It’s like a deconstructed pecan pie. My husband loves this version.
Chocolate Chip Apple
Add a tablespoon of dark chocolate chips to the apple filling. The chocolate and apple combo is classic for a reason. It’s like an apple pie à la mode in hand form.
Bourbon Apple
Add 1 tablespoon of bourbon to the apple filling before sautéing. Let the alcohol cook off. It adds a sophisticated depth that adults will appreciate.
Pumpkin Spice Twist
Swap the cinnamon for pumpkin pie spice. Add a can of pumpkin puree to the caramel sauce for a fall-themed treat.
Gluten-Free Option
Use a 1:1 gluten-free flour blend. The texture might be slightly more tender and less flaky, but it still works. Add an extra tablespoon of ice water if the dough feels crumbly.
Serving & Storage
How to Serve:
I usually serve these warm, right out of the oven. They’re perfect with a glass of cold milk or a cup of coffee. For a fancy touch, serve with a scoop of vanilla ice cream or a dollop of whipped cream.
Storage:
Store in an airtight container at room temperature for up to 2 days. They might lose a little crispness, but they’re still delicious. For longer storage, freeze them for up to 3 months.
Reheating:
To restore flakiness, reheat in the oven at 350°F for 5-7 minutes. The microwave will make the crust chewy, so avoid it if you can.
Nutrition Information
I’m not a nutritionist, but here’s the breakdown if you’re tracking. This is a treat, so enjoy it guilt-free!
Per Hand Pie (based on 12 pies):
- Calories: 280
- Protein: 3g
- Carbs: 38g
- Fiber: 2g
- Sugar: 22g
- Fat: 14g
- Saturated Fat: 8g
These are rich in carbs from the crust and apples, and high in fat from the butter and caramel. If you’re watching sugar, reduce the brown sugar in the filling or use a sugar-free caramel alternative. But honestly? It’s worth the indulgence.
Final Thoughts
So that’s my go-to flaky salted caramel apple hand pies! I’ve probably talked your ear off at this point, but when you make a recipe this often, you have a lot to say about it.
This has saved dessert time more times than I can count. It’s my answer to “what’s for dessert” when I want something homemade but don’t have hours to spare. My kids are happy, my husband’s happy, and I’m happy because I’m not stressed about cooking.
Make it yours! Try different apples, swap the spices, or add your favorite mix-ins. The best recipes are the ones you adapt to your family’s tastes.
If you make this, drop a comment and let me know what you think! I love hearing how recipes turn out in your kitchen. And if something doesn’t work, tell me that too—I’m here to help troubleshoot.
Happy baking! And I hope your kitchen smells half as good as mine does right now.
Frequently Asked Questions
Can I use store-bought pie crust?
Yes! I’ve done it when I’m in a rush. Just roll it out and cut your circles. The texture won’t be quite as flaky as homemade, but it’s still delicious and saves 20 minutes of prep. If you use store-bought, keep it cold until it hits the oven.
Why did my hand pies leak caramel?
Usually, this happens for two reasons: the filling was too hot when assembled, or the edges weren’t sealed properly. Make sure your apple mixture is completely cool before adding the caramel. Also, press the edges firmly with a fork and trim any excess dough that’s sticking out.
Can I freeze the unbaked hand pies?
Absolutely. This is my favorite trick. Arrange them on a baking sheet and freeze until solid (about 2 hours). Then transfer to a freezer bag. Bake straight from frozen, adding 5-7 minutes to the baking time. They’ll still be golden and flaky.
What’s the best apple for this recipe?
Granny Smith is my top pick because it holds its shape and offers a tart contrast. Honeycrisp is a close second for its balance of sweet and tart. Avoid Red Delicious or McIntosh, as they turn to mush when baked.
Can I make the caramel sauce ahead?
Yes, make it up to 3 days ahead and store in the fridge. Reheat gently in the microwave or on the stove before using. It will thicken in the fridge, so add a splash of cream if it’s too stiff.
Do I have to use salted caramel?
You can use regular caramel or apple pie filling, but the salted caramel is what makes these stand out. The salt cuts the sweetness and enhances the apple flavor. If you’re sensitive to salt, use regular caramel, but I highly recommend giving the salted version a try.
Pin This Recipe!
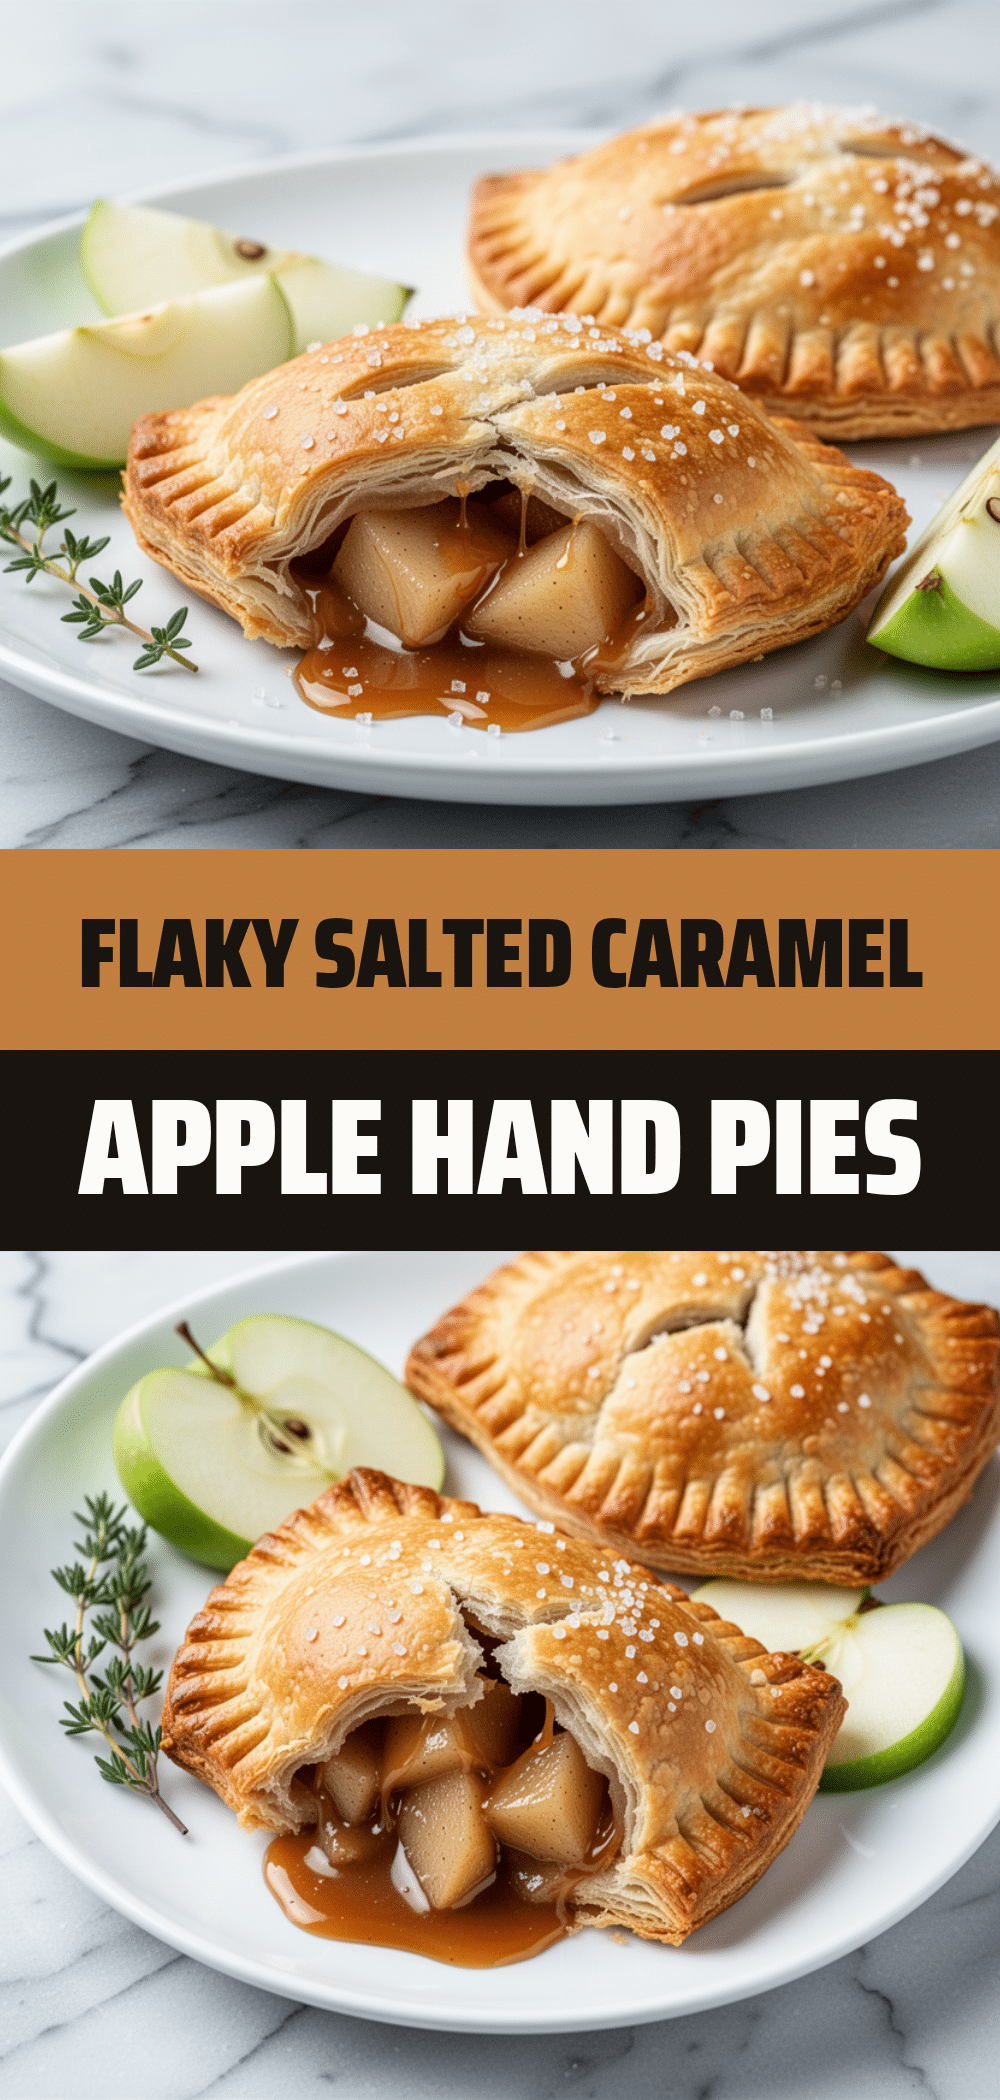

Flaky Salted Caramel Apple Hand Pies
- Total Time: 1 hour 10 minutes
- Yield: 12 servings 1x
Description
Portable, flaky homemade hand pies filled with spiced apples and rich salted caramel sauce. These treats are easy to make, perfect for fall gatherings, and can be customized with various spices or mix-ins.
Ingredients
- 2 ½ cups all-purpose flour
- 1 teaspoon salt
- 1 cup unsalted butter, cold and cubed
- ½ cup vegetable shortening
- 6–8 tablespoons ice water
- 1 egg beaten with 1 tbsp water (for egg wash)
- 3 large Granny Smith apples, peeled and diced
- ¾ cup packed brown sugar
- 2 tablespoons butter (for sautéing)
- 1 teaspoon cinnamon
- ½ cup salted caramel sauce
- Flaky sea salt (for topping)
Instructions
- In a large bowl, whisk together flour and salt. Add cold butter and shortening, working them into the flour with a pastry cutter or fingers until it resembles coarse meal with pea-sized butter chunks.
- Drizzle in ice water one tablespoon at a time, mixing gently until the dough just comes together. Divide into two disks, wrap in plastic, and refrigerate for at least 30 minutes.
- To make caramel (optional): Melt granulated sugar in a saucepan over medium heat until amber. Remove from heat and carefully whisk in warm heavy cream, then butter, salt, and vanilla. Cool until thick but pourable.
- In a skillet, melt 2 tablespoons of butter over medium heat. Add diced apples and brown sugar, sautéing for 5-7 minutes until softened and syrupy. Stir in cinnamon and let cool completely.
- Preheat oven to 375°F (190°C) and line two baking sheets with parchment paper.
- Roll out one disk of dough to ⅛ inch thickness and cut into 4-inch circles. Place a spoonful of cooled apple mixture in the center, topped with a dollop of caramel.
- Brush edges with water, fold dough over to create a half-moon, and press edges firmly with a fork to seal. Poke 2-3 holes in the top for steam.
- Brush tops with egg wash and sprinkle with flaky sea salt.
- Bake for 20-25 minutes, rotating pans halfway, until deep golden brown. Cool on the sheet for 10 minutes before serving.
Notes
Keep all ingredients cold for a flaky crust. Ensure the apple filling is completely cool before assembling to prevent leaking. These can be frozen unbaked and baked straight from frozen, adding 5-7 minutes to cook time. For gluten-free option, use a 1:1 gluten-free flour blend.
- Prep Time: 45 minutes
- Cook Time: 25 minutes
- Category: Dessert
- Cuisine: American
Nutrition
- Serving Size: 1 hand pie
- Calories: 280
- Sugar: 22
- Sodium: 250
- Fat: 14
- Saturated Fat: 8
- Carbohydrates: 38
- Fiber: 2
- Protein: 3
Keywords: apple hand pies, salted caramel, homemade pie crust, fall dessert, portable dessert, easy baking