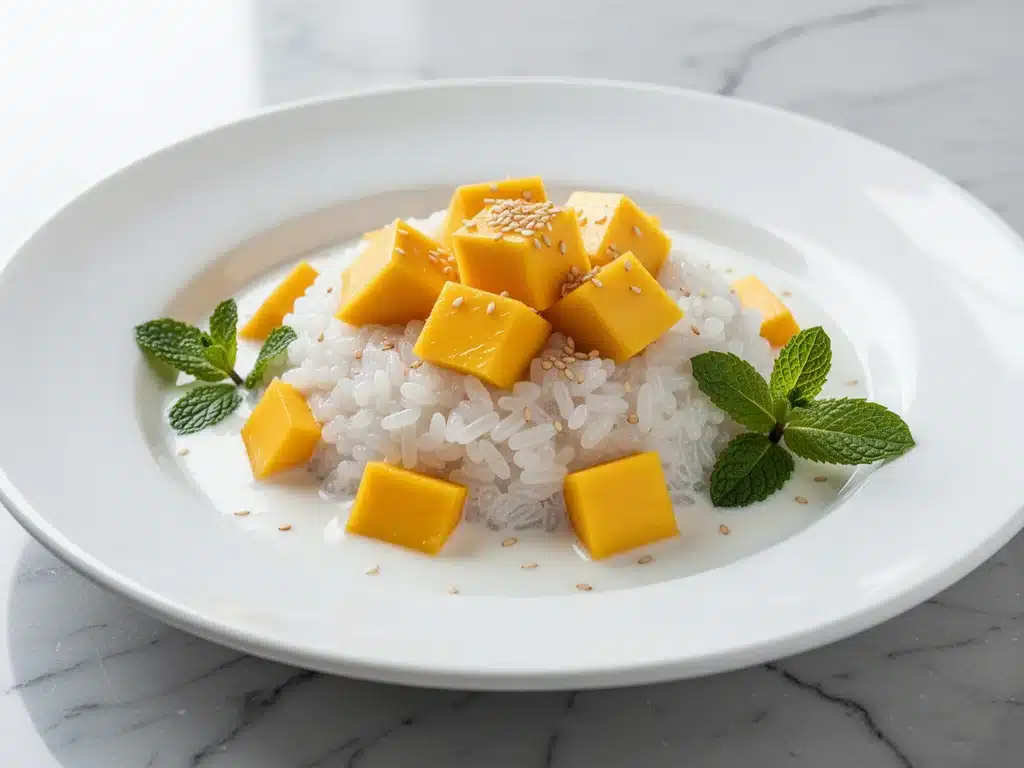
It was three years ago, during one of those sweltering August heatwaves where the air conditioning seems to give up halfway through the afternoon. I was desperate for something cool, comforting, and sweet, but the thought of standing over a hot stove simmering milk and sugar felt like torture. I opened my fridge, hoping for inspiration, and found a can of coconut milk, a bag of sticky rice I’d bought for a Thai takeout order I never made, and two overripe mangoes that were practically begging to be used.
I threw them together on a whim. I didn’t have a recipe. I didn’t have a plan. I just had curiosity and a craving for something dairy-free that didn’t taste like it was trying too hard. When I took that first bite—cool, creamy, with bursts of tropical sweetness and that distinct chewy texture of properly cooked sticky rice—I knew I had struck gold. It was like a vacation in a bowl. And the best part? It was completely dairy-free, gluten-free, and naturally sweetened.
That accidental dessert became my summer obsession. I’ve since made this dairy-free coconut mango sticky rice pudding dozens of times, tweaking the ratios until the texture was absolutely perfect. It’s become my go-to when I need a dessert that feels indulgent but doesn’t leave me feeling sluggish. It’s lighter than traditional rice pudding but just as satisfying. If you’ve been looking for a way to enjoy creamy comfort food without the dairy, this is the recipe that changed everything for me. It’s simple, it’s vibrant, and it’s going to become your new favorite way to use up those summer fruits.
Why You’ll Love This Coconut Mango Sticky Rice Pudding
There’s a reason this dish has taken over my kitchen every single summer. It’s not just about the flavor; it’s about the experience of eating it. Here’s why this dairy-free coconut mango sticky rice pudding has earned a permanent spot in my recipe rotation:
- Incredibly Creamy (Without Any Dairy) — Seriously, if you told me this had heavy cream in it, I would believe you. The secret is using full-fat canned coconut milk and letting the sticky rice release its natural starches. The texture is luxuriously smooth, rich, and velvety. No grainy, watery leftovers here.
- Gluten-Free and Dairy-Free Friendly — This is naturally free from the two most common dietary restrictions. Whether you’re gluten-free, lactose intolerant, or just trying to cut back on dairy, this pudding plays nice with everyone. It’s inclusive dessert cooking at its finest.
- Uses Overripe Fruit Perfectly — We’ve all been there: bought mangoes, forgot about them, and now they’re brown and mushy. This recipe is the hero for those overripe mangoes. The natural sugars in the fruit mean you don’t need to add much (if any) extra sweetener. It’s zero-waste cooking that tastes amazing.
- Make-Ahead Magic — This pudding actually improves overnight. The flavors meld together, the rice gets even creamier, and it tastes better chilled. It’s the perfect dessert to prep on Sunday for a Friday night treat. No last-minute stress, just open the fridge and serve.
- Customizable and Versatile — While the classic combo is unbeatable, this base is a blank canvas. Add toasted coconut flakes, fresh berries, a drizzle of lime zest, or even a splash of vanilla extract. It’s adaptable enough for a fancy dinner party or a quick late-night snack.
This is my answer to “what’s for dessert?” when I want something special but don’t want to spend hours baking. It’s fresh, it’s vibrant, and it’s so easy that you’ll wonder why you ever bought store-bought pudding cups again.
Ingredients You’ll Need for the Perfect Pudding
The beauty of this recipe is how few ingredients you need. I’m not talking about a long, intimidating list of exotic spices you’ll never use again. It’s five simple items, mostly from your pantry. Here’s what you need to make this dairy-free coconut mango sticky rice pudding shine.
The Base
Glutinous (Sticky) Rice (1 cup / 200g) — This is non-negotiable. Do not use jasmine rice, Arborio rice, or regular long-grain rice. You need glutinous rice, also known as sweet rice or sticky rice. It has a high starch content that breaks down during cooking to create that signature creamy, chewy texture. I usually buy mine in the Asian food aisle of my grocery store, but any Asian market will have great options. Look for the bag labeled “Glutinous Rice” or “Sweet Rice.”
Full-Fat Canned Coconut Milk (2 cans / 400ml each) — This is the heart of the creaminess. Do not use carton coconut milk (the kind you drink with cereal); it’s too thin and watery. You need the thick, rich stuff in the can. Shake the can well before opening. If you want an even richer pudding, you can skim off the thick cream from the top and use just that, but using the whole can is easier and still delicious. I recommend brands like Thai Kitchen or Aroy-Jo.
Water (2 cups / 480ml) — Used to soak and cook the rice. Make sure it’s clean drinking water. Some people use coconut water for extra flavor, but plain water keeps the coconut flavor pure and bright.
The Sweeteners and Flavor
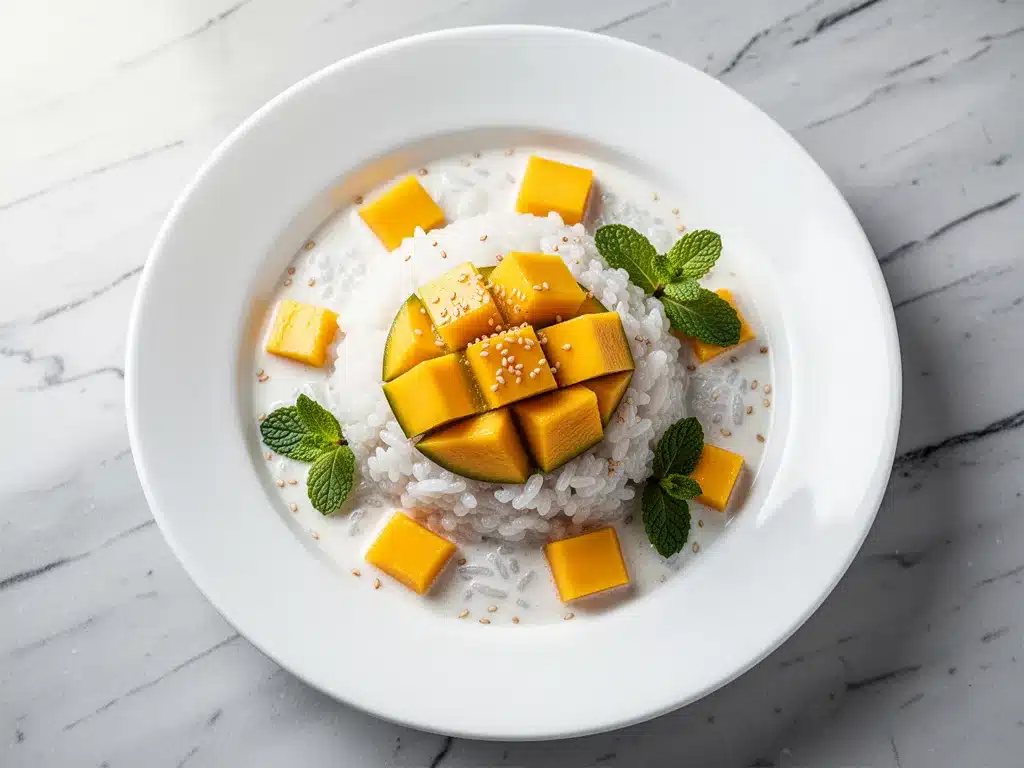
Ripe Mangoes (2 large / about 4 cups flesh) — The riper, the better. Look for mangoes that yield slightly to pressure and smell sweet at the stem end. You’ll need about 3 cups of pureed mango for the pudding and 1 cup diced for the topping. If you can’t find fresh mangoes in winter, high-quality frozen mango chunks work in a pinch, though fresh is preferred for the texture.
Coconut Sugar (½ cup / 100g) — I prefer coconut sugar here because it has a caramel-like depth that complements the tropical flavors perfectly. It’s also lower glycemic than white sugar. Brown sugar works too, but white sugar will make the flavor a bit one-dimensional. Adjust to taste; if your mangoes are super sweet, you might only need ¼ cup.
Salt (½ teaspoon) — This is the secret weapon. A pinch of salt amplifies the sweetness and balances the richness of the coconut milk. Don’t skip it. It’s the difference between “sweet” and “complex.”
Vanilla Extract (1 teaspoon) — Pure vanilla adds warmth and depth. I always use pure vanilla extract, not imitation. It’s a small amount, but it rounds out the tropical flavors nicely.
For the Topping (Optional but Recommended)
Reserved Coconut Milk Cream — If you skimmed the thick cream from the top of the can earlier, save it! Whip it slightly and dollop it on top.
Toasted Coconut Flakes (¼ cup) — Adds a nice crunch and visual appeal. Toast them in a dry pan for 2-3 minutes until golden.
Fresh Mint Leaves — A few leaves torn by hand add a fresh, aromatic finish that cuts through the richness.
Substitutions and Notes
- No Sticky Rice? You can use Arborio rice for a risotto-like texture, but it won’t be as chewy or cohesive. The results will be more like a creamy rice pudding than traditional sticky rice dessert.
- Dairy-Free Milk Alternative: If you don’t like coconut flavor, you can use cashew milk or oat milk, but the texture won’t be as rich. Coconut is key here.
- Sweetener Options: Maple syrup or agave nectar can replace coconut sugar. Use about ⅓ cup of liquid sweetener and reduce the water slightly.
Equipment Needed
You don’t need any fancy gadgets for this. Just basic kitchen tools you probably already have.
Medium Saucepan with Heavy Bottom — I use a 3-quart saucepan. A heavy bottom prevents the rice from scorching at the bottom, which is crucial because sticky rice sticks easily. Stainless steel or enameled cast iron works best.
Wooden Spoon or Heat-Resistant Spatula — You’ll need to stir frequently. A wooden spoon is great because it doesn’t scratch your pot and distributes heat evenly.
Blender or Food Processor — To puree the mangoes smoothly. A high-speed blender like a Vitamix works best, but a standard blender or even an immersion blender will do. You want a silky smooth puree, not chunky.
Colander — For rinsing the rice. A fine-mesh sieve works too.
Measuring Cups and Spoons — Standard stuff. Accuracy helps, especially with the liquid ratios.
Serving Bowls — Small ramekins or wide bowls look beautiful for presentation. I love serving this in clear glass bowls so you can see the layers.
How to Make It: Step-by-Step
Alright, let’s make this! I’m walking you through exactly how I do it, including the little tricks I’ve picked up over the years. Making this dairy-free coconut mango sticky rice pudding is easier than you think, but timing is everything.
Step 1: Soak the Rice (30 minutes to overnight)
Before you cook, you must soak the rice. This is the most important step for getting that tender, creamy texture. Rinse the sticky rice under cold water until the water runs clear. Then, place it in a bowl and cover with plenty of water. Let it soak for at least 30 minutes, but ideally 4 hours or overnight. Soaking allows the grains to absorb water, which means they cook more evenly and become softer. If you skip this, the rice will be hard and chewy in a bad way, not a good way.
Step 2: Puree the Mangoes
While the rice is soaking, prepare the mangoes. Peel them and cut the flesh away from the pit. Reserve 1 cup of diced mango for the topping. Place the remaining 3 cups of mango flesh into a blender. Blend until completely smooth. You want a silky puree, so don’t rush this. If it’s too thick, add a teaspoon of water to help it blend. Set the puree aside.
Step 3: Cook the Rice
Drain the soaked rice and add it to your saucepan. Pour in the 2 cups of water. Bring to a boil over medium-high heat. Once boiling, reduce the heat to low, cover with a tight-fitting lid, and simmer for 20 minutes. Do not lift the lid during this time! The steam is doing the work. After 20 minutes, check the rice. It should be tender but still have a slight chew. If it’s too hard, add a splash more water and cook for another 5 minutes.
Step 4: Add Coconut Milk and Sweetener
Once the rice is tender, pour in the two cans of full-fat coconut milk. Stir well to combine. Add the coconut sugar and salt. Stir again to dissolve the sugar. Bring the mixture back to a gentle simmer over medium-low heat. Now, the magic happens. Stir frequently—every 2-3 minutes—for about 10-15 minutes. The rice will start to break down slightly, and the mixture will thicken into a creamy pudding consistency. It’s not going to be as thick as oatmeal, but it should coat the back of a spoon.
Step 5: Fold in Mango Puree and Vanilla
Remove the saucepan from the heat. Stir in the mango puree and vanilla extract. The mixture will turn a beautiful pale yellow-orange color. Taste and adjust sweetness if needed. Remember, the mangoes add natural sweetness, so you might not need all the sugar you added earlier. Let it cool slightly before serving.
Step 6: Chill and Serve
This pudding tastes best chilled. Transfer it to serving bowls and refrigerate for at least 2 hours, or overnight. Before serving, top with the reserved diced mango, toasted coconut flakes, and a sprinkle of mint. Drizzle with a little extra coconut cream if you have it. Enjoy!
Expert Tips & Tricks for Success
Here’s everything I’ve learned from making this dozens of times. These tips will save you from my mistakes.
- Don’t Skip the Soak — I know it’s tempting to just start cooking, but soaking is non-negotiable for sticky rice. It ensures even cooking and the right texture. If you’re short on time, soak it while you chop the mangoes (30 mins is the minimum).
- Stir, Stir, Stir — Sticky rice sticks. When you add the coconut milk and start simmering, stir every few minutes. If you let it sit too long, it will burn at the bottom and ruin the whole batch. Trust me, I’ve learned this the hard way.
- Use Full-Fat Coconut Milk — Light coconut milk or carton coconut milk will result in a thin, watery pudding. You need the fat for that creamy, indulgent texture. It’s worth the extra cost for the quality.
- Adjust Liquid for Thickness — Every stove and pot is different. If your pudding is too thick, add a splash of water or coconut milk. If it’s too thin, cook it a bit longer on low heat. You want a spoonable consistency, not a soup.
- Chill for Best Flavor — Hot pudding is good, but cold pudding is amazing. The flavors meld together in the fridge, and the texture becomes even creamier. Plan ahead and make it the night before.
Variations & Substitutions
Once you’ve nailed the basic version, here’s how you can mix it up. I’ve tried all of these.
- Pandan Leaf Infusion — Add 2-3 tied pandan leaves to the rice while it cooks. Remove before serving. This adds an authentic, aromatic vanilla-coconut flavor that’s classic in Thai desserts.
- Taro Variation — Replace half the mango puree with cooked, mashed taro root. It adds a beautiful purple hue and a nutty, sweet flavor.
- Black Glutinous Rice — Use black glutinous rice instead of white. It has a slightly nuttier flavor and creates a stunning dark purple pudding. Cook time is similar.
- Spiced Version — Add a pinch of cardamom or ginger to the coconut milk while simmering for a warm, spiced twist.
- Gluten-Free Check — This recipe is naturally gluten-free, but always check your coconut milk and rice labels to ensure no cross-contamination if you have celiac disease.
Serving & Storage
How to Serve: I usually serve this straight from the fridge in small bowls. It’s rich, so a little goes a long way. Pair it with some fresh berries or a side of soft garlic herb pull-apart rolls for a complete tropical-themed meal (yes, savory and sweet together is a thing!).
Storage: Store leftovers in an airtight container in the refrigerator for up to 5 days. The pudding will thicken in the fridge, which is normal. To reheat, add a splash of water or coconut milk and warm gently on the stove, stirring constantly. Do not microwave, as it can make the rice rubbery.
Freezing: This does not freeze well. The texture of the rice and coconut milk will separate and become grainy upon thawing. Best enjoyed fresh or chilled.
Nutrition Information
I’m not a nutritionist, but here’s the breakdown if you’re tracking. Per serving (based on 6 servings):
- Calories: 280
- Protein: 3g
- Carbs: 52g
- Fiber: 3g
- Sugar: 28g
- Fat: 8g
- Saturated Fat: 6g
Look, this is a dessert. It’s sweet and rich. But it’s made with whole food ingredients, no refined flour, and no artificial additives. It’s a better choice than most store-bought puddings. When I want to make it lighter, I reduce the coconut sugar and use less mango puree. But usually? I just enjoy it in moderation.
Final Thoughts
So that’s my go-to dairy-free coconut mango sticky rice pudding! I’ve probably talked your ear off at this point, but when you make a recipe this often, you have a lot to say about it. This has saved my summer desserts more times than I can count. It’s my answer to “what’s for dessert?” when I want something special but don’t want to stress.
Make it yours! Try different toppings, adjust the sweetness, or experiment with different fruits. The best recipes are the ones you adapt to your tastes. If you make this, drop a comment and let me know what you think! I love hearing how recipes turn out in your kitchen.
Happy cooking! And I hope your kitchen smells half as good as mine does right now.
Frequently Asked Questions
Can I use jasmine rice instead of sticky rice?
You can, but the texture will be completely different. Jasmine rice will remain separate and fluffy, resulting in a more like a creamy rice pudding rather than the chewy, cohesive texture of sticky rice dessert. For the authentic experience, stick with glutinous (sticky) rice.
Why is my pudding too thin?
This usually happens if you didn’t cook it long enough after adding the coconut milk. The rice needs time to release its starches into the liquid. Keep simmering on low heat, stirring frequently, for another 10-15 minutes. It will thicken as it cools.
Can I make this ahead of time?
Absolutely! This pudding actually tastes better the next day. Make it up to 3 days in advance and store it in the fridge. Just give it a good stir before serving, as the rice may settle at the bottom.
Is this recipe vegan?
Yes! As long as you use coconut sugar (some sugars are processed with bone char, so check your label if you’re strict vegan) and pure vanilla extract, this recipe is 100% vegan and dairy-free.
Can I use frozen mango?
Yes, frozen mango works well. Just thaw it completely and drain any excess liquid before blending. The texture might be slightly less vibrant than fresh, but the flavor is still delicious.
Pin This Recipe!
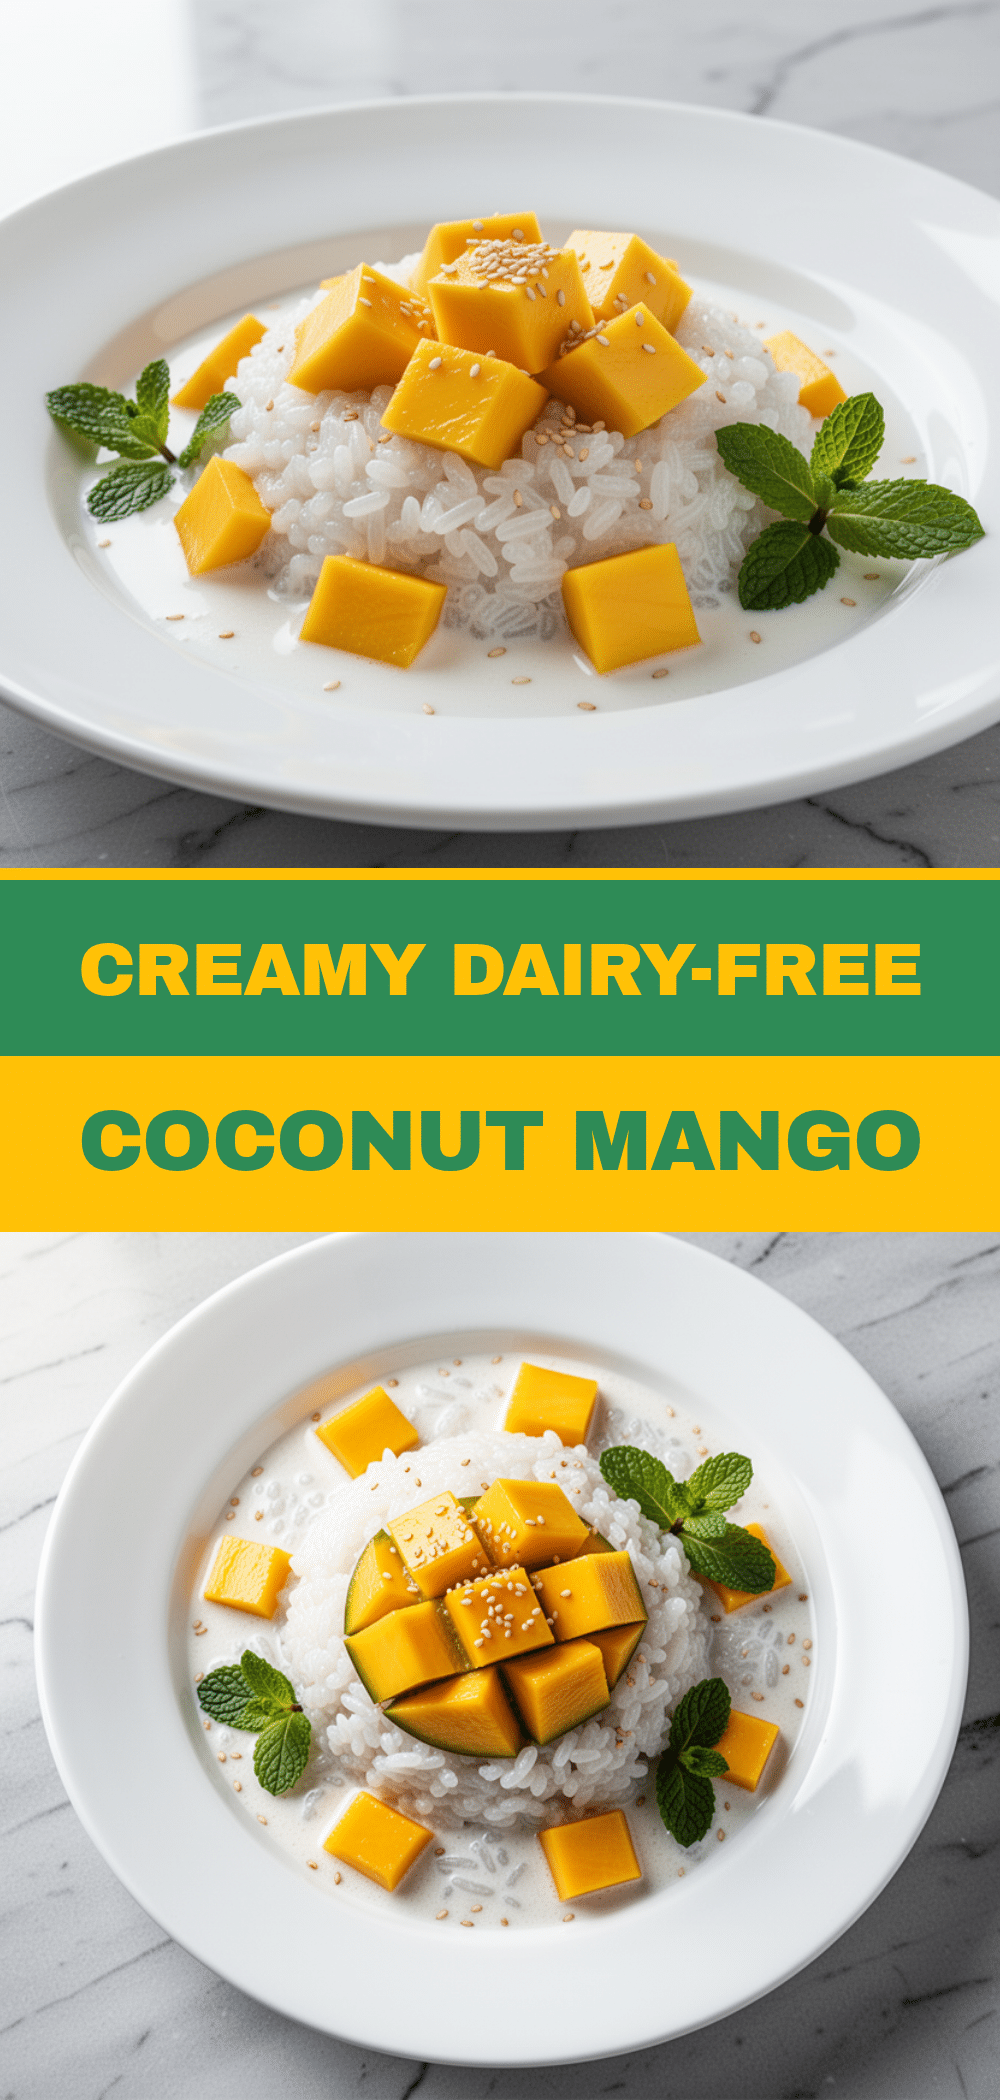
Dairy-Free Coconut Mango Sticky Rice Pudding
- Total Time: 1 hour 15 minutes (plus chilling time)
- Yield: 6 servings 1x
Description
A creamy, dairy-free, and gluten-free dessert made with sticky rice, full-fat coconut milk, and ripe mangoes. This easy-to-make pudding is naturally sweetened, perfect for summer, and improves in flavor when chilled overnight.
Ingredients
- 1 cup (200g) glutinous (sticky) rice
- 2 cans (400ml each) full-fat canned coconut milk
- 2 cups (480ml) water
- 2 large ripe mangoes (about 4 cups flesh total)
- ½ cup (100g) coconut sugar
- ½ teaspoon salt
- 1 teaspoon pure vanilla extract
- ¼ cup toasted coconut flakes (for topping)
- Fresh mint leaves (for topping)
Instructions
- Rinse the sticky rice under cold water until clear. Soak in plenty of water for at least 30 minutes, ideally 4 hours or overnight.
- While rice soaks, peel and cut the mangoes. Reserve 1 cup of diced mango for topping. Blend the remaining 3 cups of mango flesh until smooth to create a puree.
- Drain the soaked rice and add it to a medium heavy-bottomed saucepan with 2 cups of water. Bring to a boil over medium-high heat.
- Reduce heat to low, cover tightly, and simmer for 20 minutes without lifting the lid. Check if rice is tender; if not, add a splash of water and cook 5 more minutes.
- Pour in the two cans of coconut milk, coconut sugar, and salt. Stir to combine.
- Bring to a gentle simmer over medium-low heat. Stir frequently every 2-3 minutes for 10-15 minutes until the mixture thickens and coats the back of a spoon.
- Remove from heat. Stir in the mango puree and vanilla extract. Taste and adjust sweetness if needed.
- Transfer to serving bowls and refrigerate for at least 2 hours or overnight to chill and set.
- Serve chilled, topped with reserved diced mango, toasted coconut flakes, and fresh mint.
Notes
Do not skip the soaking step for the rice, as it ensures even cooking and the correct chewy texture. Use full-fat canned coconut milk, not carton milk, for the necessary creaminess. The pudding thickens as it cools, so adjust consistency with a splash of water or coconut milk if needed. It does not freeze well.
- Prep Time: 30 minutes (plus soaking time)
- Cook Time: 45 minutes
- Category: Dessert
- Cuisine: Asian
Nutrition
- Serving Size: 1 bowl
- Calories: 280
- Sugar: 28
- Fat: 8
- Saturated Fat: 6
- Carbohydrates: 52
- Fiber: 3
- Protein: 3
Keywords: dairy-free, gluten-free, vegan, sticky rice, mango pudding, coconut milk, summer dessert, easy recipe, healthy dessert