My grandmother’s kitchen didn’t have an oven that worked. I don’t mean it was broken—I mean it was an antique coil stove that ran on coal, and trying to bake a proper cheesecake in it was like trying to light a fire with wet wood. It was stubborn, unpredictable, and frankly, a nightmare.
So, when autumn came and the pumpkins started rolling in from the local farm, she didn’t bake. She chilled. She made the no-bake pumpkin cheesecake that became the centerpiece of every Thanksgiving, every Halloween, and every “just because it’s Tuesday” gathering. It wasn’t just dessert; it was a ritual. She’d spend the morning crushing gingersnaps by hand, her knuckles aching but her smile steady, while the house filled with the scent of cinnamon, nutmeg, and brown sugar.
I remember watching her fold the cream cheese mixture. She never rushed. She never used a food processor. She used a wooden spoon and her own two hands, knowing that overmixing was the enemy of smoothness. She taught me that patience isn’t just a virtue; it’s an ingredient.
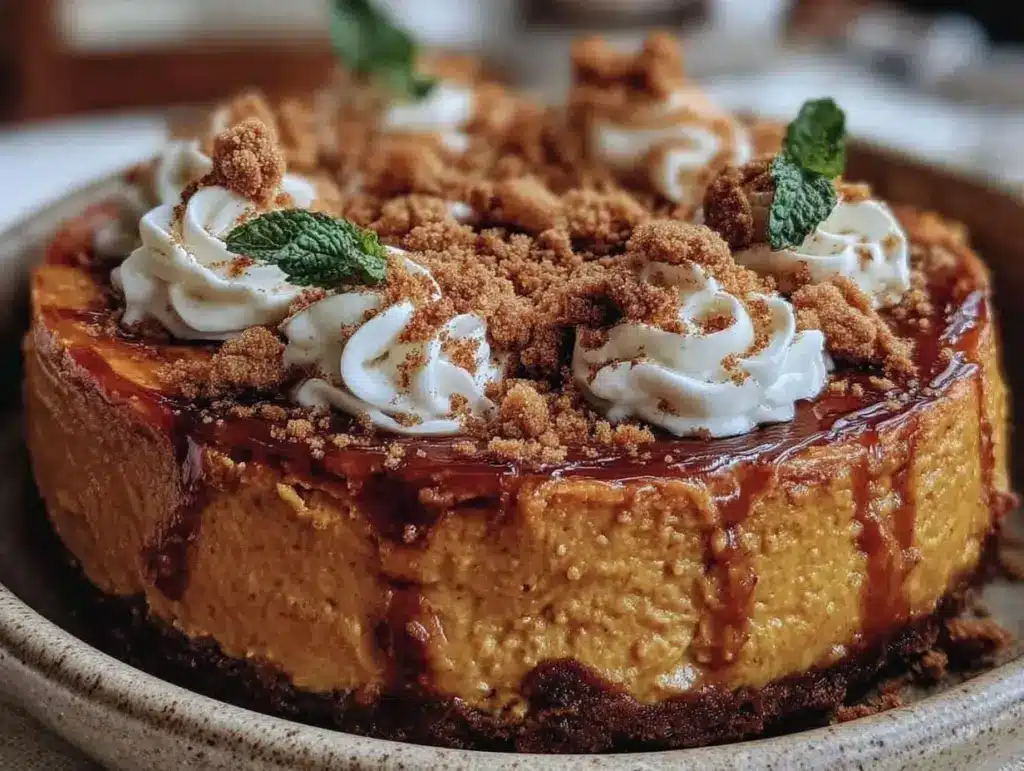
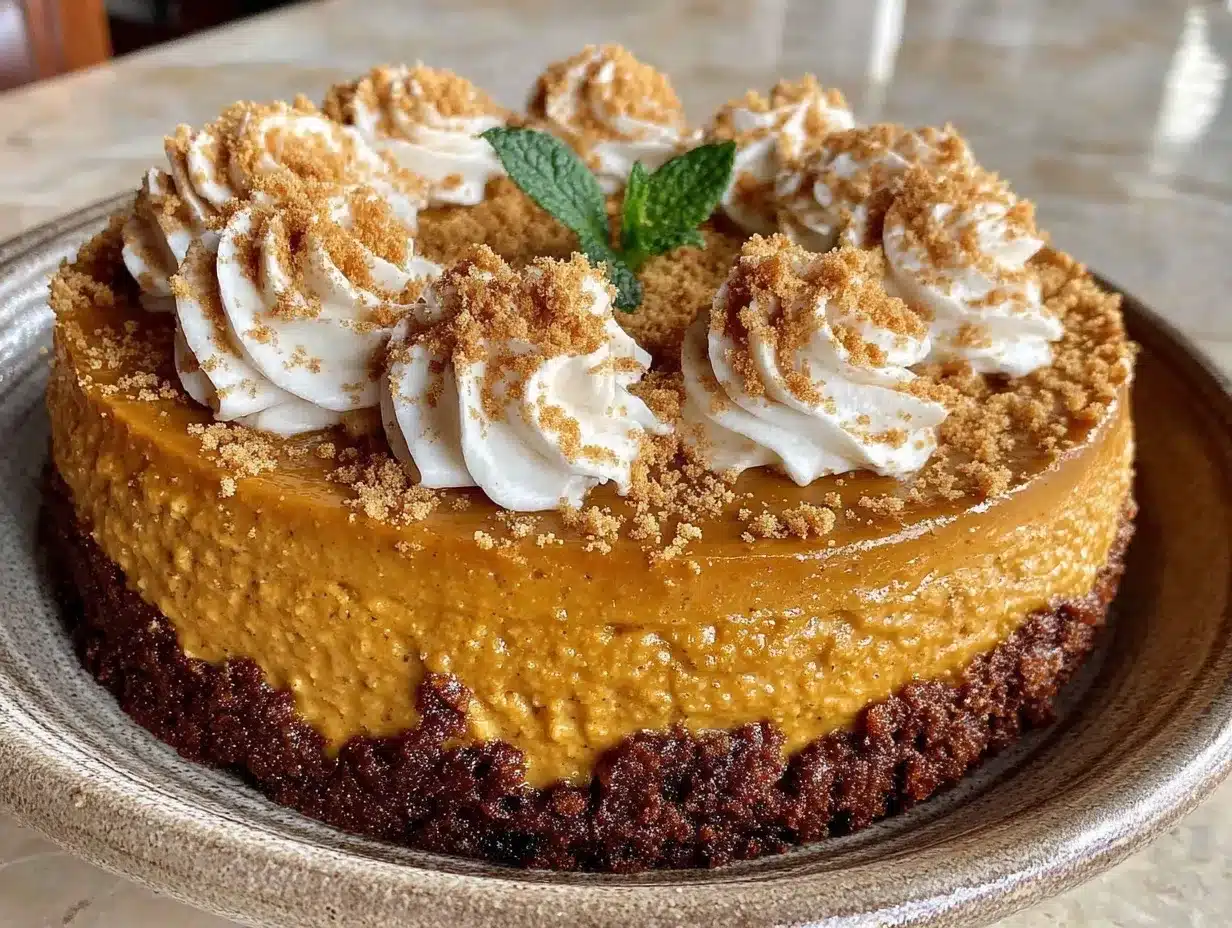
This no-bake pumpkin cheesecake with buttery gingersnap crust is my attempt to recreate that memory. It’s not about speed. It’s about getting the balance right—the sharp tang of the cream cheese, the warm spice of the pumpkin, and the crunchy, buttery snap of the cookies. It’s the way my grandmother always made it, and it’s the way I’ll keep making it for the rest of my life.
Why You’ll Love This No-Bake Pumpkin Cheesecake
There’s something magical about a dessert that doesn’t need an oven. It’s freeing. It’s practical. And when it tastes this good, it’s unbeatable.
I’ve made this pumpkin cheesecake for more holidays than I can count. Here’s why it keeps coming back to the table:
- It’s a Crowd-Pleaser — I’ve served this to people who claim they “don’t like pumpkin” and to die-hard dessert lovers. Everyone loves it. The gingersnap crust adds a spicy kick that keeps it interesting, while the filling is rich and creamy. It’s the perfect balance.
- Make-Ahead Magic — This is the ultimate stress-reliever for holiday cooking. You can make it three days in advance. In fact, it tastes better the next day because the flavors have time to meld. I usually make it on Wednesday so I don’t have to think about it on Thanksgiving.
- Simple Ingredients — You don’t need fancy gadgets or obscure spices. Just cream cheese, pumpkin puree, sugar, spices, and gingersnaps. If you can find those, you can make this. It’s foolproof.
- Texture Heaven — The contrast between the dense, smooth filling and the crunchy, buttery crust is what makes this recipe special. It’s not just sweet; it’s complex. The ginger cuts through the richness, so every bite feels light.
- Feels Homemade — Store-bought cheesecakes are fine, but they lack soul. This one smells like your kitchen. It looks like you spent hours (even though you only spent twenty minutes active). It feels like a gift.
This no-bake pumpkin cheesecake is my go-to when I want to impress without the hassle. It’s reliable, it’s delicious, and it brings back the warmth of my grandmother’s kitchen every single time.
Ingredients You’ll Need
Before we start, let’s talk about what goes into this. I’m particular about a few things here, and I’ll tell you exactly why. This isn’t just a list; it’s a guide to getting it right.
For the Buttery Gingersnap Crust
Gingersnap cookies (2 cups / about 240g, crushed) — This is the star of the show. Don’t use ginger molasses cookies; they’re too soft and sweet. Look for crisp, spicy gingersnaps. I buy the name brand because they have that perfect snap. You’ll need them finely crushed. If you don’t have a food processor, put them in a ziplock bag and crush them with a rolling pin. It’s meditative.
Unsalted butter (6 tablespoons / 85g, melted) — Butter binds the crust. I use unsalted so I can control the saltiness. Melt it in the microwave or on the stove. It should be hot enough to melt the cookies slightly when mixed, creating that buttery, sandy texture.
Granulated sugar (2 tablespoons / 25g) — Just a little bit to help the crust hold together and add a hint of sweetness. The cookies are already sweet, so don’t overdo it.
Ginger powder (1 teaspoon) — Optional, but I recommend it. It boosts the ginger flavor and ensures every bite has that spicy kick.
For the Pumpkin Cheesecake Filling
Full-fat cream cheese (24 ounces / 680g, softened) — This is non-negotiable. Use the brick kind, not the spreadable stuff in the tub. And it must be softened to room temperature. If it’s cold, you’ll get lumps. I leave it out for at least two hours before starting. Softened cream cheese mixes smoothly; cold cream cheese mixes with frustration.
Granulated sugar (1 cup / 200g) — This adds sweetness. If you prefer less sweet, you can reduce to ¾ cup, but I like it balanced against the tartness of the cream cheese.
Heavy cream (1 cup / 240ml, cold) — This gives the filling its light, airy texture. It’s whipped and folded in, which makes the cheesecake fluffy instead of dense. Make sure it’s cold, or it won’t whip properly.
Pumpkin puree (15 ounces / 425g, one can) — Use real pumpkin puree, not pumpkin pie filling. The filling has sugar and spices already, which will throw off the balance. Puree is just cooked pumpkin. It’s neutral and lets the spices shine.
Pumpkin pie spice (2 teaspoons) — This is a blend of cinnamon, ginger, nutmeg, and cloves. It’s the heart of the flavor. If you don’t have it, you can make your own, but store-bought is convenient and consistent.
Vanilla extract (1 teaspoon) — Just a splash to round out the flavors. Use real vanilla, not imitation.
Salt (½ teaspoon) — Salt is crucial. It enhances the sweetness and balances the richness. Don’t skip it.
Equipment Needed
You don’t need a fancy kitchen to make this. Here’s what I actually use:
9-inch springform pan — This is essential. The sides come off, making it easy to remove the cheesecake. If you don’t have one, you can use a regular 9-inch cake pan, but you’ll need to line it with parchment paper and lift it out.
Electric mixer — Handheld or stand mixer. I use a handheld because it’s easier to control. You need to beat the cream cheese until it’s smooth, which is hard with a whisk.
Food processor or ziplock bag — For crushing the gingersnaps. A food processor is faster, but a bag and rolling pin works fine if you don’t mind the arm workout.
Large mixing bowls — One for the crust, one for the filling. I use a big bowl for the whipped cream so it doesn’t splatter.
Spatula — A rubber spatula is best for folding. It gets every bit of the mixture out of the bowl.
How to Make It: Step-by-Step
Alright, let’s make this! I’m walking you through exactly how I do it, including the little tricks I’ve picked up over the years.
Step 1: Prepare the Crust (10 minutes)
First, crush your gingersnaps. If using a food processor, pulse until they’re fine crumbs. If using a bag, crush them until they’re sandy. Transfer the crumbs to a bowl and mix in the melted butter and sugar. The mixture should look like wet sand. If it’s too dry, add a little more butter. If it’s too wet, add a few more crumbs.
Press the mixture firmly into the bottom of your springform pan. Use the bottom of a glass to pack it down evenly. You want a solid base. Don’t worry about the sides; just the bottom is fine for this recipe. Place it in the fridge while you make the filling. This helps it set.
Step 2: Beat the Cream Cheese (5 minutes)
In a large bowl, beat the softened cream cheese and sugar with an electric mixer on medium-high speed. Beat for about 3-4 minutes until it’s completely smooth and creamy. Scrape down the sides of the bowl with a spatula. Make sure there are no lumps. This step is crucial for a smooth texture. If you rush it, you’ll get chunks of cream cheese in your final product.
Step 3: Add the Pumpkin and Spices (3 minutes)
Reduce the mixer speed to low. Add the pumpkin puree, pumpkin pie spice, vanilla, and salt. Mix until just combined. Don’t overmix at this stage; you just want it incorporated. The mixture will be thick and orange. It should smell amazing. If it looks too thick, you can add a splash of milk, but it’s usually fine as is.
Step 4: Whip the Heavy Cream (3 minutes)
In a separate cold bowl, whip the cold heavy cream until it forms stiff peaks. This takes about 2-3 minutes with an electric mixer. The cream should hold its shape when you lift the beaters. Be careful not to overwhip it into butter. You want soft, fluffy peaks.
Step 5: Fold It All Together (5 minutes)
Now, the magic happens. Add about one-third of the whipped cream to the pumpkin mixture and fold it in gently with a spatula. This lightens the dense pumpkin mixture. Then, add the remaining whipped cream and fold until just combined. Stop as soon as the cream is incorporated. You want to keep as much air in the mixture as possible. Overmixing will deflate it and make the cheesecake dense.
Step 6: Assemble and Chill (4+ hours)
Pour the filling over the crust in the springform pan. Smooth the top with a spatula. Tap the pan gently on the counter to remove any air bubbles. Cover it with plastic wrap or a lid. Place it in the fridge for at least 4 hours, but overnight is best. The longer it chills, the firmer it gets and the better the flavors meld.
Expert Tips & Tricks
Here’s everything I’ve learned from making this dozens of times. These tips will save you from my mistakes.
- Room Temperature Cream Cheese — I can’t stress this enough. If your cream cheese is cold, you’ll get lumps. Soften it for at least two hours. If you forget, you can microwave it in 5-second bursts, but be careful not to melt it.
- Cold Heavy Cream — The cream must be cold to whip properly. Keep it in the fridge until the last minute. If your bowl is warm, chill it in the freezer for 10 minutes first.
- Don’t Overmix — Once you add the whipped cream, fold gently. Overmixing deflates the air and makes the cheesecake dense. You want it light and fluffy.
- Use Real Pumpkin Puree — Not pumpkin pie filling. Pie filling has sugar and spices, which will throw off the balance. Puree is just cooked pumpkin. It’s neutral and lets the spices shine.
- Chill Longer — While 4 hours is enough, overnight is better. The flavors meld and the texture firms up. I usually make it the day before so I don’t have to worry about it.
Variations & Substitutions
Once you’ve nailed the basic version, here’s how you can mix it up. I’ve tried all of these.
- White Chocolate Swirl — Melt white chocolate and swirl it into the filling before chilling. It adds a sweet, creamy contrast.
- Caramel Drizzle — Drizzle salted caramel over the top before serving. It’s decadent and pairs well with the ginger.
- Maple Glaze — Mix maple syrup with a little cream cheese and drizzle it over the top. It adds a rustic, autumnal flavor.
- Gluten-Free — Use gluten-free gingersnaps for the crust. Everything else is naturally gluten-free.
- Dairy-Free — Use dairy-free cream cheese and coconut cream instead of heavy cream. It’s not quite the same, but it works.
If you’re looking for other fall desserts, you might also enjoy my fall no-bake pumpkin pie for a simpler option, or my fall pumpkin pie cheesecake if you want a baked version.
Serving & Storage
How to Serve: I usually serve this straight from the fridge. It’s best when it’s cold and firm. Slice it with a hot knife for clean cuts. Dip the knife in hot water, wipe it dry, and slice. It makes a huge difference.
Side Dishes: This pairs well with a simple green salad or some roasted squash. It’s rich, so you don’t want anything too heavy on the side.
Storage: Store in the fridge in an airtight container for up to 5 days. It doesn’t freeze well because the texture changes. The cream cheese can become grainy when thawed. So, enjoy it fresh.
Meal Prep: Make it on Sunday for the week ahead. It keeps well in the fridge, so you can slice off a piece whenever you need a sweet treat.
Nutrition Information
I’m not a nutritionist, but here’s the breakdown if you’re tracking.
Per Serving (based on 12 servings):
- Calories: 380
- Protein: 6g
- Carbs: 35g
- Fiber: 1g
- Sugar: 28g
- Fat: 24g
- Saturated Fat: 14g
- Cholesterol: 75mg
- Sodium: 220mg
- Calcium: 120mg
What’s Good: It has some protein from the cream cheese and calcium. The pumpkin adds a bit of fiber.
What to Know: It’s higher in calories and sugar from the cream cheese and cookies. It’s a treat, so enjoy it in moderation.
My Take: Look, this is dessert. It’s rich and sweet. It’s not a diet food. But it’s better than store-bought, and it tastes like home. When I want to make it lighter, I use less sugar and more pumpkin. But usually? I just eat a slice and enjoy it.
Final Thoughts
So that’s my no-bake pumpkin cheesecake with buttery gingersnap crust. It’s a recipe that’s close to my heart, not just because it’s delicious, but because it connects me to my grandmother. Every time I make it, I’m back in her kitchen, watching her mix the ingredients with that wooden spoon, smelling the spices, and feeling the warmth of the season.
This cheesecake has saved my holidays. It’s my answer to “what’s for dessert” when I’m tired, don’t want to bake, and still want something that tastes really good. My family is happy, my guests are happy, and I’m happy because I’m not stressed about cooking.
Make it yours! Try different toppings, swap in your favorite spices, or adjust the sweetness. The best recipes are the ones you adapt to your family’s tastes. If you make this, drop a comment and let me know what you think! I love hearing how recipes turn out in your kitchen. And if something doesn’t work, tell me that too—I’m here to help troubleshoot.
Happy cooking! And I hope your kitchen smells half as good as mine does right now.
Frequently Asked Questions
Can I use pumpkin pie filling instead of puree?
You can, but I don’t recommend it. Pumpkin pie filling already has sugar and spices, which will make the cheesecake too sweet and overpower the flavor. Puree is just cooked pumpkin, which lets you control the sweetness and spice. If you must use pie filling, reduce the sugar in the recipe by half and skip the pumpkin pie spice.
Why did my cheesecake turn out watery?
This usually happens if you overmix the whipped cream or if the cream cheese wasn’t fully softened. Overmixing deflates the air and breaks down the structure. Make sure to fold gently. Also, ensure your cream cheese is at room temperature before mixing. If it’s cold, it won’t blend smoothly, and you’ll get lumps that release water.
Can I make this ahead for a dinner party?
Absolutely. This is actually better when made ahead. You can make it up to 3 days in advance. Just store it in the fridge in an airtight container. The flavors will meld and the texture will firm up. I usually make it on Wednesday for a Saturday party.
Why did my crust fall apart?
This usually means the crust wasn’t pressed down firmly enough or there wasn’t enough butter. Make sure to pack the crust firmly into the pan. Use the bottom of a glass to press it down. If it’s still crumbling, add a little more melted butter. The crust should hold together when you press it.
Can I use a different type of cookie for the crust?
Yes, you can. Graham crackers are a classic choice, but they’re sweeter and less spicy. Oreos make a chocolate crust, which is delicious but different. Nilla wafers are another option. For the best flavor, stick with gingersnaps, but feel free to experiment. Just adjust the sugar accordingly.
How do I slice the cheesecake cleanly?
Use a hot knife. Dip a sharp knife in hot water, wipe it dry, and make your cut. Wipe the knife between each slice. This ensures clean, neat slices. If you don’t do this, the cheesecake will stick to the knife and look messy.
Can I freeze this cheesecake?
I don’t recommend it. The texture of the cream cheese and whipped cream changes when frozen and thawed. It can become grainy and watery. It’s best enjoyed fresh from the fridge. If you must freeze it, freeze the crust separately and make the filling fresh when you’re ready to serve.
Pin This Recipe!
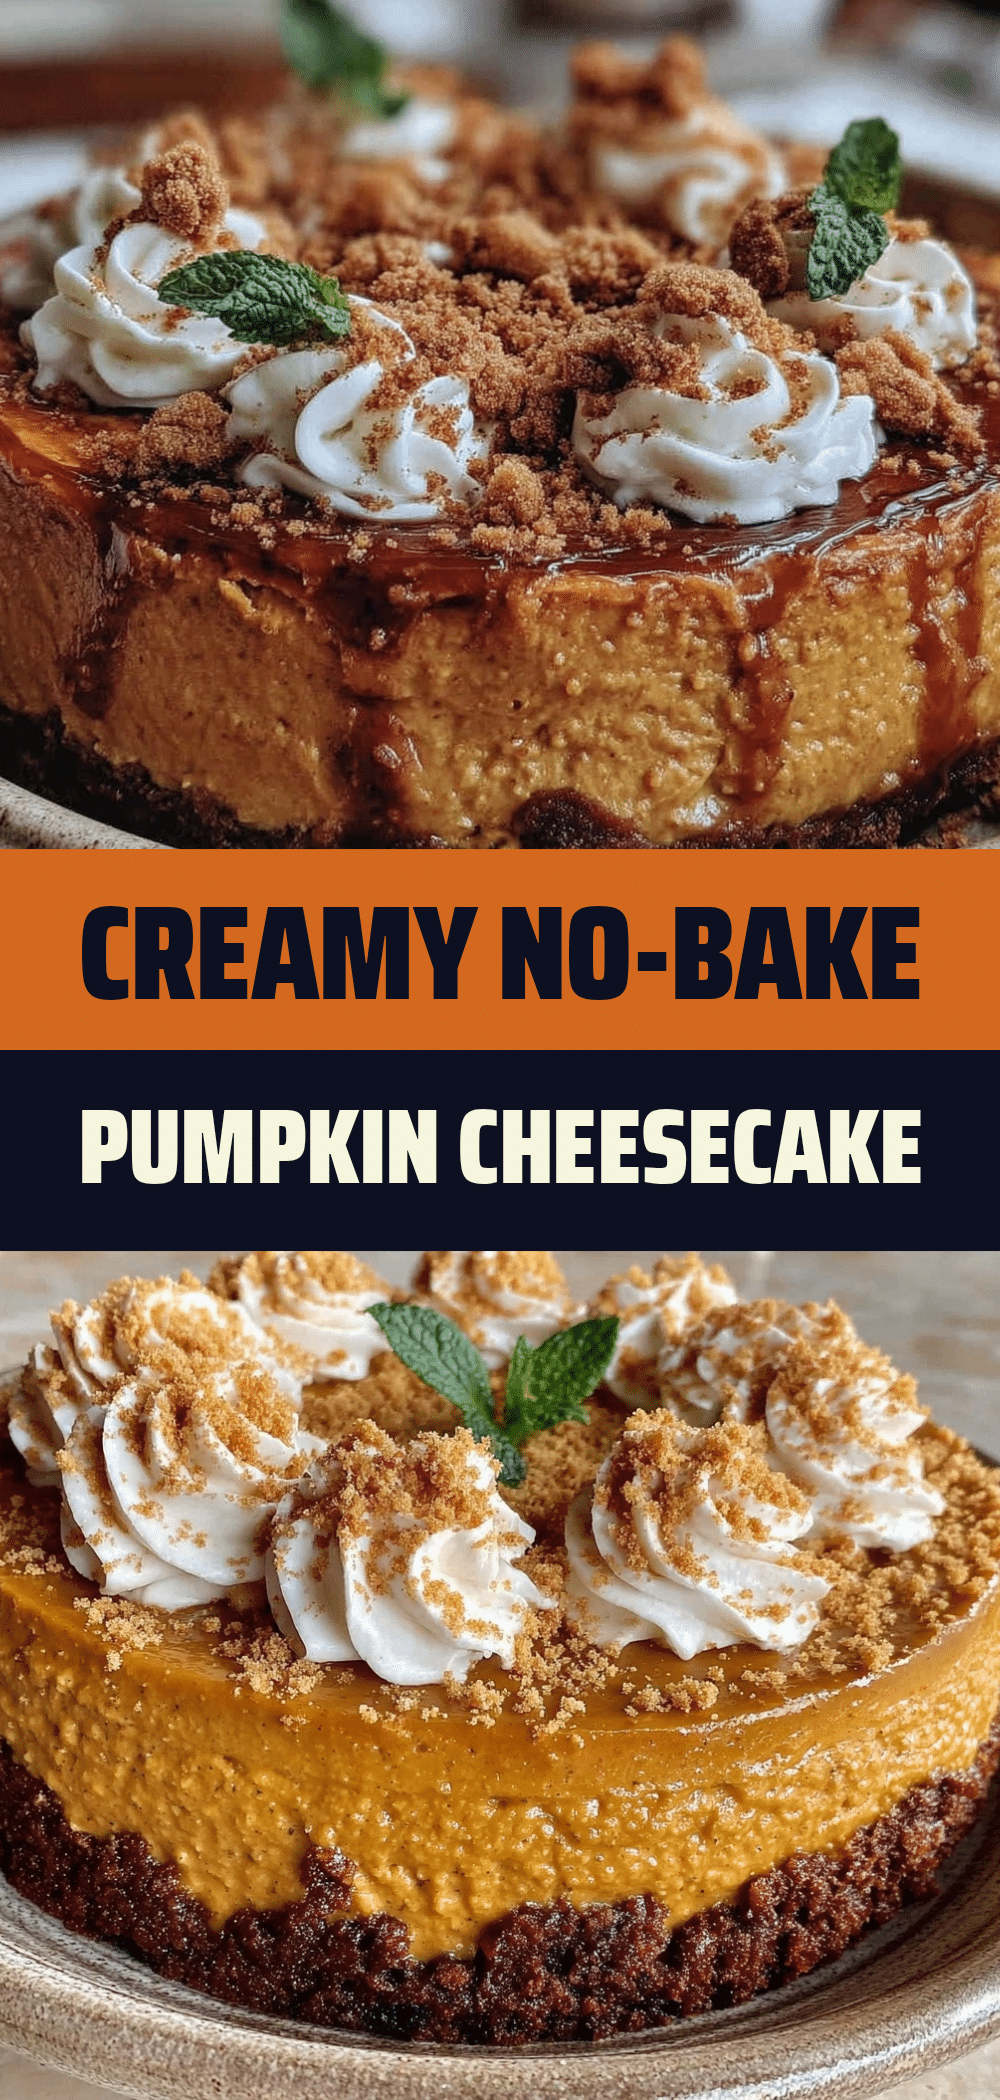
No-Bake Pumpkin Cheesecake: Grandma’s Real Way
- Total Time: 4 hours 20 minutes
- Yield: 12 servings 1x
Description
A rich, creamy no-bake pumpkin cheesecake with a buttery gingersnap crust, inspired by family tradition. This dessert requires no oven and is perfect for make-ahead holiday gatherings.
Ingredients
- 2 cups (240g) gingersnap cookies, finely crushed
- 6 tablespoons (85g) unsalted butter, melted
- 2 tablespoons (25g) granulated sugar
- 1 teaspoon ginger powder (optional)
- 24 ounces (680g) full-fat cream cheese, softened to room temperature
- 1 cup (200g) granulated sugar
- 1 cup (240ml) heavy cream, cold
- 15 ounces (425g) pumpkin puree (not pie filling)
- 2 teaspoons pumpkin pie spice
- 1 teaspoon vanilla extract
- 1/2 teaspoon salt
Instructions
- Crush the gingersnap cookies into fine crumbs using a food processor or a ziplock bag and rolling pin.
- In a bowl, mix the cookie crumbs with melted butter, 2 tablespoons sugar, and optional ginger powder until the mixture resembles wet sand.
- Press the crust mixture firmly into the bottom of a 9-inch springform pan. Place in the refrigerator to set while making the filling.
- In a large bowl, beat the softened cream cheese and 1 cup sugar with an electric mixer on medium-high speed for 3-4 minutes until completely smooth. Scrape down the sides.
- Reduce mixer speed to low. Add pumpkin puree, pumpkin pie spice, vanilla extract, and salt. Mix until just combined.
- In a separate cold bowl, whip the cold heavy cream until stiff peaks form.
- Fold one-third of the whipped cream into the pumpkin mixture to lighten it, then gently fold in the remaining whipped cream until just combined. Do not overmix.
- Pour the filling over the prepared crust in the springform pan and smooth the top.
- Tap the pan gently to remove air bubbles, cover with plastic wrap, and refrigerate for at least 4 hours, preferably overnight.
- Slice with a hot knife for clean cuts and serve chilled.
Notes
Ensure cream cheese is fully softened to room temperature to avoid lumps. Use real pumpkin puree, not pumpkin pie filling. For best results, chill overnight to allow flavors to meld and texture to firm up. Store in the fridge for up to 5 days; freezing is not recommended as it alters the texture.
- Prep Time: 20 minutes
- Cook Time: 0 minutes
- Category: Dessert
- Cuisine: American
Nutrition
- Serving Size: 1 slice
- Calories: 380
- Sugar: 28
- Sodium: 220
- Fat: 24
- Saturated Fat: 14
- Carbohydrates: 35
- Fiber: 1
- Protein: 6
Keywords: no-bake cheesecake, pumpkin cheesecake, gingersnap crust, holiday dessert, make-ahead dessert, fall recipes, Thanksgiving dessert