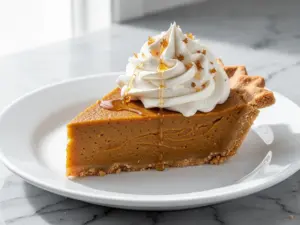
Last Thanksgiving, I made the mistake of bringing a store-bought pumpkin pie to the gathering. You know the one—the kind that sits in the fridge for three days before you buy it, tastes like canned syrup, and has a crust that crumbles into dust if you look at it wrong. My uncle ate two slices anyway because it was “traditional,” but I saw the look on my mom’s face. It wasn’t joy. It was pity.
I spent the rest of the holiday staring at the leftovers, wondering why dessert always has to feel like an obligation. That’s when I decided to combine my two favorite autumn flavors into one impossible-to-resist dessert. I wanted the creamy, rich texture of a New York cheesecake with the spiced, comforting warmth of pumpkin pie. But I didn’t want the soggy bottom of a traditional pie crust. So, I did something I’ve never done before for a holiday centerpiece: I built a gingersnap crust.
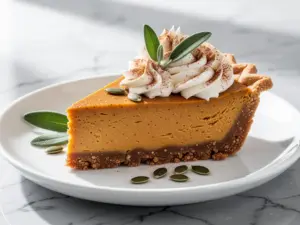
This Fall Pumpkin Pie Cheesecake is the result of that experiment. It’s dense enough to satisfy a sweet tooth but light enough that you don’t feel like you need to undo your belt button after eating a slice. The gingersnap crust adds a spicy, crunchy contrast that makes every bite interesting. I’ve made this for three holiday seasons now, and it has completely replaced the old pie tradition in our house. My family actually fights over the last slice now. Real talk? That’s a win in my book.
I’ve tested this recipe at least eight times, tweaking the spice ratios and baking times until it was perfect. It’s not just a cheesecake. It’s not just pumpkin pie. It’s something entirely new, and it’s going to become your new holiday favorite too.
Why You’ll Love This Recipe
There are a lot of desserts out there, but this pumpkin cheesecake has earned its spot in my regular rotation for specific, practical reasons. Here’s why it works so well for holiday gatherings:
- Make-Ahead Magic — This is the ultimate stress-buster. Cheesecakes need time to set, which means you can make it two or even three days before the party. While everyone else is panicking about stuffing and mashed potatoes, you can be relaxing with a glass of wine, knowing your dessert is already done. I usually make mine on Friday for a Sunday dinner.
- Flavor That Actually Shines — So many pumpkin desserts taste like they’re hiding behind the spice. In this recipe, the pumpkin flavor is front and center. The gingersnap crust amplifies the warmth of cinnamon and nutmeg, while the cream cheese adds a tangy counterpoint that keeps it from being too sweet.
- Texture Heaven — I hate soggy crusts. I hate grainy cheesecake. This recipe delivers a crust that stays crisp even after sitting in the fridge, and a filling that is impossibly smooth. The contrast between the crunchy, spicy gingersnap base and the creamy, velvety top is what makes this recipe special.
- Crowd-Pleasing Versatility — I’ve served this to people who hate pumpkin and people who only eat chocolate. Both groups asked for the recipe. The spice level is warm and inviting, not overwhelming. It feels fancy enough for a dinner party but comforting enough for a casual family night.
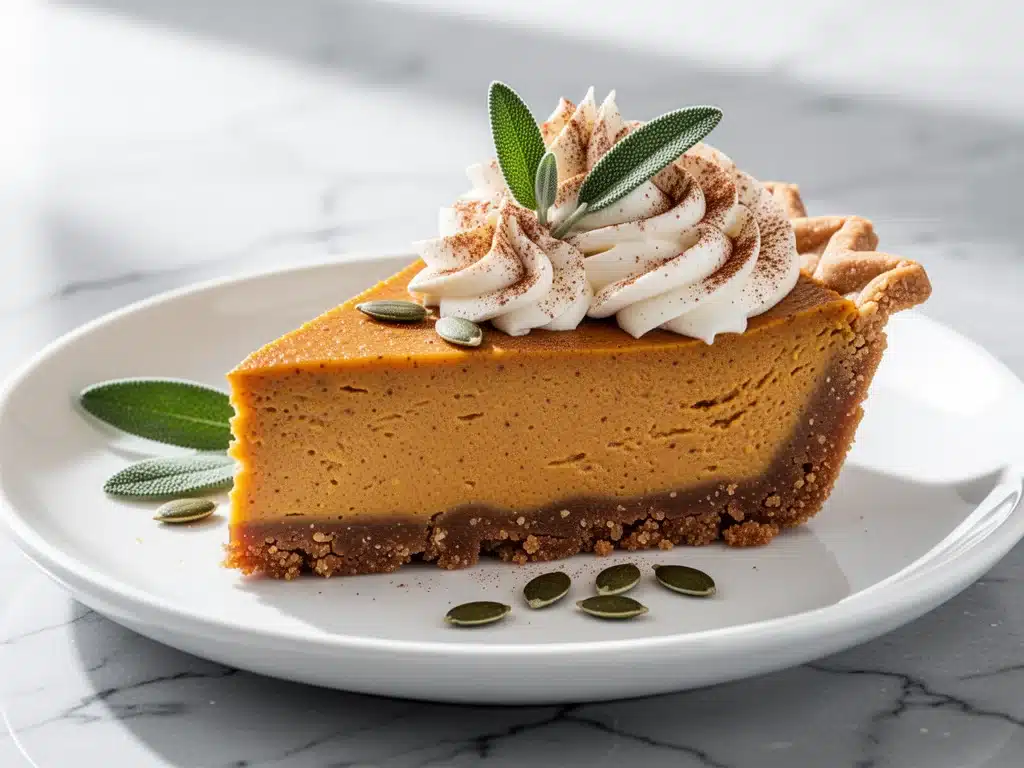
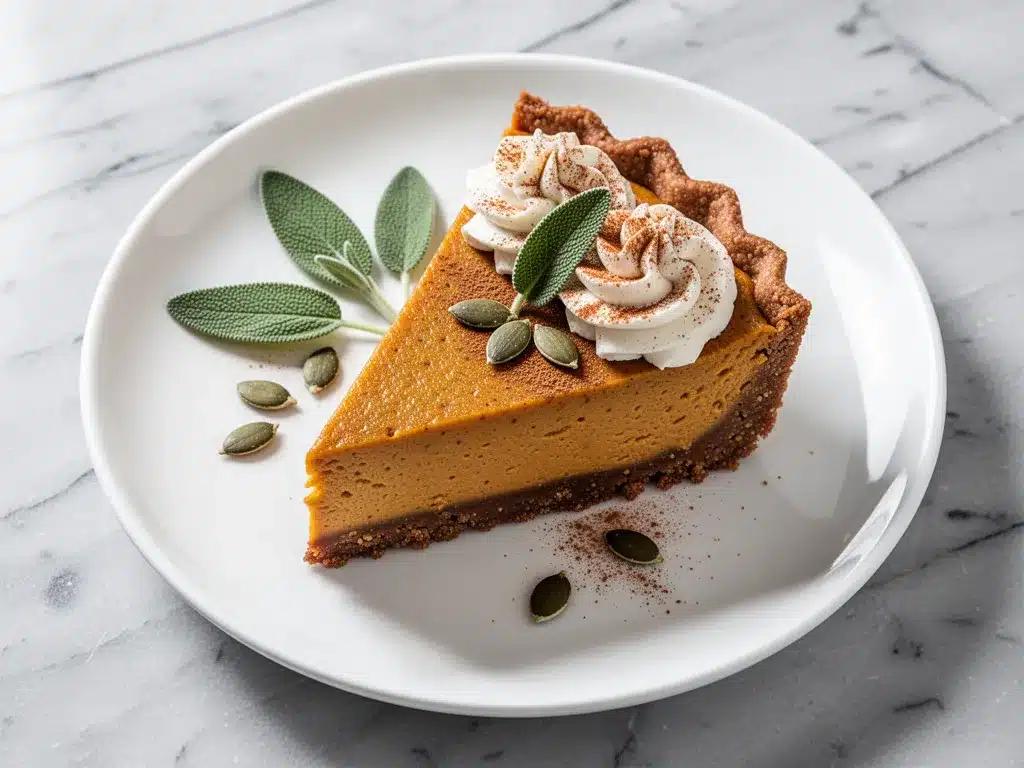
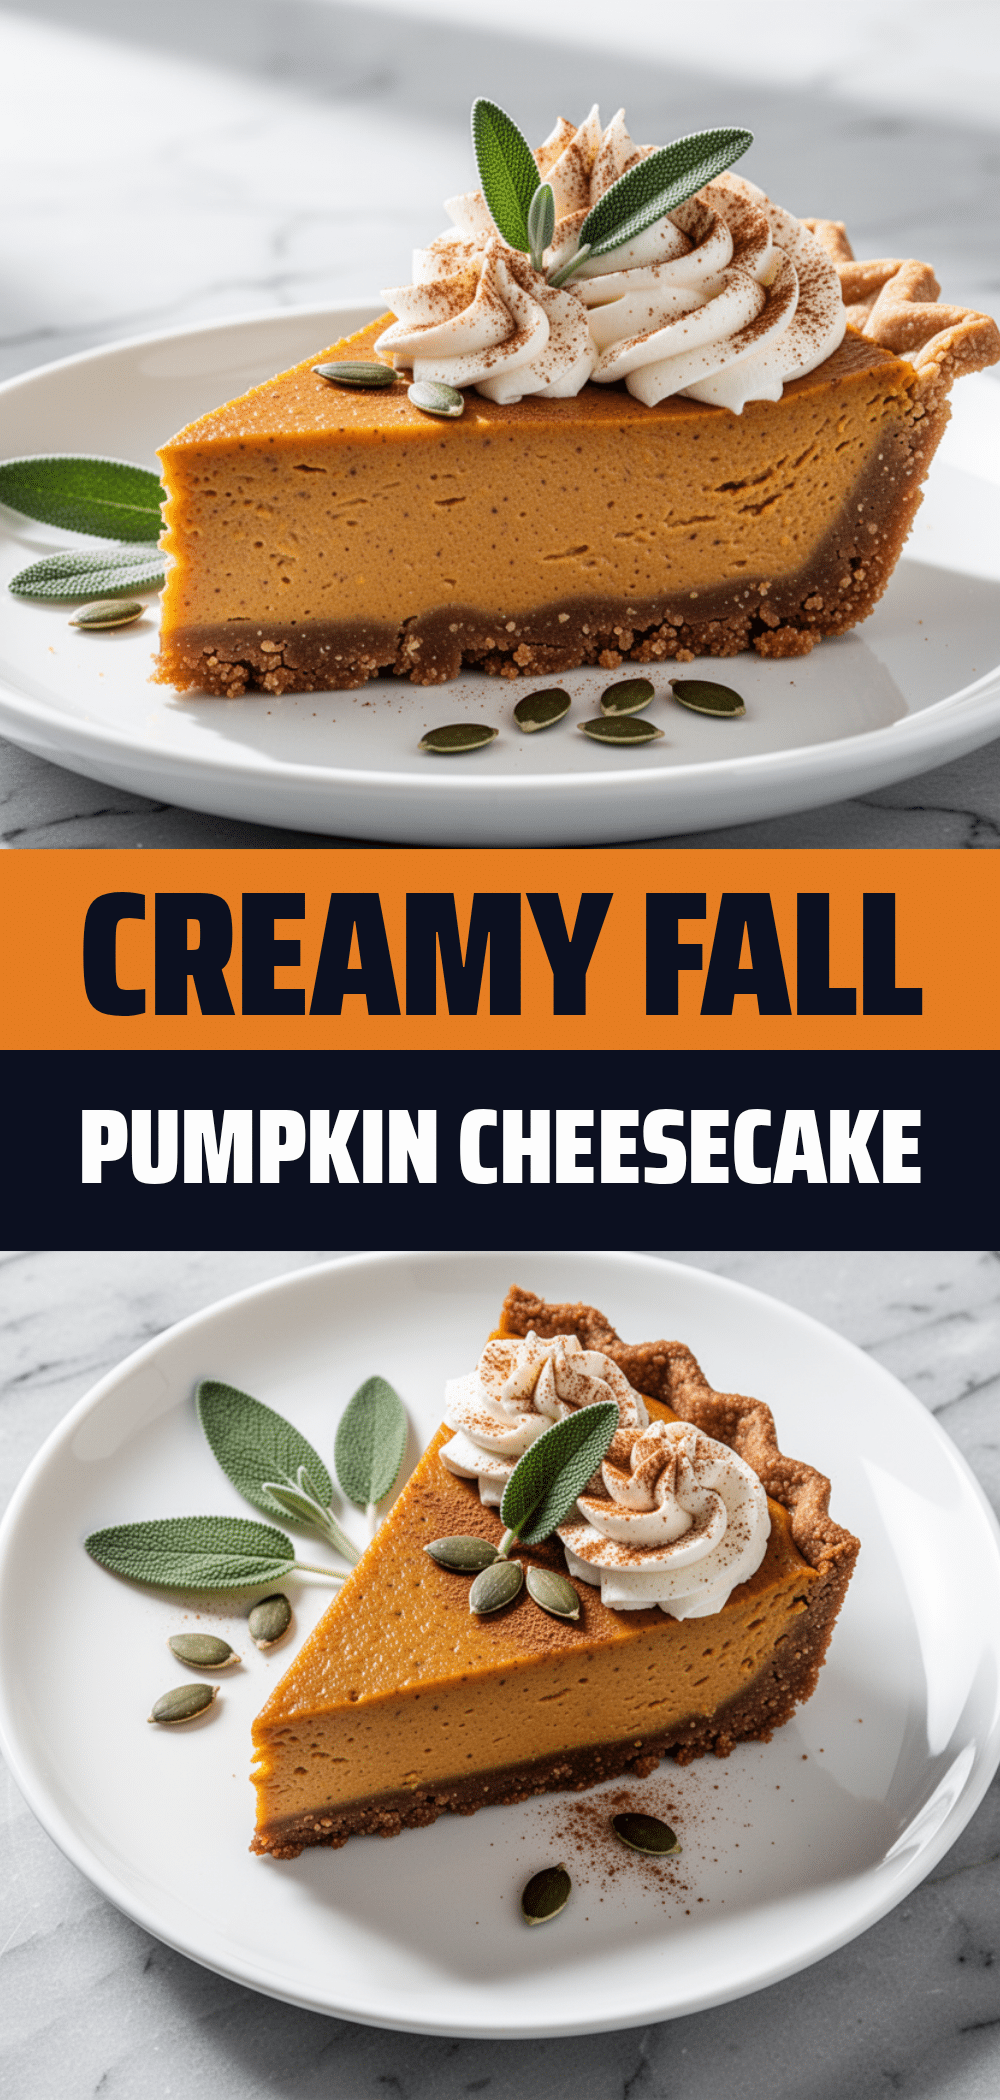
- Looks Impressive — You don’t need to be a pastry chef to make this look stunning. The dark brown gingersnap crust contrasts beautifully with the pale orange pumpkin filling. A simple dusting of powdered sugar or a dollop of whipped cream makes it look like it came from a high-end bakery.
This is my go-to dessert when I want to impress without spending all day in the kitchen. It’s reliable, delicious, and totally worth the effort.
Ingredients You’ll Need
I’m particular about a few things here, but honestly, most of this is stuff you can grab at any grocery store. I’m breaking it down so you know exactly what to buy and why it matters.
For the Gingersnap Crust
Gingersnap cookies (2 cups / about 200g crushed) — Don’t use soft, chewy ginger cookies. You need the hard, crisp gingersnaps that snap in half. They provide that essential crunch. I usually buy a box of the standard variety. If you can find a brand with molasses, even better.
Unsalted butter (6 tablespoons / 85g, melted) — This binds the crumbs. Use good quality butter. I use European-style if I have it, but regular salted butter works fine if you reduce the salt elsewhere (though there isn’t much salt in the crust anyway).
Granulated sugar (2 tablespoons) — Just a little bit to help the crust caramelize slightly and hold together. Don’t skip it, but don’t go overboard.
Ground cinnamon (½ teaspoon) — Adds a little extra warmth to the crust. If you love ginger, you can add a pinch of ground ginger here too.
For the Pumpkin Cheesecake Filling
Full-fat cream cheese (32 ounces / 900g, about 4 blocks) — This is non-negotiable. Do not use light cream cheese. Do not use the tubs. You need the brick-style blocks. Let them sit out on the counter for at least an hour before you start. Cold cream cheese creates lumps, and nobody wants lumps in their cheesecake. I’ve ruined batches before because I was impatient.
Granulated sugar (1 cup / 200g) — Standard white sugar. It dissolves easily and balances the tang of the cream cheese.
Vanilla extract (2 teaspoons) — Use real vanilla, not imitation. It makes a huge difference in flavor depth.
Eggs (4 large) — Room temperature is best. Cold eggs can shock the cream cheese and cause cracking. I usually take them out of the fridge while the cream cheese softens.
Heavy cream (½ cup / 120ml) — Adds richness and helps create that smooth, creamy texture. Half-and-half works in a pinch, but heavy cream is better.
Pumpkin puree (15 ounces / 425g, one can) — IMPORTANT: Do not use pumpkin pie filling. That stuff is pre-sweetened and spiced, which will throw off the balance. Use 100% pure pumpkin puree. If you make your own, make sure it’s cooked down until it’s very thick. Watery puree leads to a soggy cheesecake.
Ground cinnamon (1 teaspoon) — The main spice. Adjust to taste, but this is the classic pumpkin flavor.
Ground ginger (½ teaspoon) — Adds a spicy kick that complements the gingersnap crust.
Ground nutmeg (¼ teaspoon) — Just a pinch. Nutmeg is powerful. Too much tastes medicinal.
Salt (½ teaspoon) — Balances the sweetness. Essential.
For the Topping (Optional but Recommended)
Whipped cream — Homemade is best, but store-bought works if you’re in a rush.
Extra gingersnap crumbs — For garnish. Adds a nice visual touch.
Equipment Needed
You don’t need fancy equipment, but having the right tools makes this way easier.
9-inch Springform Pan — This is essential for cheesecakes. The sides release so you can get a clean slice. Make sure it’s in good condition; if the bottom leaks, your cheesecake will soak up water. I wrap the outside in foil just to be safe.
Food Processor — This is the easiest way to crush the gingersnaps into fine crumbs. If you don’t have one, put the cookies in a zip-top bag and crush them with a rolling pin. It takes a bit of arm strength, but it works.
Stand Mixer or Hand Mixer — Creaming the cheese and sugar by hand is possible, but it’s a workout. A mixer ensures everything is smooth and lump-free. I use a stand mixer because I can walk away while it runs.
Large Mixing Bowl — For combining the wet ingredients.
Spatula — A silicone spatula is great for scraping down the sides of the bowl to ensure everything is mixed evenly.
Wire Rack — For cooling the cheesecake. Don’t skip the cooling step; it helps prevent cracking.
How to Make It: Step-by-Step
Alright, let’s make this! I’m walking you through exactly how I do it, including the little tricks I’ve picked up over the years.
Step 1: Prep Your Crust (10 minutes)
Preheat your oven to 325°F (165°C). If you’re using a springform pan, wrap the bottom and sides tightly with two layers of heavy-duty aluminum foil. This prevents water from seeping in if you decide to use a water bath (more on that later).
Crush the gingersnap cookies into fine crumbs. You want them to look like wet sand. If there are big chunks, your crust will be uneven. Pour the crumbs into a bowl and mix in the melted butter, sugar, and cinnamon. The mixture should look like damp sand that holds together when you squeeze it. Press this mixture firmly into the bottom of your springform pan. Use the bottom of a measuring cup to pack it down tight. You want it even and compact. Bake for 8-10 minutes until it smells fragrant. Let it cool while you make the filling.
Step 2: Beat the Cream Cheese (5 minutes)
In the bowl of your stand mixer (or a large bowl with a hand mixer), beat the softened cream cheese on medium-high speed. This is crucial. Beat it for a full 2-3 minutes until it is completely smooth, creamy, and free of lumps. I know it looks smooth already, but keep going. Scrape down the sides of the bowl with your spatula to make sure you’re getting everything. This step ensures your cheesecake is silky, not grainy.
Step 3: Add Sugar and Vanilla (2 minutes)
Reduce the mixer speed to low. Add the sugar and vanilla extract. Mix until just combined. Don’t overmix here, or you’ll incorporate too much air, which can cause the cheesecake to rise and then crack. Scrape down the bowl again.
Step 4: Incorporate Eggs and Pumpkin (5 minutes)
Add the eggs one at a time, mixing on low speed after each addition. Stop as soon as the yellow disappears. Overmixing eggs adds air, which leads to cracks. Once the eggs are in, add the pumpkin puree, cinnamon, ginger, nutmeg, and salt. Mix on low until everything is smooth and uniform. The batter should be thick but pourable. Taste it at this stage (raw pumpkin is safe to eat if pasteurized, but if you’re nervous, skip this). Adjust spices if you want it spicier.
Step 5: Bake the Cheesecake (1 hour 15 minutes)
Pour the batter over the cooled gingersnap crust. Smooth the top with a spatula. Place the pan on a baking sheet (to catch any potential drips) and put it in the oven. Bake at 325°F for 1 hour and 15 minutes.
How do you know it’s done? The edges should be set and slightly puffed, but the center should still jiggle slightly like Jell-O when you gently shake the pan. It will firm up as it cools. If the center is liquidy, it needs more time. If it’s completely firm, you’ve overbaked it.
Step 6: Cool Slowly (2 hours)
Turn off the oven and crack the door open. Let the cheesecake sit in the cooling oven for 1 hour. This gradual temperature change prevents cracking. Then, remove it from the oven and let it cool completely on a wire rack. Once it’s room temperature, cover it with plastic wrap and refrigerate for at least 4 hours, preferably overnight. Patience is key here.
Step 7: Serve and Enjoy
Remove the springform ring. Slice with a sharp knife dipped in hot water for clean cuts. Top with whipped cream and extra gingersnap crumbs if you’re feeling fancy. Serve chilled.
Expert Tips & Tricks
Here’s everything I’ve learned from making this dozens of times. These tips will save you from my mistakes.
Room Temperature Ingredients Are Non-Negotiable
I cannot stress this enough. Cold cream cheese and cold eggs create lumps. Lumps mean a gritty texture. If you forget to take them out, put the cream cheese blocks in a bowl of warm (not hot) water for 10 minutes. For eggs, run them under warm tap water for a minute. It’s worth the extra five minutes.
Don’t Overmix the Batter
Once you add the eggs, mix on the lowest speed possible. You just want to combine the ingredients. Aggressive mixing whips air into the batter. Air expands in the oven and contracts as it cools, leading to cracks. We want dense, creamy, not airy and fluffy.
The Water Bath Option
I usually skip the water bath for this recipe because the gingersnap crust is sturdy, but if you’re worried about even baking, you can use one. Place your springform pan (well-wrapped in foil) in a larger roasting pan. Fill the roasting pan with an inch of hot water. Bake as directed. It creates a humid environment that prevents cracking.
Storage Is Simple
This keeps in the fridge for up to 5 days. It actually tastes better on day two or three as the flavors meld. You can freeze it, too. Wrap the whole cheesecake (or individual slices) tightly in plastic wrap and then foil. Freeze for up to 2 months. Thaw in the fridge overnight.
Variations & Substitutions
Once you’ve nailed the basic version, here’s how you can mix it up. I’ve tried all of these.
Maple Pecan Twist
Add ½ cup of chopped pecans to the gingersnap crust. Toast them first for extra flavor. It adds a nice crunch and pairs beautifully with the maple notes in the gingersnaps.
White Chocolate Pumpkin
Melt ½ cup of white chocolate and mix it into the batter with the pumpkin. It makes the cheesecake sweeter and creamier. Great for kids who think pumpkin is “too spicy.”
Gluten-Free Option
Use gluten-free gingersnap cookies for the crust. Make sure your pumpkin puree is certified gluten-free (some brands process in facilities with wheat). Everything else is naturally gluten-free.
Dairy-Free Version
This is trickier because cream cheese is the main structure. Use a high-quality vegan cream cheese block (like Kite Hill or Miyoko’s). Use coconut milk instead of heavy cream, and vegan butter for the crust. It won’t be exactly the same, but it’s still delicious.
Spice It Up
Add a pinch of cardamom or cloves to the filling. It makes the pumpkin flavor more complex and aromatic. I love adding a tiny bit of cardamom for a sophisticated twist.
Serving & Storage
How to Serve
I usually serve this straight from the fridge. The cold temperature makes the cheesecake feel even more like a dessert. I top it with a dollop of whipped cream and a sprinkle of crushed gingersnaps. It looks beautiful on a plate.
Side Dishes
This is a dessert, so it stands alone. But if you’re serving it with coffee, it pairs wonderfully with soft garlic knots if you’re doing a savory-sweet spread, or alongside a simple apple cider. It also goes well with creamy garlic mashed cauliflower if you’re doing a low-carb holiday meal.
Storage Instructions
Refrigerator: Store in an airtight container or cover the springform pan tightly with plastic wrap. It will last up to 5 days.
Freezer: Wrap tightly in plastic and foil. Freeze for up to 2 months. Thaw in the fridge overnight.
Reheating: You don’t need to reheat this. Eat it cold. If you prefer it slightly softer, let it sit on the counter for 15 minutes before serving.
Nutrition Information
I’m not a nutritionist, but here’s the breakdown if you’re tracking. This is a rich dessert, so portion control is key.
Per Slice (based on 12 slices):
- Calories: 480
- Protein: 8g
- Carbs: 38g
- Fiber: 1g
- Sugar: 28g
- Fat: 32g
- Saturated Fat: 18g
Look, this is a decadent dessert. It’s not a health food. But it’s homemade, so you know exactly what’s in it. When I make it, I cut it into smaller slices and pair it with a cup of black coffee, which helps balance the sweetness. If you want to lighten it up, use light cream cheese (though the texture will be different) and reduce the sugar slightly.
Final Thoughts
So that’s my Fall Pumpkin Pie Cheesecake! I’ve probably talked your ear off at this point, but when you make a recipe this often, you have a lot to say about it.
This has saved my holiday desserts more times than I can count. It’s my answer to “what’s for dessert” when I’m tired, don’t want to bake a complicated pie, and still want something that feels special. My family is happy, my guests are impressed, and I’m happy because I can make it days in advance.
Make it yours! Try different toppings, swap in your favorite spices, or add nuts to the crust. The best recipes are the ones you adapt to your family’s tastes.
If you make this, drop a comment and let me know what you think! I love hearing how recipes turn out in your kitchen. And if something doesn’t work, tell me that too—I’m here to help troubleshoot.
Happy baking! And I hope your kitchen smells half as good as mine does right now.
Frequently Asked Questions
Can I use pumpkin pie filling instead of pure pumpkin?
I really don’t recommend it. Pumpkin pie filling is pre-sweetened and has added thickeners that can mess up the texture of the cheesecake. It will likely be too sweet and the consistency might be off. Stick with 100% pure pumpkin puree. If you must use pie filling, you’ll need to drastically reduce the sugar in the recipe, but I’d rather just use the real stuff.
Why did my cheesecake crack?
Cracking is usually caused by overmixing (too much air), overbaking (too much heat), or rapid temperature changes. Make sure you mix on low speed after adding eggs. Don’t overbake it—the center should still jiggle. And always let it cool slowly in the turned-off oven. If it cracks, don’t panic! A dollop of whipped cream hides almost everything.
Can I make this ahead of time?
Yes! This is actually better when made ahead. You can make it 2-3 days before your holiday. Just keep it covered in the fridge. The flavors meld and get better over time. I usually make mine on Friday for a Sunday dinner.
How do I get clean slices?
Wipe your knife with a warm, wet cloth between every cut. The heat helps the knife glide through the cold cheesecake without sticking. Dip the knife in hot water, wipe dry, cut, repeat. It’s a game-changer for presentation.
Can I freeze this cheesecake?
Absolutely. Wrap the whole cheesecake tightly in plastic wrap and then foil. Freeze for up to 2 months. Thaw it in the fridge overnight before serving. It thaws beautifully and retains its texture.
What if I don’t have a springform pan?
You can use a regular 9-inch round cake pan, but you’ll need to line it with parchment paper and grease it well. Removing the cheesecake will be harder, so you might want to invert it onto a plate and then flip it onto a serving dish. It’s not ideal, but it works in a pinch.
Pin This Recipe!
Fall Pumpkin Pie Cheesecake: Best Easy Holiday Recipe
- Total Time: 5 hours 40 minutes
- Yield: 12 servings 1x
Description
A dense yet light pumpkin cheesecake with a creamy, rich filling and a spicy, crunchy gingersnap crust. This make-ahead dessert combines the flavors of pumpkin pie and New York cheesecake for an impressive holiday centerpiece.
Ingredients
- 2 cups (200g) crushed hard gingersnap cookies
- 6 tablespoons (85g) unsalted butter, melted
- 2 tablespoons granulated sugar
- 1/2 teaspoon ground cinnamon
- 32 ounces (900g) full-fat brick-style cream cheese, room temperature
- 1 cup (200g) granulated sugar
- 2 teaspoons vanilla extract
- 4 large eggs, room temperature
- 1/2 cup (120ml) heavy cream
- 15 ounces (425g) 100% pure pumpkin puree
- 1 teaspoon ground cinnamon
- 1/2 teaspoon ground ginger
- 1/4 teaspoon ground nutmeg
- 1/2 teaspoon salt
- Whipped cream (optional, for topping)
- Extra gingersnap crumbs (optional, for garnish)
Instructions
- Preheat oven to 325°F (165°C). Wrap the bottom and sides of a 9-inch springform pan tightly with two layers of heavy-duty aluminum foil.
- Crush gingersnap cookies into fine crumbs. Mix with melted butter, 2 tablespoons sugar, and 1/2 teaspoon cinnamon until it resembles damp sand.
- Press the crust mixture firmly into the bottom of the springform pan. Bake for 8-10 minutes until fragrant, then let cool.
- In a stand mixer or large bowl, beat the softened cream cheese on medium-high speed for 2-3 minutes until completely smooth and lump-free. Scrape down the sides.
- Reduce speed to low. Add 1 cup sugar and vanilla extract. Mix until just combined. Scrape down the bowl again.
- Add eggs one at a time, mixing on low speed just until the yellow disappears. Do not overmix.
- Add pumpkin puree, 1 teaspoon cinnamon, ginger, nutmeg, and salt. Mix on low until smooth and uniform.
- Pour batter over the cooled crust. Bake at 325°F for 1 hour and 15 minutes. The edges should be set and slightly puffed, but the center should jiggle slightly like Jell-O.
- Turn off the oven and crack the door open. Let the cheesecake sit in the oven for 1 hour to cool gradually.
- Remove from oven and cool completely on a wire rack. Cover and refrigerate for at least 4 hours, preferably overnight.
- Remove the springform ring. Slice with a sharp knife dipped in hot water for clean cuts. Top with whipped cream and serve chilled.
Notes
Ensure all dairy and egg ingredients are at room temperature to prevent lumps and cracking. Do not use pumpkin pie filling; use 100% pure pumpkin puree. For clean slices, dip the knife in hot water and wipe dry between cuts. The cheesecake can be made 2-3 days in advance and tastes better as flavors meld. It can also be frozen for up to 2 months.
- Prep Time: 25 minutes
- Cook Time: 1 hour 15 minutes
- Category: Dessert
- Cuisine: American
Nutrition
- Serving Size: 1 slice
- Calories: 480
- Sugar: 28
- Sodium: 350
- Fat: 32
- Saturated Fat: 18
- Carbohydrates: 38
- Fiber: 1
- Protein: 8
Keywords: pumpkin cheesecake, gingersnap crust, holiday dessert, fall recipes, make-ahead dessert, pumpkin pie cheesecake, easy cheesecake