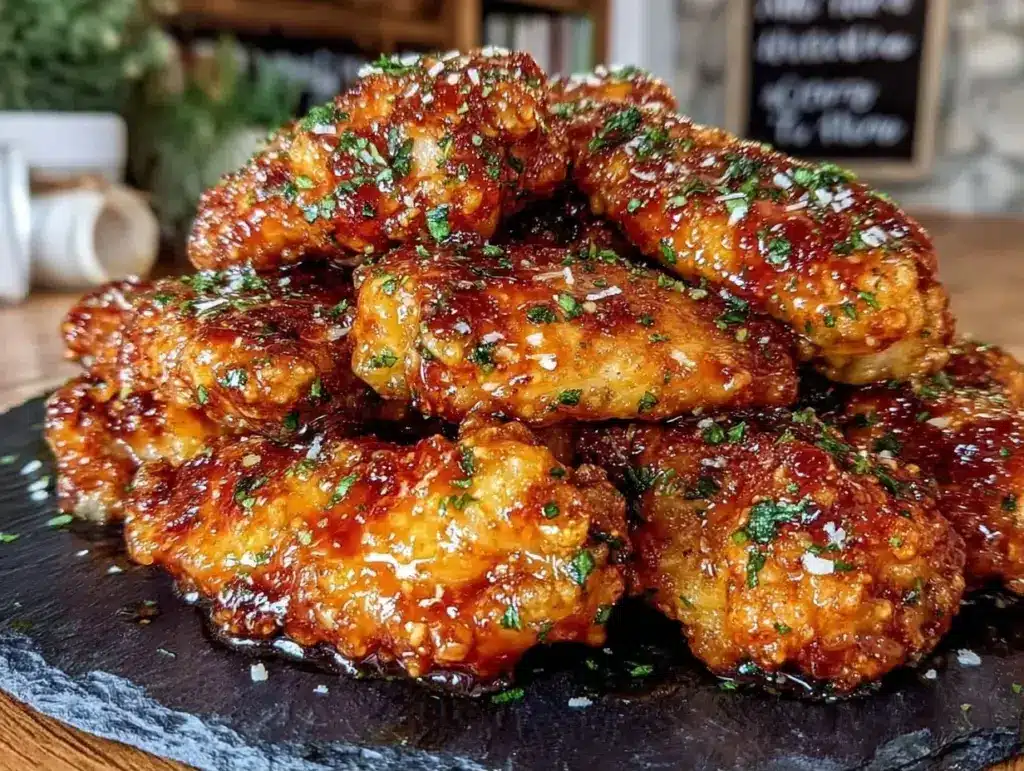
Last Sunday, I was staring at my meal prep containers like they owed me money. I had four containers of roasted chicken, three of quinoa, and a sad, wilting bag of spinach. It was a disaster. I love meal prepping, I really do, but I’ve learned the hard way that if your dinner isn’t interesting enough to look forward to, you’re just eating cardboard by Wednesday night. That’s when I realized my game-day wings were actually the perfect meal-prep hack. Not just for Sunday afternoon snacking, but for four solid, grab-and-go lunches this week.
Here’s the thing: most people think chicken wings are just for the Super Bowl or a Friday night binge. But when you coat them in crispy garlic parmesan, they become something else entirely. They hold up in the fridge. They reheat beautifully in the air fryer or oven. And honestly? They’re way better than that sad leftover roast chicken. I’ve tested this method so many times, and I’ve found that the garlic-parmesan crust actually gets *better* after a night in the fridge, as long as you reheat it right. It’s savory, crunchy, and packed with protein, which means it keeps me full way longer than those carb-heavy meal prep bowls I usually make.
I’m not talking about those soggy, sauce-drenched wings that turn into a mess in Tupperware. I’m talking about dry-rubbed, baked-to-perfection wings with a crust that actually stays crisp. This recipe is my secret weapon. I make a big batch on Sunday, portion them out, and suddenly my weeknight dinners are solved without any stress. If you’re tired of the same old meal prep routine, give this a try. It’s efficient, it’s delicious, and it saves your sanity.
Why You’ll Love This Recipe
There are a few reasons I keep coming back to this garlic parmesan wing recipe, but mostly it’s because it solves the biggest problem in meal prepping: boredom. Here’s why this batch is worth your time.
- It Actually Reheats Well — Most wings get soggy. Not these. Because we bake them with a light dusting of baking powder and parmesan, the skin crisps up again in the air fryer or a hot oven. I’ve tested reheating them after three days, and they’re still crunchy. It’s a game-changer.
- High Protein, Low Carb — If you’re watching your macros or just trying to eat more protein, these are perfect. No breading, no sugary sauces. Just chicken, garlic, and cheese. It fits into almost any diet plan.
- Grab-and-Go Friendly — I portion these into four separate containers. They don’t leak, they don’t smell up the fridge (seriously, much less than buffalo wings), and they’re easy to eat cold or warm. Perfect for a quick lunch at work.
- Uses Simple Ingredients — You probably have garlic, parmesan, and baking powder already. No weird sauces or hard-to-find spices. It’s pantry-friendly.
- Double or Triple Easily — This recipe scales up effortlessly. I often make two batches at once—one for meal prep, one for immediate snacking. The cooking time stays the same.
So basically, if you want to stop stressing about what to eat during the week, this is your answer. It’s reliable, it’s tasty, and it keeps you fed without the guilt.
Ingredients You’ll Need
Here’s the best part: you don’t need a specialty store for this. I’m particular about a few things, but mostly, this is simple stuff.
For the Wings
Chicken wings (3 pounds / 1.4 kg) — I use a mix of drumettes and flats. Drumettes are meatier; flats are easier to dip. Make sure they’re patted completely dry. Moisture is the enemy of crispiness.
Baking powder (1 tablespoon / 15g) — Not baking soda! Baking powder raises the pH of the skin, helping it break down and crisp up in the oven. This is the secret weapon. Use aluminum-free if you can.
Kosher salt (1 teaspoon / 6g) — I use Morton Kosher because it sticks well. If you use table salt, use half the amount.
Black pepper (½ teaspoon / 3g) — Freshly cracked is best. Pre-ground gets dusty and loses flavor.
For the Garlic Parmesan Coating
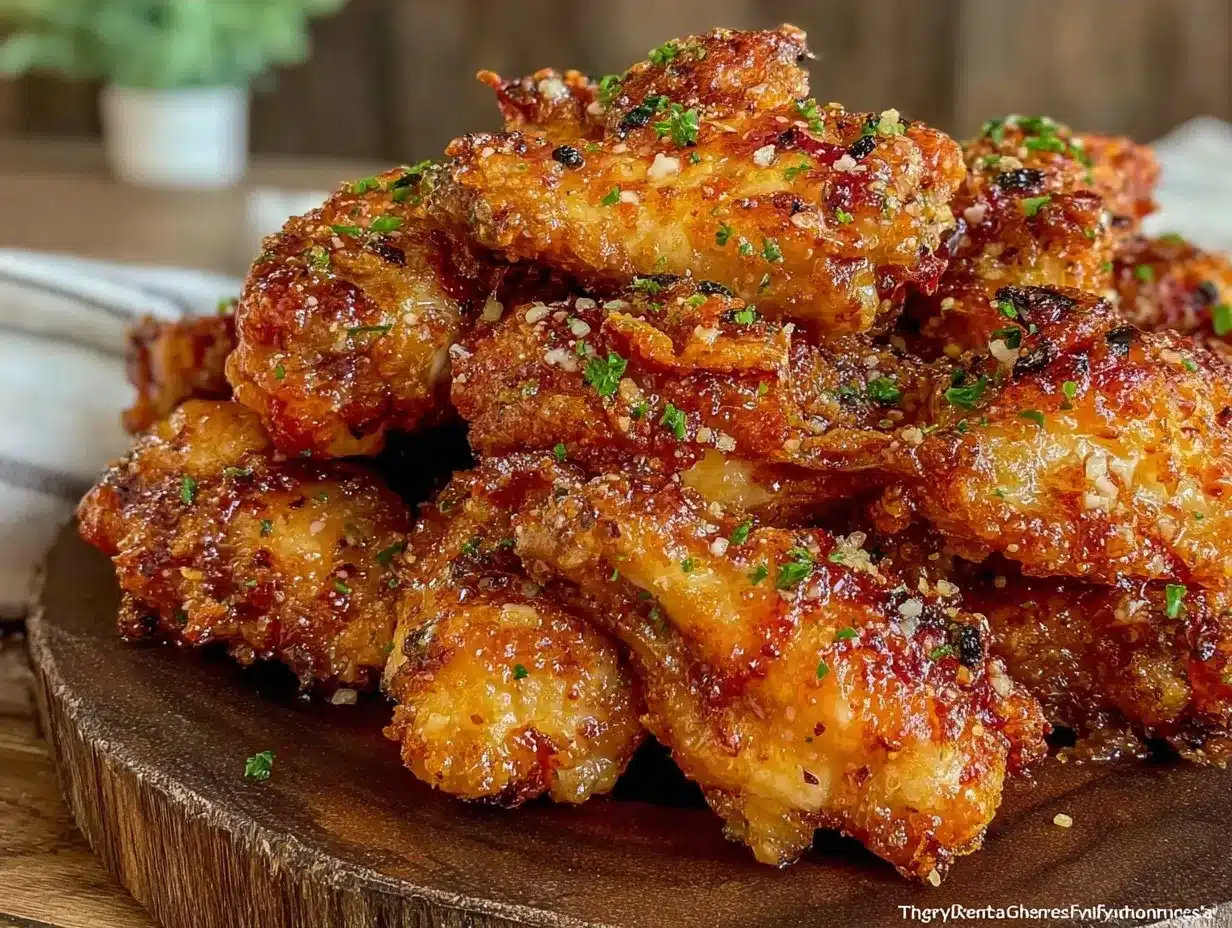
Unsalted butter (4 tablespoons / 60g) — Melted. I use unsalted so I can control the sodium. Salted works, just reduce the salt in the rub.
Garlic (6 cloves, minced / about 2 tablespoons) — Fresh only. No jarred garlic here. It tastes metallic and ruins the whole thing. Mince it fine so it sticks to the butter.
Parmesan cheese (1 cup / 100g, freshly grated) — Buy the block. Grate it yourself. Pre-grated has cellulose in it, which prevents it from melting and sticking properly. It makes the wings look dull and taste dusty.
Dried parsley (1 teaspoon / 1g) — For color. It’s optional, but it makes the wings look less beige and more appetizing.
Garlic powder (½ teaspoon / 2g) — I use a little extra garlic powder to boost the flavor since we’re baking, not frying.
Red pepper flakes (½ teaspoon / 1g) — Optional, but I like a tiny kick to balance the rich cheese. Skip if you’re serving kids.
Optional Dipping Sauce
Blue cheese or ranch — I know, it’s not traditional, but these wings are savory enough to stand on their own. If you want a dip, keep it on the side. I usually just eat them plain.
Equipment Needed
You don’t need fancy gear. Here’s what I actually use.
Large baking sheet — I use a half-sheet pan (18×13 inches). It needs to fit all the wings in a single layer with a little space between them. Crowding them steams them.
Wire rack — This is crucial. Place the rack on top of the baking sheet. It allows air to circulate under the wings so they crisp evenly on all sides. I use a standard cooling rack that fits my pan.
Paper towels — For drying the wings. Seriously, don’t skip this step.
Small bowl — For mixing the butter, garlic, and parmesan.
Ziplock bags or large bowl — For tossing the wings in the baking powder and salt.
Air fryer (optional) — If you have one, this is great for reheating. But the oven works perfectly for cooking.
How to Make It: Step-by-Step
Alright, let’s get to work. I’m walking you through exactly how I do it, including the little tricks I’ve picked up over years of meal prepping.
Step 1: Prep the Wings (10 minutes)
Take your wings out of the package and pat them thoroughly dry with paper towels. I know it’s tedious, but wet wings = soggy skin. Use fresh paper towels until they come up clean. Then, tear off another sheet and place it in the bottom of your baking sheet. Place the wire rack on top. This setup helps absorb any extra moisture as they bake.
Step 2: The Dry Rub (5 minutes)
Put the dried wings in a large bowl or a large Ziplock bag. Sprinkle the baking powder and kosher salt over them. Toss well until every wing is lightly coated. The baking powder is the key to crispiness. Let them sit on the rack for 15-20 minutes while your oven preheats. This air-dries the skin further. If you’re meal prepping, you can leave them in the fridge uncovered for up to 24 hours at this stage. That’s a pro tip for Sunday prep.
Step 3: Bake the Wings (45-50 minutes)
Preheat your oven to 400°F (200°C). Place the wings on the wire rack. Bake for 45-50 minutes. Flip them halfway through (around 25 minutes) to ensure even browning. They’re done when the skin is golden brown and crispy, and the internal temperature reaches 165°F (74°C). Don’t rush this step. If they’re not crispy enough, give them 5 more minutes.
Step 4: Make the Garlic Parmesan Coating (5 minutes)
While the wings bake, melt the butter in a small bowl. Add the minced garlic, grated parmesan, dried parsley, garlic powder, and red pepper flakes. Stir until it forms a thick, pasty mixture. It should smell amazing. If the butter is too hot, it might melt the cheese completely, which is fine, but you want it to be a coating, not a soup.
Step 5: Coat and Crisp (5-10 minutes)
Remove the wings from the oven. While they’re still hot, toss them in the garlic parmesan mixture. Make sure every wing is coated. The heat from the wings helps the cheese stick. Then, place them back on the rack for 5-10 minutes in the oven (or 2-3 minutes in the air fryer) to set the crust. This step ensures the coating doesn’t fall off when you eat them.
Step 6: Cool and Portion
Let the wings cool for 5 minutes. Then, portion them into your meal prep containers. I use four containers, each with about 8-10 wings. Let them cool completely before sealing the lids to prevent condensation, which can make them soggy.
Expert Tips & Tricks
Here’s everything I’ve learned from making this dozens of times. These tips will save you from my mistakes.
Pat Dry, Then Pat Dry Again — I can’t stress this enough. Moisture is the enemy of crispiness. If your wings are wet, they’ll steam. Dry them with paper towels, then let them sit on the rack for 15 minutes. The air drying makes a huge difference.
Use Baking Powder, Not Baking Soda — Baking soda can leave a soapy taste. Baking powder raises the pH of the skin, breaking down the proteins so they crisp up like fried chicken. It’s a science trick that works.
Grate Your Own Parmesan — Pre-grated cheese has anti-caking agents that prevent it from melting properly. It will look clumpy and taste dusty. Freshly grated cheese melts into the butter and sticks to the wing. It’s worth the extra minute.
Don’t Skip the Rack — Baking wings directly on a sheet pan traps steam underneath. The wire rack allows air to circulate, ensuring even cooking and crispiness on all sides. It’s worth the extra cleanup.
Reheat in the Air Fryer — If you have an air fryer, this is the best way to reheat. 350°F for 3-4 minutes. They’ll be crispy again. If you use the microwave, they’ll be chewy and sad. Avoid the microwave.
Make Ahead Strategy — You can prep the wings (dry them, rub them with baking powder) and leave them in the fridge uncovered for up to 24 hours before baking. This is perfect for Sunday meal prep. Bake them on Sunday night or Monday morning.
Variations & Substitutions
Once you’ve nailed the basic version, here’s how you can mix it up. I’ve tried all of these.
Spicy Garlic Parmesan — Add 1 teaspoon of cayenne pepper or 1 tablespoon of hot sauce to the butter mixture. For those who like heat.
Herb Garlic Parmesan — Add 1 teaspoon of dried oregano or thyme to the coating. Adds a nice earthy note.
Buffalo Garlic Parmesan — Toss the baked wings in ½ cup buffalo sauce before adding the parmesan coating. Sweet, spicy, and savory.
Dairy-Free Option — Use olive oil instead of butter and nutritional yeast instead of parmesan. It’s not the same, but it’s still tasty.
Gluten-Free — This recipe is naturally gluten-free, as long as you check your baking powder and parmesan. Most are safe, but always double-check labels.
Serving & Storage
How to Store — Store in an airtight container in the fridge for up to 4 days. The wings will stay crispy if you reheat them properly.
Reheating — Air fryer: 350°F for 3-4 minutes. Oven: 400°F for 5-7 minutes. Microwave: Not recommended, but if you must, use a low setting and cover with a damp paper towel.
Freezing — You can freeze these, but the texture might change slightly. Freeze in a single layer on a baking sheet, then transfer to a freezer bag. Reheat from frozen in the oven at 400°F for 15-20 minutes.
Nutrition Information
I’m not a nutritionist, but here’s the breakdown if you’re tracking.
Per Serving (based on 4 servings, approx. 10 wings each):
- Calories: 450
- Protein: 35g
- Carbs: 4g
- Fat: 32g
- Sodium: 600mg
It’s high in protein and low in carbs, making it great for keto or low-carb diets. The sodium is moderate, so keep that in mind if you’re watching your salt intake.
Final Thoughts
So that’s my go-to crispy garlic parmesan chicken wings! I’ve probably talked your ear off at this point, but when you make a recipe this often, you have a lot to say about it. This has saved my weeknight dinners more times than I can count. It’s my answer to “what’s for lunch” when I’m tired, don’t want takeout, and still want something that tastes really good.
Make it yours! Try different add-ins, swap in your favorite herbs, or adjust the garlic. The best recipes are the ones you adapt to your tastes. If you make this, drop a comment and let me know what you think! I love hearing how recipes turn out in your kitchen.
Happy cooking! And I hope your kitchen smells half as good as mine does right now.
Frequently Asked Questions
Can I use frozen wings?
You can, but you need to thaw them completely first. Pat them dry again after thawing. If you bake them frozen, they’ll steam and won’t crisp up.
Why did my wings get soggy?
Usually, it’s because they weren’t dry enough before baking, or they were crowded on the pan. Make sure to use a wire rack and space them out. Also, don’t cover them while they cool.
Can I make this in the air fryer?
Yes! Cook at 400°F for 20-25 minutes, flipping halfway. Then toss in the garlic parmesan mixture and air fry for 2 more minutes to set the crust.
How long do these last in the fridge?
Up to 4 days. After that, the texture starts to degrade. If you need to keep them longer, freeze them.
Can I double the recipe?
Absolutely! Just use two baking sheets or cook in batches. Don’t overcrowd the pan.
Why add baking powder?
Baking powder raises the pH of the skin, which helps break down the proteins and allows the skin to crisp up like fried chicken. It’s a game-changer for baked wings.
Can I use pre-minced garlic?
I recommend against it. Fresh garlic has a brighter, cleaner flavor. Pre-minced can taste metallic and overpowering. But if you’re in a pinch, use half the amount.
Pin This Recipe!
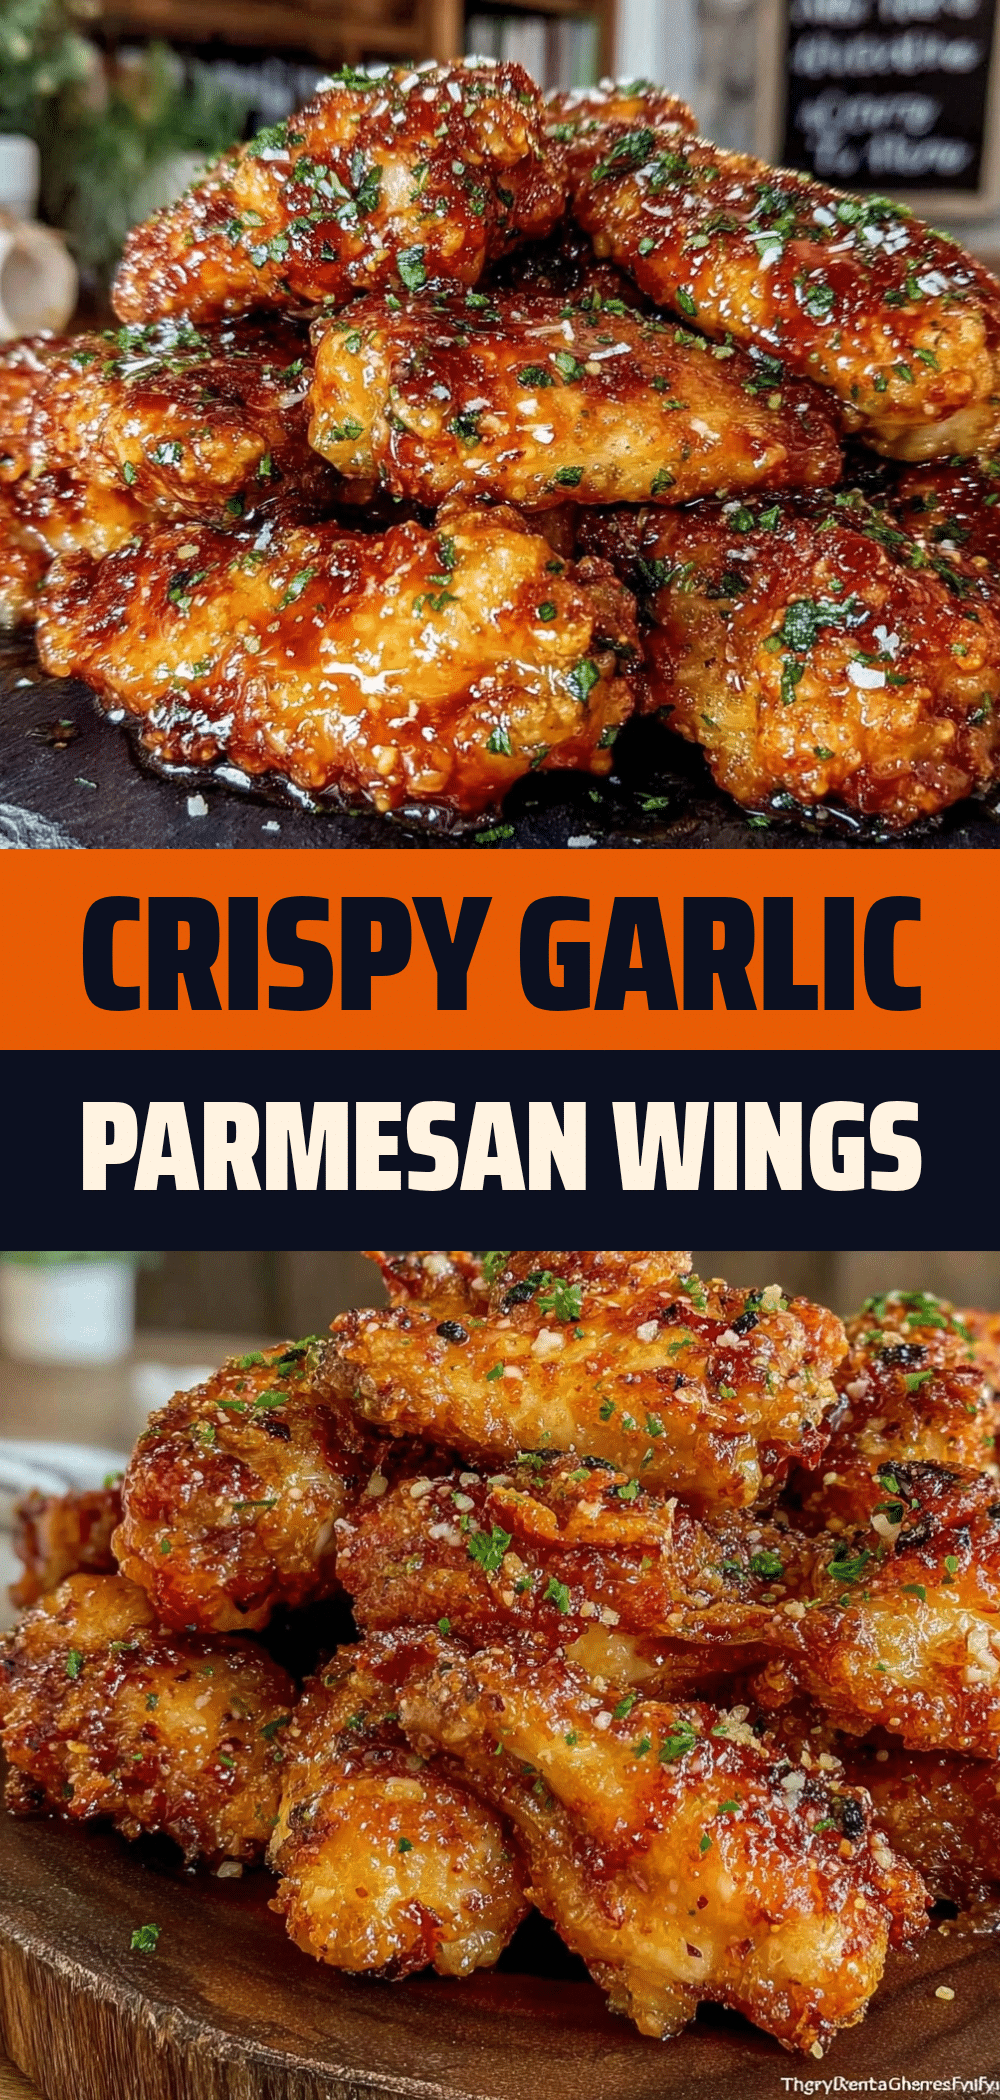

Crispy Garlic Parmesan Chicken Wings: 4 Grab-and-Go Meals
- Total Time: 1 hour 5 minutes
- Yield: 4 servings 1x
Description
A meal-prep friendly recipe for crispy baked chicken wings coated in a savory garlic parmesan crust. These wings reheat beautifully in the air fryer or oven, making them perfect for high-protein, low-carb lunches.
Ingredients
- 3 pounds chicken wings (mix of drumettes and flats)
- 1 tablespoon baking powder (aluminum-free)
- 1 teaspoon kosher salt
- ½ teaspoon black pepper (freshly cracked)
- 4 tablespoons unsalted butter (melted)
- 6 cloves garlic (minced)
- 1 cup freshly grated parmesan cheese
- 1 teaspoon dried parsley
- ½ teaspoon garlic powder
- ½ teaspoon red pepper flakes (optional)
Instructions
- Preheat oven to 400°F (200°C). Pat chicken wings thoroughly dry with paper towels.
- Place wings on a wire rack set over a baking sheet. Sprinkle with baking powder and kosher salt, tossing to coat evenly.
- Let wings sit on the rack for 15-20 minutes to air-dry the skin.
- Bake wings for 45-50 minutes, flipping halfway through, until skin is golden brown and crispy and internal temperature reaches 165°F.
- While wings bake, mix melted butter, minced garlic, grated parmesan, dried parsley, garlic powder, and red pepper flakes in a small bowl to form a paste.
- Remove wings from oven and toss immediately in the garlic parmesan mixture while hot.
- Return coated wings to the rack and bake for an additional 5-10 minutes (or air fry for 2-3 minutes) to set the crust.
- Cool for 5 minutes, then portion into containers for storage.
Notes
Ensure wings are completely dry before baking to maximize crispiness. Use a wire rack to allow air circulation. Do not use baking soda as it can leave a soapy taste. For best results, grate your own parmesan cheese as pre-grated contains anti-caking agents. Reheat in an air fryer or oven to maintain crunchiness; avoid the microwave.
- Prep Time: 15 minutes
- Cook Time: 50 minutes
- Category: Main Course
- Cuisine: American
Nutrition
- Serving Size: Approximately 10 win
- Calories: 450
- Sugar: 1
- Sodium: 600
- Fat: 32
- Saturated Fat: 12
- Carbohydrates: 4
- Protein: 35
Keywords: chicken wings, meal prep, garlic parmesan, crispy wings, air fryer recipes, high protein, low carb, keto friendly, grab and go lunch