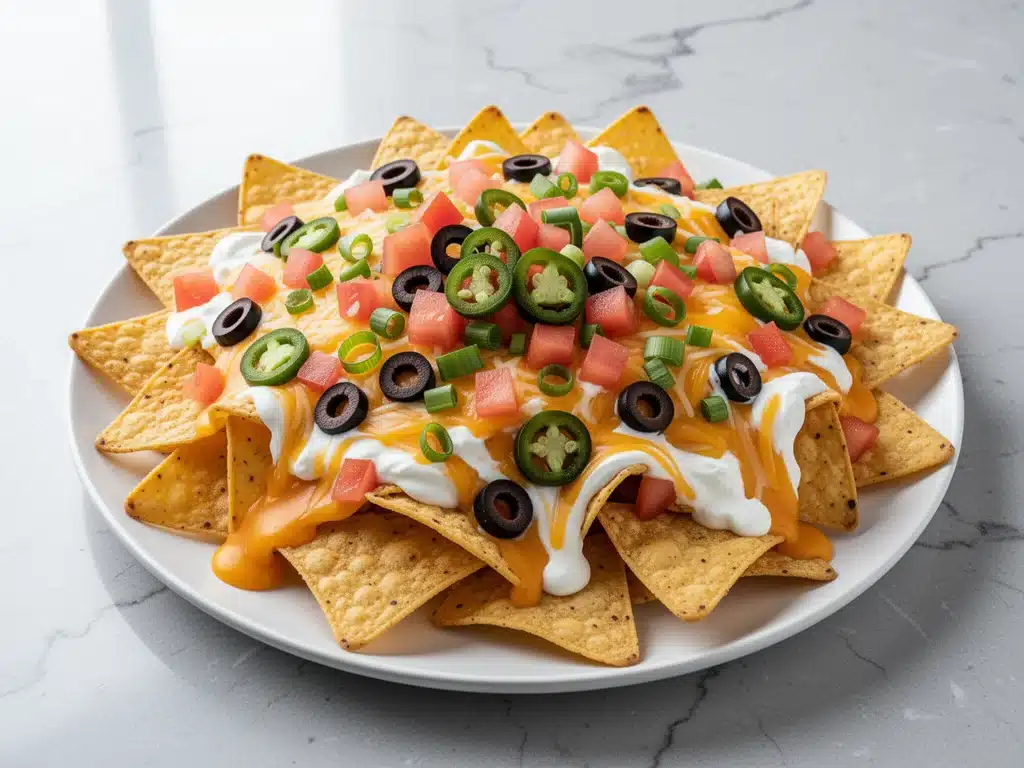
I still remember the first time I tried to make nachos for a Super Bowl party in my tiny apartment kitchen. I thought I had it figured out. I had the chips, the cheese, the jalapeños, the salsa—you know the drill. But what I didn’t have was a plan. I piled everything onto a single baking sheet, threw it in the oven, and watched in horror as the chips turned into a soggy, cheese-covered brick that no one wanted to touch. My friends smiled politely, picked at the edges, and then went back to eating the store-bought pretzels I’d also bought. That was the day I realized that game day snacks aren’t just about ingredients; they’re about texture, timing, and actually having enough for everyone.
Fast forward a few years, and I’ve perfected the art of the sheet pan nacho. I’ve made these Football Tailgate Sheet Pan Nachos for tailgates with 50 people, for quiet Sunday nights with my husband, and for those chaotic family gatherings where someone always brings a dish that nobody touches. This recipe? This is the one that disappears first. It’s the one people ask for the recipe for. It’s the one that saves me from buying expensive, sad-looking party platters from the grocery store.
Here’s the thing about sheet pan nachos: they’re deceptively simple, but getting them right requires a few tricks. You need to layer strategically. You need to know exactly when to pull them out so the cheese is melted but the chips are still crunchy. And you need to have enough toppings so that every bite is a flavor explosion. I’ve tested this method dozens of times, tweaking the cheese blend, the spice rub, and the layering order, until I landed on the version that makes everyone happy. Whether you’re heading to a stadium or just watching the game on your couch, these nachos are the ultimate crowd-pleaser.
I’ve learned that the secret isn’t just in the cheese—it’s in the preparation. I’ve burned cheese more times than I can count. I’ve had chips turn to mush. I’ve had toppings slide off because the sauce was too thin. But now? Now I have a system. And I’m sharing it with you. This isn’t just a snack; it’s a strategy for game day success.
Why You’ll Love This Recipe
There are a million snack options out there. You could make smoky chipotle queso dip, or maybe some hot pizza dip, or even some loaded nacho cheese fries. But there is something undeniably satisfying about a giant sheet pan of nachos. Here’s why this specific version has become my go-to for every gathering:
It’s a Feeding Frenzy — Seriously, if you have more than ten people, double the recipe. I’ve seen these vanish in under five minutes. There’s no awkward waiting for everyone to get their plate; you just grab a chip and go. It’s efficient, it’s fun, and it eliminates the “what should I eat?” anxiety.
Zero Stress Cooking — I know game day is stressful. You’re worried about the main meal, the drinks, the TV setup. These nachos are basically set-and-forget. You assemble them, put them in the oven, and wait. You don’t need to stand over a stove stirring a pot. You don’t need to monitor a deep fryer. You can actually watch the game while they bake.
Customizable for Everyone — Picky eaters? No problem. I can make a base of mild cheese and jalapeños, and then have bowls of hot sauce, sour cream, and guacamole on the side. My brother who hates onions can skip them. My sister who loves spice can go crazy with the peppers. It’s a buffet in one pan.
It Tastes Homemade — Store-bought party platters are expensive and usually taste like they’ve been sitting under a heat lamp for hours. These nachos come out of the oven hot, with melted cheese and warm toppings. They taste fresh. They taste like effort. And they taste like you care about your guests.
Budget-Friendly — Feeding a crowd doesn’t have to break the bank. Tortilla chips are cheap. Cheese is affordable. Ground beef or beans are economical. You’re spending a fraction of what you’d pay at a stadium concession stand, and you’re getting better food. That’s a win in my book.
This recipe has saved my tailgates. It’s the reason people actually want to come to my house. It’s reliable, it’s delicious, and it’s easy enough to make even when I’m running late. If you’ve ever felt overwhelmed by game day catering, this is your answer.
Ingredients You’ll Need
Here’s the best part: you probably have most of this already. I’m particular about a few things, but for the most part, this is pantry-friendly stuff. Let’s break it down.
Tortilla Chips (1 large bag / about 14-16 oz) — I use sturdy, thick-cut chips. The thin, delicate ones break too easily under the weight of the toppings. Look for “restaurant style” or “thick cut” in the store. I like the brand that comes in the red bag, but any sturdy chip works. Save a few extra bags just in case—you will need them.
Ground Beef (1 pound / 450g) — I use 80/20 ground beef for flavor. It’s juicy and rich. If you want a lighter option, ground turkey works, but it’s drier. You can also skip meat entirely for a vegetarian version. I usually brown the beef with taco seasoning, but you can use pre-seasoned meat if you’re in a hurry.
Taco Seasoning (2 tablespoons) — I make my own, but store-bought works fine. My blend is simple: chili powder, cumin, paprika, garlic powder, onion powder, salt, and a pinch of cayenne. It adds that authentic game day flavor without being too spicy. Adjust the heat to your liking.
Shredded Cheddar Cheese (2 cups / 200g) — Use sharp cheddar for flavor. Mild cheddar is fine if you have kids, but sharp has more punch. I shred my own from blocks because pre-shredded cheese has anti-caking agents that prevent it from melting smoothly. Trust me on this. It makes a huge difference in the texture.
Monterey Jack Cheese (1 cup / 100g) — This is the melting cheese. It’s creamy and mild, and it helps bind everything together. I use a mix of cheddar and Jack for the perfect balance of flavor and melt.
Black Beans (1 can / 15 oz, drained and rinsed) — They add protein and texture. I rinse them well to remove the canned taste. If you’re not a fan of beans, you can skip them, but I think they add a nice heartiness.
Jalapeños (1-2 fresh, sliced) — Or use pickled jalapeños for a tangier kick. I like fresh for the crunch, but pickled are easier to distribute evenly. Adjust based on your spice tolerance.
Red Onion (1 medium, finely diced) — It adds a sharp crunch that cuts through the richness of the cheese. I dice it small so it’s easy to eat with the chips.
Tomatoes (2 medium, diced) — Fresh tomatoes add brightness. I use Roma tomatoes because they’re less watery than beefsteak. Drain them well to keep the chips from getting soggy.
Green Onions (4-5 stalks, sliced) — For garnish and a mild onion flavor. They look pretty and add a fresh finish.
Sour Cream (1 cup / 240g) — For serving. I like to dollop it on after baking. It adds a cool contrast to the hot, spicy nachos.
Salsa (1 cup / 240g) — Use your favorite. I like a medium salsa with some chunkiness. Avoid watery salsas. Drain excess liquid if needed.
Optional Add-ins: Olives, corn, cilantro, hot sauce, guacamole. Get creative. I’ve added shredded lettuce sometimes, but I prefer it fresh on top after baking.
Equipment Needed
You don’t need fancy equipment for this. Here’s what I actually use:
Large Sheet Pan (18×13 inch / half sheet pan) — I use a rimmed baking sheet. It needs to be big enough to hold a single layer of chips. If you don’t have a large pan, use two smaller ones. Don’t overcrowd the chips, or they’ll get soggy.
Skillet (10-12 inch) — For browning the ground beef. I use a cast iron skillet because it heats evenly, but any heavy-bottomed pan works.
Cutting Board — Any size works. I use plastic for easier cleanup.
Sharp Knife — For slicing jalapeños and dicing onions. A dull knife will crush the jalapeños and make you cry.
Colander — For rinsing the beans and draining the tomatoes.
Measuring Cups and Spoons — Standard stuff. Dollar store versions work fine.
Cheese Grater — Box grater works well. I grate my own cheese for better melting.
Oven Mitts — Because hot pans are hot. Don’t skip this.
Spatula — For transferring the meat and serving the nachos.
That’s it. No special gadgets. Just basic kitchen tools you probably already have.
How to Make It: Step-by-Step
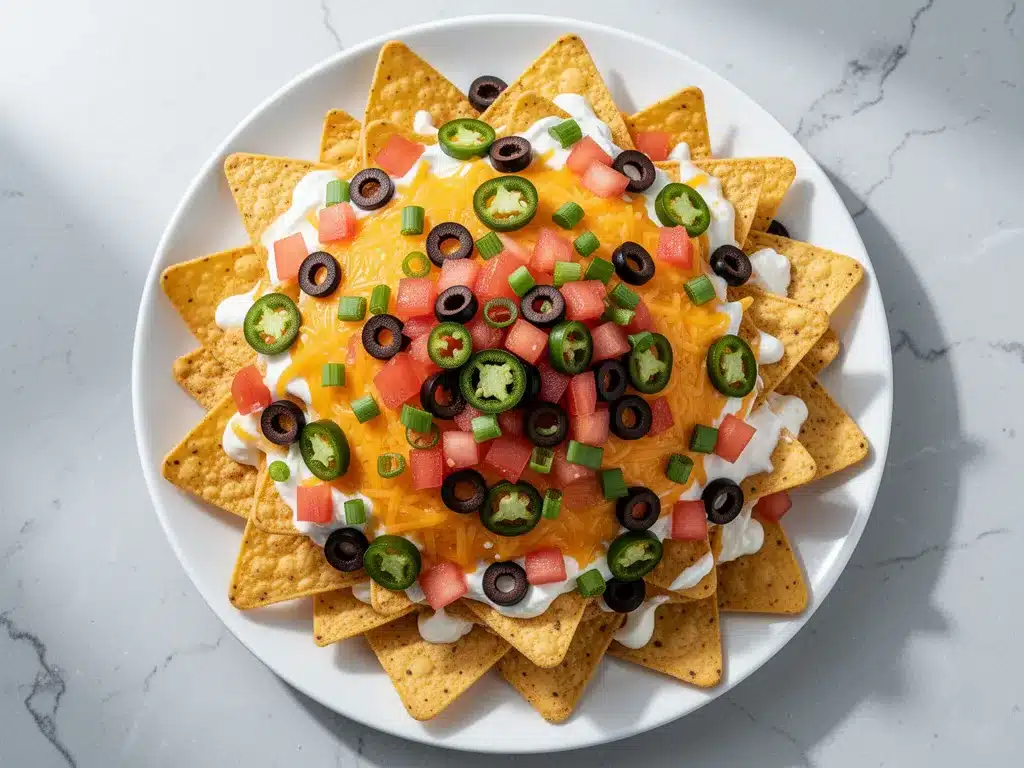
Alright, let’s make this! I’m walking you through exactly how I do it, including the little tricks I’ve picked up over the years.
Step 1: Prep Your Ingredients (10 minutes)
Before you start cooking, chop your onion, dice your tomatoes, and slice your jalapeños. Mince your green onions. I know it seems like a lot of prep, but it makes the actual cooking way less stressful. Once you start cooking, things move fast. Drain and rinse the black beans. Grate your cheeses. Set everything out in bowls. This is called “mise en place,” and it’s a game changer for game day cooking.
Step 2: Brown the Meat (5-7 minutes)
Heat a skillet over medium-high heat. Add the ground beef and cook, breaking it up with a spoon, until it’s no longer pink. Drain any excess fat. I like to keep a little bit for flavor, but if you’re watching your fat intake, drain it all. Stir in the taco seasoning and a splash of water (about 2 tablespoons). Simmer for 2 minutes until the sauce thickens. This ensures the meat is flavorful and not dry. Set aside.
Step 3: Layer the Base (3 minutes)
Preheat your oven to 375°F (190°C). Line your large sheet pan with parchment paper for easy cleanup. Spread a single layer of tortilla chips across the pan. Don’t overlap them too much; you want them to be accessible. Sprinkle half of the shredded cheese evenly over the chips. The cheese acts as glue for the next layer.
Step 4: Add the Toppings (3 minutes)
Spread the seasoned ground beef evenly over the cheese. Then, sprinkle the black beans, diced tomatoes, and red onion. Add the jalapeños. You want an even distribution so every bite has something different. Sprinkle the remaining cheese on top. This second layer of cheese helps seal everything in.
Step 5: Bake (8-10 minutes)
Place the sheet pan in the oven. Bake for 8-10 minutes, or until the cheese is melted and bubbly, and the edges of the chips are golden. Keep an eye on them. Ovens vary, so you might need less or more time. The goal is melted cheese and warm toppings, not burnt chips.
Step 6: Garnish and Serve (2 minutes)
Remove from the oven. Immediately sprinkle with sliced green onions. Dollop with sour cream and add a spoonful of salsa on the side. Serve hot. The contrast of hot and cold, crunchy and creamy, is what makes these nachos special.
Expert Tips & Tricks
Here’s everything I’ve learned from making this dozens of times. These tips will save you from my mistakes.
Don’t Overcrowd the Pan
If you pile the chips too high, the bottom ones will get soggy from the steam. A single layer is ideal. If you’re feeding a crowd, use two pans. It’s better to have two perfect pans than one mediocre one.
Shred Your Own Cheese
I can’t stress this enough. Pre-shredded cheese has cellulose in it, which prevents clumping but also prevents smooth melting. Your nachos will look grainy and oily. Grate your own from blocks. It takes 5 minutes and makes a world of difference.
Drain Your Wet Ingredients
Tomatoes, salsa, and beans all contain water. If you don’t drain them, your chips will turn into mush. Pat the tomatoes dry with a paper towel. Drain the beans well. This is crucial for crunch.
Warm the Toppings
If you’re adding cold toppings like sour cream or guacamole, add them after baking. If you’re adding warm toppings like beans or corn, make sure they’re hot before putting them in the oven. Cold toppings on hot nachos can create weird temperature zones.
Use Sturdy Chips
Thin chips break. Thick chips hold up. Look for chips that can support the weight of the toppings without snapping. Restaurant-style chips are your friend.
Make It Ahead
You can assemble the nachos up to an hour before baking. Just cover the pan with plastic wrap and refrigerate. Take it out 15 minutes before baking to take the chill off. This is great for tailgating, where you can prep at home and bake at the venue.
Variations & Substitutions
Once you’ve nailed the basic version, here’s how you can mix it up. I’ve tried all of these.
Vegetarian Version
Skip the beef. Add an extra can of black beans, or use a meat substitute like crumbled tempeh or textured vegetable protein. I also like to add sautéed mushrooms for a meaty texture.
Chicken Version
Use shredded rotisserie chicken instead of beef. Season it with the same taco seasoning. It’s lighter and cooks faster. I like to mix it with a little shredded cabbage for crunch.
Seafood Version
Use grilled shrimp or flaked white fish. Add a lime crema instead of sour cream. Top with cilantro and avocado. It’s a bit more fancy, but still very game day.
Spicy Version
Add diced serrano peppers, use spicy cheddar, and top with hot sauce. I also like to add a layer of chipotle peppers in adobo sauce for a smoky kick.
Breakfast Version
Use hash browns instead of chips. Top with scrambled eggs, bacon, and cheese. Bake until the cheese is melted. It’s a weird combo, but it works. Try it with cheesy bacon egg hash brown cups for a similar vibe.
Gluten-Free Version
Use gluten-free tortilla chips. Everything else is naturally gluten-free. Just check your taco seasoning label to make sure it’s certified GF.
Dairy-Free Version
Use dairy-free cheese shreds. They’ve improved a lot. Use coconut cream instead of sour cream. It’s not the same, but it’s an option.
Serving & Storage
How to Serve:
I usually serve these straight from the oven, with serving utensils ready. Have bowls of extra toppings on the side. It’s interactive and fun. I also like to serve them with crispy baked parmesan crackers for a different crunch if you want variety.
Side Dishes:
These nachos are a meal in themselves, but you can serve them with a side salad, corn on the cob, or creamy au gratin potatoes for a hearty meal.
Storage:
Store leftovers in an airtight container in the fridge for up to 3 days. The chips will lose some crunch, but they’re still good.
Reheating:
Reheat in the oven at 350°F for 10 minutes. Do not microwave, or the chips will get soggy. If you must microwave, do it in short bursts and let them cool slightly.
Freezing:
I don’t recommend freezing nachos. The texture suffers. Make them fresh.
Nutrition Information
I’m not a nutritionist, but here’s the breakdown if you’re tracking. This is per serving, based on 8 servings.
Calories: 380
Protein: 18g
Carbs: 35g
Fiber: 4g
Sugar: 3g
Fat: 20g
Saturated Fat: 8g
Cholesterol: 45mg
Sodium: 650mg
It’s rich, it’s cheesy, it’s indulgent. That’s the point. When I want to make it lighter, I use less cheese, more veggies, and turkey instead of beef. But usually? I just enjoy it.
Final Thoughts
So that’s my go-to Football Tailgate Sheet Pan Nachos! I’ve probably talked your ear off at this point, but when you make a recipe this often, you have a lot to say about it. This has saved my game days. It’s my answer to “what should I bring?” when I’m hosting or attending a party. It’s reliable, it’s delicious, and it’s easy enough to make even when I’m tired.
Make it yours! Try different add-ins, swap in your favorite vegetables, adjust the heat. The best recipes are the ones you adapt. If you make this, drop a comment and let me know what you think! I love hearing how recipes turn out in your kitchen. And if something doesn’t work, tell me that too—I’m here to help.
Happy cooking! And I hope your kitchen smells half as good as mine does right now.
Frequently Asked Questions
Can I use pre-shredded cheese?
You can, but it won’t melt as smoothly. Pre-shredded cheese has anti-caking agents that make it harder to melt. If you’re in a rush, use it, but for the best results, shred your own. It’s worth the extra 5 minutes.
Why are my nachos soggy?
This usually happens if the chips are overcrowded, or if the wet ingredients (tomatoes, salsa) aren’t drained well. Make sure you use a single layer of chips and drain all wet toppings. Also, don’t let them sit too long after baking before serving.
Can I make these ahead of time?
Yes! Assemble the nachos up to an hour before baking. Cover with plastic wrap and refrigerate. Take them out 15 minutes before baking to take the chill off. This is great for tailgating.
Can I freeze leftover nachos?
I don’t recommend it. The chips will lose their crunch and become soggy when thawed. It’s best to eat them fresh or store in the fridge for up to 3 days.
Can I use gluten-free chips?
Absolutely. Just make sure your taco seasoning and other ingredients are also gluten-free. Most are, but always check labels.
What’s the best cheese for nachos?
I like a mix of sharp cheddar for flavor and Monterey Jack for melting. Cheddar alone can be too crumbly, and Jack alone can be too bland. The combination is perfect.
Can I add other toppings?
Of course! Olives, corn, cilantro, avocado, hot sauce, guacamole. Get creative. The sky’s the limit. Just make sure the toppings are distributed evenly.
Pin This Recipe!
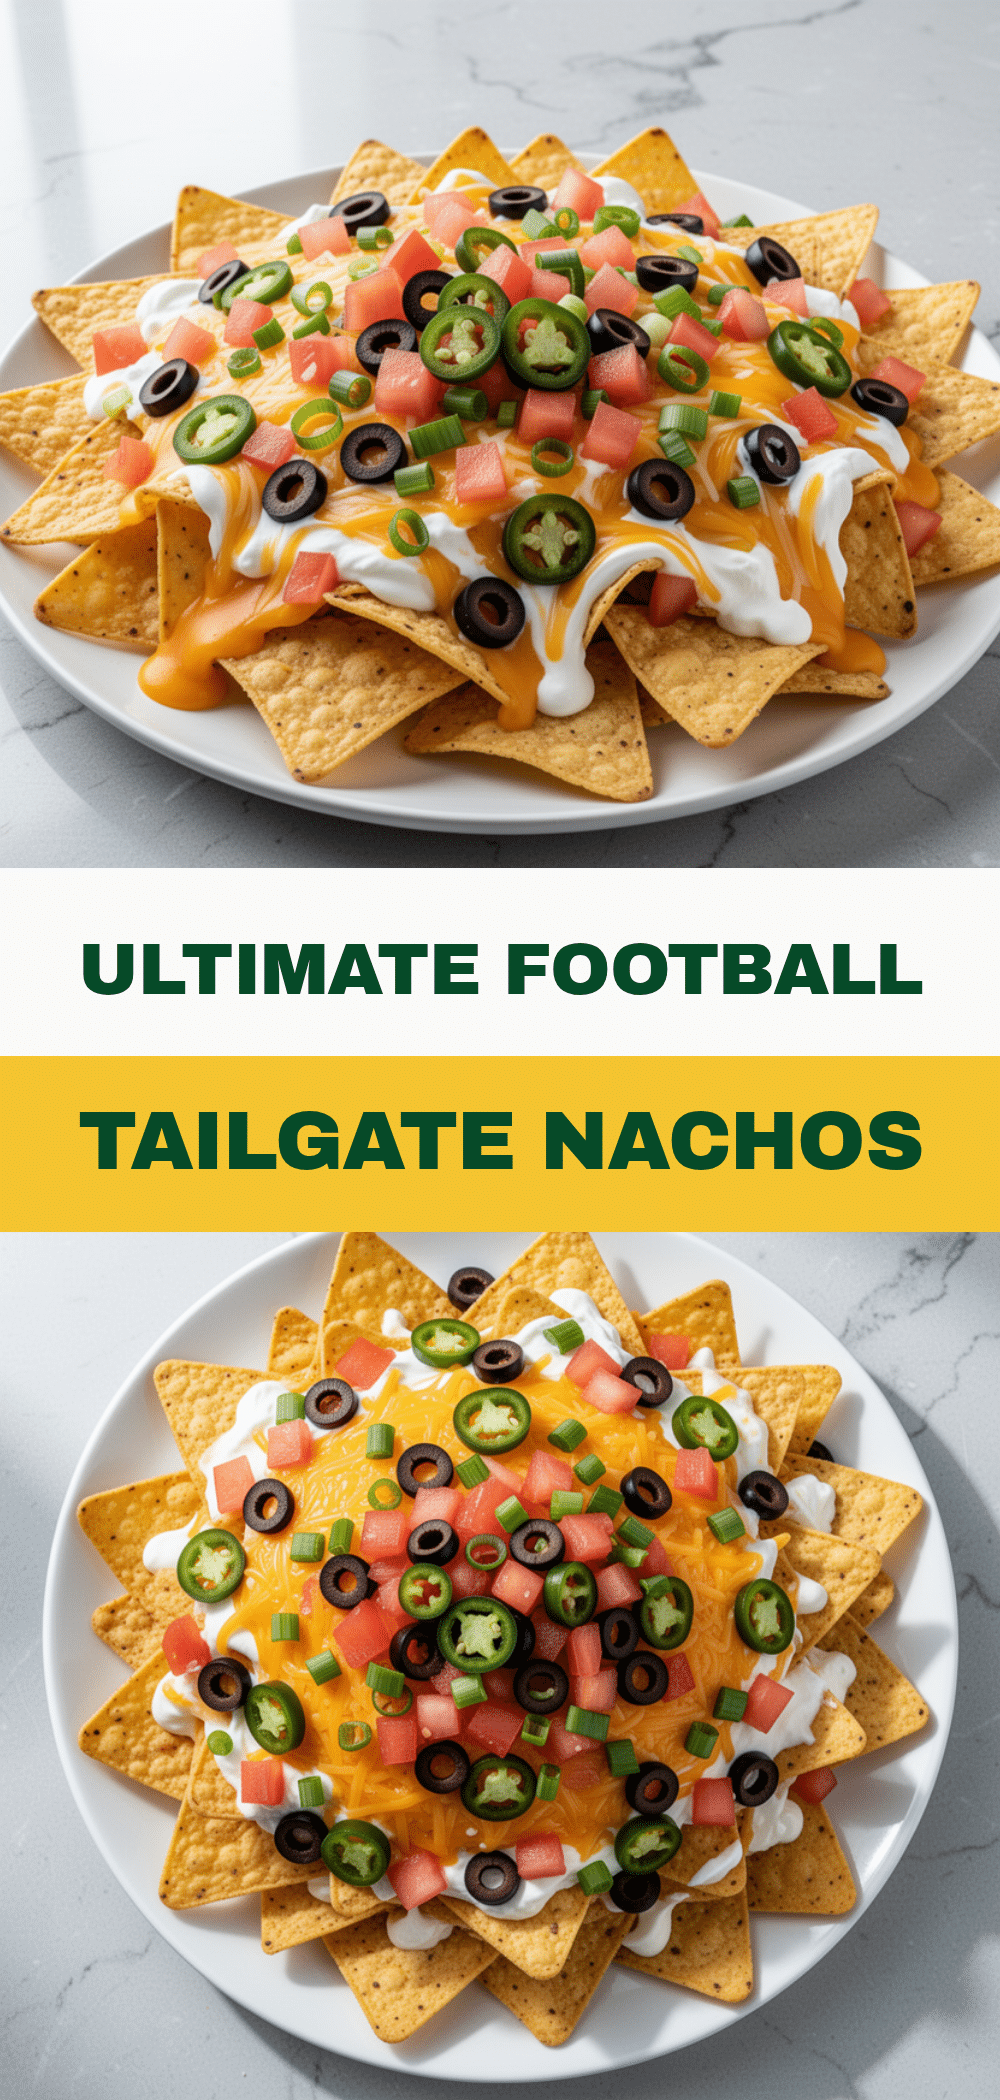

Football Tailgate Sheet Pan Nachos: Easy Party Dip
- Total Time: 25 minutes
- Yield: 8 servings 1x
Description
Perfectly layered sheet pan nachos with seasoned ground beef, melted cheese, and fresh toppings. This easy, crowd-pleasing recipe ensures crunchy chips and flavorful bites for any game day or party.
Ingredients
- 1 large bag (14–16 oz) sturdy, thick-cut tortilla chips
- 1 pound (450g) ground beef (80/20)
- 2 tablespoons taco seasoning
- 2 cups (200g) shredded sharp cheddar cheese
- 1 cup (100g) shredded Monterey Jack cheese
- 1 can (15 oz) black beans, drained and rinsed
- 1–2 fresh jalapeños, sliced
- 1 medium red onion, finely diced
- 2 medium Roma tomatoes, diced and drained
- 4–5 stalks green onions, sliced
- 1 cup (240g) sour cream
- 1 cup (240g) salsa
- 2 tablespoons water (for meat sauce)
Instructions
- Preheat oven to 375°F (190°C). Line a large rimmed sheet pan (18×13 inch) with parchment paper.
- Chop onion, dice tomatoes, slice jalapeños, and mince green onions. Drain and rinse black beans. Grate cheeses.
- Heat a skillet over medium-high heat. Add ground beef and cook until no longer pink, breaking it up with a spoon. Drain excess fat if desired.
- Stir in taco seasoning and 2 tablespoons of water. Simmer for 2 minutes until sauce thickens. Set aside.
- Spread a single layer of tortilla chips across the prepared sheet pan.
- Sprinkle half of the shredded cheese evenly over the chips.
- Spread the seasoned ground beef evenly over the cheese. Sprinkle black beans, diced tomatoes, red onion, and jalapeños on top.
- Sprinkle the remaining cheese over the toppings.
- Bake for 8-10 minutes until cheese is melted and bubbly and chip edges are golden.
- Remove from oven and immediately sprinkle with green onions.
- Serve hot with dollops of sour cream and salsa on the side.
Notes
Do not overcrowd the pan; use a single layer of chips to prevent sogginess. Shred your own cheese for better melting. Drain wet ingredients like tomatoes and salsa thoroughly. For a vegetarian version, substitute beef with extra beans or meat substitutes. Assemble up to an hour ahead and refrigerate before baking.
- Prep Time: 10 minutes
- Cook Time: 15 minutes
- Category: Appetizer
- Cuisine: American
Nutrition
- Serving Size: 1 serving from the s
- Calories: 380
- Sugar: 3
- Sodium: 650
- Fat: 20
- Saturated Fat: 8
- Carbohydrates: 35
- Fiber: 4
- Protein: 18
Keywords: nachos, sheet pan nachos, game day snacks, tailgate food, party dip, football snacks, easy appetizer, crowd pleaser