Let me be honest with you. I used to think baking was something you did on a lazy Saturday morning when you had absolutely nothing else going on. You know the vibe: flour everywhere, oven warming up, no schedule. Then I became a full-time meal prepper, and my weekends got eaten alive by batch-cooking dinners, chopping vegetables, and organizing the pantry for the week ahead.
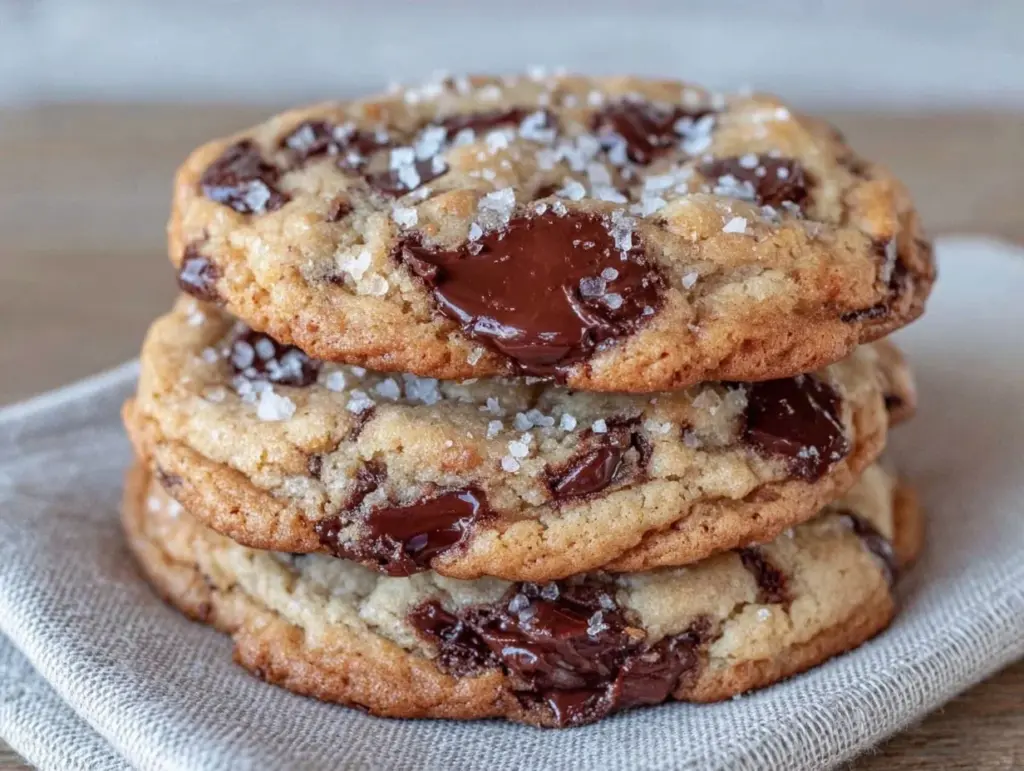
I didn’t have time for “lazy Saturday” baking. I needed efficiency. I needed something that tasted like a fancy bakery treat but fit into a rigid, methodical weekly routine. That’s when I fell in love with brown butter chocolate chip cookies with chewy centers you’ll make on repeat.
Here is the thing about brown butter: it’s not just a fancy technique. It’s a flavor hack. By browning the butter, you’re essentially caramelizing the milk solids, which gives the cookies this deep, nutty, toffee-like flavor that regular melted butter just can’t touch. It makes a simple chocolate chip cookie taste like it came from a high-end patisserie. But the real magic isn’t just the flavor—it’s the freezer friendliness.
These cookies are my secret weapon for the week. I bake one massive batch on Sunday, portion them out, and freeze them. Then, for the next four days, I have warm, fresh-baked cookies ready to go with zero effort. It’s the perfect way to add a little comfort to your meal prep week without derailing your healthy eating goals or spending your entire Sunday in the kitchen. If you’re looking for other make-ahead treats, check out my cozy fall creamy wild rice and mushroom casserole for a savory side that also freezes beautifully.
Why You’ll Love This Recipe
There are a hundred cookie recipes out there. Why this one? Why brown butter? Why freeze them? Because this method solves three big problems for people who plan their meals: it tastes incredible, it saves time during the week, and it prevents overeating because you have controlled portions.
Deep, Complex Flavor — Brown butter adds a nutty, caramelized depth that regular butter misses. It’s the difference between a cookie and a dessert. Once you taste it, you won’t go back.
Freezer-Ready Dough — The dough freezes perfectly. I portion the dough into balls before freezing, so I don’t have to thaw a giant block of dough. I just grab two balls, bake them, and have warm cookies in 12 minutes.
Chewy Centers, Crispy Edges — This recipe is engineered for texture. The extra brown sugar and a touch of cornstarch keep the centers soft and chewy, while the edges get nicely crisp. It’s the best of both worlds.
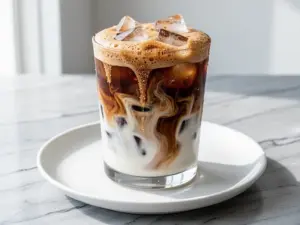
Batch Efficiency — You make this once, and you get four days of dessert covered. It’s less stressful than baking fresh cookies every time you crave something sweet. Plus, it pairs perfectly with a hot cup of coffee or tea during your mid-afternoon slump.
Simple Ingredients — You don’t need fancy flours or obscure ingredients. Just butter, sugar, eggs, flour, baking soda, salt, and chocolate. That’s it. Simple, reliable, and delicious.
This recipe has completely changed how I handle sweet cravings. Instead of impulse-buying store-bought cookies or skipping dessert entirely, I have a reliable, homemade option that’s always ready in the freezer. It’s my go-to for when I need a quick treat that feels special but fits into my organized lifestyle.
Ingredients You’ll Need
Here’s the best part: you probably have most of this already. I’m particular about a few things, but honestly, this is a pantry-friendly recipe. I keep these staples stocked specifically so I can throw together batches of flaky salted caramel apple hand pies or these cookies whenever the mood strikes.
Unsalted Butter (1 cup / 226g) — We’re browning this. Use high-quality butter if you can. European-style butters have higher fat content and brown beautifully. I use Kerrygold or a local organic brand.
Light Brown Sugar (1 cup / 200g, packed) — This is crucial for the chewy center. Dark brown sugar works too, but light gives a milder, caramel flavor that pairs well with the nutty butter. Do not use white sugar alone.
Granulated Sugar (½ cup / 100g) — This helps with the crispy edges. It creates that contrast in texture. I measure this carefully because too much sugar can make them spread too thin.
Large Eggs (2 large) — Room temperature eggs incorporate better into the dough. I take them out of the fridge 30 minutes before I start browning the butter. If you forget, just microwave them for 10 seconds.
Vanilla Extract (2 teaspoons) — Use real vanilla, not imitation. The flavor is more pronounced in cookies than in cakes, so good vanilla makes a huge difference. I always keep a bottle of Nielsen-Massey on hand.
All-Purpose Flour (2 ¼ cups / 280g) — Spoon and level this method. Don’t scoop directly from the bag, or you’ll pack in too much flour and get dry cookies. I use Gold Medal AP flour.
Cornstarch (1 teaspoon) — This is my secret weapon for chewiness. It inhibits gluten formation slightly, keeping the centers soft. It’s not optional if you want that specific texture.
Baking Soda (1 teaspoon) — Fresh baking soda is key. If yours has been in the cabinet for six months, test it with vinegar first. Old baking soda makes cookies flat and dense.
Salt (1 teaspoon) — Fine sea salt or table salt. Salt enhances the chocolate and balances the sweetness. Don’t skip it.
Chocolate Chips (2 cups / 340g) — I use a mix of semi-sweet and milk chocolate chips. I like the balance of sweetness. You can also chop up a chocolate bar for bigger, gooier chunks.
Flaky Sea Salt (for topping) — Maldon sea salt is my favorite. Sprinkling it on top right after baking elevates the flavor profile instantly. It’s not necessary, but it’s worth the extra 30 seconds.
Equipment Needed
You don’t need fancy equipment for this. Here’s what I actually use.
Large Saucepan — I use a 3-quart stainless steel saucepan. You need something with a thick bottom to prevent the butter from burning. My old non-stick pan works too, but stainless steel lets me see the color change better.
Whisk — For mixing the dough. A silicone whisk is nice because it scrapes the bowl, but a regular wire whisk works fine.
Mixing Bowls — One large bowl for the wet ingredients, one medium for the dry. I use glass bowls because I can see through them.
Baking Sheets — Two standard half-sheet pans. I use the ones from my local hardware store—cheap, durable, and they last forever.
Parchment Paper — Line your sheets. Cleanup is so much easier, and the cookies don’t stick. I buy the roll kind and cut it to size.
Cooling Rack — Essential for letting the cookies set. If you skip this, they’ll be too soft to handle and might break.
Cookie Scoop — I use a 2-tablespoon scoop. This ensures uniform size, which means they bake evenly. Consistency is key for batch baking.
Airtight Container or Freezer Bags — For storing the dough balls. I use gallon-sized freezer bags, labeled with the date.
How to Make It: Step-by-Step
Alright, let’s make this! I’m walking you through exactly how I do it, including the little tricks I’ve picked up. This method is designed for efficiency, so we’ll get the dough prepped and frozen quickly.
Step 1: Brown the Butter (5-7 minutes)
Melt the butter in a saucepan over medium heat. Watch it closely. It will foam up, then subside. You’ll start to hear a sizzling sound. Swirl the pan occasionally. Once the foam clears, you’ll see brown specks at the bottom and smell a nutty aroma. This is brown butter. Immediately pour it into a heatproof bowl to stop the cooking. Let it cool for 10 minutes. Don’t rush this—if the butter is too hot, it’ll scramble the eggs later.
Step 2: Mix the Wet Ingredients (3 minutes)
In your large mixing bowl, combine the cooled brown butter, brown sugar, and granulated sugar. Whisk vigorously for about 2 minutes. You want the mixture to look smooth and slightly glossy. This step incorporates air and dissolves the sugar, which helps with chewiness. Add the eggs one at a time, whisking well after each. Stir in the vanilla extract.
Step 3: Combine Dry Ingredients (2 minutes)
In a separate medium bowl, whisk together the flour, cornstarch, baking soda, and salt. Sifting isn’t strictly necessary if you’ve spooned and leveled the flour, but it does help remove lumps. I usually just whisk it to ensure everything is evenly distributed.
Step 4: Make the Dough (3 minutes)
Gradually add the dry ingredients to the wet ingredients. Mix on low speed or by hand until just combined. Do not overmix. Once the flour streaks disappear, fold in the chocolate chips with a spatula. The dough should be thick and cohesive.
Step 5: Portion and Freeze (15 minutes)
This is the meal prep magic. Use your cookie scoop to portion the dough into balls. Place them on a parchment-lined baking sheet, spaced about 2 inches apart. Put the entire sheet in the freezer for 30 minutes. Once the dough balls are firm, transfer them to a labeled freezer bag. Remove the parchment paper from the sheet. You can now store these dough balls in the freezer for up to 3 months.
Step 6: Bake When Needed (12-14 minutes)
When you’re ready for cookies, take two dough balls from the freezer. Place them on a lined baking sheet. Bake at 350°F (175°C) for 12-14 minutes. They might look slightly underdone in the center—that’s what you want. Let them cool on the sheet for 5 minutes before transferring to a rack. Sprinkle with flaky sea salt immediately.
Total Active Time: About 20 minutes for the initial batch. Cooking Time: 12 minutes per batch.
Expert Tips & Tricks
Here’s everything I’ve learned from making this dozens of times. These tips will save you from my mistakes.
Watch the Butter Like a Hawk
Brown butter can go from perfect to burnt in seconds. If it smells like it’s burning, it’s too late. Pull it off the heat just before you think it’s done. The residual heat will finish the process.
Cool the Butter Completely
If you add hot brown butter to the sugar and eggs, you’ll cook the eggs. It sounds obvious, but I’ve done it. Let the butter sit for at least 10-15 minutes until it’s cool to the touch but still liquid.
Don’t Overbake
These cookies continue to cook on the hot baking sheet after you take them out of the oven. Pull them when the edges are golden but the centers still look soft and puffy. They’ll firm up as they cool.
Use a Cookie Scoop
Uniform size means uniform baking. If you scoop by hand, some will be big and undercooked, others small and overcooked. A scoop saves time and ensures consistency.
Freeze on the Sheet First
Freezing the dough balls on the sheet before bagging prevents them from sticking together. This makes it easy to grab just the number you need later.
Room Temperature Eggs
Cold eggs can cause the brown butter to seize up. Make sure your eggs are room temp before adding them. If you forget, put them in a bowl of warm water for 5 minutes.
Chill the Dough (Optional)
If you have time, chill the dough in the fridge for 24 hours before baking. This deepens the flavor and reduces spreading. But for meal prep, the freezer method is faster and just as good.
Variations & Substitutions
Once you’ve nailed the basic version, here’s how you can mix it up. I’ve tried all of these.
Nutty Version
Add ½ cup of toasted pecans or walnuts to the dough. Toast the nuts in a dry pan for 3-4 minutes until fragrant before adding. This pairs beautifully with the brown butter.
Pretzel Crunch
Crush ½ cup of pretzels and fold them into the dough. The salt and crunch add a nice savory element. Great for those who like sweet and salty.
White Chocolate Macadamia
Swap the chocolate chips for white chocolate chips and add ½ cup of macadamia nuts. This is a classic combination that feels luxurious.
Gluten-Free
Use a 1:1 gluten-free flour blend (like Bob’s Red Mill or King Arthur). Add ½ teaspoon of xanthan gum if your blend doesn’t include it. The texture will be slightly more cake-like, but still delicious.
Dairy-Free
Use a high-quality vegan butter stick (not tub margarine). Brown vegan butter similarly. The flavor will be slightly different, but still tasty. I’ve used Miyoko’s or Earth Balance with good results.
Dark Chocolate
Use 70% dark chocolate chunks instead of chips. This reduces sweetness and adds a more sophisticated flavor. Great for adults who don’t like overly sweet treats.
Serving & Storage
How to Serve:
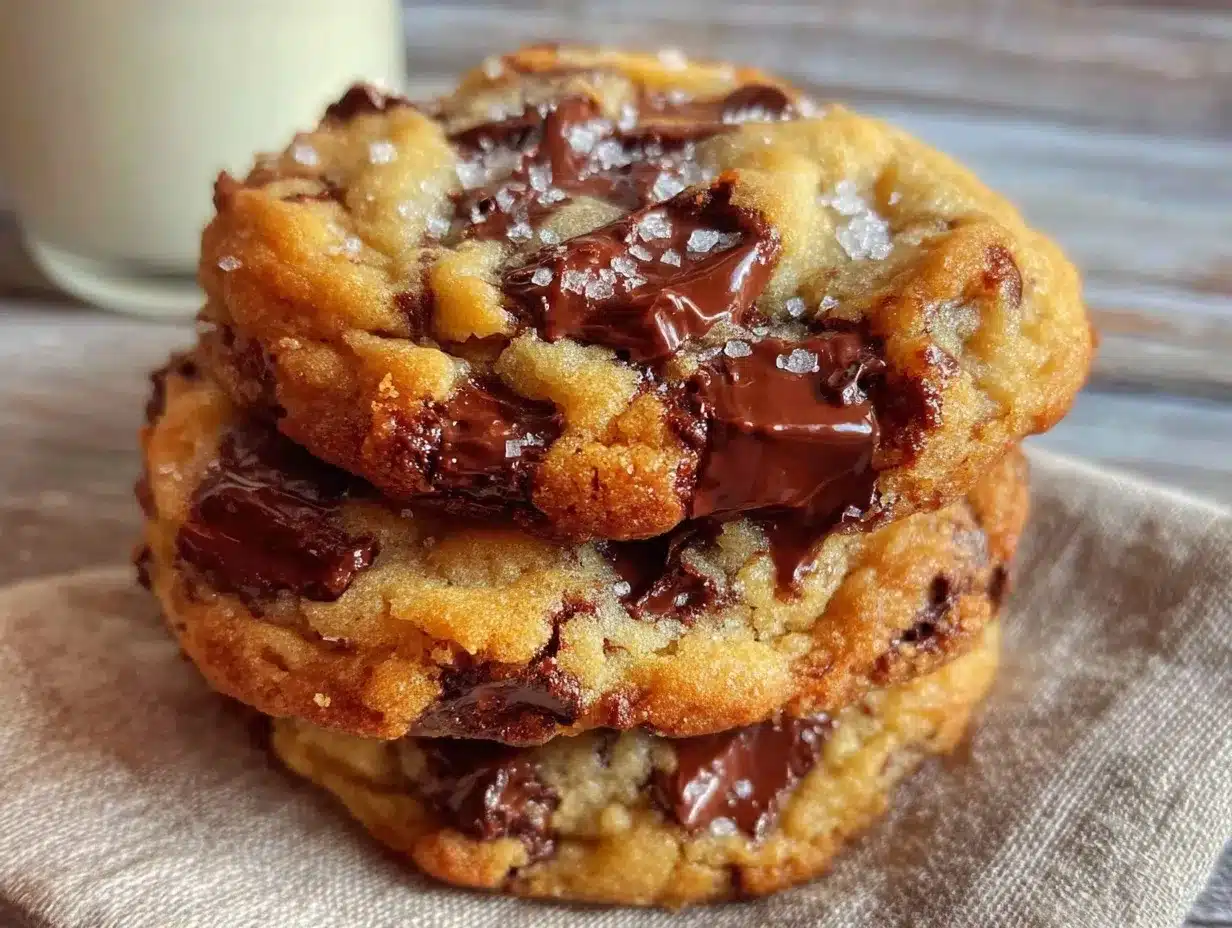
I usually serve these warm, right off the cooling rack. They’re best enjoyed with a cold glass of milk or a hot cup of coffee. For a special touch, serve them with a dollop of whipped cream or a scoop of vanilla ice cream.
Side Dishes:
These cookies are a standalone treat, but they pair well with a simple green salad if you’re having a light lunch. Or enjoy them as a snack with tea.
Storage Instructions:
Freezer: Store dough balls in airtight freezer bags for up to 3 months. Label with the date. Bake directly from frozen, adding 1-2 minutes to the bake time.
Refrigerator: If you’re baking within a week, keep the dough balls in the fridge in an airtight container. They’ll keep for 5-7 days.
Reheating:
If you baked a batch and have leftovers, store them in an airtight container at room temperature for 3-4 days. To refresh, microwave for 10-15 seconds. They’ll be soft and warm again.
Freezing Baked Cookies:
You can freeze baked cookies too, but the texture changes slightly. They’ll be softer when thawed. I prefer freezing the dough for the best texture.
Pro tip: If you’re meal prepping for the week, bake one batch on Sunday, freeze half the dough, and keep half in the fridge. That way, you have fresh cookies for the first two days and freezer cookies for the rest of the week.
Nutrition Information
I’m not a nutritionist, but here’s the breakdown if you’re tracking. This is per cookie (makes about 24 cookies).
- Calories: 180
- Protein: 2g
- Carbs: 24g
- Fiber: 1g
- Sugar: 16g
- Fat: 9g
- Saturated Fat: 5g
- Cholesterol: 25mg
- Sodium: 120mg
What’s Good:
– Moderate calorie count for a treat
– Provides some energy from carbs and fat
– Can be made lighter with fewer chips
What to Know:
– High in sugar due to brown and white sugar
– Contains dairy and gluten
– Portion control is key for meal prep
My Take:
Look, these are cookies. They’re supposed to taste good. I don’t view them as health food, but as a planned indulgence. When I meal prep, I keep them in the fridge or freezer so I don’t eat them all at once. One or two cookies with my morning coffee is a perfect way to start the day without feeling guilty.
Final Thoughts
So that’s my go-to brown butter chocolate chip cookies with chewy centers you’ll make on repeat. I’ve probably talked your ear off at this point, but when you find a recipe that works this well for your lifestyle, you want to share it.
This has saved me from so many stressful weeknights. Instead of wondering what to do for dessert or impulse-buying something unhealthy, I have a reliable, homemade option that’s always ready. My kids love them, my husband loves them, and I love them because they fit into my meal prep routine perfectly.
Make it yours! Try different chocolates, add nuts, or change the sea salt. The best recipes are the ones you adapt to your family’s tastes. If you make this, drop a comment and let me know what you think! I love hearing how recipes turn out in your kitchen. And if something doesn’t work, tell me that too—I’m here to help troubleshoot.
Happy cooking! And I hope your kitchen smells half as good as mine does right now.
Frequently Asked Questions
Can I use salted butter instead of unsalted?
You can, but you’ll need to reduce the added salt in the recipe. Salted butter varies in salt content, so it’s hard to know how much to cut. I recommend using unsalted butter for consistency, and adding salt to taste. If you must use salted butter, reduce the 1 teaspoon of salt in the recipe to ½ teaspoon.
Why did my cookies spread too much?
This usually means the butter was too warm when you mixed the dough, or the dough wasn’t chilled enough. Brown butter cools quickly, but if you add it to the sugar and eggs while it’s still hot, it can cause spreading. Also, make sure you’re measuring your flour correctly. Too little flour leads to spread.
Can I freeze the baked cookies?
Yes, but the texture will be softer when thawed. I prefer freezing the dough balls for the best texture. If you do freeze baked cookies, let them cool completely, then store in an airtight container with parchment paper between layers. They’ll keep for 2-3 months.
How do I know when the butter is browned?
Look for a golden-brown color at the bottom of the pan and smell a nutty, toasted aroma. The foam will subside, and you’ll see brown specks (milk solids) at the bottom. It takes about 5-7 minutes. Don’t walk away!
Can I use dark brown sugar instead of light?
Yes, dark brown sugar will give a deeper, molasses-like flavor. It’s a matter of preference. I like light brown sugar for a milder taste, but dark brown sugar works well if you want a richer flavor.
How long do these cookies last at room temperature?
They’ll stay fresh for 3-4 days in an airtight container. After that, they might start to dry out. For longer storage, freeze the dough or baked cookies.
Can I double this recipe?
Absolutely! Double everything and use your biggest bowl. The cooking times stay the same. I do this when I’m meal-prepping for the whole week. Just make sure you have enough freezer space for the dough balls.
Pin This Recipe!
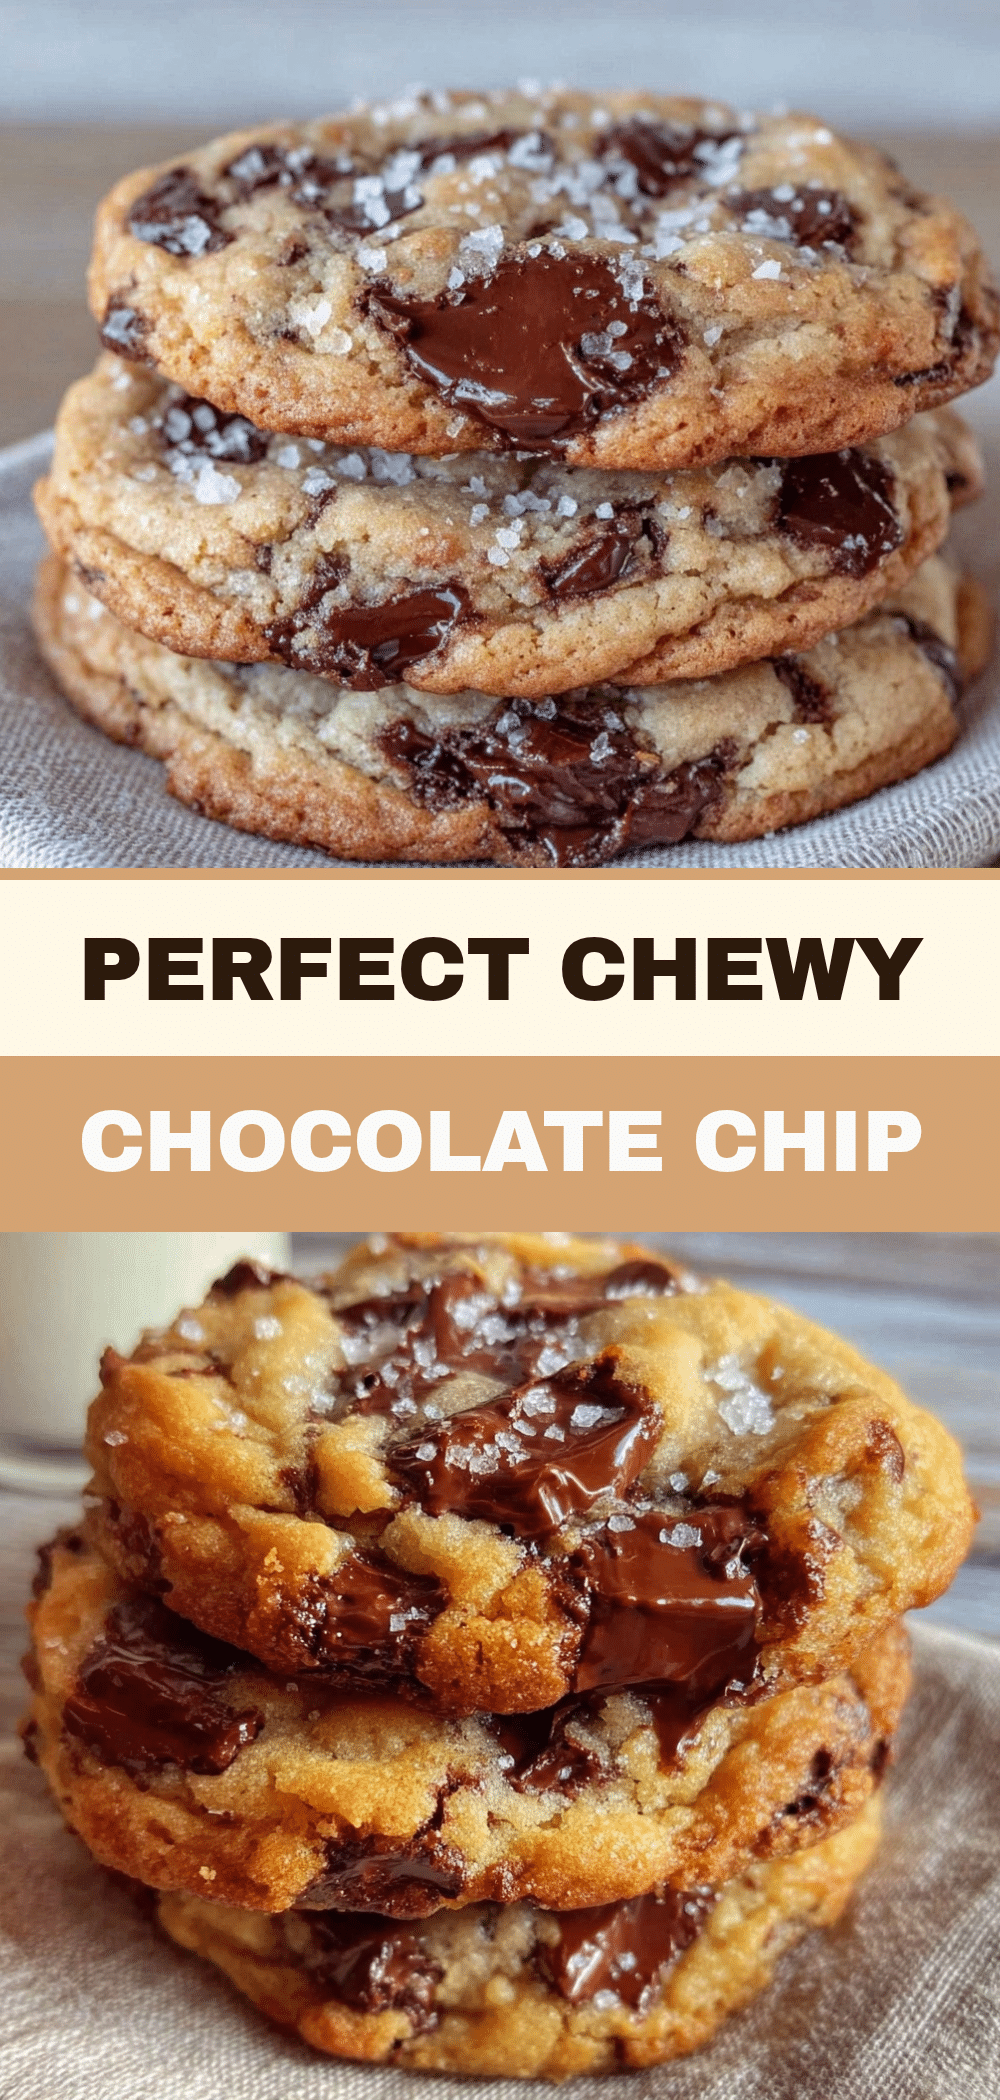
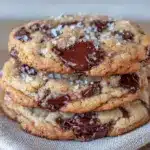
Brown Butter Cookies: 3-Step Batch Bake for 4 Freezer Meals
- Total Time: 32 minutes
- Yield: 24 cookies 1x
Description
Efficient brown butter chocolate chip cookies with chewy centers and crispy edges, designed for batch baking and freezing to provide fresh treats throughout the week.
Ingredients
- 1 cup (226g) unsalted butter
- 1 cup (200g) light brown sugar, packed
- ½ cup (100g) granulated sugar
- 2 large eggs, room temperature
- 2 teaspoons vanilla extract
- 2 ¼ cups (280g) all-purpose flour
- 1 teaspoon cornstarch
- 1 teaspoon baking soda
- 1 teaspoon salt
- 2 cups (340g) chocolate chips (semi-sweet and milk)
- Flaky sea salt for topping
Instructions
- Melt butter in a large saucepan over medium heat. Watch closely until foam subsides, brown specks appear, and a nutty aroma develops (5-7 minutes). Pour into a heatproof bowl and cool for 10 minutes.
- In a large mixing bowl, whisk the cooled brown butter, brown sugar, and granulated sugar vigorously for 2 minutes until smooth and glossy.
- Add eggs one at a time, whisking well after each addition. Stir in vanilla extract.
- In a separate medium bowl, whisk together flour, cornstarch, baking soda, and salt.
- Gradually add dry ingredients to wet ingredients. Mix on low speed or by hand until just combined. Fold in chocolate chips.
- Portion dough into 2-tablespoon balls using a cookie scoop. Place on a parchment-lined baking sheet spaced 2 inches apart.
- Freeze the baking sheet for 30 minutes until dough balls are firm. Transfer to labeled freezer bags for storage up to 3 months.
- To bake, place two frozen dough balls on a lined baking sheet. Bake at 350°F (175°C) for 12-14 minutes until edges are golden but centers look soft.
- Let cookies cool on the sheet for 5 minutes before transferring to a wire rack. Sprinkle with flaky sea salt immediately.
Notes
Ensure butter is cooled completely before adding to eggs to prevent scrambling. Do not overbake as cookies continue to cook on the hot sheet. For best texture, freeze dough balls rather than baked cookies. Room temperature eggs are crucial for proper incorporation.
- Prep Time: 20 minutes
- Cook Time: 12 minutes
- Category: Dessert
- Cuisine: American
Nutrition
- Serving Size: 1 cookie
- Calories: 180
- Sugar: 16
- Sodium: 120
- Fat: 9
- Saturated Fat: 5
- Carbohydrates: 24
- Fiber: 1
- Protein: 2
Keywords: brown butter cookies, chocolate chip cookies, freezer meals, meal prep desserts, chewy cookies, batch baking, make ahead cookies