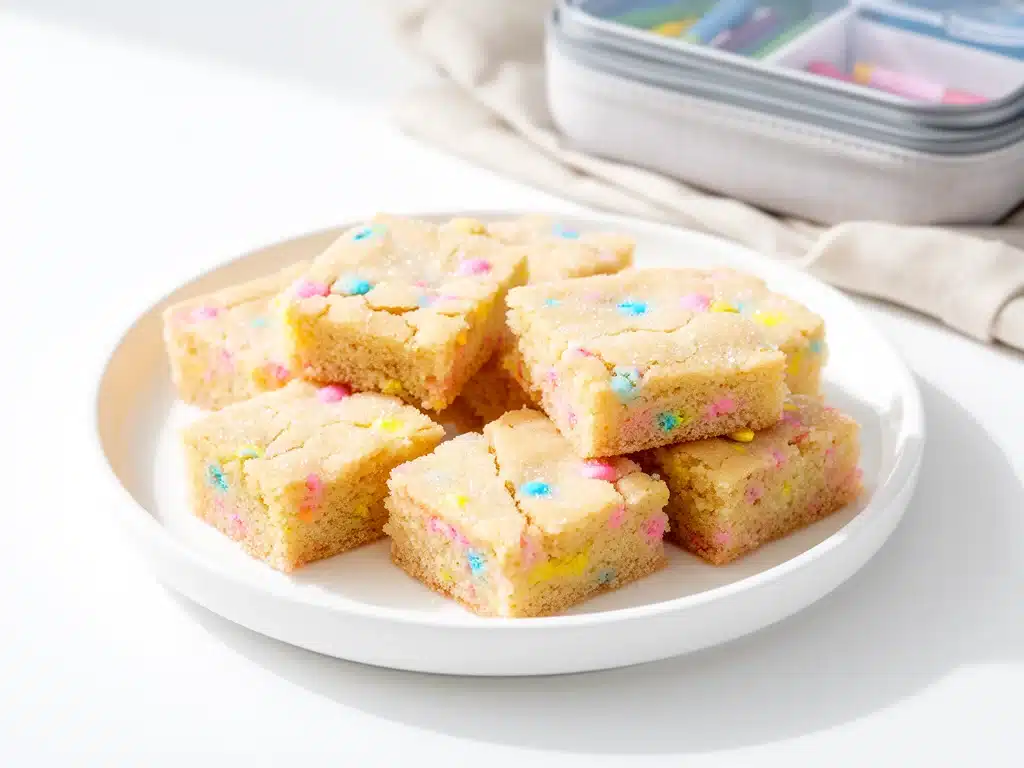
It was the first week of school last year when I realized I had seriously underestimated how much my kids love sweets in their lunchboxes. I’d packed the usual granola bars and fruit snacks, but by noon, my youngest called me begging for something a little sweeter. So I whipped up these Back-to-School Soft Sugar Cookie Lunchbox Bars on a whim, expecting a polite nibble at best.
But nope—those bars disappeared faster than I could blink, and within days, every teacher and parent I ran into was asking for the recipe. Honestly, I didn’t think a soft sugar cookie in bar form could cause such a stir, but it’s become my secret weapon for making lunchboxes exciting and keeping snack time sweet (without the mess of crumbly cookies).
I’ve tested and tweaked this recipe over a dozen times since then, and now it’s not just a back-to-school staple—it’s a year-round favorite. These bars are soft, chewy, and just sweet enough, with that classic sugar cookie flavor everyone recognizes and loves. Plus, they’re super easy to make in a batch, perfect for busy mornings or lunchbox prep. If you’ve been hunting for a sugar cookie snack that actually holds up in a lunchbox and makes the kids (and adults) happy, this is it.
Why You’ll Love This Recipe
This recipe has totally changed how I approach packing lunches and snacks, and I’m betting it’ll do the same for you. Here’s why these Back-to-School Soft Sugar Cookie Lunchbox Bars have become my go-to:
- Soft and Chewy Every Time — Unlike traditional sugar cookies that can dry out or crumble, these bars stay tender and chewy even after a day in a lunchbox. I’ve sent them with my kids on field trips, and they still tasted fresh come snack time.
- Easy to Make in Batches — I can whip up a dozen bars in under 30 minutes, which means less stress on busy mornings. Plus, they freeze well for a grab-and-go snack when I’m in a pinch.
- Kid-Approved Flavor — I’ve had picky eaters and sweet-tooths alike devour these bars. The classic sugar cookie taste is comforting and familiar, making them a hit with all ages.
- Perfect for Lunchboxes — No mess, no crumbs, and no sticky fingers. They’re the perfect size for little hands and don’t get squished or fall apart easily.
- Versatile for Add-Ins — Want to jazz them up? Add sprinkles, mini chocolate chips, or a drizzle of icing. I’ve tried them all, and they never disappoint.
Honestly, these bars took the pressure off my back-to-school snack game. No more last-minute runs to the store or watching my kids trade their snacks away. Instead, I get peace of mind knowing they have something homemade, tasty, and reliable. That’s a win in my book.
Ingredients You’ll Need
Here’s the best part: most of these ingredients are probably already in your pantry or fridge. I’m pretty picky about a few things here, so I’ll share my tips as I go.
- All-purpose flour (2 ½ cups / 315g) — The base of these bars. I use unbleached flour for a better texture, but regular works fine.
- Baking powder (1 teaspoon) — Helps the bars rise just enough to stay soft and fluffy.
- Baking soda (½ teaspoon) — Balances the leavening for the perfect crumb.
- Salt (½ teaspoon) — Enhances flavor without making it salty. Don’t skip this.
- Unsalted butter (1 cup / 225g, softened) — Full fat for richness. I always use real butter; margarine just isn’t the same here.
- Granulated sugar (1 ½ cups / 300g) — Sweetness and that classic sugar cookie sparkle.
- Eggs (2 large) — Room temperature eggs help with mixing and texture.
- Vanilla extract (2 teaspoons) — Real vanilla only. This is where a lot of the cookie’s magic comes from.
- Optional: Sprinkles (½ cup) — Because sometimes, you just need that pop of color. I use holiday-themed ones for back-to-school fun.
Quick note: I’ve tried substituting part of the butter with coconut oil, but it changes the texture a bit—still tasty, just a little less soft. Also, if you want to make these gluten-free, swap the flour for a 1:1 gluten-free baking blend. I tested that version, and it’s a great alternative if you need it.
Equipment Needed
You don’t need anything fancy for these bars. Here’s what I use every time:
- 9×13-inch baking pan — Essential for getting those perfect bar shapes. I have a non-stick metal one that’s been going strong for years.
- Mixing bowls — I use one large bowl for the dry ingredients and one for the wet.
- Electric mixer or hand mixer — Makes creaming the butter and sugar way easier. You can do it by hand, but it takes some elbow grease.
- Measuring cups and spoons — Precision helps with baking.
- Rubber spatula — For folding everything together without overmixing.
- Parchment paper — Optional but highly recommended for easy removal and cleanup.
If you don’t have a mixer, no worries—just make sure your butter is really soft, and be patient with mixing. I’ve done it both ways and it works.
How to Make It: Step-by-Step
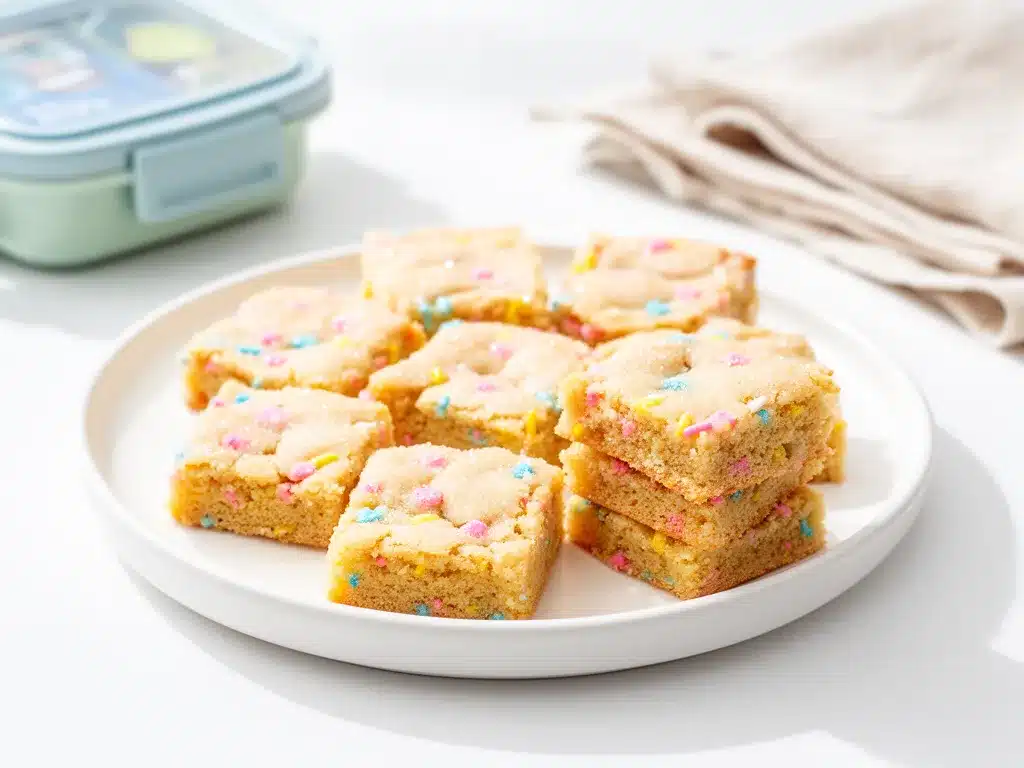
Alright, let’s get to the good stuff. I’m walking you through exactly how I make these Back-to-School Soft Sugar Cookie Lunchbox Bars, with all the little tricks that guarantee success.
Step 1: Prep Your Ingredients (5 minutes)
Start by measuring out your flour, baking powder, baking soda, and salt into a large bowl. Whisk them together so everything’s evenly mixed. Then, get your butter soft (leave it out for an hour or zap it in the microwave for 15 seconds if you’re in a hurry). Preheat your oven to 350°F (175°C) and line your baking pan with parchment paper, leaving an overhang on the sides. This helps you lift the bars out easily later.
Step 2: Cream Butter and Sugar (3-5 minutes)
Using your mixer, beat the softened butter and granulated sugar together on medium speed until the mixture is light and fluffy—this usually takes 3-5 minutes. The texture should look pale and a bit airy. This step is key to soft bars.
Step 3: Add Eggs and Vanilla (2 minutes)
Beat in the eggs one at a time, mixing well after each addition. Then add the vanilla extract. You’ll see the batter smooth out and become glossy.
Step 4: Combine Wet and Dry Ingredients (2-3 minutes)
Gradually add the dry flour mixture to the wet ingredients, mixing on low speed or folding in with a spatula. Don’t overmix—stop as soon as you don’t see dry flour. If you’re adding sprinkles, fold them in gently here.
Step 5: Spread the Batter and Bake (25-28 minutes)
Scrape the batter into your prepared pan and spread it evenly with your spatula. Pop it into the preheated oven and bake for 25 to 28 minutes. The edges will be lightly golden, but the center should still look soft and slightly underbaked. This is perfect—overbaking will dry out the bars.
Step 6: Cool Completely Before Cutting (30 minutes)
Remove the pan from the oven and let it cool completely on a wire rack. This is tough because they smell amazing, but if you try cutting them warm, they’ll fall apart. Once cooled, use the parchment paper overhang to lift the whole slab out and slice into bars.
Step 7: Store and Enjoy
Store the bars in an airtight container at room temperature for up to 4 days, or in the fridge if you want them to last longer. They also freeze beautifully—just wrap them tightly and thaw at room temp before packing in lunchboxes.
Expert Tips & Tricks
- Don’t Skip Softening the Butter — I’ve tried cold butter and it just doesn’t cream properly, making the bars dense.
- Watch Your Bake Time Closely — Oven temps vary; start checking at 24 minutes. You want that slightly underbaked center for softness.
- Use Fresh Vanilla Extract — It makes a huge difference. I once used imitation vanilla and the flavor was flat.
- Let the Bars Cool Fully — Easier to cut and holds together better. Patience here pays off.
- Mix-ins Are Your Friend — Try mini chocolate chips, nuts, or dried cranberries for variety. Just don’t overload or the texture changes.
Variations & Substitutions
Once you’ve nailed the classic bars, here are some fun twists I’ve tested:
- Chocolate Chip Sugar Bars — Add ½ cup mini chocolate chips to the batter for an extra treat.
- Lemon Zest Bars — Add the zest of one lemon and a tablespoon of fresh lemon juice for a bright, fresh flavor.
- Sprinkle Party Bars — Toss in ½ cup colorful sprinkles for a kid-favorite festive look.
- Gluten-Free Version — Use a 1:1 gluten-free flour blend. I like Bob’s Red Mill for reliable results.
- Dairy-Free Option — Swap butter for coconut oil, and use a dairy-free egg replacer if needed. The texture is slightly different but still delicious.
For a savory contrast, I often pair these sweet bars with easy lunchbox ideas like turkey cheddar lunch kabobs or soft baked pretzel dogs. It’s a flavor balance my kids adore.
Serving & Storage
These bars are perfect straight from the pan or packed in lunchboxes with no fuss. If you want to get fancy, drizzle a simple icing made from powdered sugar and milk over the top before cutting. I usually keep it plain for school but add icing for weekend treats.
Storage: Keep them in an airtight container at room temp for up to 4 days. They stay soft and fresh, but if your kitchen is warm, pop them in the fridge. For longer storage, freeze wrapped bars for up to 3 months—thaw at room temp before serving.
Reheating: If you want that fresh-baked feel, microwave a bar for 10-15 seconds to warm slightly—it brings back the softness and enhances the vanilla aroma.
Nutrition Information
| Nutrient | Per Serving (1 bar, based on 12 bars) |
|---|---|
| Calories | 210 |
| Protein | 2g |
| Carbohydrates | 28g |
| Fiber | 0.5g |
| Sugar | 14g |
| Fat | 9g |
| Saturated Fat | 5g |
| Cholesterol | 35mg |
| Sodium | 110mg |
| Calcium | 30mg |
Look, these bars are definitely a treat, but they’re homemade, which means no weird preservatives or mystery ingredients. I like to balance them with protein-packed lunch items like chicken bacon ranch sliders or fresh fruit to round out the meal.
Final Thoughts
So that’s the story behind my Back-to-School Soft Sugar Cookie Lunchbox Bars—the bars everyone always asks for. I’ve probably rambled enough, but when a recipe becomes a household favorite, you tend to have a lot to say!
This recipe has saved me from the “what’s for snack?” panic more times than I can count. It’s simple, reliable, and most importantly, loved by my kids and their friends. I hope it becomes your secret weapon too.
Don’t be afraid to make it your own—add your favorite mix-ins, play with flavors, or even try making them into little cookies instead of bars. And when you do make them, drop a comment below and tell me how it went! If something didn’t work, or you have your own tips, I’m all ears.
Happy baking (and packing)!
Frequently Asked Questions
Q: Can I make these bars ahead of time?
A: Absolutely! I usually bake them the night before and let them cool completely before storing in an airtight container. They keep well for several days at room temperature or longer in the fridge. You can also freeze them for up to 3 months. Just thaw before packing in lunchboxes.
Q: What makes these bars soft instead of crunchy?
A: The key is creaming the butter and sugar really well and not overbaking. Also, letting the bars cool completely before cutting helps them set with a soft, chewy texture. Overbaking or cutting while warm leads to dryness or crumbliness.
Q: Can I use brown sugar instead of granulated sugar?
A: You can swap half of the granulated sugar for brown sugar to add a little extra moisture and a slight caramel flavor. I like experimenting with this, but keep in mind the bars might be a touch denser.
Q: Why did my bars turn out dry?
A: Most likely, they were baked too long or the butter wasn’t softened enough before mixing. Oven temperatures vary, so check your bars a few minutes before the timer. Also, don’t skip the cooling step—it helps the moisture redistribute.
Q: Can I add chocolate chips or nuts?
A: Yes! I often add mini chocolate chips or chopped nuts for extra texture and flavor. Just fold in about ½ cup after mixing the dough. Don’t add too much, or it can affect how the bars hold together.
Q: Can I make these vegan?
A: With some tweaks, yes. Use dairy-free butter and a flax or chia egg replacer instead of real eggs. The texture will be a bit different, but still tasty. I recommend experimenting in small batches first.
Q: How should I store leftover bars?
A: Store them in an airtight container at room temperature for up to 4 days or in the fridge for up to a week. For longer storage, freeze wrapped bars for up to 3 months. Warm them slightly before serving for the best texture.
Pin This Recipe!
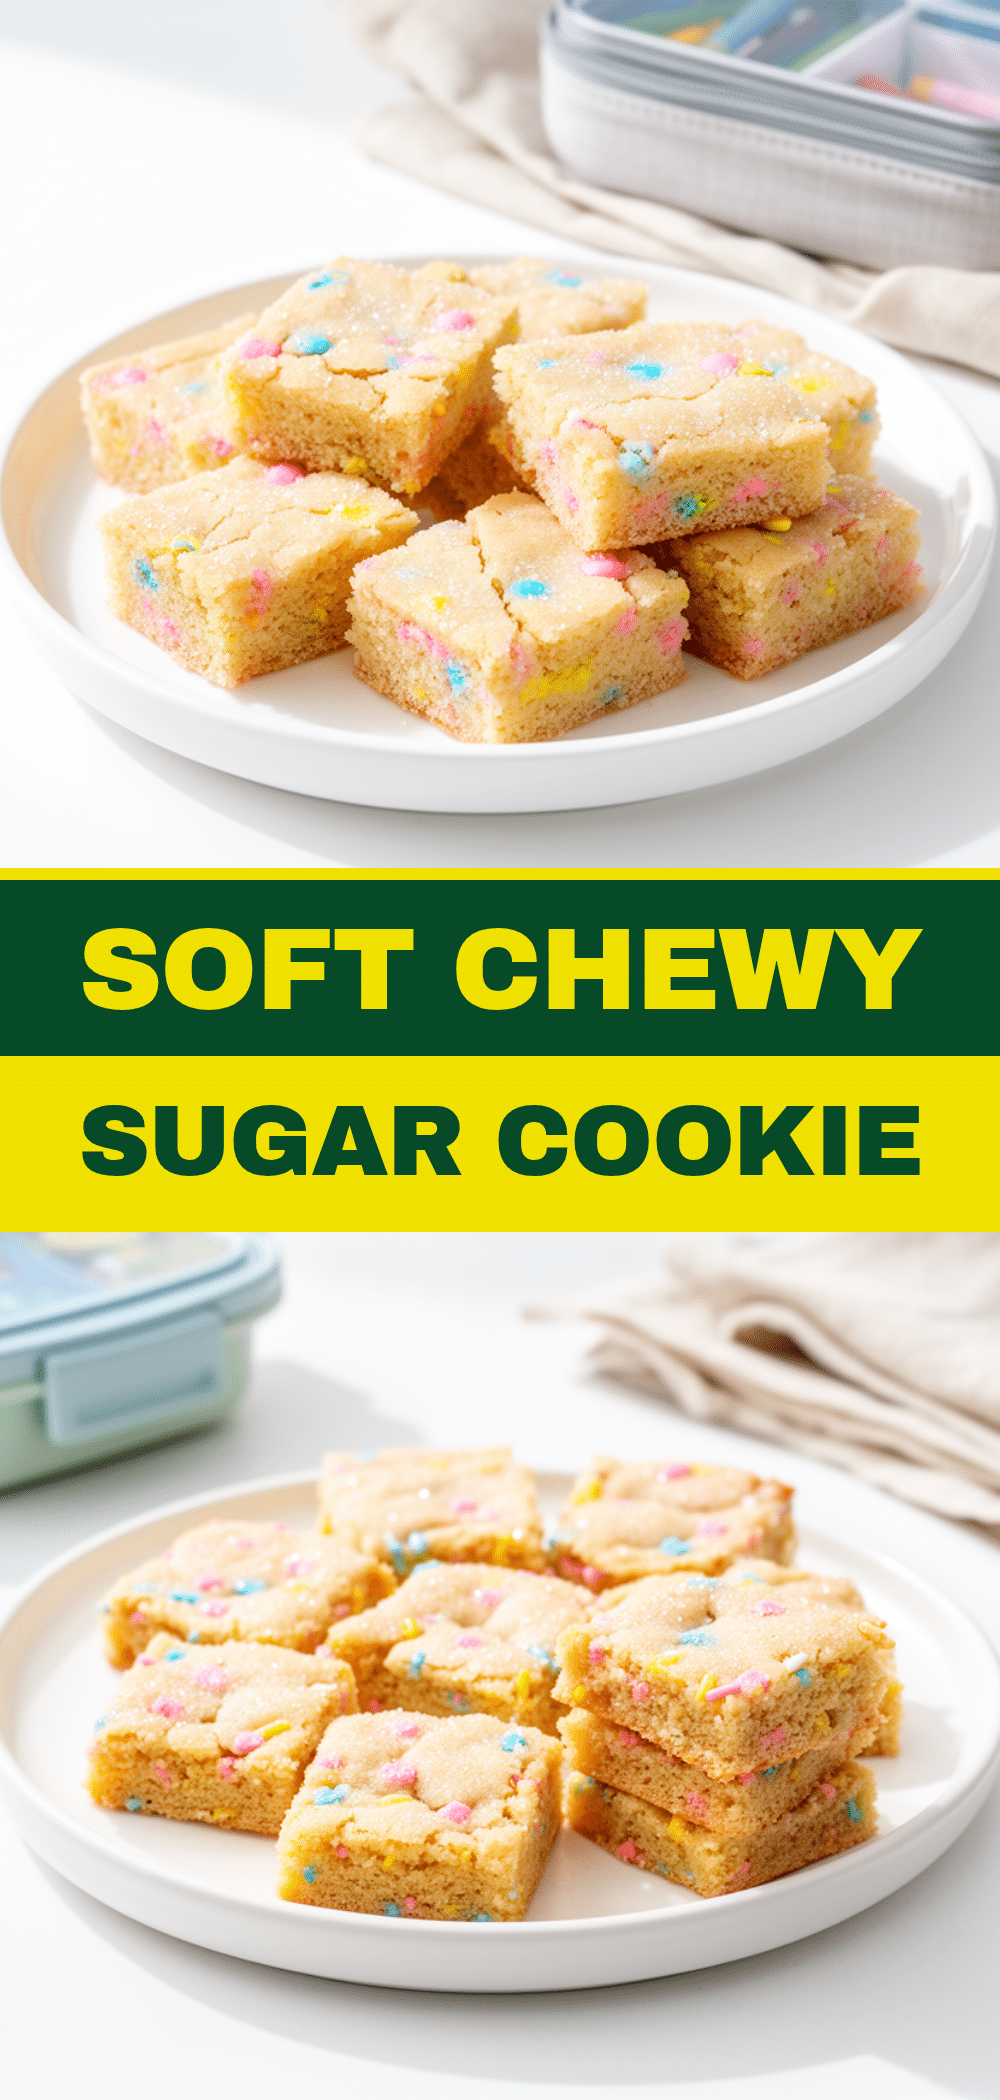

Back-to-School Soft Sugar Cookie Lunchbox Bars
- Total Time: 35-38 minutes
- Yield: 12 bars 1x
Description
Soft, chewy sugar cookie bars perfect for lunchboxes, easy to make in batches and loved by kids and adults alike.
Ingredients
- 2 ½ cups all-purpose flour (315g)
- 1 teaspoon baking powder
- ½ teaspoon baking soda
- ½ teaspoon salt
- 1 cup unsalted butter, softened (225g)
- 1 ½ cups granulated sugar (300g)
- 2 large eggs, room temperature
- 2 teaspoons vanilla extract
- Optional: ½ cup sprinkles
Instructions
- Preheat oven to 350°F (175°C). Line a 9×13-inch baking pan with parchment paper, leaving an overhang on the sides.
- In a large bowl, whisk together flour, baking powder, baking soda, and salt.
- Using a mixer, cream the softened butter and granulated sugar on medium speed until light and fluffy, about 3-5 minutes.
- Beat in eggs one at a time, mixing well after each addition, then add vanilla extract.
- Gradually add the dry ingredients to the wet ingredients, mixing on low speed or folding with a spatula until just combined. Fold in sprinkles if using.
- Spread the batter evenly in the prepared pan.
- Bake for 25 to 28 minutes until edges are lightly golden and center is slightly underbaked.
- Cool completely on a wire rack before lifting out with parchment paper and slicing into bars.
- Store in an airtight container at room temperature for up to 4 days, refrigerate for longer freshness, or freeze for up to 3 months.
Notes
Do not overbake to keep bars soft and chewy. Let bars cool completely before cutting to prevent crumbling. Use fresh vanilla extract for best flavor. Optional add-ins include mini chocolate chips, nuts, or sprinkles. For gluten-free, substitute flour with a 1:1 gluten-free baking blend. For dairy-free, substitute butter with coconut oil and use a dairy-free egg replacer.
- Prep Time: 10 minutes
- Cook Time: 25-28 minutes
- Category: Snack
- Cuisine: American
Nutrition
- Serving Size: 1 bar
- Calories: 210
- Sugar: 14
- Sodium: 110
- Fat: 9
- Saturated Fat: 5
- Carbohydrates: 28
- Fiber: 0.5
- Protein: 2
Keywords: sugar cookie bars, lunchbox snacks, soft sugar cookies, easy cookie bars, back-to-school snacks