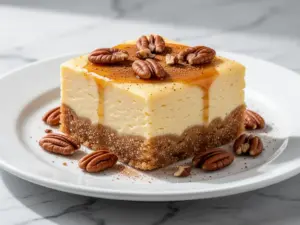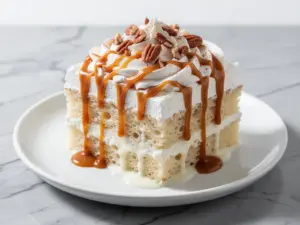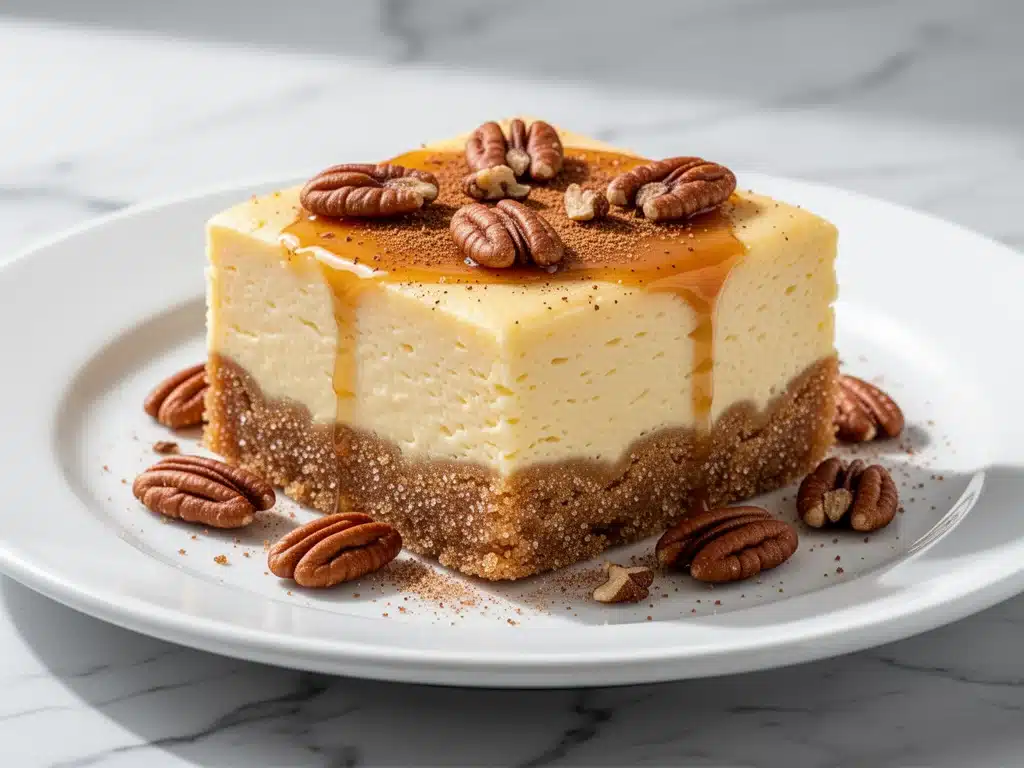
Last summer, I showed up to a neighborhood potluck with a store-bought sheet cake. You know the kind—the one that looks like it survived a shipping accident. I was tired, the weather was brutal, and I just wanted to be done with dessert duty. But when I saw what my neighbor Karen brought out? It was these golden, gooey, cinnamon-scented squares that looked like they came from a high-end bakery. People were lining up. Literally lining up. And I stood there holding my sad, slightly squashed cake, realizing I needed to step up my game.
That was the day I decided to recreate those churro cheesecake bars. I wanted that perfect balance of creamy, tangy cheesecake and the crispy, sugary crunch of a fresh churro, all in one easy-to-eat bar. The first few attempts were… let’s call them “educational.” I had bars that were too dense, ones where the cinnamon sugar slid right off, and one batch that collapsed because I overmixed the batter (my bad). But after about six tries, I nailed it. Now, these bars are my secret weapon for every gathering, from backyard barbecues to holiday office parties.
There’s something magical about combining two beloved treats into one. It’s like getting a dessert and a snack in a single bite. The texture contrast is everything—that soft, silky cheesecake center against the crisp, spiced crust. And the best part? They’re surprisingly easy to make. You don’t need fancy equipment or hours of prep. Just a few simple ingredients and a bit of patience. Once you taste them, you’ll understand why I’ve made them at least a dozen times this year alone. They disappear faster than my homemade bagels on a Sunday morning.
Why You’ll Love This Recipe
So, why are these churro cheesecake bars taking over my kitchen (and my friends’ kitchens)? Here’s the real talk on why this recipe is worth your time.
Two Desserts in One — Seriously, it’s like cheating. You get the rich, tangy creaminess of New York-style cheesecake and the nostalgic, fried-dough sweetness of a churro. It’s the ultimate flavor combo that works every time. I’ve served these to people who hate cheesecake and people who hate fried foods, and everyone asks for the recipe.
Zero Fryer Required — Let’s be honest: frying churros at home is a mess. Splattered oil, messy cleanup, and the fear of burning yourself. These bars give you all the churro flavor and texture without the danger. The crust bakes into that perfect crispy coating, so you get the crunch without the chaos.
Make-Ahead Friendly — This is huge for party hosts. You can bake these the night before. In fact, they taste even better the next day after the flavors have had time to meld and the texture has set. I usually make them on Saturday for a Sunday gathering, and they stay fresh in the fridge for up to four days.
Easy to Customize — Want to add a caramel drizzle? Go for it. Swap the cinnamon sugar for a vanilla glaze? Done. I’ve even added a layer of dulce de leche in the middle once, and it was incredible. The base recipe is stable enough to handle your creative tweaks without falling apart.
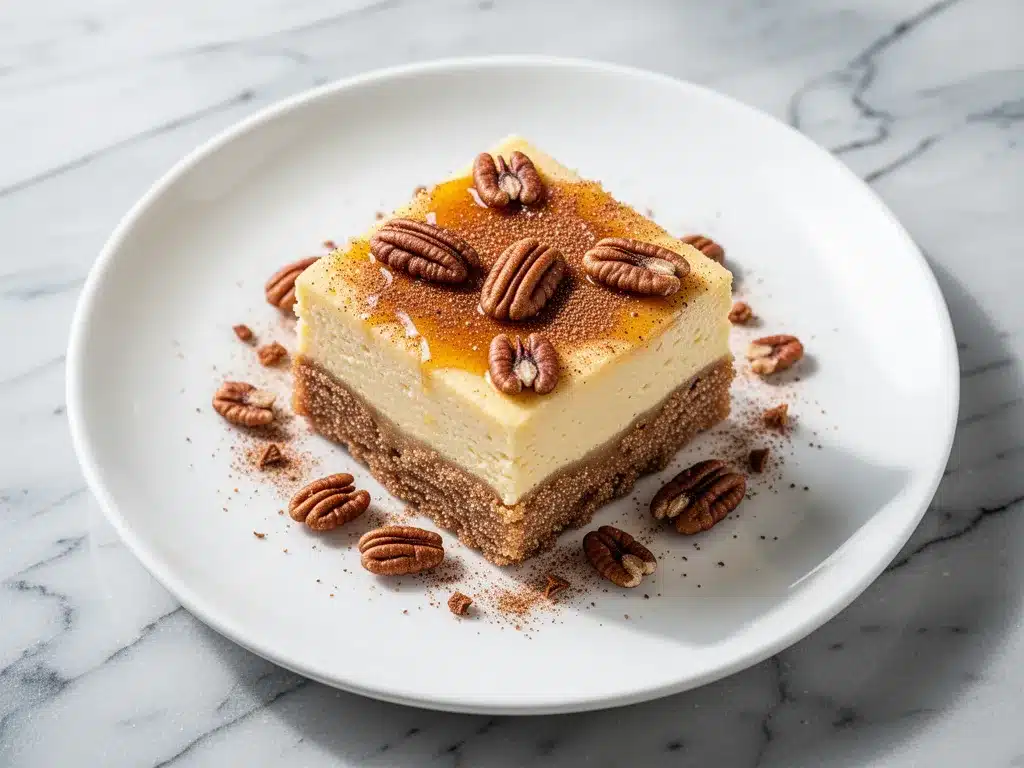
Crowd-Pleasing Visuals — These bars look impressive. That golden brown crust with the speckles of cinnamon sugar? It photographs beautifully. If you’re posting on social media (and let’s be honest, you probably will), these are the kind of desserts that get the likes. They look like something you’d buy for $8 at a fancy café, but they cost a fraction of that to make.
Simple Ingredients — You probably have most of this in your pantry. Cream cheese, butter, sugar, cinnamon, and flour. No weird, hard-to-find items. It’s comfort food made simple. If you can make a basic cheesecake, you can make these bars.
Ingredients You’ll Need
Here’s the best part: you don’t need a trip to a specialty store for this. I’m particular about three things here—the quality of the cream cheese, the freshness of the cinnamon, and the butter. But otherwise, this is a pantry-friendly recipe.
For the Churro Crust
All-purpose flour (1 cup / 120g) — This forms the base of the crust. Don’t try to substitute with almond flour here unless you want a completely different texture. All-purpose gives that tender, shortbread-like crunch.
Granulated sugar (1/4 cup / 50g) — Sweetens the crust and helps it crisp up. Brown sugar works too if you want a deeper, molasses-like flavor, but white sugar gives that classic churro look.
Unsalted butter (1/2 cup / 115g, cold and cubed) — Cold butter is key. Cut it into the flour and sugar until it looks like coarse crumbs. This creates the flaky, crisp texture. Don’t use melted butter unless you want a cake-like bottom.
Cinnamon (1 teaspoon) — Use good quality ground cinnamon. If yours has been sitting in the back of the cupboard for two years, toss it and get fresh. The aroma makes all the difference.
Salt (1/4 teaspoon) — Just a pinch to balance the sweetness and bring out the flavor of the butter.
For the Cheesecake Filling
Cream cheese (16 oz / 450g, full-fat, softened) — This is the star. Do not use light cream cheese. It won’t set right and it’ll be too tangy. Let it sit on the counter for 30 minutes before you start so it mixes smoothly. Lumps in your filling are not cute.
Granulated sugar (3/4 cup / 150g) — Sweetens the filling. I’ve tried reducing this, but cheesecake needs enough sugar to maintain its creamy texture. Don’t skimp.
Heavy cream (1/2 cup / 120ml) — This adds richness and helps create that smooth, silky mouthfeel. Whole milk works in a pinch, but heavy cream is better for stability.
Eggs (3 large, room temperature) — Room temp eggs mix more evenly and prevent the batter from breaking. If you’re in a hurry, crack them into a bowl of warm water for 5 minutes.
Vanilla extract (1 teaspoon) — Pure vanilla, please. I’ve used imitation once, and the artificial aftertaste was noticeable. Your taste buds will thank you.
Cornstarch (2 tablespoons) — This helps stabilize the cheesecake so it doesn’t crack or sink. It’s the secret ingredient for that firm, sliceable texture.
For the Cinnamon Sugar Topping
Granulated sugar (2 tablespoons / 25g) — For sprinkling on top.
Ground cinnamon (1 teaspoon) — Mix with the sugar for the topping.
Butter (1 tablespoon, melted) — Brush this lightly over the baked crust before adding the topping to help it stick and get extra crispy.
Equipment Needed
You don’t need anything fancy for this. Here’s what I actually use in my kitchen.
9×9 inch baking pan — I use a metal pan for even browning. Glass or ceramic pans might take longer to bake and can result in a softer crust. Line it with parchment paper for easy removal.
Electric mixer — Handheld or stand mixer. Mixing by hand is possible but tiring. Cream cheese requires some muscle to get smooth.
Fork or pastry cutter — For cutting the butter into the flour mixture. A fork works fine if you don’t have a pastry cutter.
Spatula — For spreading the filling evenly. A rubber spatula is best because it scrapes the bowl clean.
Small bowl — For mixing the cinnamon sugar topping.
How to Make It: Step-by-Step
Alright, let’s make these churro cheesecake bars! I’m walking you through exactly how I do it, including the little tricks I’ve picked up over the years.
Step 1: Prep Your Pan and Oven (5 minutes)
Preheat your oven to 350°F (175°C). Line a 9×9 inch baking pan with parchment paper, leaving an overhang on the sides. This is crucial for lifting the bars out later. Grease the parchment lightly with butter or non-stick spray.
Step 2: Make the Churro Crust (5 minutes)
In a medium bowl, combine the flour, 1/4 cup sugar, cinnamon, and salt. Add the cold, cubed butter. Use a fork or pastry cutter to mix until the mixture resembles coarse crumbs with some pea-sized butter pieces remaining. Press this mixture firmly and evenly into the bottom of your prepared pan. Use the bottom of a measuring cup to pack it down tight. You want a solid base.
Step 3: Bake the Crust (10 minutes)
Bake the crust for 10 minutes until it’s lightly golden. Remove from the oven and brush the top lightly with the melted butter. Sprinkle the 2 tablespoons of sugar mixed with 1 teaspoon of cinnamon evenly over the hot crust. The heat will help the sugar start to melt and caramelize slightly. Set aside while you make the filling.
Step 4: Make the Cheesecake Filling (10 minutes)
In a large bowl, beat the softened cream cheese and 3/4 cup sugar until smooth and creamy, about 2-3 minutes. Scrape down the sides of the bowl. Add the heavy cream and vanilla extract, and mix until combined. Add the cornstarch and mix again. Finally, add the eggs one at a time, mixing on low speed just until incorporated. Do not overmix after adding the eggs, or you’ll incorporate too much air, which can cause cracking.
Step 5: Assemble and Bake (45-50 minutes)
Pour the cheesecake filling over the prepared crust. Smooth the top with a spatula. Bake for 45-50 minutes. The edges should be set and slightly jiggly in the center. The center should not be liquid. If it looks too wet after 45 minutes, give it 5 more minutes.
Step 6: Cool Completely (2 hours)
This is the hardest part: waiting. Let the bars cool in the pan on a wire rack for 1 hour. Then, refrigerate for at least 2 hours, preferably overnight. The cheesecake needs to set completely before you cut it. If you cut it warm, it will be mushy. Patience pays off.
Step 7: Slice and Serve
Use the parchment overhang to lift the bars out of the pan. Slice into 12-16 squares. Dust with a little extra cinnamon sugar if you want extra flair. Serve at room temperature for the best texture.
Expert Tips & Tricks
Here’s everything I’ve learned from making this dozens of times. These tips will save you from my mistakes.
Room Temperature Ingredients are Non-Negotiable
Cold cream cheese and eggs will create lumps in your batter. I know you’re in a hurry, but let those ingredients sit out for 30 minutes. If you forget, warm the eggs in water and microwave the cream cheese in 10-second bursts. Smooth batter = smooth cheesecake.
Don’t Overmix the Batter
Once you add the eggs, mix just until combined. Overmixing adds air, which expands in the oven and then collapses as it cools, leading to cracks. I use low speed for the eggs. Trust me.
The Crust Must Be Packed Tight
If your crust is loose, the filling will seep into the sides and you’ll get a soggy bottom. Press it down firmly with a measuring cup. It should feel like a solid disk.
Use a Water Bath? Maybe Not
Some cheesecake recipes call for a water bath to prevent cracking. I’ve tried it with these bars, and honestly, it’s not necessary. The bars are small enough that they bake evenly without it. Plus, it’s messy. Just bake at 350°F and don’t open the oven door too much.
Cooling is Key
I know it’s tempting to dig in as soon as it’s done, but warm cheesecake bars are a disaster. They need to set. I usually bake them the night before a party. This gives them all day to chill in the fridge.
Sharp Knife for Clean Cuts
Use a sharp knife to slice the bars. Dip the knife in hot water and wipe it dry between cuts for clean, neat squares. This keeps the layers distinct and looks professional.
Variations & Substitutions
Once you’ve nailed the basic version, here’s how you can mix it up. I’ve tried all of these.
Caramel Drizzle
Drizzle warm caramel sauce over the top before slicing. This adds a salty-sweet contrast that’s incredible. I buy store-bought caramel to save time, but homemade is nice too.
Chocolate Swirl
Melt 4 oz of chocolate and swirl it into the cheesecake batter before baking. Use a toothpick to create a marble effect. Chocolate and churro flavors are best friends.
Mini Version
You can make these in a mini muffin tin for bite-sized treats. Reduce the baking time to 15-18 minutes. Perfect for parties and easier to eat.
Gluten-Free
Use a 1-to-1 gluten-free flour blend for the crust. The rest of the ingredients are naturally gluten-free. I’ve used Bob’s Red Mill and it works great.
Dairy-Free
Use dairy-free cream cheese and butter. The texture might be slightly different, but the flavor will still be delicious. Coconut cream can replace heavy cream for a richer taste.
Vegan
This is trickier. Use vegan cream cheese, coconut milk, and a flax egg. The texture won’t be exactly the same, but it’s still tasty. I’ve tested this with Tofutti cream cheese and it holds up well.
Serving & Storage
How to Serve:
I usually serve these at room temperature. They’re best when they’re not cold from the fridge, as the flavors are more pronounced. Pair them with a cup of coffee or a glass of cold milk. They also go well with a dollop of whipped cream if you’re feeling fancy.
Side Dishes:
These are rich, so I usually serve them with something light. A simple fruit salad or some fresh berries cut through the sweetness. I also like to serve them with a strong black coffee or a light tea.
Storage Instructions:
Store in an airtight container in the refrigerator for up to 5 days. They actually taste better on day 2. Do not freeze them unless you’re prepared for a slightly changed texture. The crust might get soggy upon thawing. If you must freeze, wrap tightly in plastic and foil for up to 2 months. Thaw in the fridge overnight.
Make-Ahead Strategy:
Bake and cool completely. Cover tightly with plastic wrap and refrigerate for up to 2 days. Bring to room temperature 30 minutes before serving. This is my preferred method for party prep.
Nutrition Information
I’m not a nutritionist, but here’s the breakdown if you’re tracking. Keep in mind, these are rich bars, so a little goes a long way.
Per Serving (based on 12 bars):
– Calories: 320
– Protein: 5g
– Carbs: 38g
– Fiber: 1g
– Sugar: 28g
– Fat: 18g
– Saturated Fat: 11g
– Cholesterol: 65mg
– Sodium: 180mg
– Calcium: 60mg
What’s Good:
– Decent protein from the cream cheese
– Calcium from the dairy
– Easy to control portion size with bars
What to Know:
– High in sugar and saturated fat
– Contains dairy and gluten
– Moderate sodium
My Take:
Look, this is a dessert. It’s sweet, rich, and indulgent. It’s not a health food. But it’s homemade, so you know exactly what’s in it. When I serve these, I make sure to cut them into smaller squares so everyone can have a taste without overdoing it. Enjoy it as a special treat.
Final Thoughts
So there you have it—my go-to churro cheesecake bars! I’ve talked your ear off at this point, but when you make a recipe this often, you have a lot to say about it. These bars have saved me more times than I can count. They’re my answer to “what dessert should I bring?” when I’m tired, don’t want to bake a whole cake, and still want something that looks impressive.
My family loves them. My friends beg me to make them. And I love making them because they’re so forgiving. If you mess up the crust a little, no one will know. If the filling is slightly lumpy, it’ll still taste amazing. That’s the beauty of homemade bars.
Make them yours! Add a caramel drizzle, swap the cinnamon for nutmeg, or serve them with a scoop of vanilla ice cream. The best recipes are the ones you adapt to your tastes. If you make these, drop a comment and let me know what you think! I love hearing how recipes turn out in your kitchen. And if something doesn’t work, tell me that too—I’m here to help troubleshoot.
Happy baking! And I hope your kitchen smells as good as mine does right now.
Frequently Asked Questions
Can I use low-fat cream cheese?
I strongly recommend against it. Low-fat cream cheese has more water and less fat, which means your cheesecake won’t set properly. It’ll be runny and tangy. Stick to full-fat, block-style cream cheese for the best results.
Why did my cheesecake crack?
Cracking usually happens because of overmixing (which adds air) or baking at too high a temperature. Make sure you mix the eggs on low speed and don’t open the oven door while baking. Also, cooling the cheesecake slowly in the turned-off oven with the door slightly ajar can help prevent cracks.
Can I make these in a different size pan?
Yes, but the baking time will change. If you use a 9×13 pan, you’ll need to double the recipe and bake for 35-45 minutes. If you use a smaller pan, the bars will be taller and might need more time. Keep an eye on the center—it should be set but slightly jiggly.
How long do these last?
They last up to 5 days in the refrigerator. In my experience, they’re best on day 2 or 3, when the flavors have fully melded. After that, they might start to dry out slightly.
Can I freeze the unbaked bars?
Yes, you can. Assemble the bars in the pan, cover tightly with plastic wrap and foil, and freeze for up to 2 months. Thaw in the fridge overnight before baking. Add a few extra minutes to the baking time if they’re still cold from the fridge.
What if I don’t have a 9×9 pan?
You can use a square cake pan or even a round 9-inch pan. Just adjust the baking time accordingly. Round pans might take slightly less time because the batter is more spread out. Check for doneness a few minutes earlier than the recipe suggests.
Can I add nuts to the crust?
Absolutely! Finely chopped pecans or walnuts added to the crust mixture give it a nice crunch and extra flavor. I’ve made them with pecans before, and they’re delicious. Just make sure the nuts are finely chopped so they don’t interfere with the texture.
Pin This Recipe!
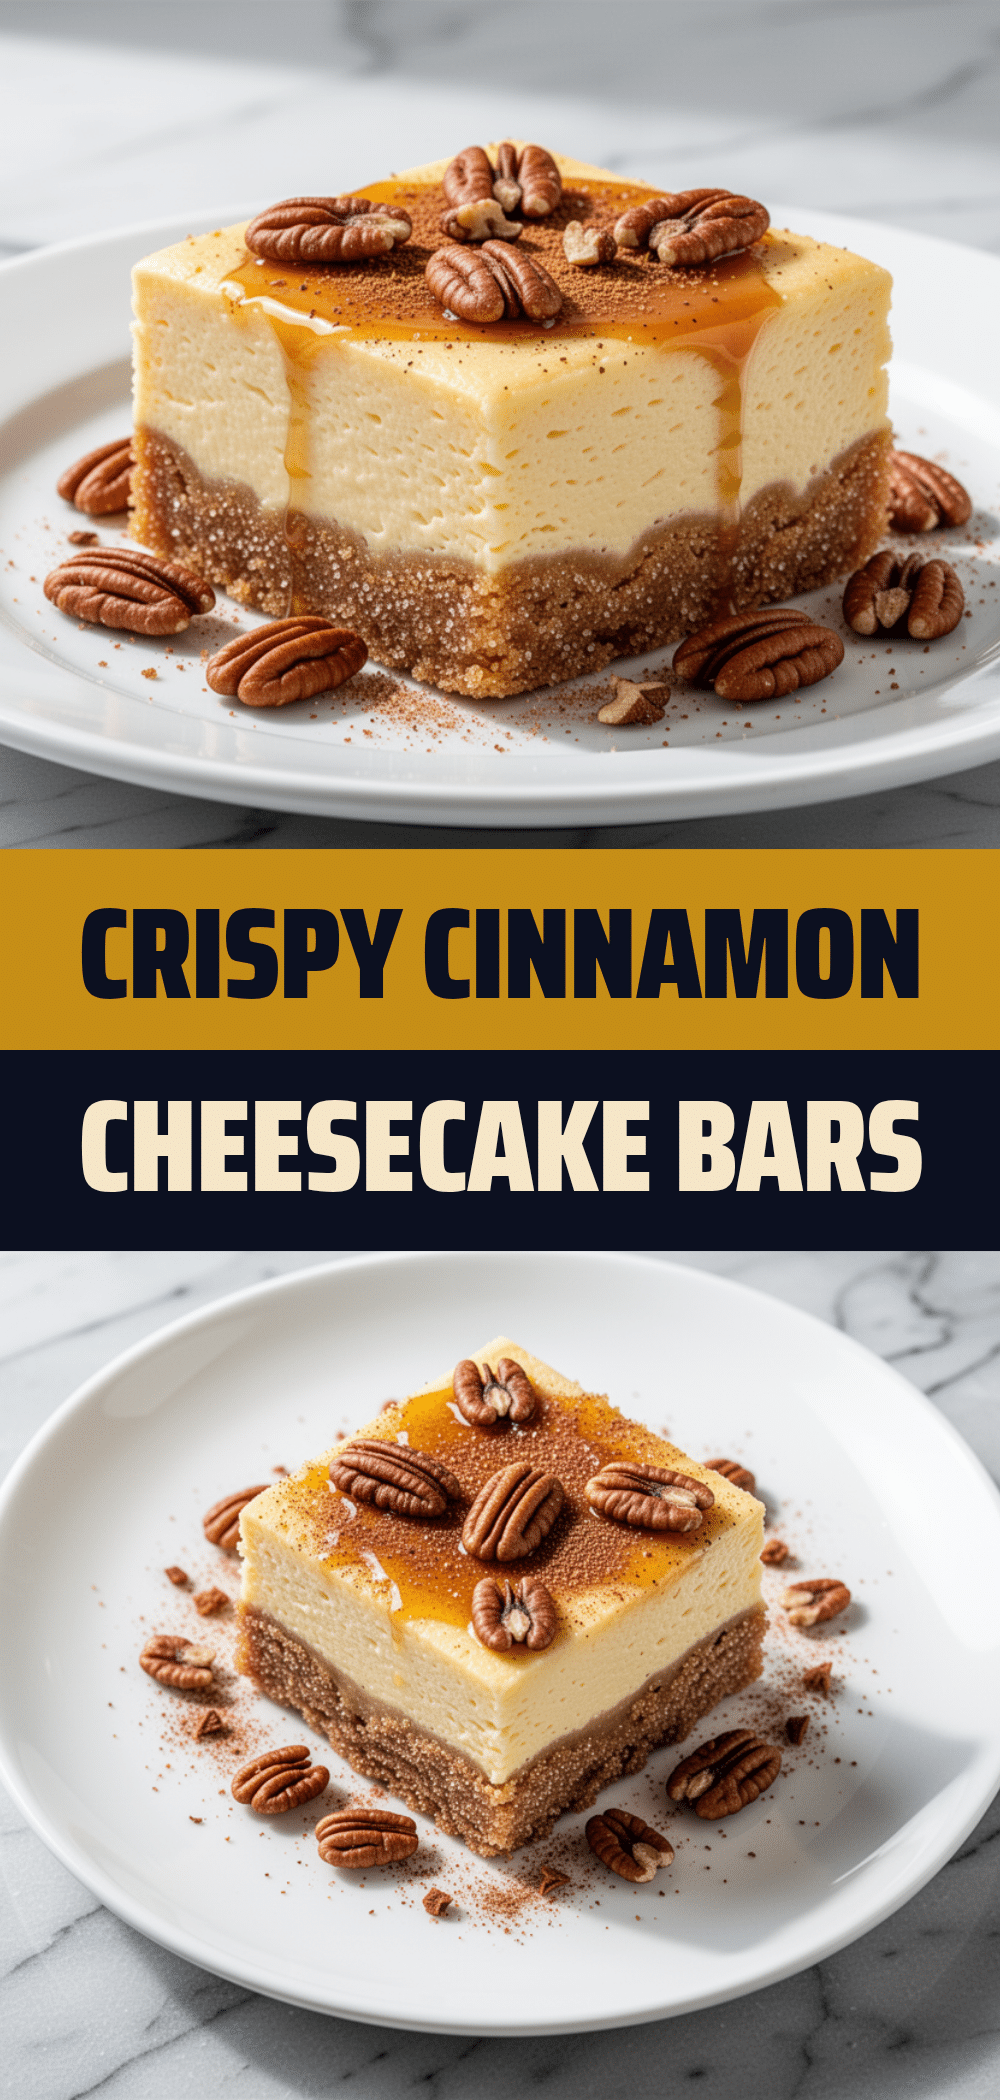
Churro Cheesecake Bars: Easy Party Dessert Idea
- Total Time: 2 hours 75 minutes
- Yield: 12 servings 1x
Description
A crowd-pleasing dessert combining a crispy, cinnamon-sugar churro crust with a rich, creamy cheesecake filling. These bars are easy to make, require no frying, and are perfect for parties.
Ingredients
- 1 cup (120g) all-purpose flour
- 1/4 cup (50g) granulated sugar
- 1/2 cup (115g) unsalted butter, cold and cubed
- 1 teaspoon ground cinnamon
- 1/4 teaspoon salt
- 16 oz (450g) full-fat cream cheese, softened
- 3/4 cup (150g) granulated sugar
- 1/2 cup (120ml) heavy cream
- 3 large eggs, room temperature
- 1 teaspoon vanilla extract
- 2 tablespoons cornstarch
- 2 tablespoons granulated sugar (for topping)
- 1 teaspoon ground cinnamon (for topping)
- 1 tablespoon butter, melted (for topping)
Instructions
- Preheat oven to 350°F (175°C). Line a 9×9 inch baking pan with parchment paper, leaving an overhang on the sides, and grease lightly.
- In a medium bowl, combine flour, 1/4 cup sugar, cinnamon, and salt. Cut in the cold cubed butter using a fork or pastry cutter until the mixture resembles coarse crumbs.
- Press the crust mixture firmly and evenly into the bottom of the prepared pan. Bake for 10 minutes until lightly golden.
- Remove from oven and brush the hot crust lightly with melted butter. Sprinkle with the topping mixture (2 tablespoons sugar mixed with 1 teaspoon cinnamon). Set aside.
- In a large bowl, beat softened cream cheese and 3/4 cup sugar until smooth and creamy (2-3 minutes).
- Add heavy cream and vanilla extract, mixing until combined. Add cornstarch and mix again.
- Add eggs one at a time, mixing on low speed just until incorporated. Do not overmix.
- Pour the cheesecake filling over the prepared crust and smooth the top with a spatula.
- Bake for 45-50 minutes until edges are set and the center is slightly jiggly but not liquid.
- Cool in the pan on a wire rack for 1 hour, then refrigerate for at least 2 hours (preferably overnight) until completely set.
- Use the parchment overhang to lift bars out of the pan. Slice into 12-16 squares and serve at room temperature.
Notes
Ensure cream cheese and eggs are at room temperature to prevent lumps. Do not overmix the batter after adding eggs to avoid cracking. The crust must be packed tightly to prevent a soggy bottom. For clean cuts, use a sharp knife dipped in hot water and wiped dry between slices.
- Prep Time: 20 minutes
- Cook Time: 55 minutes
- Category: Dessert
- Cuisine: American
Nutrition
- Serving Size: 1 bar
- Calories: 320
- Sugar: 28
- Sodium: 180
- Fat: 18
- Saturated Fat: 11
- Carbohydrates: 38
- Fiber: 1
- Protein: 5
Keywords: churro cheesecake bars, party dessert, easy cheesecake, churro recipe, make ahead dessert, cinnamon sugar bars