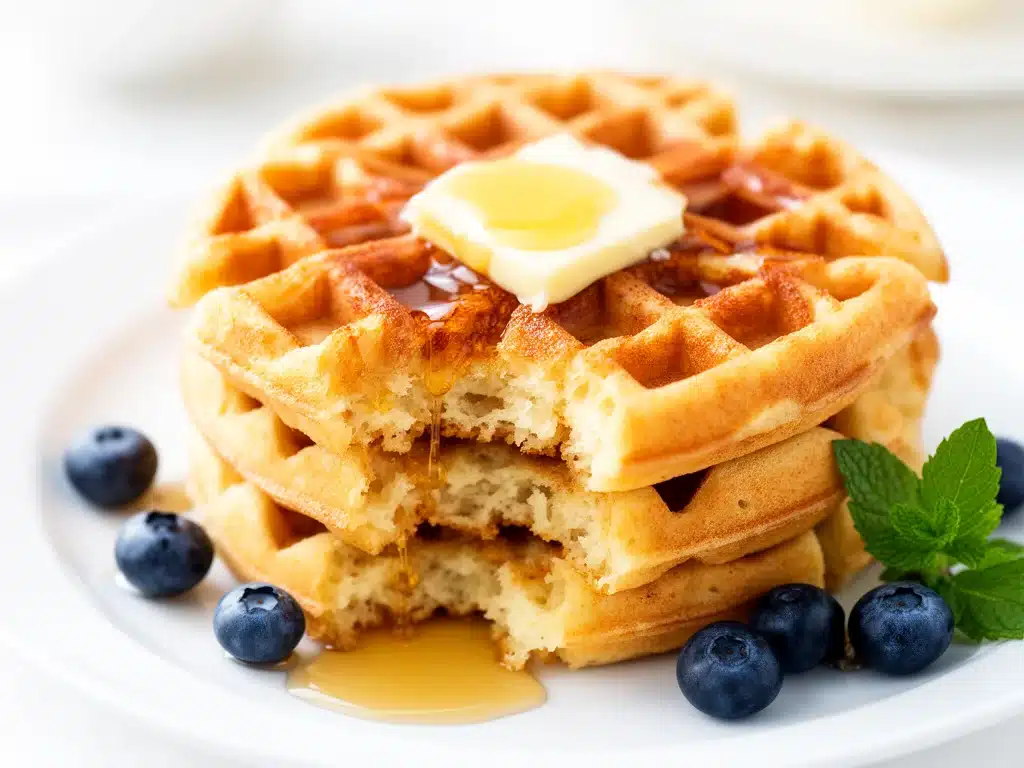
One chilly Saturday morning last fall, I woke up craving waffles but didn’t want to spend forever fiddling with a complicated recipe or hunting down fancy ingredients. I rummaged through my pantry and fridge, pulled together just five simple things, and ended up with the crispiest, fluffiest buttermilk waffles my family couldn’t stop eating. The best part? I didn’t even need a special waffle mix or a dozen extra pantry staples. Just this easy, foolproof recipe for crispy buttermilk waffles with simple ingredients you’ll find yourself making on repeat.
This recipe quickly became my weekend staple and the go-to breakfast when friends come over. I’ve tested it a dozen times (and yes, burned a batch or two before nailing the perfect crispiness) but now it’s totally reliable. The secret lies in the buttermilk’s tangy richness and a tiny pinch of baking soda that gives these waffles their signature crunch. Plus, it’s a breeze to whip up—no fluff, no fuss.
If you’ve ever thought waffles were tricky or reserved for special occasions, this recipe might just change your mind. You’ll get golden, crispy edges and tender centers every single time. And because it only calls for five ingredients, I always have what I need on hand—even on those mornings when I’m half asleep and just want breakfast to happen.
Why You’ll Love This Crispy Buttermilk Waffles Recipe
Seriously, there are so many reasons this simple waffle recipe has earned a permanent spot in my kitchen:
- Minimal Ingredients, Maximum Flavor — Just five staples: flour, buttermilk, eggs, baking soda, and a pinch of salt. No weird add-ins or extracts needed. This is real food, simple and honest.
- Perfect Crispy Texture — Thanks to the magic of buttermilk and baking soda, these waffles get crispy on the outside but stay soft and fluffy inside. No soggy waffles here.
- Quick and Easy — From mixing the batter to serving up, it takes less than 30 minutes. I’ve made this while getting kids ready for school or even during a last-minute brunch.
- Kid-Approved — My picky eaters beg for these waffles over boxed mixes or restaurant versions. They love the crisp edges and the little tang from the buttermilk.
- Customizable — Add cinnamon or vanilla if you want, toss in some fresh berries, or top with homemade syrup. It’s a versatile base that plays well with whatever you have.
- Budget-Friendly — Uses ingredients you probably already have, so it’s easy on your wallet but feels special on the plate.
Honestly, these waffles have saved more weekend mornings than I can count. Whether it’s a lazy breakfast in pajamas or a quick brunch with friends, they always hit the spot without any stress.
Ingredients You’ll Need
Here’s the simple lineup that turns into those crispy buttermilk waffles you’ll crave again and again. I’m picky about a couple of these and will tell you why!
- All-purpose flour (2 cups / 250g) — The base of the batter. I always use unbleached flour for a bit more flavor, but regular all-purpose works fine.
- Buttermilk (1 ¾ cups / 420ml) — This is the star ingredient. Its acidity reacts with the baking soda to create those light, crispy waffles. If you don’t have buttermilk, I’ll share a quick substitute below.
- Eggs (2 large) — They add structure and richness. Make sure they’re room temperature for the best fluff.
- Baking soda (1 teaspoon) — The secret to crisp edges and a light interior. Don’t skip this or your waffles will turn out dense.
- Salt (½ teaspoon) — Balances the flavors and enhances the batter.
Optional add-ins: A teaspoon of vanilla extract or a teaspoon of ground cinnamon can add a nice twist. I sometimes toss in fresh blueberries or chocolate chips for a special treat.
Buttermilk Substitute: If you don’t have buttermilk, mix 1 ¾ cups milk with 1 tablespoon lemon juice or white vinegar. Let it sit for 5 minutes before using. It’s not quite the same but close enough in a pinch.
Equipment Needed
You don’t need anything fancy for these crispy buttermilk waffles. Here’s what I actually use:
- Waffle iron — Mine is a classic non-stick electric model. If you have a Belgian waffle maker, that works too; just adjust cooking times.
- Mixing bowl — I prefer medium-large so I have room to whisk without spills.
- Whisk — Helps get a smooth batter with no lumps.
- Measuring cups and spoons — Accuracy matters for baking, so I always measure carefully.
- Spatula — For scraping down the bowl and folding in any extras.
Quick tip: Preheat your waffle iron well before pouring batter in. This is the easiest way to get those perfect crispy edges.
How to Make Crispy Buttermilk Waffles: Step-by-Step
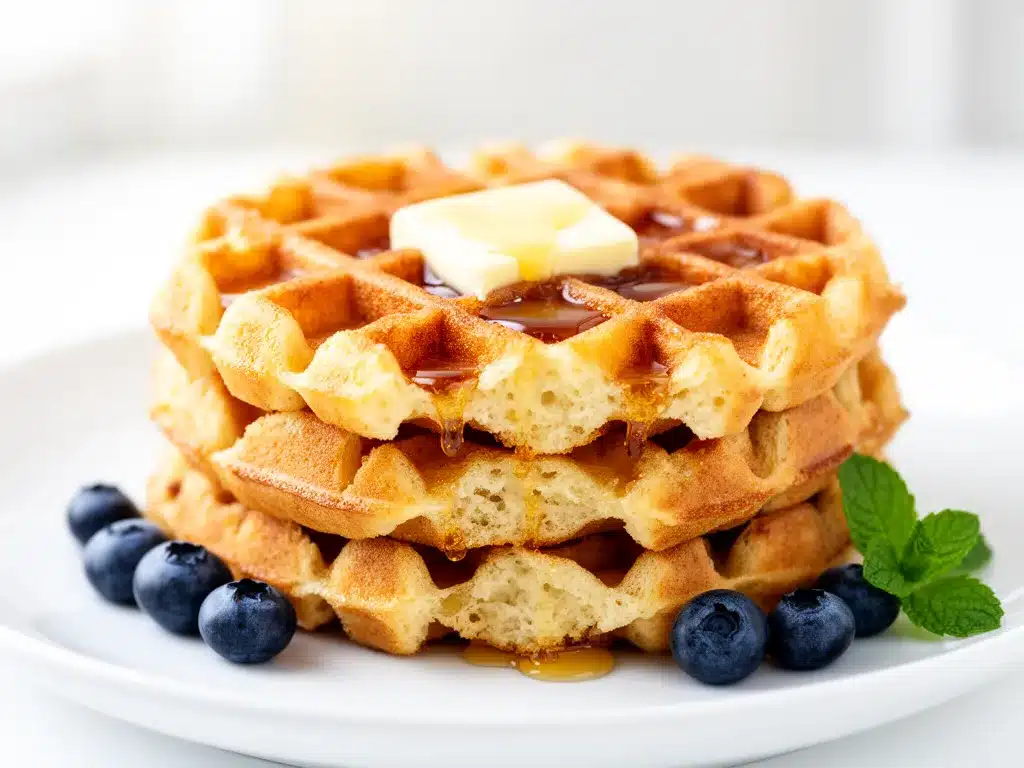
Alright, here’s the no-fail way I make these crispy buttermilk waffles every time. Follow along with my little tips!
Step 1: Preheat Your Waffle Iron (5 minutes)
Plug in your waffle iron and let it get good and hot. This step is key if you want crispy waffles instead of soggy ones. I usually spray mine lightly with non-stick cooking spray before heating.
Step 2: Mix Dry Ingredients (2 minutes)
In a large bowl, whisk together the flour, baking soda, and salt until evenly combined. This helps the baking soda distribute properly through the batter.
Step 3: Whisk Wet Ingredients (2 minutes)
In another bowl, beat the eggs lightly, then add the buttermilk. If you’re using vanilla or cinnamon, stir it in here. I like to have everything ready before mixing.
Step 4: Combine Wet and Dry (1-2 minutes)
Pour the wet ingredients into the dry and gently mix with a spatula or whisk. Don’t overmix — a few lumps are totally fine. Overmixing can make waffles tough.
Step 5: Cook the Waffles (15-20 minutes)
Pour about ½ cup of batter onto the center of your preheated waffle iron (adjust based on your iron’s size). Close the lid and cook until steam stops rising and waffles are golden brown and crispy — usually about 4-5 minutes. Resist the urge to peek too soon!
Step 6: Keep Warm and Serve
Transfer cooked waffles to a wire rack to keep crisp while you finish the batch. Serving straight from the iron is tempting, but letting them rest keeps the texture perfect. Top with butter, syrup, fresh fruit, or whatever makes you happy.
Expert Tips & Tricks for Perfect Waffles
- Don’t skip preheating: A hot waffle iron is your best friend for crispy edges.
- Let batter rest: If you have 10 minutes, let the batter sit covered at room temperature. It helps the flour hydrate and gives better texture.
- Use room temperature eggs: Cold eggs can make the batter lumpy and slow cooking time.
- Keep waffles crispy: Place cooked waffles on a wire rack in a warm oven (about 200°F / 95°C) instead of stacking. Stacking traps steam and makes them soggy.
- Adjust batter thickness: If batter seems too thick, add a splash of buttermilk or milk. Too thin? Add a tablespoon of flour.
- Freeze extras: These waffles freeze beautifully. Let them cool, then freeze in a single layer. Toast or reheat in the oven for a quick breakfast.
Variations & Substitutions
Once you’ve mastered the basic crispy buttermilk waffles, it’s fun to mix things up. Here are some variations I’ve tried and loved:
- Blueberry Waffles — Fold ½ cup fresh or frozen blueberries into the batter before cooking. Adds a juicy burst in every bite.
- Chocolate Chip — Toss in ½ cup mini chocolate chips. My kids go wild for this one.
- Cinnamon-Spiced — Add 1 teaspoon ground cinnamon and ½ teaspoon nutmeg for cozy fall vibes, perfect alongside a cup of vanilla chai apple cider.
- Gluten-Free — Swap the all-purpose flour for a gluten-free blend in a 1:1 ratio. Texture is slightly different but still delicious.
- Vegan-Friendly — Use a flax egg (1 tablespoon flaxseed meal + 3 tablespoons water) and substitute buttermilk with a plant-based milk + lemon juice mixture.
- Buttermilk Pancakes Version — If you want a change of pace, try this batter on a griddle for fluffy pancakes.
Feeling adventurous? Try pairing these waffles with savory toppings like crispy bacon or fried chicken. Personally, I like to keep it sweet and simple, but you do you!
Serving & Storage
Serving these waffles fresh and crispy is the dream, but leftovers are easy to manage too.
- Serve with classic toppings: Maple syrup, whipped butter, fresh berries, or a dusting of powdered sugar.
- Make it a brunch spread: Pair with scrambled eggs, crispy bacon, or even chicken bacon ranch sliders for a crowd-pleaser.
- Storing leftovers: Cool waffles completely and store in an airtight container for up to 3 days in the fridge.
- Reheating: Toast them or warm in a 350°F (175°C) oven for 5-7 minutes to bring back the crispiness. Avoid the microwave—it makes waffles soggy.
- Freezing: Freeze in a single layer, then transfer to a freezer bag. Toast straight from frozen for quick breakfasts.
Nutrition Information
I’m not a nutritionist, but here’s a rough breakdown per waffle (assuming 8 waffles per batch):
| Nutrient | Amount |
|---|---|
| Calories | 190 |
| Protein | 6g |
| Carbohydrates | 26g |
| Fiber | 1g |
| Sugar | 3g |
| Fat | 6g |
| Saturated Fat | 2g |
| Cholesterol | 55mg |
| Sodium | 280mg |
What’s good? You get protein from the eggs and calcium from the buttermilk. What to keep in mind? These are indulgent waffles with some fat and calories, so portion control matters. I love to balance mine with fresh fruit or a side salad for a more rounded meal.
Final Thoughts
So that’s my easy, crispy buttermilk waffles recipe with simple ingredients you’ll want to make over and over. I’ve probably shared too many waffle stories here, but when a recipe becomes a family favorite and makes mornings easier, I can’t help but ramble.
This recipe has turned weekend breakfasts into moments we all look forward to. It’s quick, dependable, and just plain delicious. Plus, it’s a great base to customize however you like, whether you’re adding a handful of chocolate chips or serving with a big pot of coffee and pumpkin streusel coffee cake.
Make it yours, experiment with flavors, and don’t be afraid to get a little messy. If you try the recipe, drop a comment below—I’d love to hear how your waffles turn out or any tweaks you discover. Happy cooking and here’s to many golden, crispy mornings ahead!
Frequently Asked Questions
Q: Can I make these waffles without buttermilk?
A: Yes! You can use regular milk mixed with a tablespoon of lemon juice or white vinegar. Let it sit for 5 minutes to curdle, then use as a buttermilk substitute. The flavor and texture won’t be quite the same, but still tasty.
Q: Why aren’t my waffles crispy?
A: Usually, the waffle iron isn’t hot enough or the batter is too thick. Make sure to preheat your iron fully and avoid overmixing the batter. Also, don’t stack waffles right after cooking—they steam and soften. Use a wire rack to keep them crisp.
Q: Can I prepare the batter ahead of time?
A: You can mix the batter and keep it in the fridge for up to 2 hours before cooking. Just give it a gentle stir before pouring onto the waffle iron. Beyond that, the baking soda starts reacting and your waffles might not rise as well.
Q: How do I store and reheat leftover waffles?
A: Cool completely then store in an airtight container in the fridge for up to 3 days. Reheat in a toaster or oven to bring back crispiness. Avoid microwaving unless you add a splash of water to prevent sogginess.
Q: Can I double this recipe for a crowd?
A: Absolutely! Just double all ingredients and cook in batches. You might want to keep cooked waffles warm in a low oven while making the rest.
Q: What if my waffles stick to the iron?
A: Lightly grease your waffle iron with non-stick spray or brush with melted butter before heating. Also, wait until the iron is fully preheated; pouring batter too early can cause sticking.
Q: Can I add mix-ins like fruit or nuts?
A: Definitely! Fold in berries, chocolate chips, or chopped nuts gently into the batter right before cooking. Just don’t overload or the waffles might not cook evenly.
Pin This Recipe!
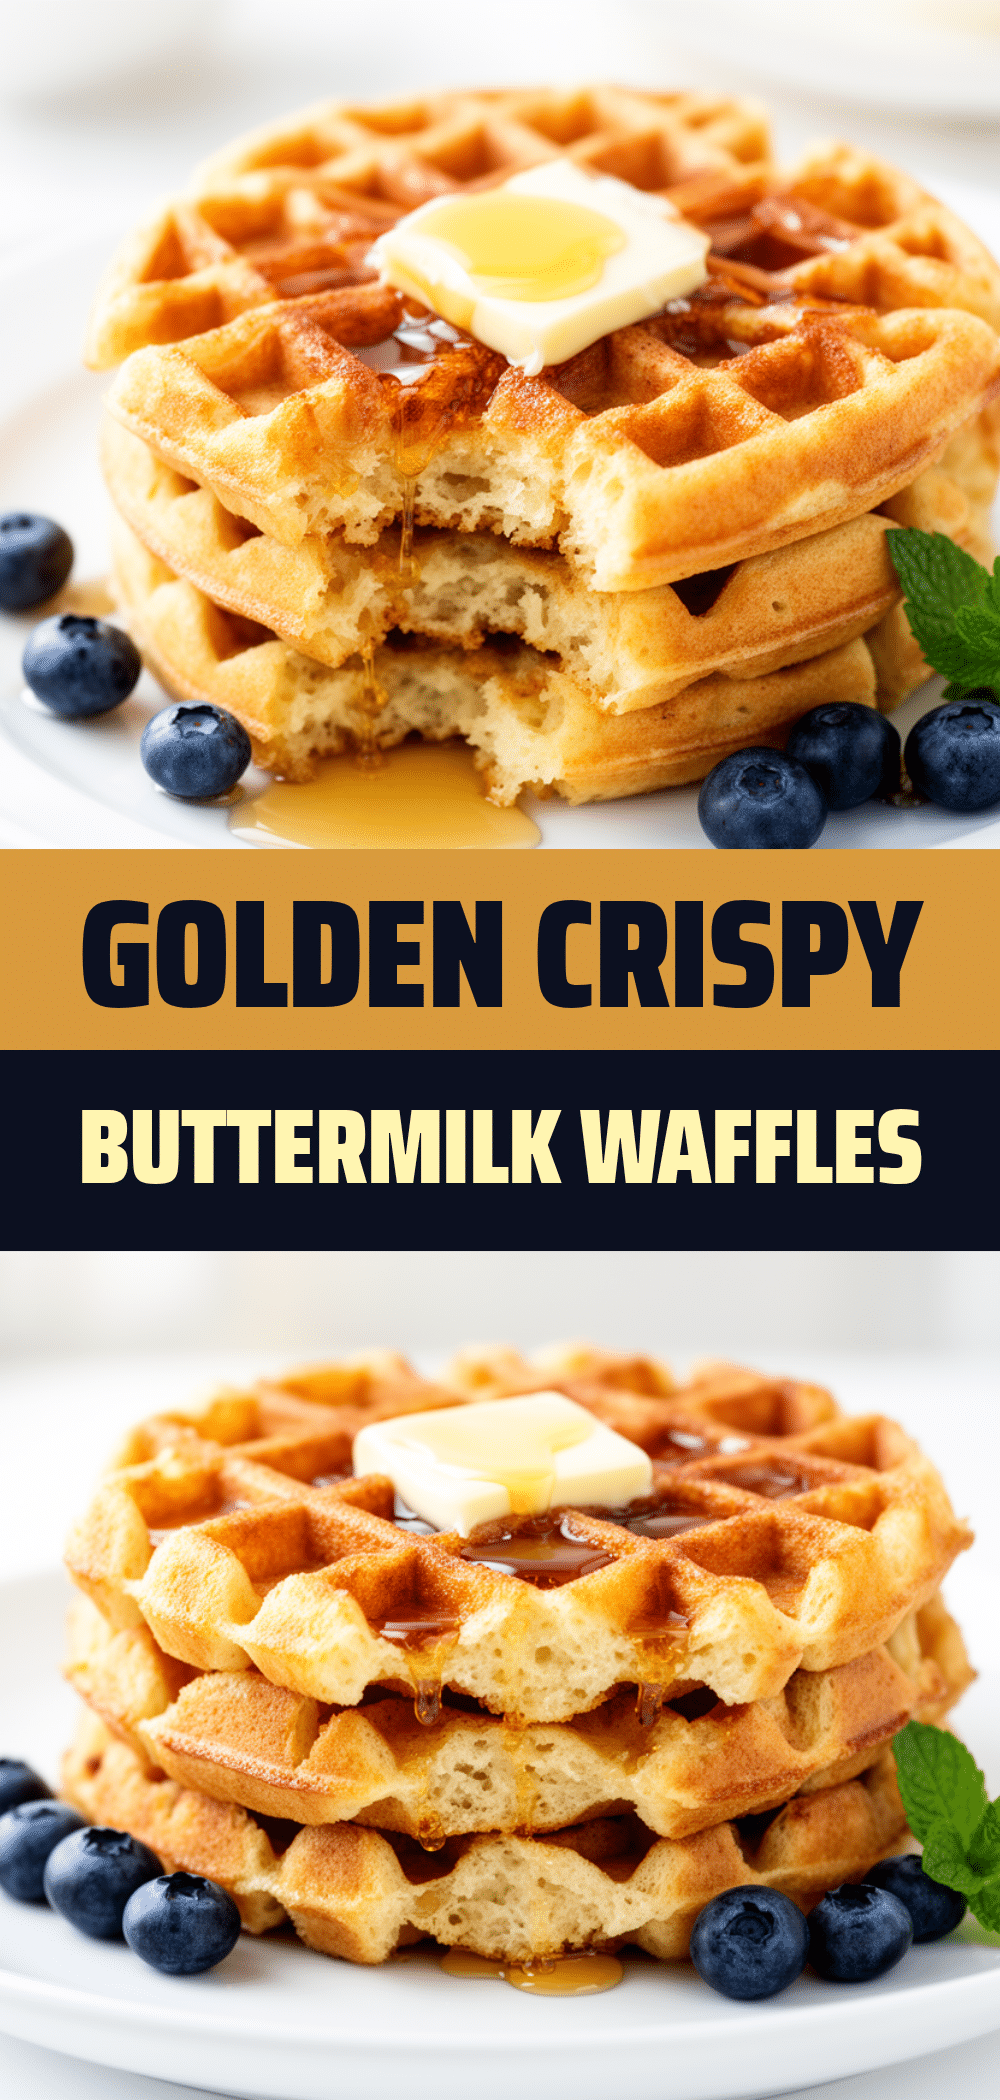

Crispy Buttermilk Waffles Recipe Easy 5-Ingredient Breakfast Made Perfect
- Total Time: 25-30 minutes
- Yield: 8 waffles 1x
Description
An easy and foolproof recipe for crispy buttermilk waffles using just five simple ingredients. Perfectly crispy on the outside and fluffy inside, ideal for quick breakfasts or brunch.
Ingredients
- 2 cups all-purpose flour (250g)
- 1 ¾ cups buttermilk (420ml)
- 2 large eggs
- 1 teaspoon baking soda
- ½ teaspoon salt
- Optional: 1 teaspoon vanilla extract
- Optional: 1 teaspoon ground cinnamon
- Optional: ½ cup fresh or frozen blueberries
- Optional: ½ cup mini chocolate chips
Instructions
- Preheat your waffle iron for 5 minutes, spraying lightly with non-stick cooking spray if desired.
- In a large bowl, whisk together the flour, baking soda, and salt until evenly combined.
- In another bowl, beat the eggs lightly, then add the buttermilk and optional vanilla or cinnamon if using.
- Pour the wet ingredients into the dry ingredients and gently mix with a spatula or whisk. Do not overmix; a few lumps are fine.
- Pour about ½ cup of batter onto the center of the preheated waffle iron. Close the lid and cook for 4-5 minutes until steam stops and waffles are golden brown and crispy.
- Transfer cooked waffles to a wire rack to keep crisp while finishing the batch. Serve with desired toppings.
Notes
Preheat the waffle iron fully for crispy edges. Let batter rest for 10 minutes if possible. Use room temperature eggs for best results. Keep waffles crispy by placing on a wire rack instead of stacking. Freeze extras in a single layer and toast to reheat.
- Prep Time: 10 minutes
- Cook Time: 15-20 minutes
- Category: Breakfast
- Cuisine: American
Nutrition
- Serving Size: 1 waffle
- Calories: 190
- Sugar: 3
- Sodium: 280
- Fat: 6
- Saturated Fat: 2
- Carbohydrates: 26
- Fiber: 1
- Protein: 6
Keywords: crispy waffles, buttermilk waffles, easy breakfast, 5-ingredient waffles, quick waffles, fluffy waffles