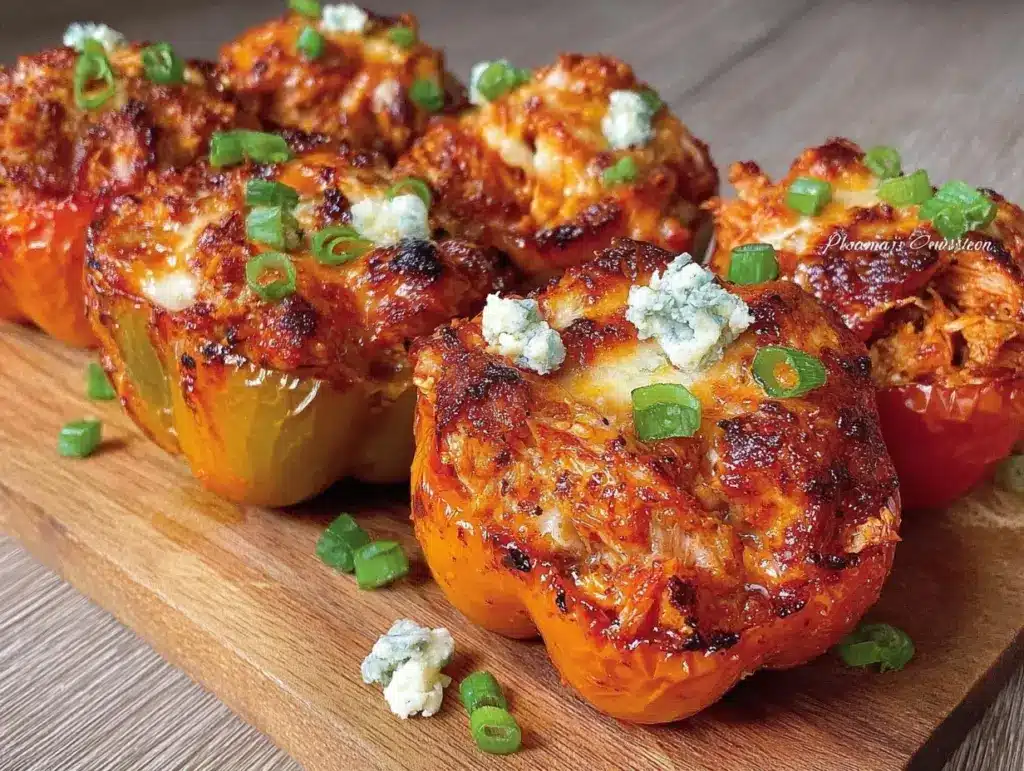
Last Sunday, I was staring at the clock. It was 4:45 PM. The game was on in an hour, the grocery store was a nightmare of people buying the last of the wings, and my fridge contained exactly half a rotisserie chicken, three bell peppers, and a tub of cream cheese. I was about to order pizza. I was seriously considering it. But then I remembered those stuffed peppers I’d seen floating around social media and thought, why not?
I threw them together in 15 minutes. By 5:15, they were in the oven. By 5:45, my family was devouring them, arguing over who got the last one, and asking if I could make them every Sunday. They were spicy, creamy, and honestly better than anything you’d get at a crowded sports bar. These game day buffalo chicken stuffed peppers became an instant household tradition. It’s the kind of meal that feels fancy enough for guests but easy enough for a Tuesday night when you’re exhausted.
If you’re looking for a way to upgrade your snack table or just need a dinner that hits the spot without taking over your kitchen, this is it. I’ve tested this recipe about ten times now—adjusting the spice level, the cheese ratio, the baking time—and I’ve finally nailed the perfect balance. It’s crunchy on top, tender inside, and smells incredible while it bakes. Let’s get into how to make them.
Why You’ll Love This Recipe
There are about five reasons I keep making these stuffed peppers, but let’s be real—here are the big ones that keep them in my weekly rotation.
It’s a One-Pan Wonder — Seriously, if you can chop a pepper and mix a bowl of filling, you can make this. I don’t even need to wash a colander or a frying pan. Just one baking dish. My husband does the dishes while I watch the first quarter. It’s a win-win.
Perfectly Spicy (But Not Dangerous) — I love heat, but my kids don’t. This recipe lets you control the buffalo sauce amount. I make mine extra spicy with Frank’s RedHot, but I’ll tell you how to dial it back for the little ones. It’s that perfect “I can handle it” heat level.
Uses Up Leftovers — I almost always have leftover rotisserie chicken or cooked chicken breasts sitting in the fridge. This recipe is basically a cleanup mission for those stray protein portions. It’s also great with canned chicken if you’re in a pinch, though fresh tastes better.
Meal Prep Friendly — I can assemble these on Sunday morning, pop them in the fridge, and bake them whenever hunger strikes. They reheat beautifully in the microwave or oven. I’ve packed them for work lunches more times than I’d like to admit, and nobody complains.
Gluten-Free Friendly — As long as you check your buffalo sauce (most are GF, but some have thickeners), this meal is naturally gluten-free. No breading, no flour, just pure flavor. It’s a safe bet for my celiac friend who always brings a dish and worries.
This is my go-to when I need dinner to just work. No complicated techniques, no weird ingredients, just reliable, delicious food that makes everyone happy. And if you’re looking for other quick wins, these pair perfectly with some grilled bacon-wrapped corn for a full game day spread.
Ingredients You’ll Need
Here’s the best part: you probably have most of this already. This isn’t a shopping list that requires a trip to three different stores. It’s pantry staples plus a few fresh items.
For the Peppers:
Bell Peppers (4 large) — I use a mix of red, yellow, and orange for color, but green works too if you want that classic stuffed pepper look. Red peppers are sweeter, which balances the spice. Make sure they’re sturdy and don’t have soft spots. I buy them from the organic section if I can, but regular works fine.
For the Filling:
Cooked Chicken (2 cups, shredded or diced) — Rotisserie chicken is my hero here. It’s already seasoned and juicy. If you’re using cooked chicken breasts, shred them with two forks. Don’t over-process it; you want chunks, not paste.
Cream Cheese (8 oz, softened) — This is the secret ingredient. It binds the chicken and makes the filling creamy. Soften it at room temperature for 15 minutes, or microwave it for 10-second bursts. Lumps are not your friend here.
Buffalo Sauce (½ cup) — I use Frank’s RedHot Original. It’s the gold standard. You can use any brand you like, but avoid the “wing sauce” that’s super thick and sweet. You want that tangy, vinegary kick. Adjust the amount based on how spicy you like it.
Shredded Cheddar Cheese (1 cup) — Sharp cheddar has more flavor, which stands up to the buffalo sauce. I shred my own block because pre-shredded cheese has anti-caking agents that stop it from melting smoothly. Trust me on this.
Garlic Powder (1 teaspoon) — Fresh garlic can burn in the oven, so powder is safer here. It adds a nice background note without overpowering the buffalo flavor.
Onion Powder (½ teaspoon) — Again, powder keeps things smooth. If you really want fresh onion, dice it super fine and mix it in, but powder is easier.
For the Topping:
Ranch Dressing (½ cup) — I drizzle ranch on top before baking. It creates a cheesy, crispy crust. You can use homemade ranch dressing or store-bought; it doesn’t matter. I like the convenience of the jar.
Additional Cheddar (½ cup) — A final sprinkle on top for that golden, bubbly finish.
Optional Add-ins:
Celery (2 stalks, finely diced) — Classic buffalo wing ingredient. Adds crunch. I like it, but my kids hate it, so I keep it out for them.
Ranch Seasoning Packet (1 packet) — If you want extra ranch flavor, sprinkle this into the chicken mixture before baking.
Cooking Spray — For greasing the baking dish. Olive oil spray works too.
I’m particular about the cream cheese and buffalo sauce. If you skimp on the cream cheese, the filling falls apart. If you use a sweet buffalo sauce, it’s just chicken nuggets. Stick to the plan.
Equipment Needed
You don’t need fancy equipment for this. Here’s what I actually use.
Medium Mixing Bowl — I use a 3-quart bowl. It needs to be big enough to mash the cream cheese with the chicken. A large bowl works too.
Baking Dish — 9×13 inch is standard. I use a ceramic one because it heats evenly. Glass works too, but metal might brown the bottom too fast.
Fork — For shredding chicken and mixing the filling. Two forks are best if you have raw chicken, but for cooked, one fork is fine.
Knife — For cutting the tops off the peppers. A serrated knife helps if the peppers are thick.
Peeler or Spoon — To scrape out the seeds. I use a spoon; it’s safer and gets the seeds out cleanly.
Measuring Cups and Spoons — Standard stuff. Dollar store versions work fine.
Aluminum Foil — Optional, if you want to cover them for the first part of baking to keep them moist.
Don’t have a 9×13? Two 8×8 dishes work. I’m obsessed with my ceramic baking dish from IKEA—it’s like $5 and makes life easier. But any dish will do.
How to Make It: Step-by-Step
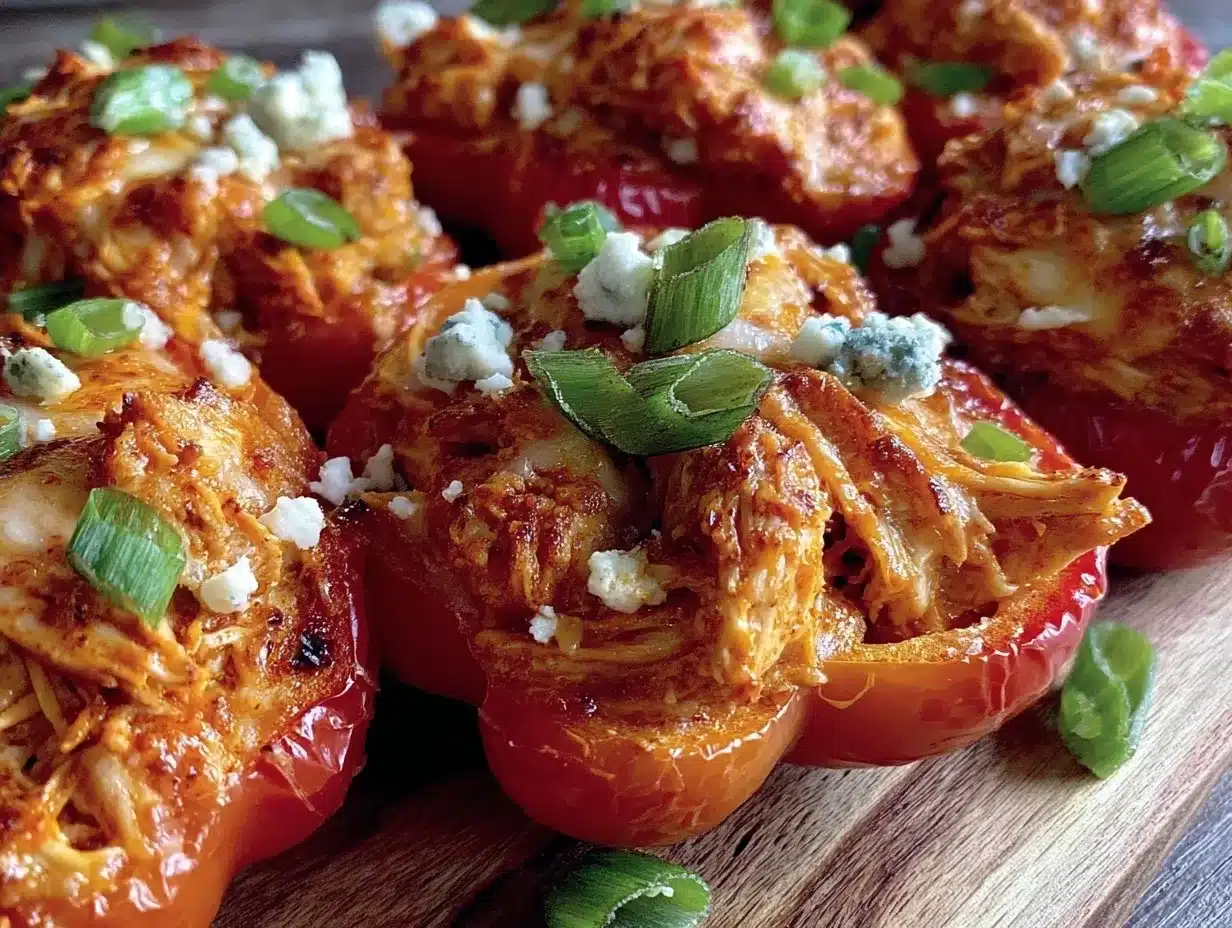
Alright, let’s make this! I’m walking you through exactly how I do it, including the little tricks I’ve picked up.
Step 1: Prep the Peppers (5 minutes)
Preheat your oven to 375°F (190°C). Wash your peppers and pat them dry. Cut off the tops about an inch down. Use a spoon or peeler to scrape out the seeds and white membranes. You want a clean cavity. If the peppers are too short to stand up, trim a tiny slice off the bottom so they sit flat. Place them in your baking dish. If they wobble, trim more off the bottom. They need to be stable.
Step 2: Make the Filling (5 minutes)
In your mixing bowl, combine the softened cream cheese, shredded chicken, buffalo sauce, garlic powder, onion powder, and 1 cup of shredded cheddar. Mix it well. I use my hands sometimes if the cream cheese is soft—it’s faster. The mixture should be creamy and cohesive. If it’s too dry, add a splash more buffalo sauce. If it’s too wet, add a bit more cheese. It should hold together when you scoop it.
Step 3: Stuff the Peppers (5 minutes)
Using a spoon, generously fill each pepper with the chicken mixture. Don’t be shy—pack it in. You want it mounded slightly on top. If you have extra filling, save it and bake it in a small ramekin or just eat it while you cook (no judgment). Drizzle the ranch dressing over the top of each stuffed pepper. It should cover the chicken and seep into the cracks.
Step 4: Bake (20-25 minutes)
Place the baking dish in the oven. Bake for 20 minutes. Then, take them out and sprinkle the remaining ½ cup of cheddar cheese on top. Return to the oven for another 5-10 minutes, until the cheese is melted, bubbly, and slightly browned. The peppers should be tender but still hold their shape. If you poke a pepper with a fork, it should go in easily but not collapse.
Step 5: Cool and Serve (5 minutes)
Let them cool for 5 minutes before serving. This helps the filling set slightly so it doesn’t fall out when you bite into them. Serve with extra ranch and blue cheese dressing on the side. I usually serve this straight from the baking dish at the dinner table—it looks rustic and stays warm. But here are other ways I’ve enjoyed it:
Side Dishes:
– Celery sticks (for that classic wing experience)
– Carrot sticks (for crunch and color)
– A simple green salad with ranch vinaigrette
Toppings Bar:
When I have guests, I put out: extra buffalo sauce, ranch, blue cheese, chopped celery, and green onions. Everyone customizes their bowl.
Wine Pairing:
Not a wine expert, but my wine-snob friend says a crisp Sauvignon Blanc or a light lager works great with this. It cuts through the richness.
Expert Tips & Tricks
Here’s everything I’ve learned from making this dozens of times. These tips will save you from my mistakes.
Softened Cream Cheese is Non-Negotiable
This is the #1 tip. If your cream cheese is cold and hard, you’ll get lumps in your filling. I leave it out on the counter for 30 minutes before I start. If I forget, I microwave it for 10 seconds, stir, and repeat until it’s smooth. Smooth cream cheese = smooth filling.
Don’t Overstuff
I know it’s tempting to pile it high, but if you overstuff, the filling spills out in the oven. It’s messy and burns on the bottom. Fill them to the brim, but don’t mound it too high. Leave a little room for the cheese to melt.
Check Your Buffalo Sauce
Some brands are thicker than others. If your sauce is very thick, add a splash of water or vinegar to thin it out. You want it to mix easily with the cream cheese. If it’s too thin, you might need more cheese to bind it.
Customize the Spice
For mild peppers, use half buffalo sauce and half ranch in the filling. For extra spicy, add a dash of cayenne or hot sauce. I like to add a pinch of brown sugar if I’m using a very vinegar-heavy sauce, to balance the tang.
Make-Ahead Strategy
You can assemble these up to 24 hours ahead. Cover them tightly with plastic wrap and refrigerate. When you’re ready to bake, just pop them in the oven. You might need to add 5 minutes to the baking time if they’re cold from the fridge.
Variations & Substitutions
Once you’ve nailed the basic version, here’s how you can mix it up. I’ve tried all of these.
Taco Style
Swap buffalo sauce for taco sauce. Add black beans and corn to the filling. Top with cilantro and avocado. Totally different vibe—spicy and savory.
BBQ Chicken
Use BBQ sauce instead of buffalo. Add cooked bacon bits. Top with cheddar and green onions. Smoky and sweet. My husband prefers this version.
Veggie Loaded
Add diced bell peppers, onions, and spinach to the filling. It adds volume and nutrition. This is how I get my kids to eat vegetables. They don’t even notice.
Lighter Version
Use Greek yogurt instead of cream cheese. It’s tangy and protein-packed. The texture is lighter, but still creamy. I make this when I’m trying to be “healthy.”
Mushroom Lover’s
Sauté sliced mushrooms with the onions before mixing. Cook until golden brown. Adds earthiness and makes it feel fancier.
Dietary Modifications:
Gluten-Free
Use gluten-free buffalo sauce. Everything else is naturally gluten-free. I’ve used Frank’s and it’s GF.
Dairy-Free
Replace cream cheese with dairy-free cream cheese and cheddar with dairy-free shreds. It’s different but still tasty. My lactose-intolerant friend requests this version.
Lower-Carb
Use cauliflower rice instead of chicken? No, that’s weird. Just use less cheese and more chicken. Or use zucchini boats instead of peppers. I won’t lie—it’s not the same, but it works if you’re watching carbs.
Serving & Storage
Refrigerator:
Store leftovers in an airtight container for up to 4 days. The peppers will soften, but they’re still good cold or reheated.
Reheating:
Best method: Microwave for 1-2 minutes until heated through. The cheese will melt again.
Oven method: Reheat in a 350°F oven for 10-15 minutes. This keeps the peppers from getting too soggy.
Never works: Trying to reheat in the microwave without covering it. It will splatter everywhere. Cover it with a damp paper towel.
Freezing:
Honestly, these don’t freeze well because of the cream cheese. The texture changes when thawed. Make them fresh or store in the fridge for up to 4 days.
Meal Prep:
Make the filling on Sunday, store in the fridge. Stuff and bake as needed. Takes 5 minutes to assemble and 25 minutes to bake. Almost as good as fresh.
Nutrition Information
I’m not a nutritionist, but here’s the breakdown if you’re tracking.
Per Serving (based on 4 servings):
– Calories: 450
– Protein: 35g
– Carbs: 15g
– Fiber: 3g
– Sugar: 8g
– Fat: 28g
– Saturated Fat: 14g
– Cholesterol: 120mg
– Sodium: 800mg
– Calcium: 300mg
What’s Good:
– High protein from chicken and cheese
– Good calcium from the dairy
– Low carb if you skip the ranch
– More filling than it looks
What to Know:
– Higher in calories from cream cheese and cheese
– Contains dairy
– Moderate sodium (use low-sodium broth if you add it)
My Take:
Look, this is comfort food with cream cheese and buffalo sauce. It’s not a diet recipe. But it’s way better than takeout, costs less, and I know exactly what’s in it. When I want to make it lighter, I use the Greek yogurt version and load up on vegetables. But usually? I just eat a reasonable portion and enjoy it.
Final Thoughts
So that’s my go-to game day buffalo chicken stuffed peppers! I’ve probably talked your ear off at this point, but when you make a recipe this often, you have a lot to say about it.
This has saved weeknight dinners more times than I can count. It’s my answer to “what’s for dinner” when I’m tired, don’t want takeout, and still want something that tastes really good. My kids are happy, my husband’s happy, and I’m happy because I’m not stressed about cooking.
Make it yours! Try different add-ins, swap in your favorite vegetables, adjust the garlic (though more is always better in my opinion). The best recipes are the ones you adapt to your family’s tastes.
If you make this, drop a comment and let me know what you think! I love hearing how recipes turn out in your kitchen. And if something doesn’t work, tell me that too—I’m here to help troubleshoot.
Happy cooking! And I hope your kitchen smells half as good as mine does right now.
Frequently Asked Questions
Can I use canned chicken instead of rotisserie?
You can, but rotisserie tastes better. Canned chicken is drier and saltier. If you use canned, rinse it and pat it dry. You might need to add a bit more cream cheese or buffalo sauce to bind it.
My peppers are leaking—what happened?
Usually means you overfilled them or didn’t trim the bottom enough. Trim a tiny slice off the bottom so they sit flat. And don’t overstuff. Pack it in, but leave room for the cheese to melt.
Can I make this ahead for a dinner party?
Absolutely. Assemble them up to 24 hours ahead. Cover and refrigerate. Bake when you’re ready. Just add 5 minutes to the baking time if they’re cold.
Why did my filling turn out watery?
The cream cheese wasn’t softened enough, or you used too much buffalo sauce. Soften the cream cheese thoroughly. If it’s watery, bake it longer to evaporate the moisture.
Can I use blue cheese instead of ranch?
Yes! Drizzle blue cheese dressing on top. It’s a classic combo. I like ranch because it’s milder, but blue cheese is stronger and tangier.
How do I reheat leftovers without it getting dry?
Add a splash of milk or cream to the microwave bowl. Cover with a damp paper towel. Heat in 30-second intervals, stirring between. The extra liquid brings back the creamy texture.
Can I double this recipe?
Yes! Double everything and use two baking dishes. The cooking times stay the same. I do this when I’m feeding a crowd. Just make sure your oven has room for two dishes.
Pin This Recipe!
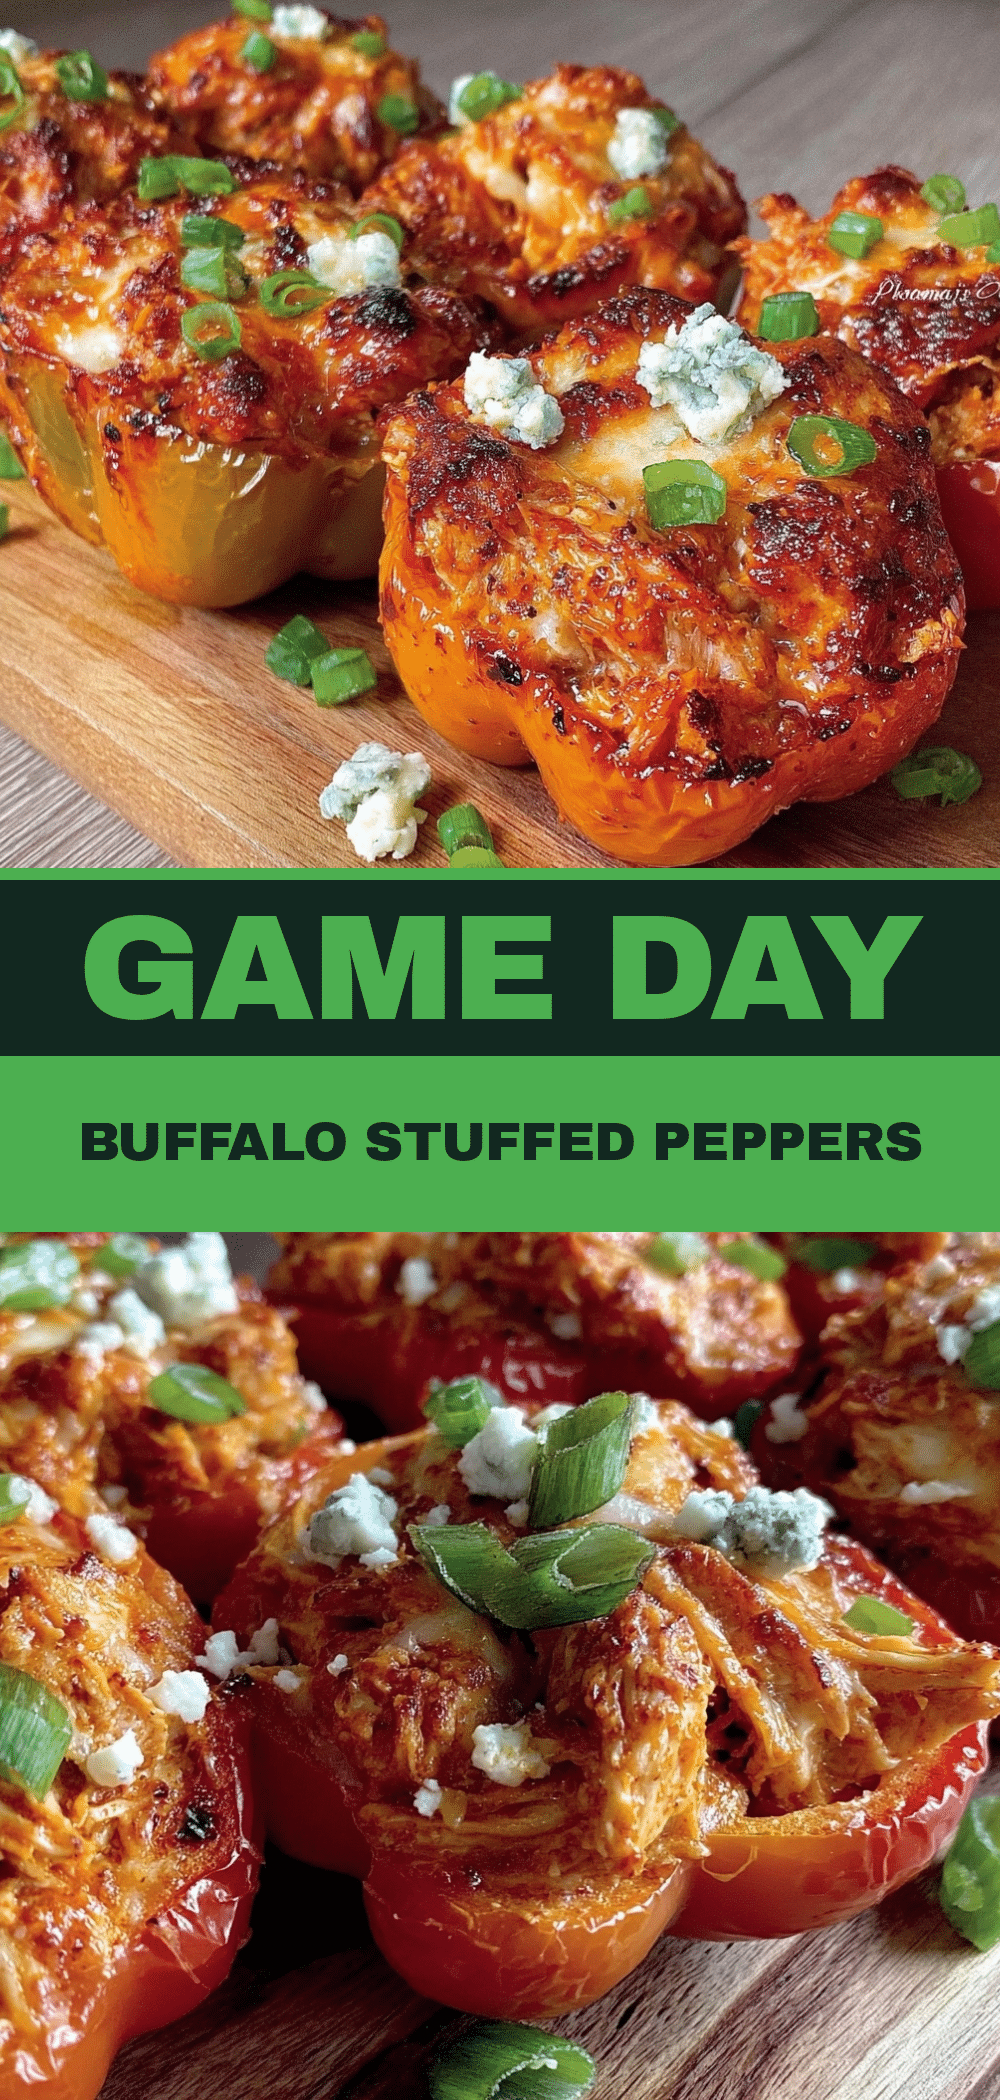

Game Day Buffalo Chicken Stuffed Peppers
- Total Time: 40 minutes
- Yield: 4 servings 1x
Description
Spicy, creamy, and easy-to-make stuffed bell peppers filled with rotisserie chicken, cream cheese, and buffalo sauce. A perfect one-pan meal for game day or weeknight dinners.
Ingredients
- 4 large bell peppers (red, yellow, orange, or green)
- 2 cups cooked chicken, shredded or diced
- 8 oz cream cheese, softened
- 1/2 cup buffalo sauce (such as Frank’s RedHot)
- 1 cup shredded sharp cheddar cheese
- 1 teaspoon garlic powder
- 1/2 teaspoon onion powder
- 1/2 cup ranch dressing
- 1/2 cup additional shredded cheddar cheese
- Cooking spray or olive oil spray
Instructions
- Preheat oven to 375°F (190°C).
- Wash peppers and pat dry. Cut off the tops about an inch down and scrape out seeds and white membranes with a spoon.
- If necessary, trim a tiny slice off the bottom of each pepper so they sit flat in the baking dish.
- In a medium mixing bowl, combine softened cream cheese, shredded chicken, buffalo sauce, garlic powder, onion powder, and 1 cup of shredded cheddar. Mix until creamy and cohesive.
- Generously fill each pepper with the chicken mixture, mounding it slightly on top.
- Drizzle 1/2 cup ranch dressing over the top of each stuffed pepper.
- Place the baking dish in the oven and bake for 20 minutes.
- Remove from oven and sprinkle the remaining 1/2 cup of cheddar cheese on top.
- Return to oven and bake for another 5-10 minutes, until cheese is melted, bubbly, and slightly browned.
- Let cool for 5 minutes before serving.
Notes
Ensure cream cheese is fully softened to avoid lumps. Do not overstuff the peppers to prevent leaking. Can be assembled up to 24 hours ahead and refrigerated before baking. Add 5 minutes to baking time if baking from cold.
- Prep Time: 15 minutes
- Cook Time: 25 minutes
- Category: Main Course
- Cuisine: American
Nutrition
- Serving Size: 1 stuffed pepper
- Calories: 450
- Sugar: 8
- Sodium: 800
- Fat: 28
- Saturated Fat: 14
- Carbohydrates: 15
- Fiber: 3
- Protein: 35
Keywords: buffalo chicken, stuffed peppers, game day food, easy dinner, rotisserie chicken, spicy chicken, gluten-free dinner, one-pan meal