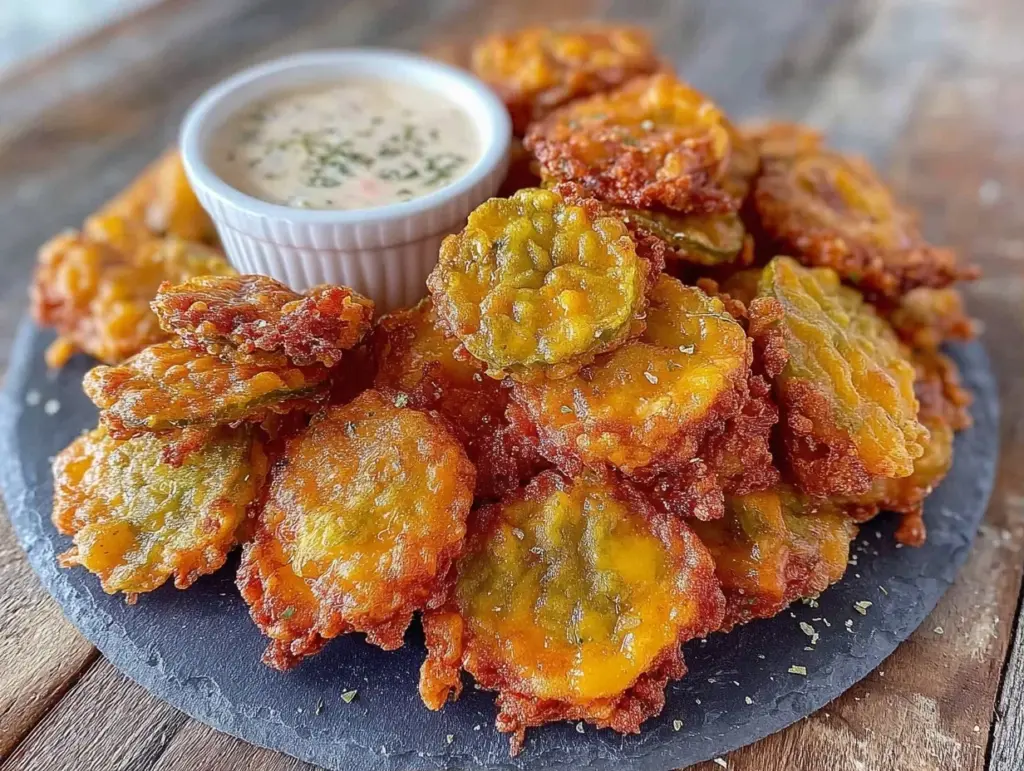
Last Sunday, I was staring at the clock. It was 4:45 PM. The game started at 5:00. My stomach was growling louder than the pre-game hype on TV. I had exactly 15 minutes to make something that felt indulgent but wouldn’t leave me feeling like a food coma zombie before kickoff. I didn’t want to order takeout (too slow, too expensive, and frankly, I’ve had better). I didn’t want to make a full meal (too much effort). I just wanted something salty, crunchy, and tangy to munch on while waiting for the first quarter.
So I threw together a batch of Game Day Crispy Fried Pickle Chips. I’ve made these at least a dozen times since then, and I’m not even kidding when I say they are better than any fried pickle I’ve ever ordered at a bar. And the best part? They cook in about 10 minutes. Ten. Minutes. From chopping to crispy perfection.
I used to think you needed a deep fryer to get that restaurant-style crunch. I was wrong. You just need a little patience with your oil temperature and the right breading technique. I learned this the hard way when my first batch came out soggy and sad. Now? My husband asks me to make these every time there’s a big game on. Even the kids, who usually hate pickles, go crazy for these because they taste like salty, savory chips but with a zesty kick.
If you’re looking for a snack that hits all the right notes—crunchy, tangy, spicy, and easy—this is it. It’s the ultimate answer to “5pm and nothing planned.” Plus, if you need a drink to go with it, these pair perfectly with something cold and refreshing like our cucumber lime sparkling cooler. But let’s be real, you’re probably just going to scarf these down before you even think about taking a sip.
Why You’ll Love This Game Day Snack
There are about ten reasons I keep making these crispy fried pickle chips, but here are the big ones that keep them on my regular rotation.
- Lightning Fast — Seriously, if you can dip a pickle in flour, then egg, then breadcrumbs, you can make this. The actual frying takes only a few minutes per batch. Total time from start to finish is under 15 minutes. I make these on weeknights when I get home at 7pm and just need a quick bite.
- Stupid Simple — No fancy equipment needed. Just a skillet, a baking sheet for prep, and some basic pantry staples. I don’t even own a deep fryer, and these turn out better than mine does.
- Crowd-Pleaser — I’ve served these to my vegetarian sister (with vegan pickles), my gluten-free neighbor (with gluten-free breadcrumbs), and my I-only-eat-chicken dad (who secretly loves them). Everyone asks for the recipe. It’s the universal language of salty snacks.
- Makes Amazing Leftovers (Sort Of) — They’re best fresh, obviously. But if you do have leftovers, they reheat surprisingly well in an air fryer or toaster oven. I deliberately make extra for lunch the next day, though they rarely last that long.
- Budget-Smart — You can buy a jar of pickles for $2 and a bag of breadcrumbs for $1. That’s less than $5 to feed 4-6 people. That’s cheaper than a single order of bar fries.
This is my go-to when I need dinner to just work. No complicated techniques, no weird ingredients, just reliable, delicious food that makes everyone happy. It’s the kind of recipe that makes you feel like a genius in the kitchen without actually trying.
Ingredients You’ll Need
Here’s the best part: you probably have most of this already. This looks like a short list, but it’s the quality of these few items that makes the difference.
For the Pickles
Dill Pickle Chips (1 large jar, sliced thick) — Do not use thin chips. You want thick slices, about ¼ inch. Thin ones fall apart in the batter. I buy the cheap store-brand dill chips from the deli counter or the jar in the aisle. The key is that they’re firm, not mushy. If your pickles are soft, skip them. Look for “crunchy” or “extra crunch” on the label.
Paper Towels (1 roll) — This is non-negotiable. You need to pat the pickles completely dry. Wet pickles = soggy breading. I keep a stack of paper towels ready before I start. If you skip this step, you’re asking for trouble.
For the Breading Station
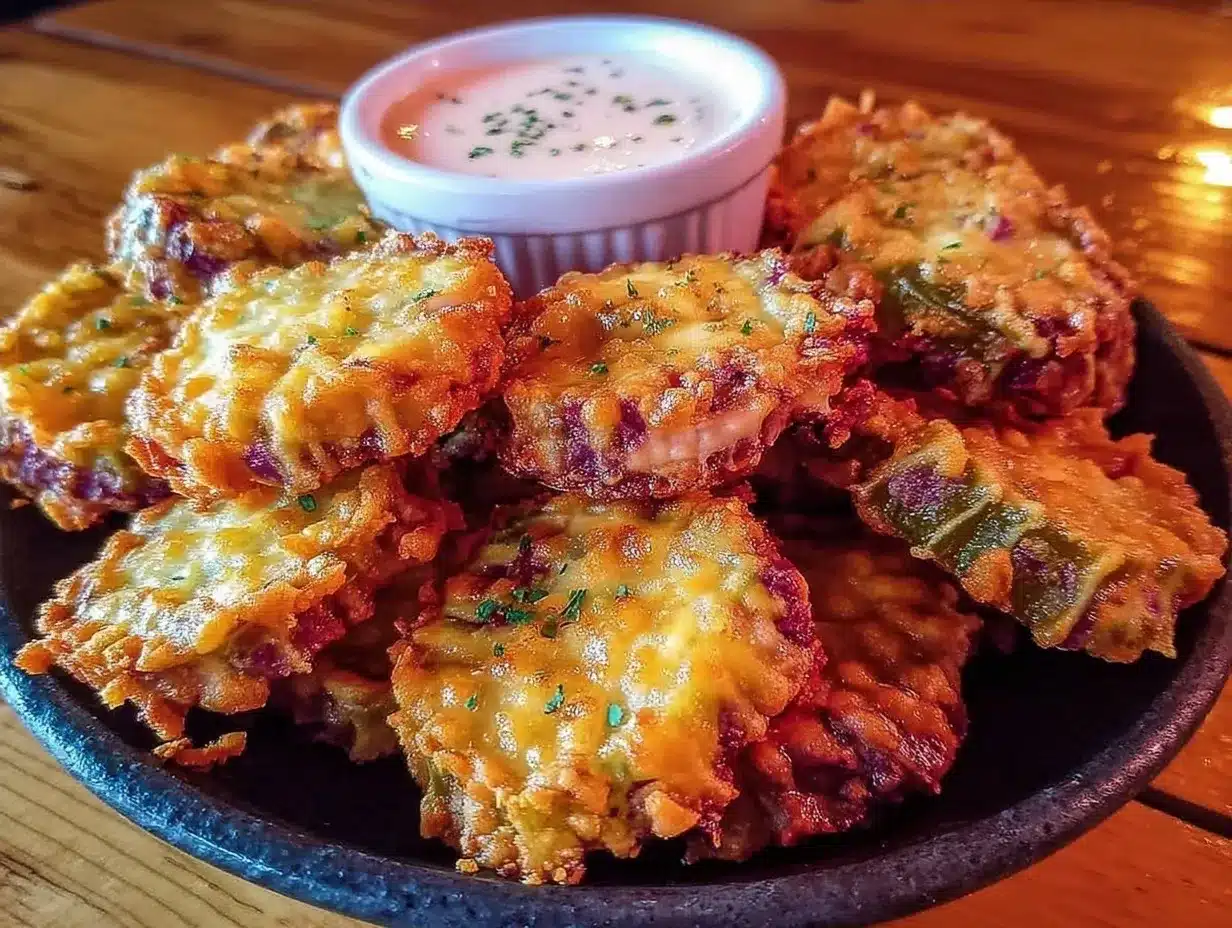
All-Purpose Flour (1 cup / 120g) — This is the base. It helps the egg wash stick to the pickle. I use regular bleached or unbleached flour. Doesn’t matter which, just keep it consistent.
Eggs (2 large) — Beaten with a pinch of salt. I like to add a tiny splash of milk here to make the coating lighter, but plain eggs work fine too. Whisk them well so there are no chunks of white.
Breadcrumbs (2 cups / 200g) — This is where you get the crunch. I prefer Panko breadcrumbs for that extra shattery, airy crunch. Regular breadcrumbs work, but they’re denser. If you want a more rustic feel, you can crush up some saltine crackers or potato chips. But Panko is my go-to for that “fried” texture.
For the Seasoning
Garlic Powder (1 teaspoon) — Adds savory depth. Don’t skip it. It balances the tang of the pickle.
Smoked Paprika (1 teaspoon) — This gives a subtle smokiness that mimics deep-fried flavor. It’s a game-changer. If you don’t have smoked paprika, regular paprika works, but you’ll miss that little bit of complexity.
Cayenne Pepper (½ teaspoon) — Optional, but recommended. It adds a little kick. If you’re sensitive to spice, start with ¼ teaspoon. If you like heat, go for a full teaspoon. I like a little burn with my tang.
Onion Powder (½ teaspoon) — Complements the garlic. Simple, classic combo.
Salt (½ teaspoon) — To taste. Remember, pickles are already salty, so go easy here. You can always add more salt after frying.
For Frying
Vegetable Oil (2-3 cups) — You need enough oil to cover the bottom of your skillet by about ½ inch. I use vegetable oil or canola oil because they have high smoke points. Olive oil is too low-heat for this. Don’t risk burning it.
Optional: Cornstarch (1 tablespoon) — I mix this into the breadcrumbs. It helps create an extra crispy crust that stays crunchy longer. It’s a little trick I picked up from a chef friend.
Equipment Needed
You don’t need fancy equipment for this. Here’s what I actually use.
- Large Skillet or Cast Iron Pan — I use a 12-inch cast iron skillet. It holds heat beautifully, which is crucial for frying. If you don’t have cast iron, a heavy-bottomed stainless steel skillet works too. Avoid non-stick if you can help it; you want that high heat.
- Three Shallow Bowls — For the dredging station. One for flour, one for egg, one for breadcrumbs. I use pie dishes or shallow casserole dishes. They’re wide enough to lay the pickles out flat.
- Wire Rack — Place this over a baking sheet. This is better than paper towels for keeping the pickles crispy. If the pickles sit on paper towels, the steam gets trapped and makes the bottom soggy. The rack lets air circulate. I know it’s an extra step, but it’s worth it.
- Cooking Thermometer — Highly recommended. You want your oil at 350°F (175°C). If you don’t have a thermometer, stick a wooden chopstick in the oil. If bubbles form around it immediately, it’s ready. But a thermometer is more reliable.
- Tongs — For flipping the pickles safely. Metal tongs are best so you don’t burn your fingers.
How to Make It: Step-by-Step
Alright, let’s make this! I’m walking you through exactly how I do it, including the little tricks I’ve picked up. This is the easiest Game Day Crispy Fried Pickle Chips recipe you’ll ever try.
Step 1: Prep Your Breading Station (5 minutes)
Set up your three bowls. In the first bowl, put the flour. In the second, beat the eggs with a pinch of salt. In the third, mix the breadcrumbs with the garlic powder, smoked paprika, cayenne, onion powder, and salt (and cornstarch if using). Mix the dry ingredients well so the spices are evenly distributed. If you wait until you’re frying to mix them, you’ll end up with unevenly seasoned pickles.
Step 2: Dry the Pickles (Crucial Step)
Take your pickle slices out of the jar. Lay them out on paper towels and pat them completely dry. I mean *completely*. Squeeze out as much liquid as you can. If the pickles are wet, the flour won’t stick, and the breadcrumbs will slide off. This step takes about 2 minutes but is the most important one. Trust me.
Step 3: Heat the Oil
Pour about ½ inch of oil into your skillet. Heat it over medium-high heat. If you have a thermometer, wait until it hits 350°F (175°C). If you don’t, wait about 5-7 minutes. To test, drop a tiny pinch of breadcrumbs into the oil. If they sizzle and float to the top immediately, the oil is ready. If they sink or take forever to bubble, wait longer.
Step 4: Dredge the Pickles
Take a dry pickle slice. Dip it into the flour, shaking off any excess. Then dip it into the egg wash, letting the excess drip off. Finally, press it firmly into the breadcrumb mixture. Make sure the breadcrumbs stick to all sides. Press down gently to help them adhere. I like to flip it over and press again to make sure the top is fully coated.
Step 5: Fry in Batches
Carefully place 3-4 pickle slices into the hot oil. Don’t overcrowd the pan! If you put too many in, the oil temperature drops, and the pickles will absorb the oil instead of frying. They’ll be greasy and soggy. Fry for 2-3 minutes per side, or until golden brown and crispy. Flip them once with tongs. You’ll know they’re done when they’re a deep golden color and the breading sounds crispy when you tap it.
Step 6: Drain and Season
Remove the pickles from the oil and place them on the wire rack. Do not put them on paper towels if you want them to stay crispy. The rack lets the air circulate. Sprinkle them with a tiny pinch of salt immediately while they’re still hot. The salt will stick better to the hot oil.
Step 7: Repeat
Let the oil heat back up to 350°F between batches. Repeat until all pickles are fried. This should take about 10-15 minutes total, depending on how many you’re making.
Expert Tips & Tricks
Here’s everything I’ve learned from making these dozens of times. These tips will save you from my mistakes.
- Don’t Skip the Dry Step — I cannot stress this enough. Wet pickles = disaster. Pat them dry. Then pat them dry again.
- Keep the Oil Hot — If the oil drops below 325°F, your pickles will get greasy. If you notice the breading isn’t browning quickly, turn up the heat slightly. If it’s browning too fast but the inside is still cold, turn the heat down.
- Use Panko for Crunch — Regular breadcrumbs are fine, but Panko creates those little airy pockets that make the coating super crunchy. It’s a texture game-changer.
- Add Cornstarch to Breadcrumbs — This is a secret weapon. It absorbs moisture and creates a shatteringly crisp crust. Just mix 1 tablespoon into your breadcrumb mixture.
- Don’t Overcrowd the Pan — Frying in batches is annoying, but it’s the only way to get that perfect golden color. If you rush this step, you’ll get soggy pickles.
Common Mistakes:
- Soggy Pickles — Usually means the oil wasn’t hot enough, or the pickles weren’t dry enough.
- Breading Falling Off — Usually means the pickles were wet, or you didn’t press the breadcrumbs on firmly enough.
- Burnt Outside, Cold Inside — Oil was too hot. Lower the heat and fry for a bit longer.
Variations & Substitutions
Once you’ve nailed the basic version, here’s how you can mix it up. I’ve tried all of these.
Spicy Jalapeño Pickles
Swap the dill pickles for jalapeño pickles. Add an extra teaspoon of cayenne to the breadcrumbs. This is for the heat lovers in your life. Warning: these are addictive.
Vegan Version
Use vegan pickles (most dill pickles are vegan, but check the label). For the egg wash, use a flax egg (1 tablespoon ground flaxseed mixed with 3 tablespoons water, let sit for 5 minutes) or just use plain plant milk. The breading stays the same. My vegan friend loved these so much she didn’t even notice.
Gluten-Free
Use gluten-free flour and gluten-free Panko breadcrumbs. Many brands make GF Panko now. It works perfectly. Just make sure your pickles are certified gluten-free if you’re cross-contaminating.
Baked Option
If you want to cut the calories, you can bake these. Place the breaded pickles on a wire rack over a baking sheet. Spray them generously with cooking spray. Bake at 400°F (200°C) for 10-12 minutes, flipping halfway through. They won’t be *quite* as crispy as fried, but they’re still good and way less greasy. I do this when I’m trying to be “healthy,” but let’s be honest, I usually fry them anyway.
Different Dips
While I love my classic ranch, try these dips:
- Spicy Mayo — Mix mayo with sriracha and a squeeze of lime.
- Chipotle Aioli — Mayo, chipotle peppers in adobo, and garlic.
- Tzatziki — The cool yogurt sauce is amazing with the spicy pickles.
- Buffalo Sauce — For a buffalo wing vibe.
Serving & Storage
How to Serve
I usually serve these straight from the wire rack on a platter at the dinner table. They look rustic and stay warm. But here are other ways I’ve enjoyed them:
Side Dishes: These are great on their own, but if you need a full meal, serve them with a simple green salad or some grilled bacon wrapped corn for a complete game day spread. The salty, crunchy pickles pair well with smoky, savory sides.
Toppings Bar: When I have guests, I put out: extra spicy mayo, ranch, hot sauce, and fresh parsley. Everyone customizes their bowl.
Storage Instructions
Refrigerator: Store leftovers in an airtight container for up to 2 days. The breading will soften in the fridge—totally normal. It won’t be as crispy.
Reheating: The best method is an air fryer or toaster oven. Reheat at 375°F (190°C) for 3-5 minutes. This brings back the crunch. Microwave? No way. It’ll turn the breading into a soggy mess. I learned this the hard way. Never microwave fried pickles.
Freezing: You can freeze unbreaded pickles, but don’t freeze breaded ones. The breading gets weird in the freezer. If you want to meal prep, prep the breading station ahead of time, but don’t bread them until you’re ready to cook.
Nutrition Information
I’m not a nutritionist, but here’s the breakdown if you’re tracking. Keep in mind, this is an indulgent snack, so enjoy it in moderation.
Per Serving (based on 6 servings, 5 chips each):
- Calories: 180
- Protein: 4g
- Carbs: 22g
- Fiber: 1g
- Sugar: 2g
- Fat: 9g
- Saturated Fat: 1.5g
- Cholesterol: 25mg
- Sodium: 450mg
What’s Good:
- Low in sugar
- Good source of carbs for energy
- Can be made vegan or gluten-free
What to Know:
- Higher in sodium from the pickles and breadcrumbs
- Contains gluten and dairy (unless modified)
- Fried food, so calorie density is higher than raw pickles
My Take:
Look, these are fried pickles. They’re not a salad. They’re salty, crunchy, and delicious. But they’re way better than store-bought frozen ones, and you control the ingredients. When I want to make it lighter, I bake them and use less oil. But usually? I just eat a reasonable portion and enjoy it. Life’s too short for bland snacks.
Final Thoughts
So that’s my go-to Game Day Crispy Fried Pickle Chips! I’ve probably talked your ear off at this point, but when you make a recipe this often, you have a lot to say about it.
This has saved game day snacks more times than I can count. It’s my answer to “what’s for a snack?” when I’m tired, don’t want to order takeout, and still want something that tastes really good. My kids are happy, my husband’s happy, and I’m happy because I’m not stressed about cooking.
Make it yours! Try different dips, adjust the spice level, swap in your favorite pickles. The best recipes are the ones you adapt to your family’s tastes. And if you’re looking for a drink to go with it, these go perfectly with a homemade Vietnamese iced coffee for a sweet contrast to the salty pickles.
If you make this, drop a comment and let me know what you think! I love hearing how recipes turn out in your kitchen. And if something doesn’t work, tell me that too—I’m here to help troubleshoot.
Happy cooking! And I hope your kitchen smells half as good as mine does right now.
Frequently Asked Questions
Can I use thin pickle slices?
You can, but they’re much harder to handle. Thin slices tend to fall apart in the batter and break apart in the oil. Thick slices hold their shape better and give you a better ratio of pickle to breading. If you only have thin slices, just be very gentle when dredging them.
Why did my breading fall off?
This usually happens if the pickles weren’t dry enough. The moisture on the surface prevents the flour and egg from sticking. Pat them dry with paper towels, and then press the breadcrumbs on firmly. Also, make sure your oil is hot enough; if it’s too cold, the breading will slip off before it sets.
Can I bake these instead of frying?
Yes! Place the breaded pickles on a wire rack over a baking sheet. Spray them lightly with cooking spray. Bake at 400°F (200°C) for 10-12 minutes, flipping halfway through. They won’t be as crispy as fried, but they’re still tasty and less greasy. I do this when I’m trying to be healthier.
How do I keep them crispy?
The key is the wire rack. Don’t put them on paper towels; the steam will make them soggy. Let them sit on the rack so air can circulate underneath. Also, serve them immediately after frying. They’re best fresh, but they stay decent for 10-15 minutes on the rack.
Can I make these ahead of time?
You can prep the breading station ahead of time, but don’t bread the pickles until you’re ready to cook. Once they’re breaded, they’ll get soggy if you let them sit. If you have leftovers, reheat them in an air fryer or toaster oven to restore the crunch.
What’s the best dip for fried pickles?
Classic ranch is the gold standard. But try spicy mayo, chipotle aioli, or even a cool tzatziki sauce. The tangy pickles pair well with creamy, rich dips. Experiment to find your favorite!
Can I use gluten-free breadcrumbs?
Yes! Many brands make gluten-free Panko breadcrumbs. They work just as well as regular breadcrumbs. Just make sure your flour and pickles are also gluten-free if you’re avoiding gluten entirely.
Pin This Recipe!
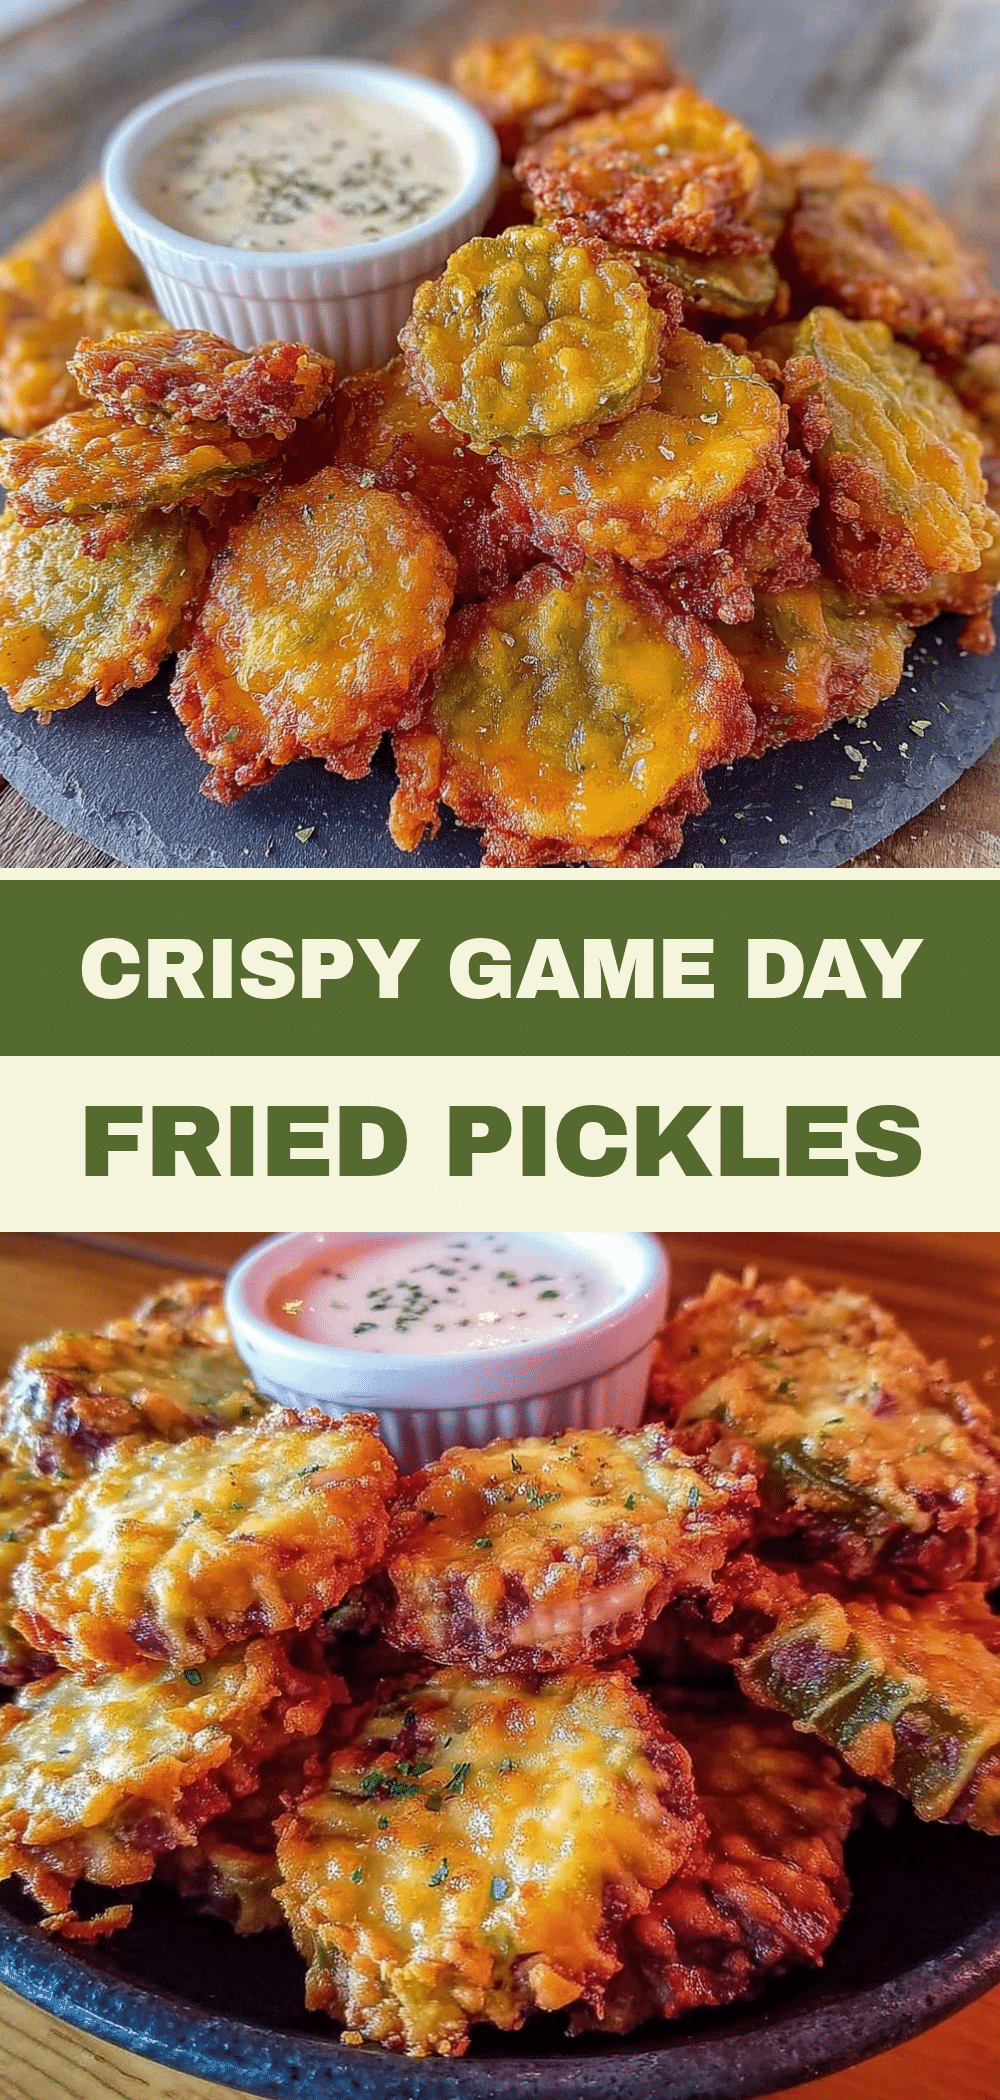
Game Day Crispy Fried Pickle Chips
- Total Time: 15 minutes
- Yield: 4-6 servings 1x
Description
Lightning-fast, crispy fried pickle chips made in under 15 minutes using a skillet and simple pantry staples. Perfect for game day snacking with a tangy, crunchy, and savory flavor profile.
Ingredients
- 1 large jar dill pickle chips (sliced thick, approx ¼ inch)
- 1 cup all-purpose flour
- 2 large eggs, beaten with a pinch of salt
- 2 cups Panko breadcrumbs
- 1 teaspoon garlic powder
- 1 teaspoon smoked paprika
- ½ teaspoon cayenne pepper (optional)
- ½ teaspoon onion powder
- ½ teaspoon salt
- 1 tablespoon cornstarch (optional, mixed into breadcrumbs)
- 2–3 cups vegetable or canola oil (for frying)
- Paper towels (for drying pickles)
Instructions
- Set up a breading station with three shallow bowls: one with flour, one with beaten eggs, and one with breadcrumbs mixed with garlic powder, smoked paprika, cayenne, onion powder, salt, and cornstarch.
- Pat the pickle slices completely dry with paper towels to ensure the breading sticks.
- Heat about ½ inch of oil in a large skillet or cast iron pan over medium-high heat until it reaches 350°F (175°C).
- Dredge each dry pickle slice in flour, shaking off excess, then dip into the egg wash, and finally press firmly into the breadcrumb mixture to coat all sides.
- Carefully place 3-4 breaded pickles into the hot oil, ensuring not to overcrowd the pan.
- Fry for 2-3 minutes per side until golden brown and crispy, flipping once with tongs.
- Remove pickles from oil and place them on a wire rack set over a baking sheet to allow air circulation and keep them crispy.
- Sprinkle with a tiny pinch of salt immediately while hot.
- Let the oil return to 350°F between batches and repeat until all pickles are fried.
Notes
Ensure pickles are completely dry before breading to prevent soggy results. Use Panko breadcrumbs for extra crunch. Do not overcrowd the pan to maintain oil temperature. For a healthier option, bake at 400°F for 10-12 minutes, flipping halfway. Reheat leftovers in an air fryer or toaster oven to restore crispiness; do not microwave.
- Prep Time: 5 minutes
- Cook Time: 10 minutes
- Category: Snack
- Cuisine: American
Nutrition
- Serving Size: 5 chips per serving
- Calories: 180
- Sugar: 2
- Sodium: 450
- Fat: 9
- Saturated Fat: 1.5
- Carbohydrates: 22
- Fiber: 1
- Protein: 4
Keywords: fried pickles, game day snacks, crispy pickles, quick snacks, appetizer, party food, dill pickles, panko breadcrumbs