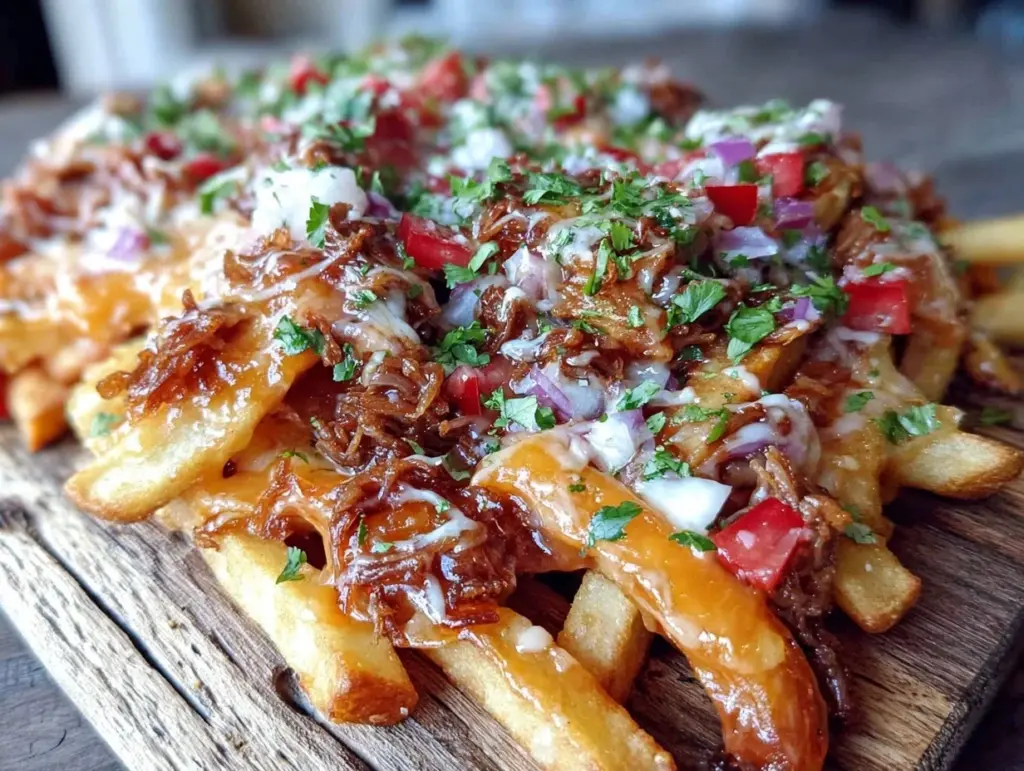
Let’s be honest for a second. I have a love-hate relationship with nachos. I love them. I really do. But I hate the aftermath. You know the one. You make a giant sheet pan of cheesy, meaty, jalapeño-topped goodness for a movie night, and then what? You’re eating cold, soggy nachos for the next four days. The cheese hardens into plastic. The fries turn to mush. It’s not a snack anymore; it’s a commitment.
Last Friday night, I was craving that salty, gooey hit but didn’t want to spend an hour cleaning up a baking sheet that had seen better days. I looked at my pantry, then at the single person sitting across from me, and thought, “Why am I making enough for a football team?”
So, I made this. Loaded Nacho Cheese Fries for Small Batches. It’s the answer to the small-batch cooking prayers I’ve been whispering into the void. It’s crispy, it’s loaded with all the flavors you crave, and it serves exactly two people. No more “nacho leftovers.” Just pure, crispy, cheesy joy in a bowl. If you’ve been looking for loaded nacho cheese fries but got scared off by the portion sizes, this is your safe space.
Why You’ll Love This Small-Batch Version
I’ve tested this recipe enough times to know it’s not just a quick fix—it’s a genuine upgrade. Here’s why this version works better than the giant batch every time:
- Zero Waste, 100% Satisfaction — Seriously, this is the biggest selling point. You make exactly what you’ll eat in one sitting. I’ve never had a leftover that tasted better than fresh, but I’ve also never wanted a leftover. This recipe respects your fridge and your appetite.
- Crispy Every Single Time — When you make a giant batch, the fries steam each other out. They get soggy before you even put the cheese on. With this small batch, the fries stay crisp under the cheese because there’s no overcrowding. I use a smaller skillet, and the heat stays consistent.
- Lightning Fast — Because you’re cooking for two, the prep time is almost non-existent. You’re looking at 15 minutes from start to finish. That’s faster than ordering delivery, and it’s way hotter.
- Customizable for Two — Maybe you like it spicy and your partner likes it mild? With a small batch, you can easily split the toppings or make one half spicy and one half mild. It’s personal, not communal.
- Uses What You Have — You don’t need to buy a family-sized bag of cheese or a pound of ground beef. This recipe uses pantry staples and leftovers. It’s perfect for those random Tuesday cravings when you don’t want to go to the store.
This is my go-to when I want comfort food that doesn’t turn into a chore. It’s the kind of meal that feels indulgent but doesn’t leave you feeling sluggish or guilty about the mess.
Ingredients You’ll Need (For Just Two)
Here’s the best part: you probably have most of this already. I’m not asking you to buy a specialty ingredient you’ll use once. Here’s what goes into these fries, and why each part matters.
For the Fries
French Fries (12-14 ounces / 340-400g) — I use frozen steak fries or crinkle-cut fries because they hold up better under the weight of the toppings. Shoestring fries get lost. If you’re using fresh-cut potatoes, this recipe needs about 2 medium russet potatoes, cut into thick sticks. But honestly? Frozen is fine. It’s what I do on busy weeknights.
Vegetable Oil (2 tablespoons) — For frying or brushing. If you’re baking, you’ll just need a spray. I prefer frying in a skillet because it’s faster, but baking works if you’re watching the oil intake. Just don’t skip the oil; it’s what makes them crispy.
Salt (½ teaspoon) — Fine sea salt. Sprinkle this on the fries immediately after they’re cooked. They need that salt while they’re hot.
For the Loaded Toppings
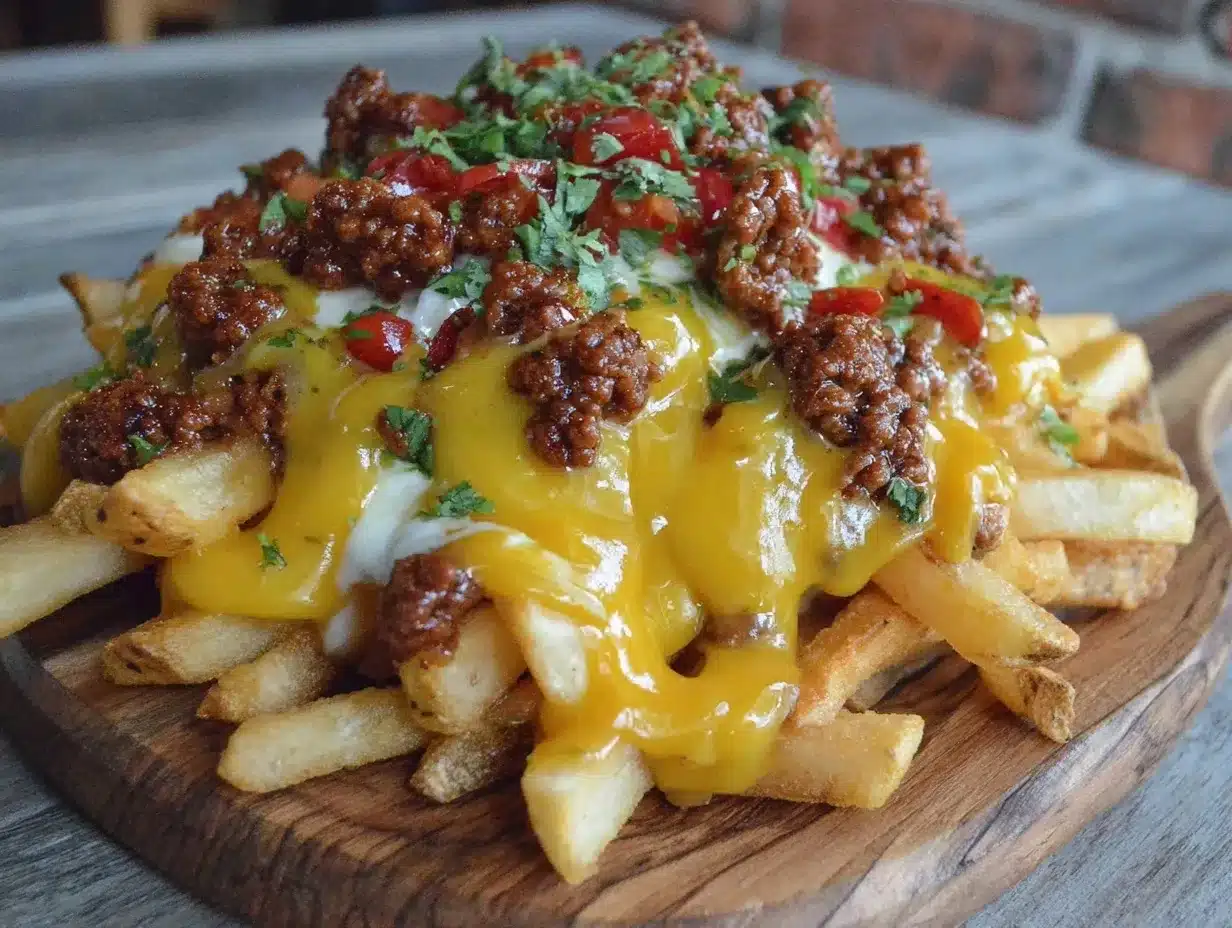
Ground Beef (4 ounces / 115g) — Lean ground beef (90/10 or 85/15). For a small batch, 4 ounces is the perfect amount. It’s enough to get that meaty flavor without being overwhelming. If you prefer turkey, that works too, though beef has better flavor. I sometimes use leftover meatballs chopped up if I have them, but ground beef is the classic choice.
Chili Powder (1 teaspoon) — This is the backbone of the flavor. Don’t skip it. It adds that smoky, savory depth that makes nachos taste like nachos. If you like it spicy, add a pinch of cayenne.
Cumin (½ teaspoon) — Just a little bit. It adds warmth. It’s subtle but necessary.
Cheddar Cheese (1 cup / 100g, shredded) — Use a block and grate it yourself. I cannot stress this enough. Pre-shredded cheese has anti-caking agents that prevent it from melting smoothly. You want gooey, not grainy. Sharp cheddar is best because it stands up to the other flavors.
Monterey Jack Cheese (½ cup / 50g, shredded) — I mix this with the cheddar because it melts better. It’s the secret to that stretchy, cheesy pull. If you can’t find Monterey Jack, just use more cheddar, but the texture won’t be quite as good.
Jalapeños (2-3 tablespoons, sliced) — Fresh or pickled, your choice. Fresh gives a crisp bite; pickled gives a tangy punch. I usually keep a jar of pickled jalapeños in the fridge for this exact reason.
Green Onions (2 stalks, sliced) — For garnish. They add a fresh, oniony pop that cuts through the richness of the cheese.
Optional Add-ins — I sometimes add a tablespoon of salsa or a dollop of sour cream. If you’re feeling fancy, a little bit of cilantro works too. But honestly, the basics are enough.
Equipment Needed
You don’t need fancy gadgets for this. Here’s what I actually use, and what you can swap.
Small Skillet or Cast Iron Pan — A 10-inch skillet is perfect. It’s big enough to spread the fries out in a single layer but small enough to cook quickly. I use my cast iron because it retains heat well, but a non-stick skillet works just as well.
Baking Sheet — If you prefer baking your fries, you’ll need a standard sheet pan. Line it with parchment paper for easy cleanup. I don’t usually use this method because frying in the skillet is faster, but it’s a good option if you’re cooking something else in the oven.
Small Saucepan — Just a tiny one for browning the beef. A 1-quart saucepan is ideal. It prevents the meat from sticking and makes it easy to drain the grease.
Colander — For draining the beef. Or just tilt the pan. I tilt the pan.
Sharp Knife — For slicing jalapeños and green onions. A dull knife will make you cry, especially with jalapeños.
Grater — Box grater or microplane for the cheese. Microplane makes finer shreds that melt even faster.
How to Make It: Step-by-Step
Alright, let’s make this! I’m walking you through exactly how I do it, including the little tricks I’ve picked up so your fries don’t get soggy.
Step 1: Prep Your Beef (5 minutes)
Start with the meat. Heat your small saucepan over medium heat. Add the ground beef, breaking it up with a wooden spoon as it cooks. You want small crumbles, not big chunks. Cook for about 4-5 minutes until it’s browned and no longer pink. Sprinkle in the chili powder and cumin. Stir well so the spices coat the meat. Drain any excess grease. This is crucial—greasy meat makes the fries soggy. Set the meat aside.
Step 2: Cook the Fries (10-12 minutes)
While the beef cooks, get your fries going. If you’re frying: Heat the vegetable oil in your skillet over medium-high heat. You want the oil to be hot enough that a fry sizzles immediately when you drop it in, but not smoking. Add the fries in a single layer. Don’t overcrowd the pan! If your fries are thick, you might need to cook them in two batches, but for this small batch, one go should work. Cook for 5-6 minutes, flipping occasionally, until they’re golden and crispy. If you’re baking: Preheat your oven to 425°F (220°C). Toss the fries with a little oil and salt, spread them on a parchment-lined baking sheet, and bake for 20-25 minutes, flipping halfway through, until crispy.
Step 3: Assemble the Base
Once the fries are cooked, transfer them to your serving skillet (if using a baking sheet, transfer them to a plate or the skillet). Sprinkle them evenly with the salt. They need to be hot and salty before the cheese goes on.
Step 4: Add the Cheese
This is the moment of truth. Sprinkle the shredded cheddar and Monterey Jack cheese evenly over the hot fries. The heat from the fries will start to melt the cheese, but we want it fully melted and gooey. If you’re using the skillet, cover it with a lid for 2-3 minutes. The steam will help melt the cheese without burning it. If you’re using the oven, put it back under the broiler for 1-2 minutes. Watch it closely! Cheese goes from melted to burnt in seconds.
Step 5: Top and Serve
Remove from heat. Immediately sprinkle the browned beef mixture over the cheese. Then add the jalapeños. Finally, garnish with sliced green onions. Serve immediately while the cheese is still melty. These fries don’t wait. They’re best eaten straight out of the pan.
Total Time: About 20 minutes (5 minutes prep, 15 minutes cooking)
Expert Tips & Tricks
Here’s everything I’ve learned from making this dozens of times. These tips will save you from my mistakes.
Don’t Overcrowd the Pan
If your fries are touching each other, they’ll steam instead of fry. For this small batch, it’s usually fine, but if you’re using thicker cuts, make sure there’s space between them. Airflow is your friend.
Grate Your Own Cheese
I know it’s annoying. I know you want to grab the bag from the shelf. But pre-shredded cheese has cornstarch in it. It stops it from clumping, but it also stops it from melting smoothly. You’ll end up with little bits of unmelted cheese. Grate it. It takes 2 minutes.
Drain the Beef Thoroughly
Grease is the enemy of crispiness. After browning the beef, let it sit in the colander for a minute to drain. Then, if you see any oil, blot it with a paper towel. Dry meat = crispy fries.
Use a Lid to Melt Cheese
If you’re not using the broiler, the lid is your best friend. It traps heat and melts the cheese evenly without burning the bottom. It’s a simple trick that makes a huge difference.
Serve Immediately
These fries are a “now” food. If you let them sit for more than 5 minutes, the steam from the hot toppings will soften the fries. Eat them while they’re hot and crispy.
Variations & Substitutions
Once you’ve nailed the basic version, here’s how you can mix it up. I’ve tried all of these.
Vegetarian Version
Skip the beef and add black beans or corn. I usually add ½ cup of drained black beans and ¼ cup of corn. It adds protein and texture without the meat. It’s surprisingly filling.
Chicken Version
Use shredded rotisserie chicken instead of ground beef. It’s faster and lighter. Just warm it up with the spices before topping.
Spicy Kick
Add diced jalapeños to the cheese layer, or use pepper jack cheese instead of Monterey Jack. If you’re a heat lover, drizzle some hot sauce over the top after serving.
Guacamole Top
Instead of just sour cream, add a dollop of guacamole. It adds creaminess and freshness. I love the contrast of hot cheese and cool avocado.
Sweet Potato Fries
You can use sweet potato fries, but they’re softer and sweeter. You might want to add a little more spice to balance the sweetness. I like them with a chipotle mayo drizzle.
Serving & Storage
How to Serve:
I serve these straight from the skillet at the table. It’s rustic and fun. You can use forks or just pick them up with your hands. It’s messy, but that’s part of the fun. Pair it with a simple green salad or creamy garlic mashed cauliflower if you want something lighter on the side. For drinks, a cold beer or a limeade works great.
Storage:
Honestly, these are best fresh. If you do have leftovers (which is unlikely), store them in an airtight container in the fridge for up to 2 days. The fries will lose their crispiness, but you can re-crisp them in a toaster oven or air fryer. The cheese will harden, so reheat gently to melt it back up. I don’t recommend freezing these because the texture of the fries and cheese will be terrible after thawing.
Reheating:
If you must reheat, use an air fryer at 375°F for 3-4 minutes. It brings back some of the crispiness. Microwave will make them soggy, so avoid that if you can.
Nutrition Information
I’m not a nutritionist, but here’s the breakdown if you’re tracking. This is for one serving (half the recipe).
Per Serving (approximate):
– Calories: 650
– Protein: 22g
– Carbs: 45g
– Fiber: 4g
– Sugar: 2g
– Fat: 42g
– Saturated Fat: 18g
– Cholesterol: 65mg
– Sodium: 850mg
What’s Good:
– Good amount of protein from the beef and cheese
– Fiber from the fries and toppings
– Satisfying and filling
What to Know:
– Higher in calories and fat due to cheese and fries
– High sodium content
– Can be made lighter by using less cheese and leaner beef
My Take:
Look, this is comfort food. It’s not a diet recipe. But it’s way better than takeout, and you know exactly what’s in it. When I want to make it lighter, I use turkey and less cheese. But usually? I just enjoy it and balance it out with a salad later.
Final Thoughts
So that’s my loaded nacho cheese fries for two! I’ve talked your ear off, but when you finally find a recipe that works for your actual life (not a hypothetical family of eight), it’s worth sharing.
This has saved my weeknight dinners more times than I can count. It’s my answer to “I want something tasty but I don’t want to cook a big meal.” My partner is happy, I’m happy, and the fridge is happy because there are no leftovers. It’s a win-win-win.
Make it yours! Try different toppings, swap in your favorite cheese, or add some bacon bits. The best recipes are the ones you adapt to your tastes. If you make this, drop a comment and let me know what you think! I love hearing how recipes turn out in your kitchen. And if something doesn’t work, tell me that too—I’m here to help.
Happy cooking! And I hope your kitchen smells half as good as mine does right now.
Frequently Asked Questions
Can I use fresh potatoes instead of frozen fries?
Absolutely. You’ll need about 2 medium russet potatoes. Cut them into thick sticks, soak them in cold water for 30 minutes to remove starch, then pat them very dry. Fry them in oil at 350°F for 5-6 minutes until golden. They’ll take a bit longer than frozen fries, but they’re worth the extra effort. Just make sure they’re dry before frying, or they’ll splatter.
Why did my cheese separate?
That usually happens if the heat was too high. Cheese breaks down and becomes grainy if you blast it with direct heat. Always use low to medium heat, and consider using a lid to trap steam. If you’re using a broiler, watch it like a hawk. Remove it as soon as it’s melted.
Can I make this in the microwave?
You can, but the fries won’t be crispy. They’ll be soft and soggy. If you’re in a rush, microwave the fries for 2 minutes, then add the cheese and heat for another 30 seconds. It’s not ideal, but it works. For best results, use an oven or skillet.
How do I store the beef mixture?
You can cook the beef mixture ahead of time and store it in the fridge for up to 3 days. Just reheat it in a pan before topping the fries. It saves time on busy nights.
Can I freeze these fries?
I don’t recommend it. The fries will become mushy when thawed, and the cheese will separate. It’s best to make them fresh. If you have leftover fries, freeze them alone, then reheat them in the oven before adding fresh toppings.
What cheese is best for nachos?
A mix of cheddar and Monterey Jack is classic. Cheddar provides flavor, and Monterey Jack provides meltability. If you can’t find Monterey Jack, use a mix of cheddar and mozzarella, but mozzarella is milder. Avoid pre-shredded cheese at all costs.
Can I use ground turkey instead of beef?
Yes, turkey works great. It’s leaner and lighter. Just make sure to season it well with the chili powder and cumin, as turkey can be bland on its own. You might also want to add a little olive oil to the pan to keep it from drying out.
Pin This Recipe!
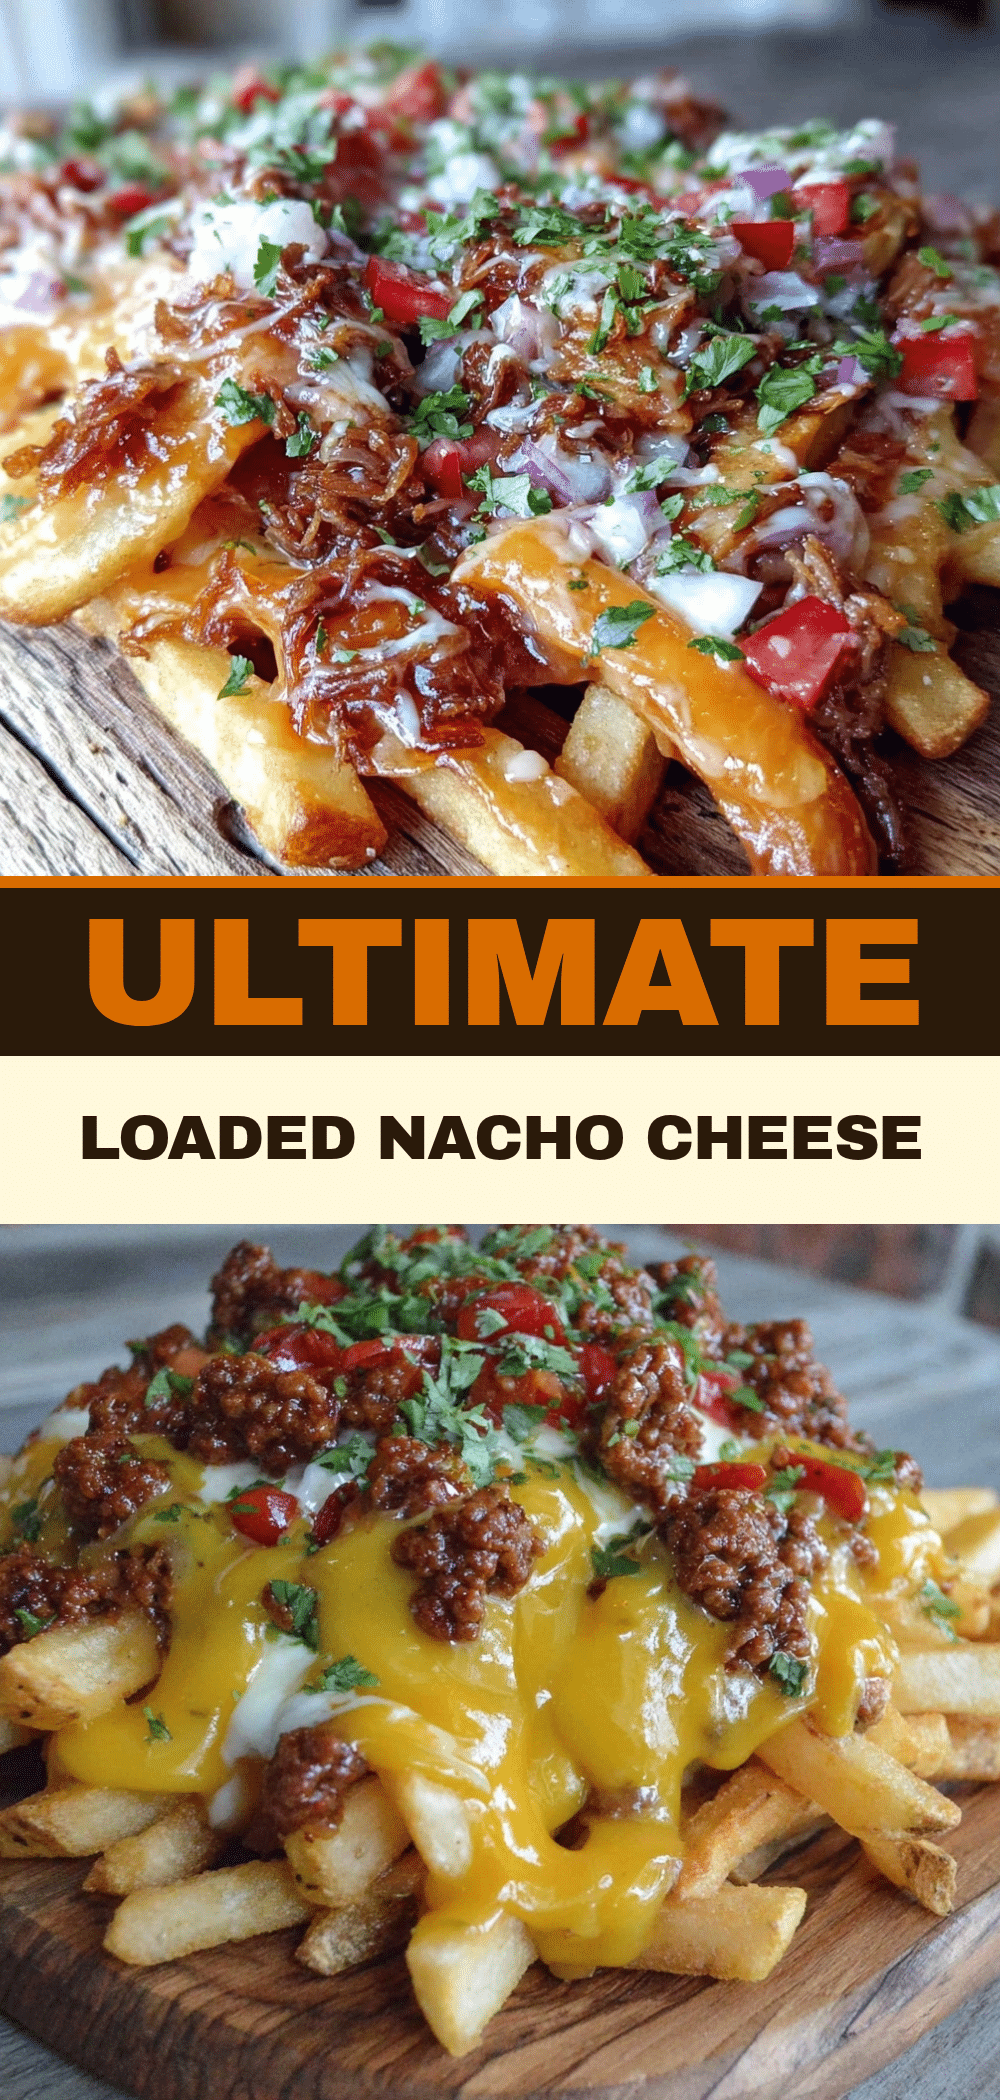
Loaded Nacho Cheese Fries for Small Batches: Easy 1-2 Portion
- Total Time: 20 minutes
- Yield: 2 servings 1x
Description
A small-batch recipe for crispy loaded nacho cheese fries that serves two people, featuring seasoned ground beef, melted cheddar and Monterey Jack cheese, jalapeños, and green onions.
Ingredients
- 12–14 ounces frozen steak fries or crinkle-cut fries (or 2 medium russet potatoes, cut into thick sticks)
- 2 tablespoons vegetable oil
- 1/2 teaspoon fine sea salt
- 4 ounces lean ground beef (90/10 or 85/15)
- 1 teaspoon chili powder
- 1/2 teaspoon cumin
- 1 cup sharp cheddar cheese, shredded
- 1/2 cup Monterey Jack cheese, shredded
- 2–3 tablespoons sliced jalapeños (fresh or pickled)
- 2 stalks green onions, sliced
Instructions
- Heat a small saucepan over medium heat. Add ground beef and break into small crumbles with a wooden spoon.
- Cook beef for 4-5 minutes until browned and no longer pink. Stir in chili powder and cumin. Drain excess grease thoroughly and set aside.
- While beef cooks, heat vegetable oil in a 10-inch skillet over medium-high heat. Add fries in a single layer and cook for 5-6 minutes, flipping occasionally, until golden and crispy. Alternatively, bake fries at 425°F (220°C) for 20-25 minutes, flipping halfway.
- Transfer cooked fries to the serving skillet or plate and sprinkle evenly with salt.
- Sprinkle shredded cheddar and Monterey Jack cheese evenly over the hot fries.
- Cover the skillet with a lid for 2-3 minutes to melt the cheese using steam, or broil in the oven for 1-2 minutes until melted and bubbly.
- Remove from heat and immediately sprinkle the seasoned beef mixture over the cheese.
- Top with sliced jalapeños and garnish with green onions. Serve immediately.
Notes
Grate your own cheese to ensure smooth melting; pre-shredded cheese contains anti-caking agents. Drain beef thoroughly to prevent soggy fries. Serve immediately as the fries lose crispiness quickly. For a vegetarian version, substitute beef with black beans or corn.
- Prep Time: 5 minutes
- Cook Time: 15 minutes
- Category: Appetizer
- Cuisine: American
Nutrition
- Serving Size: 1 serving (half the
- Calories: 650
- Sugar: 2
- Sodium: 850
- Fat: 42
- Saturated Fat: 18
- Carbohydrates: 45
- Fiber: 4
- Protein: 22
Keywords: loaded nacho cheese fries, small batch recipe, easy appetizer, comfort food, nacho fries, quick dinner, cheesy fries