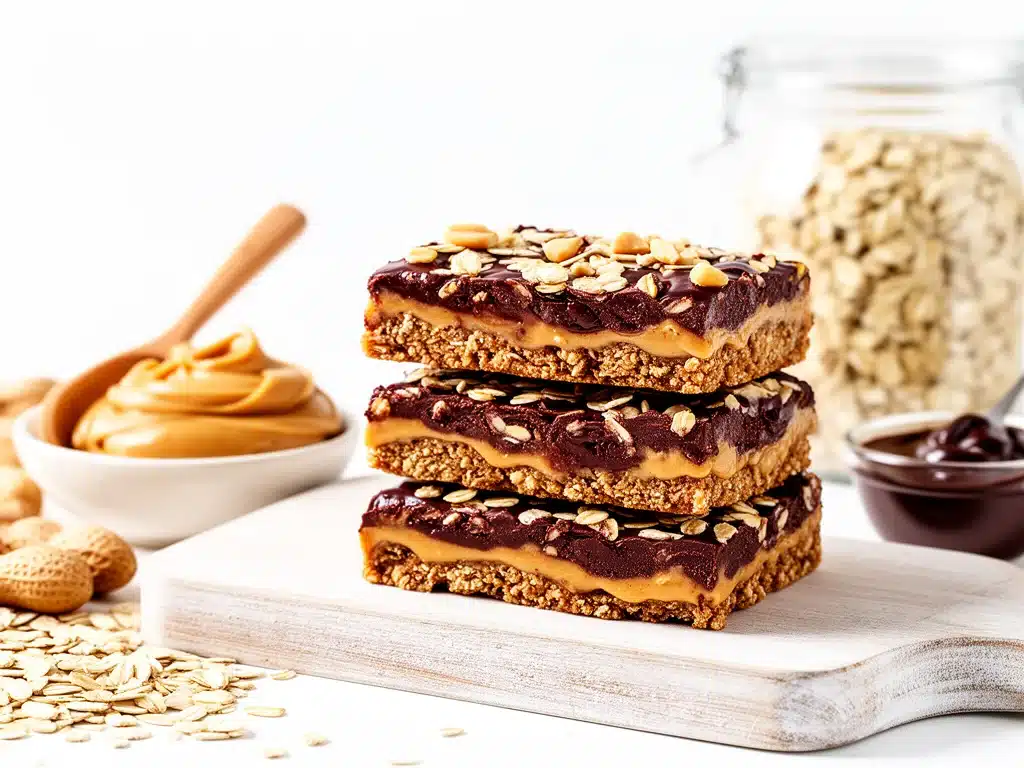
One chilly Saturday afternoon, I found myself staring at a nearly empty pantry, with nothing but a jar of peanut butter, a bag of oats, and some chocolate chips. I was craving something sweet but didn’t want to turn on the oven or make a complicated mess. So, I started mixing whatever felt right—peanut butter, oats, a touch of honey, and chocolate chips. What came out of that spontaneous experiment was a revelation: no-bake chocolate peanut butter oat bars that were insanely good and surprisingly simple.
I’ve since made these bars more times than I can count—sometimes as a quick breakfast, other times as a satisfying snack when I’m working from home. They’re perfect for when you want something homemade but don’t want to spend forever in the kitchen. Plus, they only need simple ingredients you probably already have kicking around. I’m talking about that kind of recipe that feels like a secret weapon, especially when life gets busy or when the oven feels like too much work.
These no-bake chocolate peanut butter oat bars have become my go-to whenever I need a quick energy boost or a sweet treat that doesn’t wreck my afternoon. I’ve tweaked the balance between chocolate and peanut butter just right, and I’m excited to share the full recipe with you. If you’re a fan of easy, wholesome recipes (like my beloved pumpkin streusel coffee cake), you’re going to love these bars.
Why You’ll Love This Recipe
This recipe has totally changed how I think about snacks. There are so many reasons I keep coming back to these no-bake chocolate peanut butter oat bars, but here are the big ones:
- Super Quick to Make — No oven means no waiting. From start to finish, these bars take about 15 minutes, and most of that time is just stirring and pressing. Perfect for last-minute cravings or busy afternoons.
- Simple Ingredients — Seriously, no weird stuff here. Just oats, peanut butter, honey, chocolate chips, and a couple of pantry staples. I’ve made this with everything from natural peanut butter to classic creamy, and it all works.
- Kid-Approved — I’ve made these bars for my kids’ after-school snacks and they disappear fast. Even my pickiest eater keeps asking for “the chocolate peanut butter bars.”
- Portable & Mess-Free — These bars hold up well in lunchboxes and backpacks, making them great for on-the-go snacking. No sticky fingers or melty messes here.
- Customizable — Want to add nuts, seeds, or swap peanut butter for almond butter? Totally doable. I’ll share some of my favorite variations later.
Honestly, these bars are my secret weapon for busy days when I want something homemade, wholesome, and delicious without the hassle. They’ve saved me more than once when I needed a quick energy boost or a satisfying treat that’s not just empty calories.
Ingredients You’ll Need
Here’s the best part: you probably already have most of these in your pantry. This recipe is all about simplicity and using what’s on hand.
- Rolled oats (2 cups / 180g) — The base of the bars. I prefer rolled oats over instant because they give a better chewy texture. Quick oats work in a pinch but the bars aren’t as sturdy.
- Peanut butter (1 cup / 250g) — Use creamy or chunky depending on your preference. Natural peanut butter works but can make the bars a bit softer. I usually use classic creamy for the best consistency.
- Honey (1/3 cup / 113g) — Acts as the natural sweetener and binder. You can substitute maple syrup if you want, but honey gives a lovely flavor.
- Vanilla extract (1 teaspoon) — Just a splash to boost flavor. Don’t skip it; it makes a difference.
- Salt (1/4 teaspoon) — Balances the sweetness and enhances the chocolate and peanut butter flavors.
- Mini chocolate chips (1 cup / 170g) — I go for mini chips because they distribute better throughout the bars. Semi-sweet is my favorite, but use whatever you like.
Optional add-ins:
- Chopped nuts (walnuts, almonds) for crunch
- Flaxseeds or chia seeds for extra nutrition
- Dried cranberries or raisins for a fruity twist
If you want to keep it simple, just stick to the basics. But don’t be afraid to experiment once you’ve nailed the original. For a cozy snack vibe, these bars pair amazingly with a cup of vanilla chai apple cider.
Equipment Needed
You don’t need any fancy tools for this. Here’s what I actually use:
- Mixing bowl — A large bowl to stir everything together. I use my trusty glass one that’s big enough for easy mixing.
- Wooden spoon or silicone spatula — For mixing the sticky ingredients without scratching your bowl.
- 8×8 inch baking pan — Perfect size for pressing the mixture into bars. I line mine with parchment paper for easy removal.
- Measuring cups and spoons — Standard stuff. No need to overthink it.
- Microwave-safe bowl (optional) — To gently warm peanut butter and honey if needed. Sometimes I find it easier to stir when they’re slightly warmed.
That’s it. No oven, no mixer, no complicated gadgets. Just what you probably already have in your kitchen.
How to Make It: Step-by-Step
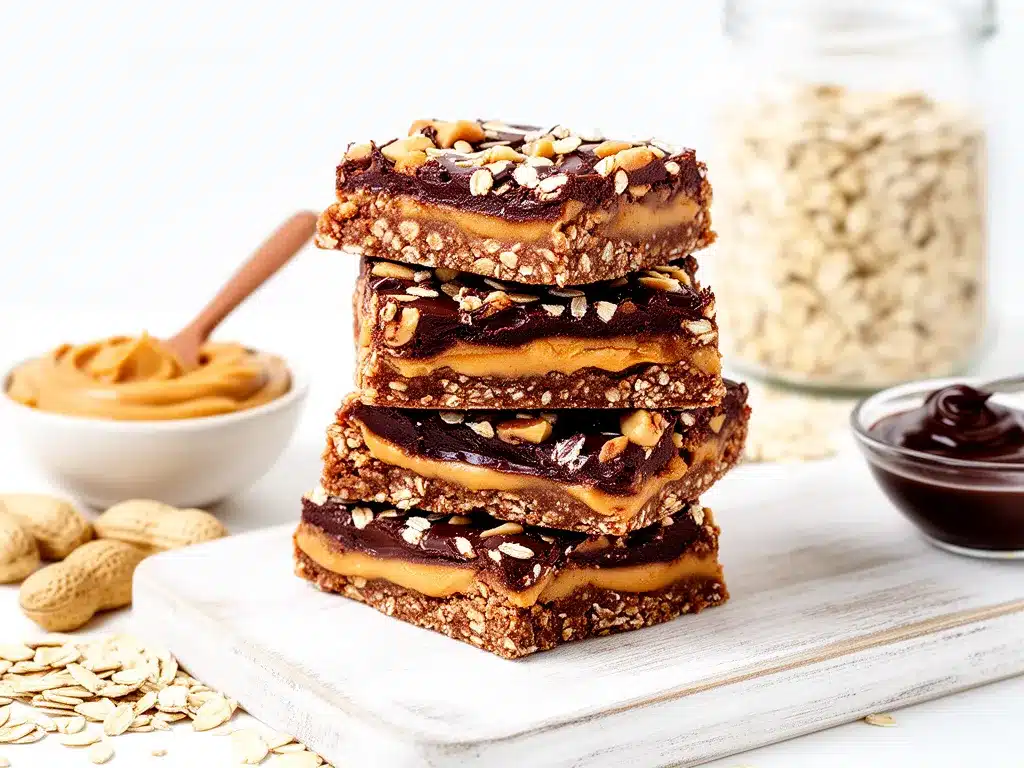
Alright, let’s make these no-bake chocolate peanut butter oat bars! I’m walking you through exactly how I do it, including the little tricks that make them perfect every time.
Step 1: Prep Your Pan and Ingredients (5 minutes)
Start by lining your 8×8 inch pan with parchment paper, leaving some hanging over the sides (this makes it easier to lift the bars out later). Measure out your oats, peanut butter, honey, and chocolate chips. If your peanut butter and honey are super thick, microwave them together in a bowl for about 20 seconds until slightly warm and easier to stir.
Step 2: Mix the Wet Ingredients (2 minutes)
In your mixing bowl, combine the peanut butter, honey, vanilla extract, and salt. Stir until smooth and well blended. This sticky mixture is the glue that holds everything together.
Step 3: Add the Oats (2 minutes)
Pour the rolled oats into the peanut butter mixture. Stir well until every oat is coated. It will look thick and sticky, which is exactly what you want.
Step 4: Fold in the Chocolate Chips (1 minute)
Add the mini chocolate chips last and gently fold them in so they don’t melt too much. The bars will have little pockets of melty chocolate—so good.
Step 5: Press Into Pan (3 minutes)
Transfer the mixture into your prepared pan. Use a spatula or your hands (lightly greased) to press it down firmly and evenly. The firmer you press, the better the bars will hold together once set.
Step 6: Chill and Set (at least 1 hour)
Pop the pan into the fridge and let the bars chill for at least an hour. This step is crucial—don’t skip it! The mixture will firm up and become easy to cut.
Step 7: Slice and Enjoy
Once set, use the parchment paper to lift the slab out of the pan. Cut into bars or squares with a sharp knife. Store leftovers in an airtight container in the fridge.
Expert Tips & Tricks
- Press firmly when you put the mixture in the pan. I learned the hard way that if you don’t, the bars fall apart when you slice them.
- Use natural peanut butter with caution. It can make the bars softer and more crumbly. If you love natural, add a little extra honey or oats to compensate.
- Don’t skip chilling. I once tried to cut the bars after just 30 minutes and they were a sticky mess. Give them the full hour.
- Swap oats for gluten-free oats if you need a gluten-free snack. Works great!
- Experiment with mix-ins. A handful of chopped nuts or dried fruit adds texture and flavor without complicating the recipe.
Pro tip: If you want a little extra indulgence, drizzle melted dark chocolate on top before chilling. It sets beautifully and looks fancy without extra effort.
Variations & Substitutions
Once you’ve nailed this basic recipe, here are some fun ways to change things up. I’ve tried every single one and they all work:
- Almond Butter Bars — Swap peanut butter for almond butter. Slightly nuttier and just as delicious.
- Add Coconut Flakes — Toss in 1/4 cup shredded unsweetened coconut for a tropical twist.
- Chocolate Chunk Upgrade — Use chopped dark chocolate instead of chips for bigger melty bites. I love this for a more decadent bar.
- Protein Boost — Stir in a scoop of vanilla or chocolate protein powder. Perfect for a post-workout snack.
- Seed Mix-In — Add sunflower, pumpkin, or chia seeds for crunch and nutrition.
- Vegan Version — Use maple syrup instead of honey and dairy-free chocolate chips. I make this for friends who avoid animal products.
These bars are incredibly adaptable. If you enjoy my double chocolate cookies, you’ll appreciate how easy these bars are to customize without baking.
Serving & Storage
How to Serve: These bars are great on their own as a quick snack or breakfast on the go. I often pack them in lunchboxes with a side of fresh fruit or a cup of tea. For a cozy afternoon treat, they pair beautifully with warm drinks like apple cider or chai.
Storage: Keep the bars in an airtight container in the refrigerator for up to 5 days. They actually taste better chilled because the flavors meld together. If you want to store them longer, you can freeze the bars individually wrapped for up to 2 months. Just thaw in the fridge before eating.
Reheating: These bars are best eaten cold or at room temperature. If you like, you can microwave one for about 10 seconds to soften, but they hold their shape well chilled.
Nutrition Information
| Per Serving (based on 12 bars) | |
|---|---|
| Calories | 190 |
| Protein | 5g |
| Carbohydrates | 22g |
| Fiber | 3g |
| Sugar | 10g |
| Fat | 9g |
| Saturated Fat | 2g |
| Sodium | 85mg |
Look, these bars are a treat with peanut butter and chocolate, but they also pack some protein, fiber, and healthy fats. I like to think of them as a smarter snack option that keeps me energized without the sugar crash.
Final Thoughts
So that’s my go-to recipe for no-bake chocolate peanut butter oat bars with simple ingredients. I’ve probably talked your ear off, but when you make something this often, you learn all the little details that make it shine.
This recipe has saved me on countless busy days when I wanted a homemade snack without the fuss. It’s easy, adaptable, and hits that perfect balance between sweet and satisfying. Plus, it’s a great way to use pantry staples and avoid the temptation of store-bought bars loaded with mystery ingredients.
Make it yours by adding your favorite mix-ins or swapping nut butters. If you try it, drop a comment and tell me how it went! I love hearing your tweaks and troubleshooting any hiccups you run into.
Happy no-baking! I hope your kitchen smells as good as mine does right now.
Frequently Asked Questions
Q: Can I use quick oats instead of rolled oats?
A: You can, but the bars might be a bit softer and less chewy. Rolled oats give better texture and hold together well. Quick oats absorb moisture faster, so you might need to add a little extra oats to compensate.
Q: Can I substitute almond butter or other nut butters?
A: Absolutely! Almond butter, cashew butter, or sunflower seed butter all work well. Just keep in mind that the flavor and texture will vary slightly. Creamy nut butters give the best binding.
Q: Why won’t my bars hold together?
A: The most common reason is not pressing the mixture firmly enough into the pan or skipping the chilling step. Make sure to pack it down tightly and chill for at least an hour. If your peanut butter is too runny, adding a bit more oats can help.
Q: Can I make these bars ahead of time?
A: Yes! They keep well in the fridge for up to 5 days and freeze beautifully for up to 2 months. Just thaw in the fridge before eating. Making them ahead is perfect for meal prep or busy weeks.
Q: Is there a way to make these bars vegan?
A: Definitely. Swap the honey for maple syrup and use dairy-free chocolate chips. The texture might be slightly different, but they’re still delicious and satisfying.
Q: Can I add protein powder to these bars?
A: Yes, adding a scoop of your favorite vanilla or chocolate protein powder works well. Just add it when mixing the dry ingredients and adjust the oats if the mixture feels too wet or dry.
Q: Can I use peanut butter powder instead of regular peanut butter?
A: I’ve tried this, and it’s a bit tricky because peanut butter powder is dry. You’d need to add extra liquid (like a bit of oil or honey) to get the right consistency. I prefer regular peanut butter for ease and texture.
Pin This Recipe!
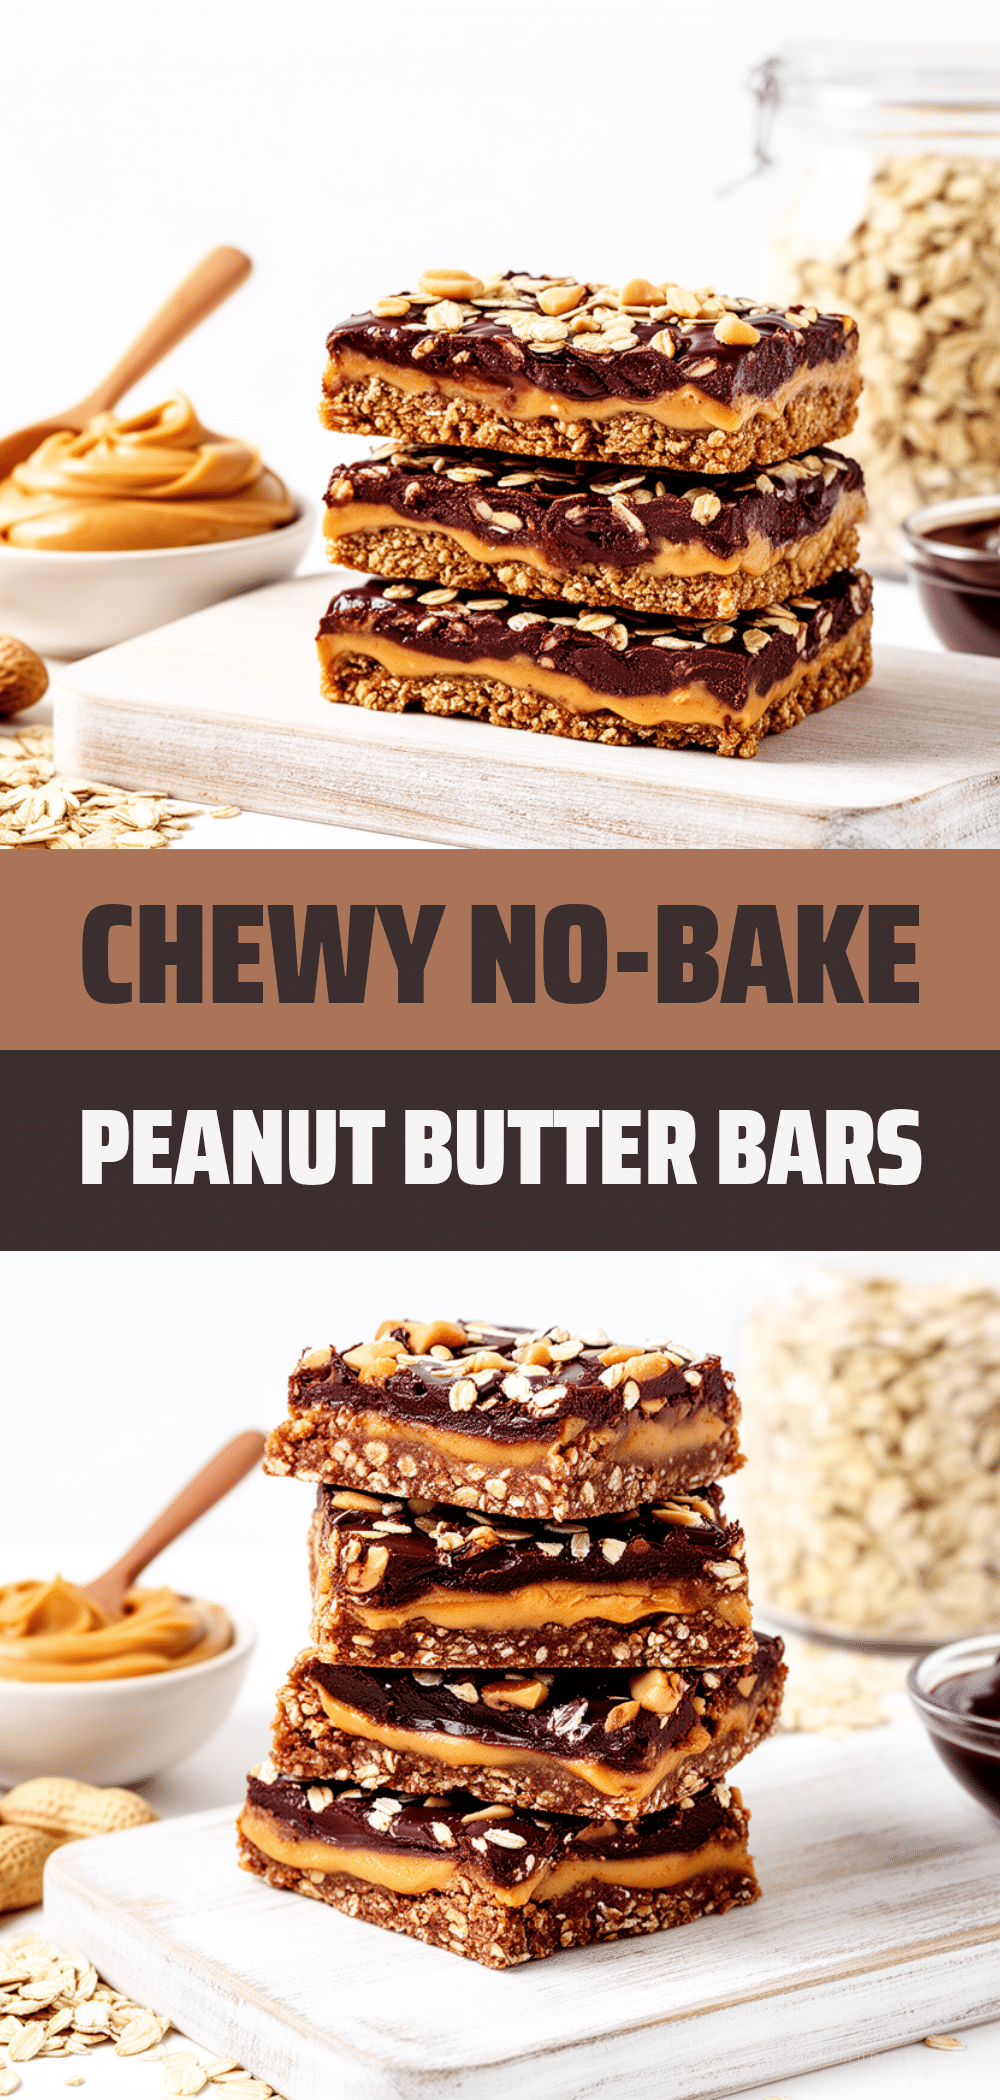
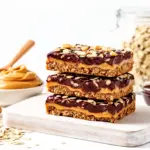
No-Bake Chocolate Peanut Butter Oat Bars
- Total Time: 1 hour 10 minutes
- Yield: 12 bars 1x
Description
Easy no-bake bars made with simple ingredients like peanut butter, oats, honey, and chocolate chips. Perfect for a quick snack or breakfast without using the oven.
Ingredients
- 2 cups (180g) rolled oats
- 1 cup (250g) peanut butter (creamy or chunky)
- 1/3 cup (113g) honey
- 1 teaspoon vanilla extract
- 1/4 teaspoon salt
- 1 cup (170g) mini chocolate chips
- Optional add-ins: chopped nuts (walnuts, almonds), flaxseeds or chia seeds, dried cranberries or raisins
Instructions
- Line an 8×8 inch pan with parchment paper, leaving some overhang for easy removal.
- Measure out oats, peanut butter, honey, and chocolate chips. If peanut butter and honey are thick, microwave together for about 20 seconds to warm slightly.
- In a mixing bowl, combine peanut butter, honey, vanilla extract, and salt. Stir until smooth and well blended.
- Add rolled oats to the peanut butter mixture and stir until every oat is coated.
- Fold in the mini chocolate chips gently to avoid melting.
- Transfer the mixture into the prepared pan and press firmly and evenly using a spatula or lightly greased hands.
- Chill in the refrigerator for at least 1 hour to set.
- Once set, lift the slab out using the parchment paper and cut into bars or squares.
- Store leftovers in an airtight container in the fridge.
Notes
Press the mixture firmly into the pan to ensure bars hold together. Chill for at least one hour before slicing. Natural peanut butter can make bars softer; add extra oats or honey if needed. Bars can be customized with nuts, seeds, dried fruit, or protein powder. For vegan version, substitute honey with maple syrup and use dairy-free chocolate chips.
- Prep Time: 10 minutes
- Cook Time: 0 minutes
- Category: Snack
- Cuisine: American
Nutrition
- Serving Size: 1 bar
- Calories: 190
- Sugar: 10
- Sodium: 85
- Fat: 9
- Saturated Fat: 2
- Carbohydrates: 22
- Fiber: 3
- Protein: 5
Keywords: no-bake bars, chocolate peanut butter bars, oat bars, easy snack, homemade bars, peanut butter snack, no oven dessert