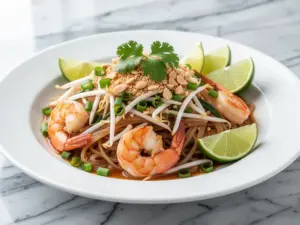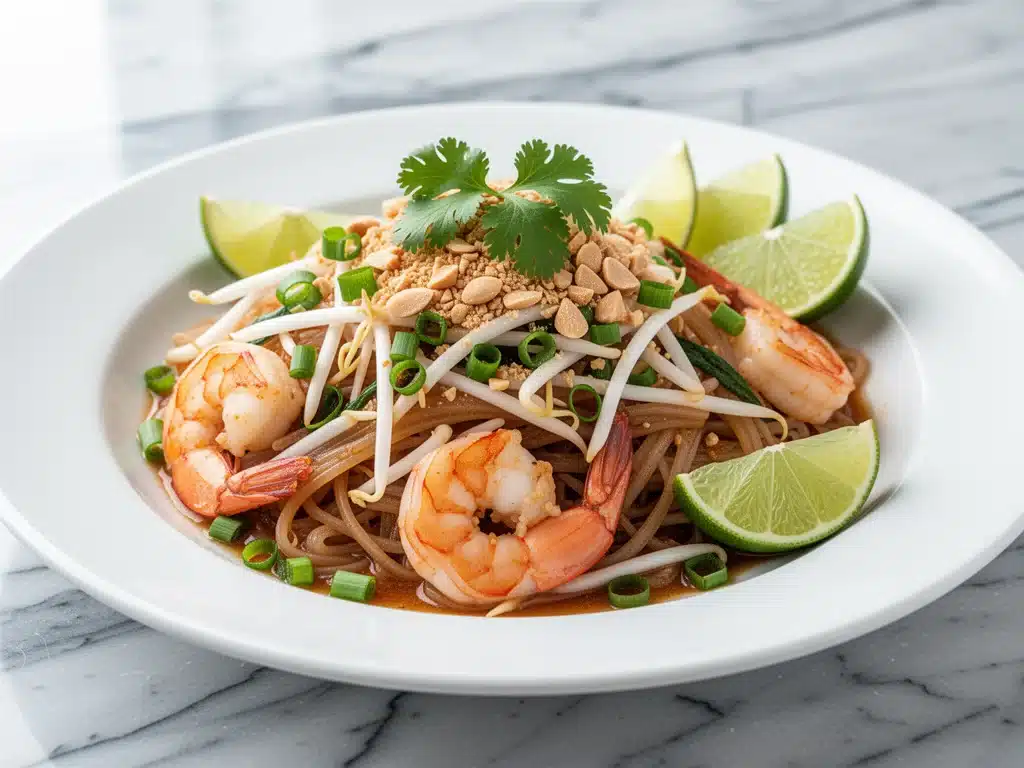
It was a rainy Tuesday in November, the kind where the sky turns that heavy, bruised purple by 4pm, and my stomach was growling loud enough to wake the neighbors. I had zero energy. I didn’t want to drive across town for takeout, and I certainly didn’t want to spend an hour chopping vegetables for a “healthy” dinner that would still leave me wanting more. I just wanted that specific magic: the sticky-sweet-tangy crunch of authentic pad thai, but made in my own kitchen without the stress.
So, I raided my pantry. I didn’t have dried tamarind paste, so I improvised with lemon juice and brown sugar. I didn’t have rice noodles, so I panicked and grabbed spaghetti (don’t judge me, I was hungry). I threw in some frozen peas, leftover rotisserie chicken, and a handful of peanuts I found in the back of the cupboard. What came out of that wok wasn’t just edible; it was incredible. It had that addictive balance of flavors that usually only comes from a street vendor in Bangkok, but it was ready in 30 minutes.
That accidental dinner became a ritual. I’ve refined it, tested it, and perfected it over the last two years. This pad thai recipe isn’t about complicated techniques or hunting down exotic ingredients at three different Asian markets. It’s about using simple pantry staples to create that restaurant-style magic right on your stovetop. It’s tangy, it’s savory, it’s got a little heat, and it’s the ultimate weeknight savior.
If you’ve ever felt intimidated by making Asian noodles at home, this is the recipe to start with. It’s forgiving, it’s fast, and it tastes better than anything you’ll get delivered. Let’s get into how you can make this happen.
Why You’ll Love This Pad Thai Recipe
There are a lot of reasons to keep this pad thai recipe in your rotation, but let’s be real: it’s mostly because it hits all the right spots without requiring a culinary degree.
It Tastes Like Takeout (Without the Grease) — I’ve had pad thai that was drowning in oil and bland. My version uses a high-heat stir-fry technique that gives you that slight char and crunch without the heavy, greasy aftermath. It’s light enough for a weeknight but satisfying enough to feel like a treat.
30 Minutes Flat — Seriously. From the moment you start soaking noodles to the moment you plate up, it’s 30 minutes. Most of that time is passive (soaking noodles, prepping veggies). Active cooking is about 10 minutes. I’ve made this after work, exhausted, and it still came together perfectly.
Pantry-Friendly Ingredients — You don’t need to buy a whole shelf of new spices. The sauce is just fish sauce, soy sauce, sugar, and vinegar (or lemon). If you have these, you’re good. No fancy trips to the specialty store required.
Endless Customization — This is my go-to when I’m trying to use up leftovers. Got half a bell pepper? In it. Some shrimp that needs to be cooked? Done. A vegetarian friend coming over? Skip the meat, add extra tofu. This pad thai recipe bends to whatever you have.
Makes Amazing Leftovers — I know, I know, people say pad thai isn’t great reheated. But if you reheat it gently with a splash of water in a skillet, it actually gets better. The noodles absorb more of that tangy sauce. I deliberately make extra for lunch the next day. It’s cold, it’s room temp, or it’s hot—it’s always delicious.
This recipe has completely changed our Tuesday nights. It’s my answer to “what’s for dinner” when I’m tired, don’t want takeout, and still want something that tastes really good. My kids are happy, my husband’s happy, and I’m happy because I’m not stressed about cooking.
Ingredients You’ll Need
Here’s the best part: you probably have most of this already. The beauty of this pad thai recipe is that it relies on a few key flavors that work together to create something greater than the sum of its parts.
For the Noodles
Rice noodles (8 ounces / 225g) — Look for flat rice noodles, about 1/4 to 1/2 inch wide. They’re often labeled “pad thai noodles.” Do not use vermicelli (the thin spaghetti-like ones); they get mushy. Do not use rice sticks that are too thick; they don’t absorb the sauce well. This is the foundation.
Water (for soaking) — We soak these noodles in warm water, not boiling water. This keeps them from breaking apart when they hit the hot wok. It’s a crucial step for that perfect texture.
For the Tangy Tamarind Sauce
Light soy sauce (3 tablespoons / 45ml) — This gives the salty umami base. I use Kikkoman or a similar brand. If you’re gluten-free, swap for tamari.
Fish sauce (2 tablespoons / 30ml) — Yes, it smells strong. No, it won’t make the dish taste like fish. It adds depth and saltiness that salt alone can’t achieve. I use Red Boat brand because it’s clean and pure. If you hate fish sauce, you can use more soy sauce plus a teaspoon of mushroom sauce, but the flavor profile changes slightly.
Brown sugar (2 tablespoons / 30g) — I prefer brown sugar over white because it has a molasses note that pairs beautifully with the tang. Packed down, not heaped.
Rice vinegar (2 tablespoons / 30ml) — This provides the acid. If you don’t have rice vinegar, white wine vinegar works. Lemon juice can work in a pinch, but it changes the flavor to be more citrus-forward.
Tamarind paste (1 tablespoon / 15g) — Optional but recommended. If you can find it, add it for that authentic sour punch. If you don’t, just add an extra tablespoon of vinegar and a teaspoon of lime juice. This is what makes it “restaurant-style.”
Garlic (4 cloves, minced / about 2 tablespoons) — Fresh only. Jarred garlic has a chemical taste that really shows up in a delicate sauce like this. Mince it fine so it doesn’t burn.
Red pepper flakes (1 teaspoon) — Adjust to heat preference. I like a little kick, but start with 1/2 teaspoon if you’re sensitive to spice.
For the Stir-Fry
Neutral oil (2 tablespoons) — I use avocado oil or vegetable oil. Olive oil has too strong a flavor for this. Sesame oil is for finishing, not frying.
Protein (1 pound / 450g) — I usually use a mix. Shrimp (peeled/deveined) and thin strips of chicken breast or flank steak work great. For vegetarian, use extra-firm tofu, pressed and cubed. I often use leftover roasted chicken for speed.
Eggs (2 large) — Beaten. They add richness and help bind the noodles. Scramble them in the wok before adding the noodles.
Bean sprouts (1 cup / 60g) — Fresh is best. They add that crucial crunch and freshness that cuts through the rich sauce. If you can’t find fresh, frozen (thawed) works, but drain them well.
Green onions (3 stalks, sliced) — White parts for cooking, green parts for garnish. Adds oniony flavor without overpowering.
Garlic chives or regular chives (1/4 cup, chopped) — Traditional in pad thai. If you can’t find them, just use more green onions. They have a subtle garlic-onion flavor.
Roasted peanuts (1/4 cup, crushed) — For garnish. Adds crunch and nuttiness. You can use cashews if you prefer, but peanuts are classic.
Lime wedges (2 limes) — For serving. The fresh lime juice is essential for brightness.
Equipment Needed
You don’t need fancy equipment for this. Here’s what I actually use.
Large Wok or Skillet — A 12-inch skillet works if you don’t have a wok. I prefer a carbon steel wok because it heats evenly and has that nice curved surface for tossing. My non-stick skillet works fine too, just don’t use metal utensils.
Large Bowl — For soaking the noodles. Make sure it’s big enough to hold the noodles and water.
Small Bowl — For mixing the sauce. Having the sauce pre-mixed is crucial because the stir-fry moves fast.
Sharp Knife — For chopping garlic, onions, and slicing protein. A dull knife makes mincing garlic a nightmare.
Wooden Spoon or Spatula — For stirring and tossing. Silicone is fine. Metal can scratch non-stick.
Colander — To drain the noodles after soaking.
Peeler — Optional, but if you want to add carrot ribbons or julienne carrots, a peeler is helpful.
How to Make It: Step-by-Step
Alright, let’s make this! I’m walking you through exactly how I do it, including the little tricks I’ve picked up to ensure that perfect balance of sweet, sour, salty, and savory.
Step 1: Soak the Noodles (15-20 minutes)
Start by soaking your rice noodles in warm (not boiling) water. This is the secret to tender noodles that don’t break. Boiling water makes them mushy. Warm water softens them gradually. Drain them when they’re flexible but still a bit firm (al dente). They’ll finish cooking in the wok. Set them aside.
Step 2: Make the Sauce
In a small bowl, whisk together the soy sauce, fish sauce, brown sugar, rice vinegar, tamarind paste (if using), minced garlic, and red pepper flakes. Stir until the sugar is dissolved. Taste it. It should be a balance of salty, sweet, and sour. If it’s too sour, add a bit more sugar. If it’s too salty, add a splash of water. Adjust now, not later.
Step 3: Prep the Protein and Veggies
While noodles soak, slice your protein. If using chicken, slice it thin against the grain for tenderness. If using shrimp, peel and devein. Slice your green onions, mince garlic, and measure out your bean sprouts and peanuts. Having everything ready (mise en place) is key because stir-frying happens fast.
Step 4: Cook the Protein
Heat 1 tablespoon of oil in your wok or skillet over medium-high heat. Add the protein in a single layer. Don’t crowd the pan. Let it sear for 2-3 minutes before flipping. Cook until just done. Remove from the pan and set aside on a plate. Do not clean the pan; that flavorful residue is good.
Step 5: Scramble the Eggs
Add another tablespoon of oil to the same pan. Pour in the beaten eggs. Let them set for a few seconds, then scramble them into small curds. Cook until just barely set. Remove eggs and add them to the plate with the protein.
Step 6: Stir-Fry the Noodles
Increase heat to high. Add the drained noodles to the hot pan. Pour the sauce over the noodles. Toss everything together vigorously for 2-3 minutes. The noodles will absorb the sauce and darken in color. If they seem dry, add a splash of water. If they’re too wet, cook longer.
Step 7: Combine and Finish
Add the cooked protein, eggs, bean sprouts, and white parts of the green onions back into the pan. Toss everything together for 1-2 minutes until heated through. The bean sprouts should stay crunchy.
Step 8: Serve
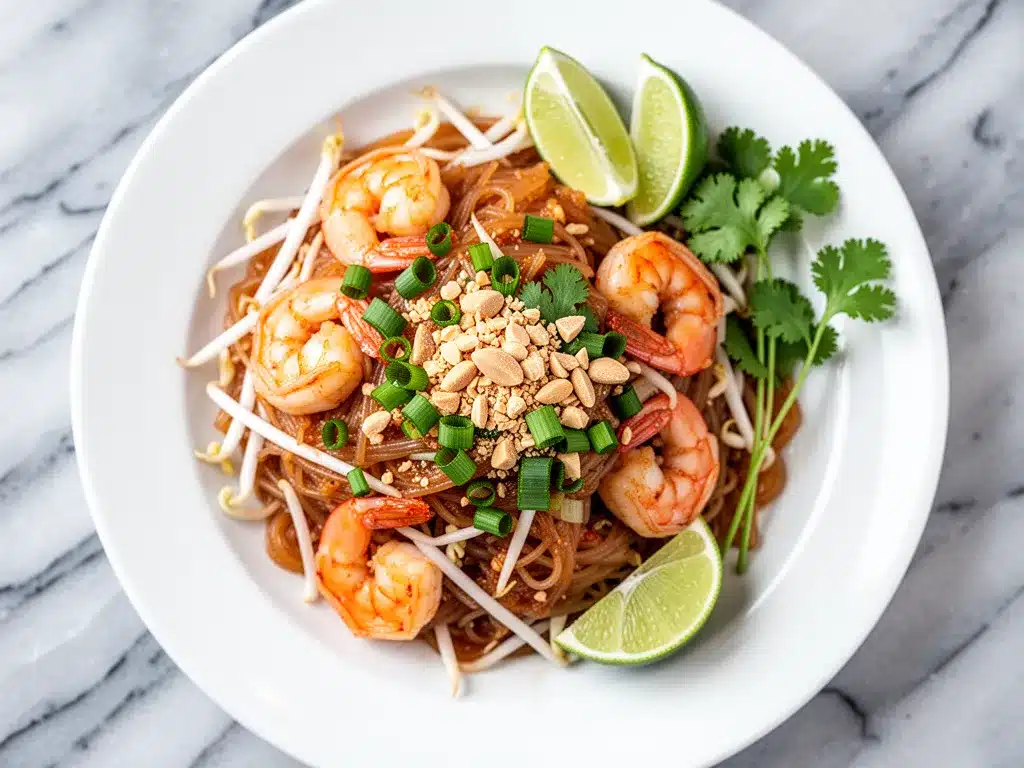
Remove from heat. Garnish with crushed peanuts, green onion tops, and fresh chives. Serve immediately with lime wedges on the side. Squeeze fresh lime juice over the top before eating. This is non-negotiable for flavor.
Total Time: About 30 minutes (15 minutes prep, 15 minutes cooking)
Expert Tips & Tricks
Here’s everything I’ve learned from making this dozens of times. These tips will save you from my mistakes.
Don’t Overcook the Noodles — Rice noodles cook incredibly fast. If you boil them too much, they turn to mush. Soaking is enough. They’ll finish cooking in the wok. If you prefer softer noodles, soak for a few minutes longer, but err on the side of under-soaking.
High Heat is Key — Stir-frying requires high heat to get that “wok hei” (breath of the wok) flavor. Don’t be afraid to turn the heat up. If your stove doesn’t get hot enough, cook in smaller batches so you don’t lower the pan temperature.
Balance the Sauce — Taste your sauce before adding it to the noodles. It should taste a bit too sour and salty on its own. Once it mixes with the bland noodles and protein, it will balance out. If it tastes perfect in the bowl, it will be bland on the plate.
Fresh Lime is Non-Negotiable — The sauce has vinegar, but fresh lime juice adds a bright, floral acidity that vinegar can’t replicate. Always serve with lime wedges.
Use Day-Old Noodles (If You Can) — Fresh rice noodles are best, but if you have leftovers, they work great too. Just soak them briefly to rehydrate.
Don’t Skip the Bean Sprouts — They add texture and freshness. Without them, the dish feels heavy and one-dimensional.
Common Mistakes:
Mistake: Sauce is too thin — Fix: Cook longer on high heat to reduce. Or add a teaspoon of cornstarch mixed with water to thicken.
Mistake: Noodles are sticking together — Fix: Toss them with a tiny bit of oil after draining to prevent clumping.
Mistake: Protein is tough — Fix: Slice chicken against the grain and don’t overcook it. Shrimp cooks in 2 minutes; remove it as soon as it turns pink.
Variations & Substitutions
Once you’ve nailed the basic version, here’s how you can mix it up. I’ve tried all of these.
Vegetarian Pad Thai — Skip the meat and shrimp. Use extra-firm tofu, pressed and cubed. Pan-fry the tofu until crispy before adding it back in. Add extra veggies like bell peppers, carrots, and mushrooms.
Seafood Pad Thai — Use only shrimp, or a mix of shrimp and scallops. Add them at the end so they don’t overcook.
Chicken and Vegetable Load — Add sliced bell peppers, carrots, and snap peas. Cook them with the onions for 2 minutes before adding the noodles. This is how I get my kids to eat vegetables.
Spicy Pad Thai — Add a tablespoon of chili garlic sauce or sriracha to the sauce. Or serve with extra red pepper flakes on top.
Gluten-Free — This recipe is naturally gluten-free if you use tamari instead of soy sauce and ensure your fish sauce is GF (some brands add wheat). Rice noodles are always GF.
Dairy-Free — This recipe is naturally dairy-free. Just ensure your fish sauce and soy sauce are GF if needed.
Serving & Storage
How to Serve: I usually serve this straight from the wok at the dinner table—it looks rustic and stays warm. But here are other ways I’ve enjoyed it:
Side Dishes: Simple cucumber salad, steamed broccoli, or garlic knots if you want something bread-y (though not traditional). A light green salad with sesame dressing works well too.
Toppings Bar: When I have guests, I put out: extra peanuts, crushed red pepper, fresh lime wedges, bean sprouts, and chopped cilantro. Everyone customizes their bowl.
Wine Pairing: Not a wine expert, but my wine-snob friend says a crisp Riesling or a dry Rosé works great with this. The sweetness of the Riesling balances the spice.
Storage Instructions:
Refrigerator: Store in an airtight container for up to 3 days. The noodles will absorb more sauce and get softer, which some people love. The sauce will thicken in the fridge—totally normal.
Reheating: Best method: Add to a skillet with a splash of water or broth over medium heat. Stir until heated through and the sauce re-emulsifies. Microwave sort of works but tends to dry it out. If you do microwave, add a splash of water and heat in 30-second intervals, stirring between.
Freezing: Honestly, this doesn’t freeze well. The bean sprouts get soggy, and the noodles change texture. Make it fresh or store in the fridge for up to 3 days.
Nutrition Information
I’m not a nutritionist, but here’s the breakdown if you’re tracking.
Per Serving (based on 4 servings):
- Calories: 520
- Protein: 28g
- Carbs: 65g
- Fiber: 3g
- Sugar: 12g
- Fat: 18g
- Saturated Fat: 3g
- Cholesterol: 120mg
- Sodium: 980mg
What’s Good: Good protein from shrimp/chicken. Decent carbs for energy. Can add more vegetables to boost fiber.
What to Know: Higher in sodium from fish sauce and soy sauce. Use low-sodium soy sauce to reduce. Contains shellfish and nuts.
Final Thoughts
So that’s my go-to pad thai recipe! I’ve probably talked your ear off at this point, but when you make a recipe this often, you have a lot to say about it.
This has saved weeknight dinners more times than I can count. It’s my answer to “what’s for dinner” when I’m tired, don’t want takeout, and still want something that tastes really good. My kids are happy, my husband’s happy, and I’m happy because I’m not stressed about cooking.
Make it yours! Try different add-ins, swap in your favorite vegetables, adjust the garlic (though more is always better in my opinion). The best recipes are the ones you adapt to your family’s tastes.
If you make this, drop a comment and let me know what you think! I love hearing how recipes turn out in your kitchen. And if something doesn’t work, tell me that too—I’m here to help troubleshoot.
Happy cooking! And I hope your kitchen smells half as good as mine does right now.
Frequently Asked Questions
Can I use spaghetti instead of rice noodles?
You can, but it won’t be traditional pad thai. Spaghetti has a different texture and doesn’t absorb the sauce the same way. If you must, use thin spaghetti and cook it al dente. But I highly recommend trying rice noodles—they’re cheap and make a huge difference.
My sauce came out watery—what happened?
Usually means you didn’t cook it long enough on high heat, or you added too much liquid. Let the sauce simmer with the noodles for a few minutes to reduce. The starch from the noodles will also help thicken it.
Can I make this ahead for a dinner party?
Sort of. You can prep the sauce and chop the veggies ahead. Soak the noodles a few hours before. But cook the noodles and stir-fry fresh right before serving. It takes 10 minutes, and the difference in texture is worth it.
Why did my noodles stick together?
They probably weren’t soaked enough, or they dried out after draining. Make sure to toss them with a little oil after draining if you’re not using them immediately. Also, don’t overcrowd the pan when stir-frying.
Can I use regular sugar instead of brown sugar?
You can, but brown sugar adds a deeper molasses flavor that pairs better with the savory sauce. If you only have white sugar, it will work, but the flavor won’t be as complex.
How do I reheat leftovers without it getting dry?
Add a splash of water or broth to a skillet, add your leftover pad thai, and heat gently over medium heat, stirring frequently. The extra liquid brings back the saucy texture. Microwave sort of works but tends to dry it out. If you do microwave, definitely add a splash of water first and heat in short bursts, stirring between.
Can I double this recipe?
Absolutely! Double everything and use your biggest wok. The cooking times stay the same. I do this when I’m meal-prepping or feeding a crowd. Just make sure your pan is big enough for the noodles—you might need to cook in batches.
Pin This Recipe!
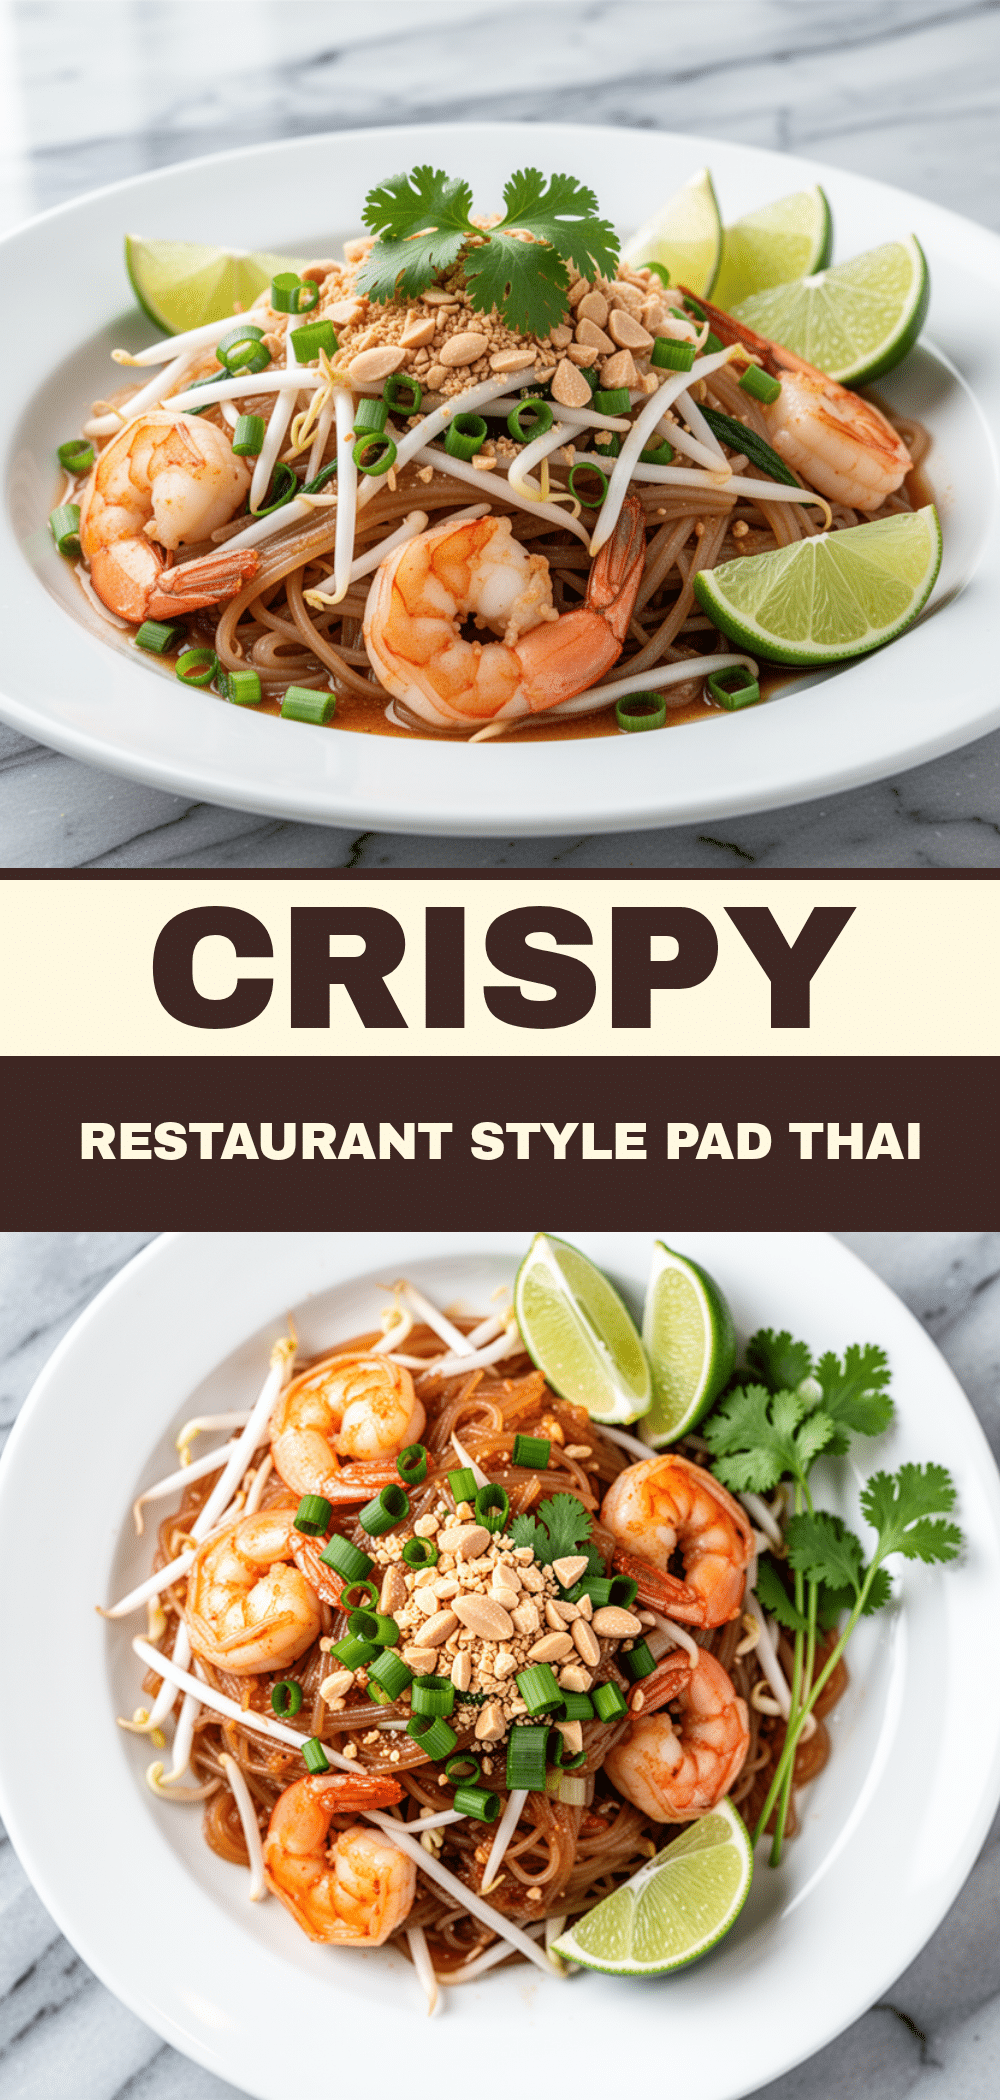
Pad Thai Recipe: Easy 30-Minute Restaurant Style
- Total Time: 30 minutes
- Yield: 4 servings 1x
Description
An easy, pantry-friendly Pad Thai recipe that delivers authentic restaurant-style flavors in just 30 minutes. This stir-fry balances sweet, sour, salty, and savory notes using simple ingredients like rice noodles, fish sauce, and fresh lime.
Ingredients
- 8 ounces (225g) flat rice noodles (pad thai noodles)
- Warm water (for soaking noodles)
- 3 tablespoons light soy sauce (or tamari for gluten-free)
- 2 tablespoons fish sauce
- 2 tablespoons brown sugar
- 2 tablespoons rice vinegar (or white wine vinegar)
- 1 tablespoon tamarind paste (optional)
- 4 cloves garlic, minced
- 1 teaspoon red pepper flakes (adjust to taste)
- 2 tablespoons neutral oil (avocado or vegetable)
- 1 pound protein (shrimp, chicken breast, flank steak, or extra-firm tofu)
- 2 large eggs, beaten
- 1 cup (60g) fresh bean sprouts
- 3 stalks green onions, sliced (white and green parts separated)
- 1/4 cup chopped garlic chives or regular chives
- 1/4 cup roasted peanuts, crushed
- 2 limes, cut into wedges
Instructions
- Soak rice noodles in warm water for 15-20 minutes until flexible but still firm (al dente). Drain and set aside.
- In a small bowl, whisk together soy sauce, fish sauce, brown sugar, rice vinegar, tamarind paste (if using), minced garlic, and red pepper flakes until sugar is dissolved. Taste and adjust seasoning if needed.
- Slice protein (chicken against the grain, shrimp peeled/deveined, or tofu cubed). Prep vegetables and have all ingredients ready.
- Heat 1 tablespoon oil in a large wok or skillet over medium-high heat. Cook protein in a single layer for 2-3 minutes until just done. Remove and set aside.
- Add remaining 1 tablespoon oil to the pan. Pour in beaten eggs and scramble into small curds until barely set. Remove and add to the plate with the protein.
- Increase heat to high. Add drained noodles to the hot pan. Pour sauce over noodles and toss vigorously for 2-3 minutes until noodles absorb sauce and darken.
- Add cooked protein, eggs, bean sprouts, and white parts of green onions back into the pan. Toss for 1-2 minutes until heated through.
- Remove from heat. Garnish with crushed peanuts, green onion tops, and chives. Serve immediately with lime wedges on the side.
Notes
Do not boil the rice noodles; soaking in warm water prevents them from breaking. High heat is essential for the ‘wok hei’ flavor. The sauce should taste slightly too sour and salty before adding to noodles, as it will balance out during cooking. Serve with fresh lime juice for brightness. Leftovers can be stored in the refrigerator for up to 3 days and reheated gently with a splash of water.
- Prep Time: 15 minutes
- Cook Time: 15 minutes
- Category: Main Course
- Cuisine: Thai
Nutrition
- Serving Size: 1 plate
- Calories: 520
- Sugar: 12
- Sodium: 980
- Fat: 18
- Saturated Fat: 3
- Carbohydrates: 65
- Fiber: 3
- Protein: 28
Keywords: Pad Thai, Thai noodles, stir fry, weeknight dinner, easy recipe, restaurant style, gluten-free option, vegetarian option