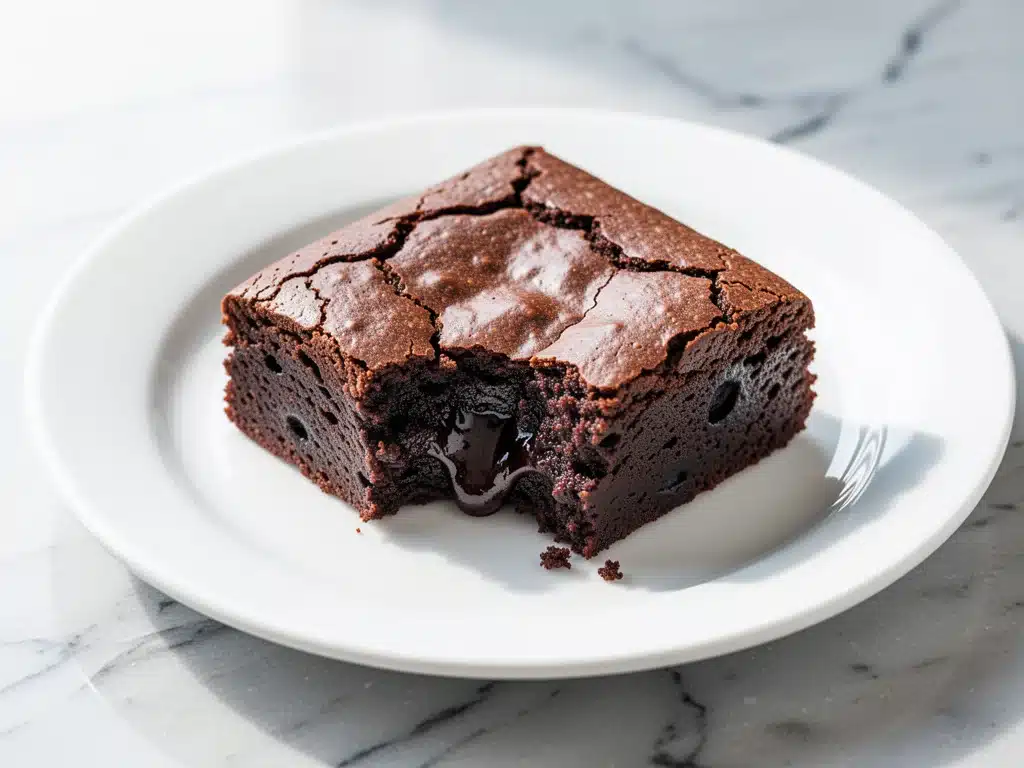
I have a confession to make. Last weekend, I made these ultra-fudgy one-bowl brownies three times in four days. Three. Times. My husband looked at me with that specific mix of affection and concern that says, “Honey, we need to talk about your baking habits.” But here’s the thing: I couldn’t stop. The first batch came out of the oven and the smell hit me—deep, rich chocolate, warm vanilla, and just a hint of salt—and I knew I had to get it right. The second batch? I tweaked the sugar ratio because the first ones were almost too sweet for my taste. The third batch? Perfection. Crisp, paper-thin crackly top. Gooey, dense, fudgy center. And the best part? I didn’t need a mixer, a stand, or even a whisk. Just one bowl and a spoon.
There is something deeply satisfying about a recipe that refuses to complicate things. I’ve spent years chasing the perfect brownie, testing dozens of recipes that required melting chocolate, whipping egg whites separately, and a whole lot of dishes I didn’t want to clean. I wanted something that fit into real life. Something I could make at 9 PM on a Tuesday when I’m craving dessert but don’t have the energy for a project. These ultra-fudgy one-bowl brownies are exactly that. They are the dessert equivalent of wearing your favorite sweatpants: comfortable, reliable, and absolutely delicious.
I’ve tested this recipe with different chocolate brands, adjusted the baking times for various oven quirks, and even tried substituting ingredients to see what would break the texture. Through all the trial and error, one thing remained constant: the result was always incredible. These brownies have a texture that sits right on the border between cake and fudge. They’re dense enough to be chewy but light enough that they don’t feel like eating a brick. If you’re looking for a dessert that looks impressive but is actually stupid simple to make, you’re going to fall in love with this recipe. It’s become my go-to for potlucks, last-minute guests, and quiet nights where I just need a little chocolate comfort.
Why You’ll Love This One-Bowl Brownie Recipe
Let’s be real for a second. There are a million brownie recipes out there. So why this one? Why should you clear a spot in your schedule for these ultra-fudgy one-bowl brownies? Because they solve the biggest problem with baking: the cleanup. And they taste better than anything from a box.
Zero Cleanup Stress — Seriously. You mix everything in one bowl. One bowl. You don’t need to melt chocolate in a double boiler, you don’t need to whip butter, and you don’t need to separate eggs. Just dump, stir, and bake. I’ve made these while holding my toddler, and they still came out perfect. If you can stir, you can make these.
Texture That Actually Works — I’ve made brownies that were too cakey (dry, boring) and brownies that were too greasy (heavy, sad). These hit the sweet spot. The crackly top is non-negotiable for me—it’s the sign of a good brownie. And the inside? Dense, moist, and fudgy without being raw. I’ve served these to professional bakers and casual dessert lovers alike, and everyone asks for the recipe. No one can believe they came from one bowl.
Ready in 30 Minutes — From start to finish, these take about 30 minutes. That includes cooling time, but honestly? I don’t wait. I cut into them warm and let the gooey chocolate run down my chin. If you’re in a rush, you can even make a half-batch in a smaller pan. It’s perfect for when you have a craving at 8 PM and don’t want to order takeout.
Uses Pantry Staples — You probably have most of these ingredients already. Flour, sugar, cocoa powder, butter, eggs, vanilla. If you have a box of cocoa in your cupboard, you’re halfway there. I keep this recipe in my back pocket for when I need to make a quick gift or bring something to a neighbor. It’s humble ingredients with gourmet results.
This is my go-to when I need a win in the kitchen. No fancy techniques, no weird ingredients, just reliable, delicious chocolate goodness that makes everyone happy. It’s the kind of recipe that reminds you why you love cooking in the first place.
Ingredients You’ll Need
Here’s the best part: the ingredient list is short, simple, and mostly things you already have. I’m not going to make you hunt for exotic flours or expensive chocolate chips. This is about quality over quantity. Let’s break down what you need and why each part matters.
Unsalted Butter (1 cup / 226g) — I use salted butter if that’s what I have, but unsalted gives you better control over the final salt level. Melt it completely. Don’t worry if it’s hot; we’re mixing it with sugar anyway. I like to melt it in the microwave in 30-second bursts so I don’t burn it. Burnt butter tastes bitter, and we don’t want that.
Granulated Sugar (1 ½ cups / 300g) — This is key for that crackly top. The sugar dissolves into the melted butter and creates that thin, crisp layer. Don’t reduce the sugar too much, or you’ll lose that texture. I’ve tried cutting it back, and while it’s less sweet, it misses that signature crunch.
Packed Brown Sugar (½ cup / 100g) — This adds moisture and a hint of caramel flavor. It’s what keeps the brownies fudgy instead of cakey. Use light or dark brown sugar; I usually use light because it’s what I always have. Dark brown sugar will make them a bit more molasses-forward, which is delicious but changes the flavor profile slightly.
Eggs (2 large) — Room temperature eggs mix in easier, but cold eggs work fine too. Don’t overbeat them. We’re not making a cake; we’re making fudge. Just whisk them in until combined.
Vanilla Extract (2 teaspoons) — Good quality vanilla makes a huge difference. I use pure vanilla, not imitation. If you’re using imitation, the flavor will taste flat against the chocolate. A splash of vanilla enhances the chocolate without tasting like vanilla itself.
All-Purpose Flour (¾ cup / 95g) — Don’t use cake flour or bread flour. All-purpose is the sweet spot. Measure it carefully. If you scoop directly from the bag, you might pack too much flour, which leads to dry brownies. Spoon it into the measuring cup and level it off with a knife. This step matters more than you think.
Cocoa Powder (½ cup / 50g) — Use unsweetened cocoa powder. Dutch-processed or natural works, but Dutch-processed has a deeper, darker flavor. I prefer Dutch-processed because it makes the chocolate taste richer. Make sure your cocoa powder isn’t old. If it’s been sitting in the back of the cupboard for two years, it might be stale. Fresh cocoa smells intense and chocolatey.
Salt (½ teaspoon) — This is crucial. Salt balances the sweetness and makes the chocolate flavor pop. Don’t skip it. If you’re using salted butter, you can reduce this to ¼ teaspoon, but I still like a little extra salt.
Chocolate Chips (1 cup / 170g) — Semi-sweet or dark chocolate chips. I like to use a mix of chips and chopped chocolate bars for variety. The chips melt into pockets of goo, while the chopped bar adds chunks of solid chocolate. If you’re using chips, look for high-quality ones like Ghirardelli or Lindt. Cheap chips often have wax and don’t melt as nicely.
Optional: Sea Salt Flakes — For sprinkling on top after baking. This is the pro move. The crunch of salt against the soft fudge is addictive. I do this every time now.
Equipment Needed
You don’t need fancy equipment for this. Here’s what I actually use. Most of this is stuff you already have in your kitchen drawer.
One Large Mixing Bowl — I use a 4-quart glass bowl. It’s big enough to mix everything without making a mess, and you can see through it to check the consistency. Glass is nice because it doesn’t retain heat, but plastic or metal works fine too.
Microwave-Safe Bowl or Saucepan — For melting the butter. I use a microwave-safe bowl because it’s faster. If you prefer the stovetop, use a small saucepan over low heat. Just keep an eye on it so it doesn’t boil over.
Fork or Whisk — You don’t need an electric mixer. A simple fork or a small whisk is perfect for combining the wet ingredients and then incorporating the dry. I use a fork because it’s what’s closest to me.
8×8 Inch Baking Pan — This is the standard size for this recipe. Line it with parchment paper for easy removal. I use the “overhang” method—let the parchment stick out over the edges so you can lift the whole brownie block out once it’s cooled. This makes cutting and cleaning way easier.
Parchment Paper — Non-negotiable. Greasing the pan isn’t enough for these sticky, fudgy brownies. Parchment ensures they don’t stick and makes cleanup a breeze. Just lay it in the pan, leaving a little overhang on two sides.
Wire Cooling Rack — For cooling the brownies. You can let them cool in the pan on the counter, but a rack allows air to circulate and prevents the bottom from getting soggy. I usually just leave them in the pan on the counter if I’m in a hurry.
Chef’s Knife — For cutting the brownies. A sharp knife makes clean cuts. If your knife is dull, you’ll get crumbly edges and messy squares. I wipe the knife between cuts to keep the shapes tidy.
How to Make It: Step-by-Step
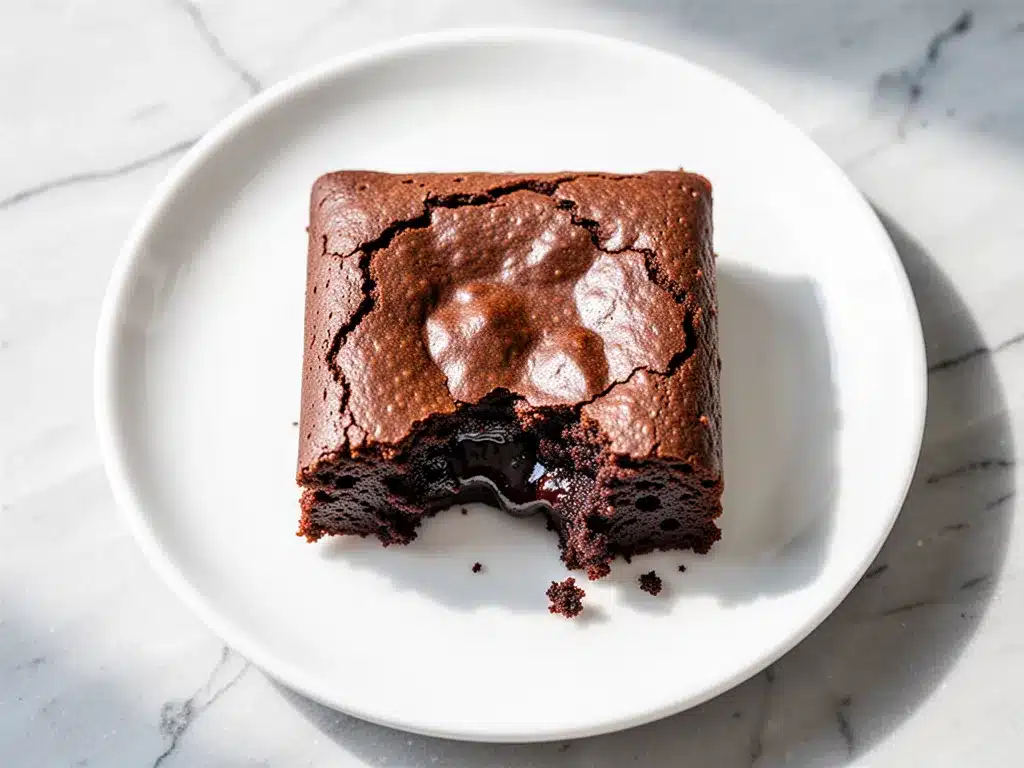
Alright, let’s make these ultra-fudgy one-bowl brownies! I’m walking you through exactly how I do it, including the little tricks I’ve picked up over time. It’s simpler than you think, but there are a few key moments to pay attention to.
Step 1: Prep Your Pan and Oven (2 minutes)
Preheat your oven to 350°F (175°C). This is the most important step. If your oven isn’t hot enough, the brownies won’t set properly. While it heats, line your 8×8 inch baking pan with parchment paper. Leave a little overhang on the sides so you can lift the brownies out later. Lightly grease the parchment with a little butter or cooking spray. This ensures nothing sticks.
Step 2: Melt the Butter (1-2 minutes)
Melt the butter in a microwave-safe bowl or a saucepan. If using the microwave, heat in 30-second intervals, stirring in between, until fully melted. Don’t let it boil or brown. If using a saucepan, melt over low heat, stirring constantly. Pour the melted butter into your large mixing bowl. Let it cool for a minute so it’s warm but not piping hot.
Step 3: Mix the Sugars (1 minute)
Add the granulated sugar and packed brown sugar to the warm butter. Whisk vigorously for about 30-60 seconds. This step is crucial for that crackly top. You want the sugar to dissolve slightly into the butter. The mixture should look shiny and glossy. If it looks grainy, keep whisking. This glossy base is what creates that signature crust.
Step 4: Add Eggs and Vanilla (1 minute)
Whisk in the eggs one at a time, then add the vanilla extract. Mix until just combined. Don’t overmix here. You want the eggs to be fully incorporated, but you don’t need to whip air into them. The batter should be smooth and liquidy at this point.
Step 5: Combine Dry Ingredients (1 minute)
Add the all-purpose flour, cocoa powder, and salt to the wet mixture. Stir gently with a fork or spatula until just combined. The batter will look thick and dark. Stop mixing as soon as you no longer see streaks of flour. Overmixing develops gluten, which leads to cakey brownies instead of fudgy ones. We want fudgy, so be gentle.
Step 6: Fold in Chocolate Chips (1 minute)
Gently fold in the chocolate chips. Use a spatula to lift the batter from the bottom and fold it over. This ensures the chips are distributed evenly without breaking them up too much. You want pockets of chocolate, not a uniform chocolate batter.
Step 7: Bake (25-30 minutes)
Pour the batter into the prepared pan and spread it out evenly with a spatula. Bake for 25-30 minutes. The exact time depends on your oven and how fudgy you like them. For fudgy brownies, aim for 25 minutes. For cakier brownies, go for 30 minutes. The edges should be set and pulling away slightly from the sides, but the center should still look slightly underbaked and shiny. Insert a toothpick into the center—it should come out with moist crumbs, not wet batter. If it comes out clean, they’re overbaked.
Step 8: Cool and Serve (30 minutes)
Let the brownies cool in the pan for at least 30 minutes. This is the hardest part, but it’s necessary. If you cut them while they’re hot, they’ll be a mess. The cooling process allows the brownies to set and firm up. Once cooled, lift them out of the pan using the parchment overhang. Sprinkle with sea salt flakes if using. Cut into squares and enjoy.
Expert Tips & Tricks
Here’s everything I’ve learned from making these dozens of times. These tips will save you from my mistakes and guarantee success.
Don’t Overbake — This is the #1 mistake people make. Brownies continue to cook in the pan after you take them out of the oven. If they look fully set in the pan, they will be dry once cooled. Pull them out when the center looks slightly underbaked. The residual heat will finish the job.
Use Good Cocoa Powder — Since cocoa is the main flavor, cheap powder tastes like cardboard. Spend the extra dollar on a good brand like Guittard or Droste. It makes a world of difference in the depth of flavor.
Room Temperature Eggs — While cold eggs work, room temperature eggs emulsify better with the butter and sugar. If you forget, just drop the eggs in a bowl of warm water for 5 minutes. They’ll heat up fast.
Measure Flour Correctly — I can’t stress this enough. Scooping flour packs it down, leading to dry brownies. Spoon the flour into the cup and level it off. It seems like a small detail, but it’s the difference between fudgy and cakey.
Let Them Cool — I know you want to eat them now. But waiting 30 minutes makes a huge difference in texture. The brownies will set properly and be easier to cut. If you can’t wait, at least let them cool for 15 minutes.
Add Sea Salt on Top — This is a game-changer. The contrast of salty crunch against sweet fudge elevates the flavor profile. It’s not just decorative; it balances the sweetness. Use flaky sea salt like Maldon for the best effect.
Common Mistakes (and how to avoid them):
- Mistake: Brownies are dry. Fix: You overbaked them. Next time, pull them out 2-3 minutes earlier.
- Mistake: Brownies are cakey. Fix: You overmixed the batter or used too much flour. Measure carefully and stop mixing once combined.
- Mistake: No crackly top. Fix: You didn’t whisk the sugar and butter enough. Make sure the mixture is glossy before adding eggs.
Variations & Substitutions
Once you’ve nailed the basic version, here’s how you can mix it up. I’ve tried all of these, and they all work beautifully.
Nutty Brownies — Add 1 cup of chopped walnuts or pecans when you fold in the chocolate chips. The crunch adds a nice texture contrast. I love this version for holiday gatherings.
White Chocolate Chip — Swap semi-sweet chips for white chocolate chips. It’s sweeter and creamier. Great for kids or if you want a milder chocolate flavor.
Peppermint Brownies — Add ½ teaspoon peppermint extract to the batter and top with crushed candy canes after baking. Perfect for Christmas.
Espresso Brownies — Add 1 teaspoon of instant espresso powder to the dry ingredients. It enhances the chocolate flavor without tasting like coffee. My husband’s favorite variation.
Gluten-Free — Use a 1:1 gluten-free flour blend. The texture will be slightly different but still delicious. I’ve used Bob’s Red Mill and it works well.
Dairy-Free — Use vegan butter and dairy-free chocolate chips. The texture might be slightly less fudgy, but they’re still tasty. I use Miyoko’s butter for best results.
Serving & Storage
How to Serve: I usually serve these plain, straight from the pan. But here are other ways I’ve enjoyed them:
- With a scoop of vanilla ice cream (warm brownie, cold ice cream = perfection)
- With a dollop of whipped cream and fresh berries
- Crumbed over yogurt for breakfast (don’t judge me, it works)
Storage Instructions:
Room Temperature: Store in an airtight container for up to 4 days. They actually stay moist for days. I keep mine on the counter because they’re that good.
Refrigerator: Store in the fridge for up to 1 week. They’ll firm up, so let them sit at room temperature for 10 minutes before eating.
Freezing: Yes, you can freeze them! Wrap individual squares in plastic wrap and store in a freezer bag for up to 3 months. Thaw at room temperature. Great for meal prep.
Nutrition Information
I’m not a nutritionist, but here’s the breakdown if you’re tracking. Keep in mind that nutrition varies based on ingredients and portion size.
Per Serving (based on 16 brownies):
- Calories: 280
- Protein: 3g
- Carbs: 38g
- Fiber: 2g
- Sugar: 28g
- Fat: 14g
- Saturated Fat: 8g
- Sodium: 120mg
What’s Good: They’re rich in antioxidants from the cocoa. A small square is a satisfying treat.
What to Know: High in sugar and fat, as expected for a brownie. Moderation is key. If you want to lighten it up, try the half-sugar version, but the texture will change.
Final Thoughts
So that’s my go-to ultra-fudgy one-bowl brownies! I’ve probably talked your ear off at this point, but when you make a recipe this often, you have a lot to say about it. These brownies have saved my dessert game more times than I can count. They’re my answer to “what’s for dessert” when I’m tired, don’t want to order out, and still want something that tastes really good. My kids are happy, my husband’s happy, and I’m happy because I’m not stressed about baking.
Make it yours! Try different add-ins, swap in your favorite chocolate, or just enjoy them plain. The best recipes are the ones you adapt to your family’s tastes. If you make this, drop a comment and let me know what you think! I love hearing how recipes turn out in your kitchen. And if something doesn’t work, tell me that too—I’m here to help troubleshoot.
Happy baking! And I hope your kitchen smells half as good as mine does right now.
Frequently Asked Questions
Q: Can I use dark chocolate instead of chips?
A: Absolutely! I actually prefer using chopped chocolate bars because you get more control over the melt. Use about 1 cup of chopped semi-sweet or dark chocolate. It creates bigger, gooier pockets of chocolate.
Q: Why are my brownies cakey instead of fudgy?
A: This usually happens if you overmix the batter or use too much flour. Remember: spoon and level your flour, and stop mixing as soon as the flour disappears. Also, don’t overbake them. Pull them out when the center looks slightly underbaked.
Q: Can I make these in a 9×13 pan?
A: Yes, but you’ll need to double the recipe. The baking time will increase to about 35-40 minutes. Keep an eye on them and test with a toothpick.
Q: Do I need to sift the cocoa powder?
A: Not necessarily. If your cocoa powder is clumpy, you can sift it, but usually, whisking it into the flour is enough. I just stir it in with the flour to avoid clumps.
Q: Can I reduce the sugar?
A: You can reduce it by up to ¼ cup, but the crackly top might not form as well. The sugar is key for that texture. If you’re watching sugar, consider using a sugar substitute, but note that it will change the texture significantly.
Q: How do I know when they’re done?
A: The edges should be set and pulling away from the pan. The center should still look slightly shiny and underbaked. A toothpick should come out with moist crumbs, not wet batter. If it’s clean, they’re done.
Q: Can I add nuts?
A: Yes! 1 cup of chopped walnuts or pecans is a great addition. Fold them in with the chocolate chips. They add a nice crunch and balance the richness.
Pin This Recipe!
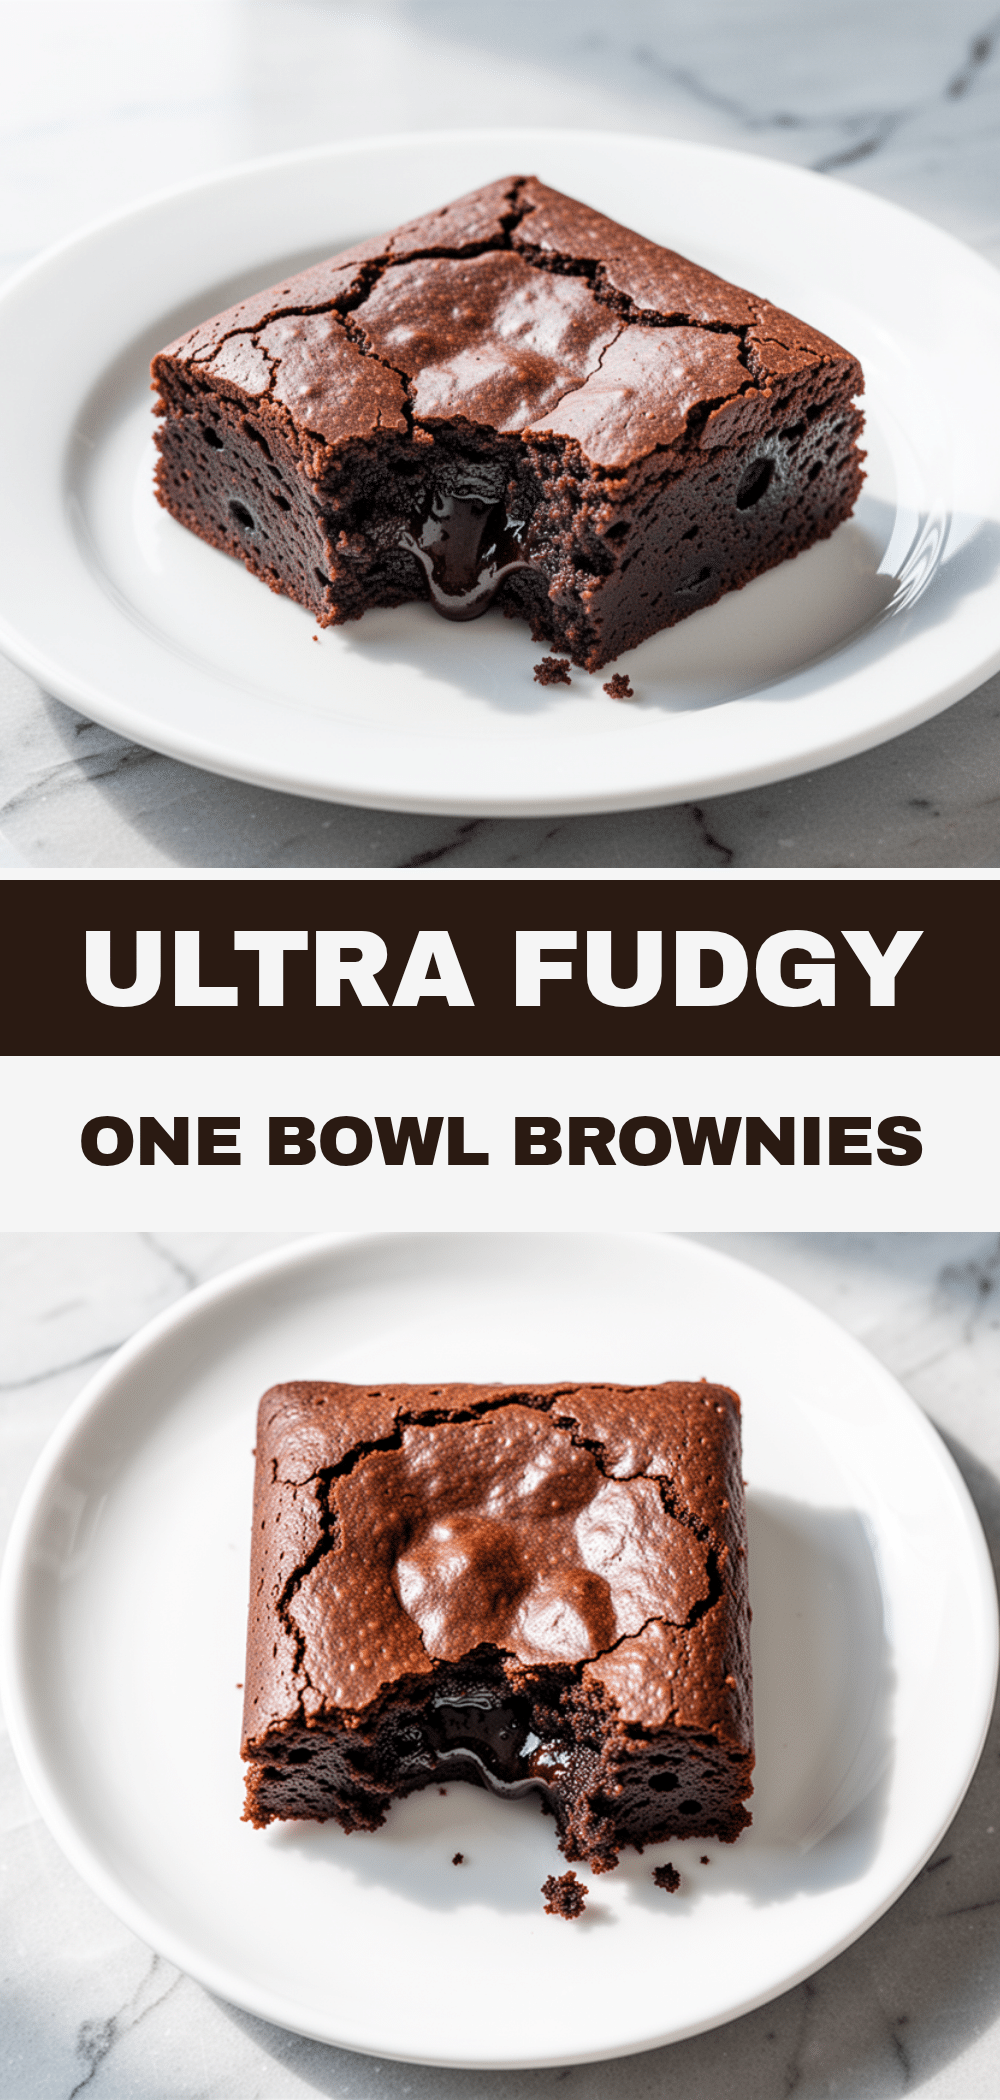
Ultra-Fudgy One-Bowl Brownies: Easy Best Recipe
- Total Time: 40 minutes
- Yield: 16 servings 1x
Description
These ultra-fudgy one-bowl brownies deliver a crisp, crackly top and a dense, gooey center with zero cleanup stress. Made with simple pantry staples and just one bowl, they are the perfect easy dessert for any occasion.
Ingredients
- 1 cup (226g) unsalted butter, melted
- 1 ½ cups (300g) granulated sugar
- ½ cup (100g) packed brown sugar
- 2 large eggs
- 2 teaspoons vanilla extract
- ¾ cup (95g) all-purpose flour
- ½ cup (50g) unsweetened cocoa powder
- ½ teaspoon salt
- 1 cup (170g) semi-sweet or dark chocolate chips
Instructions
- Preheat oven to 350°F (175°C). Line an 8×8 inch baking pan with parchment paper, leaving an overhang on the sides, and lightly grease the parchment.
- Melt the butter in a microwave-safe bowl or saucepan. Pour into a large mixing bowl and let cool for a minute.
- Add granulated sugar and brown sugar to the warm butter. Whisk vigorously for 30-60 seconds until the mixture is shiny and glossy.
- Whisk in the eggs one at a time, then add the vanilla extract. Mix until just combined.
- Add the flour, cocoa powder, and salt to the wet mixture. Stir gently until just combined; do not overmix.
- Gently fold in the chocolate chips using a spatula.
- Pour batter into the prepared pan and spread evenly. Bake for 25-30 minutes. The edges should be set, but the center should look slightly underbaked. A toothpick should come out with moist crumbs.
- Let brownies cool in the pan for at least 30 minutes before lifting them out and cutting into squares. Sprinkle with sea salt flakes if desired.
Notes
Do not overbake the brownies as they continue to cook in the pan after removal. For the best crackly top, ensure the sugar and butter mixture is glossy before adding eggs. Spoon and level the flour to avoid dry brownies. Room temperature eggs emulsify better, but cold eggs work too. Store in an airtight container at room temperature for up to 4 days.
- Prep Time: 10 minutes
- Cook Time: 30 minutes
- Category: Dessert
- Cuisine: American
Nutrition
- Serving Size: 1 brownie square
- Calories: 280
- Sugar: 28
- Sodium: 120
- Fat: 14
- Saturated Fat: 8
- Carbohydrates: 38
- Fiber: 2
- Protein: 3
Keywords: brownies, fudgy brownies, one bowl brownies, easy dessert, chocolate brownies, homemade brownies, crackly top brownies