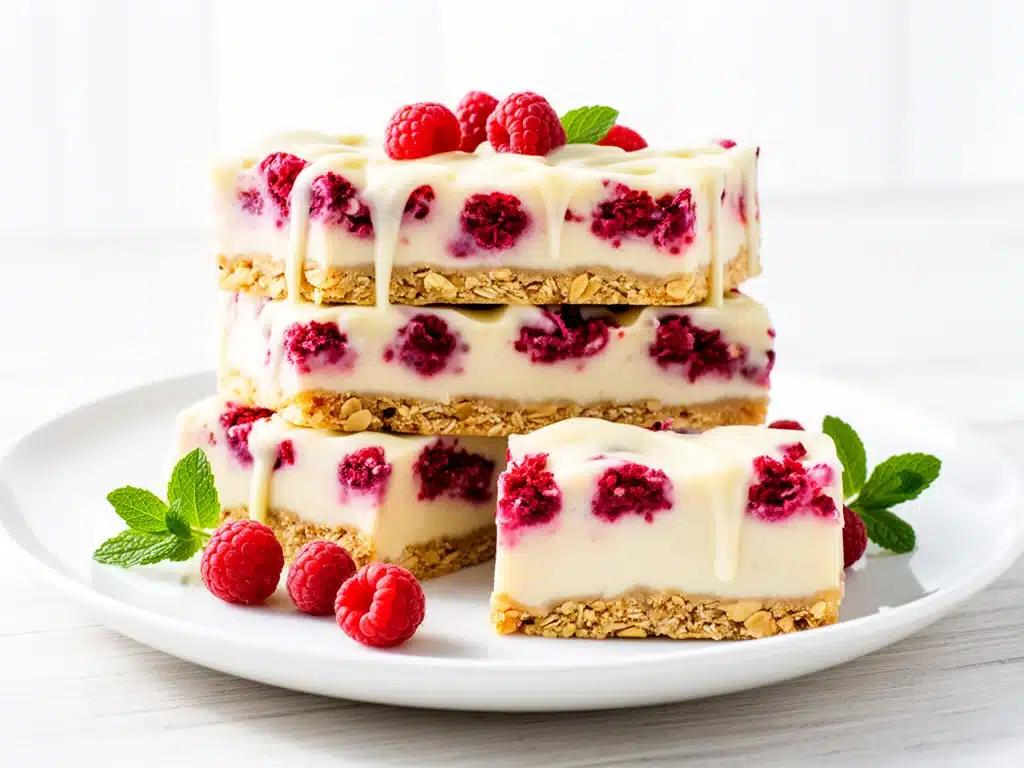
One rainy Saturday afternoon, I found myself craving something sweet but didn’t want to haul out the mixer or wait for an oven to preheat. I rummaged through the pantry and spotted a bag of frozen raspberries and a block of white chocolate that had been sitting there too long. I figured, why not throw together something quick and fuss-free? That’s how these White Chocolate Raspberry No-Bake Bars with Simple Ingredients came to life—totally on a whim, no heat required, and with ingredients I already had on hand.
After a few test batches (yes, I ate way too many), I perfected the balance between tart raspberries and sweet, creamy white chocolate nestled on a crunchy, buttery base. The best part? You don’t need any fancy equipment or obscure ingredients. I’ve since made these bars for weekend brunches, last-minute guests, and even packed them for a picnic. They’re a total crowd-pleaser with zero stress.
If you’re anything like me—sometimes craving something indulgent but wanting to keep it easy—these bars are your new best friend. Plus, the bright raspberry flavor gives a fresh twist that cuts through the sweetness beautifully.
Why You’ll Love This Recipe
This recipe has completely changed how I think about desserts that don’t require baking or complicated steps. There are a handful of reasons I keep coming back to these White Chocolate Raspberry No-Bake Bars, but here are the biggest ones:
- Simple Ingredients — You don’t need a pantry full of fancy stuff. Butter, white chocolate, raspberries, and a few pantry staples—nothing more.
- No Oven Required — Perfect for hot days when you don’t want to heat up the kitchen or for anyone who doesn’t own an oven (I’m looking at you, college students).
- Fast and Fuss-Free — From start to fridge, these bars take under 30 minutes to prep. I’ve whipped them up while chatting on the phone or helping my kids with homework.
- Fresh and Fruity Flavor — The tart raspberries contrast the sweetness of white chocolate in a way that feels indulgent but not heavy.
- Make-Ahead Friendly — Make them the day before, and the flavors meld beautifully. They hold up well in the fridge for 4-5 days (if they last that long!).
Honestly, these bars have become my go-to dessert when I want something that feels special but is super easy. They’ve saved me on more than one occasion when unexpected guests dropped by, and the rave reviews keep coming.
Ingredients You’ll Need
Here’s the best part: you probably have most of these ingredients already, and they’re all straightforward. I’m picky about a couple of things in this recipe, and I’ll tell you why as we go.
- White chocolate chips or chopped white chocolate (12 oz / 340g) — Use good-quality white chocolate. The flavor really shines here, so avoid the cheap stuff that’s waxy or overly sweet. I prefer Ghirardelli or Callebaut if I can find it.
- Unsalted butter (6 tablespoons / 85g) — Gives the crust that perfect buttery crunch without adding extra saltiness. Salted butter works in a pinch, but reduce added salt if you do.
- Graham cracker crumbs (1 ½ cups / 150g) — This forms the base. You can crush whole graham crackers in a zip-top bag with a rolling pin or buy pre-made crumbs. I like the classic honey flavor, but cinnamon ones add a nice twist.
- Granulated sugar (¼ cup / 50g) — Just a touch to sweeten the crust and balance the tart raspberries.
- Fresh or frozen raspberries (1 ½ cups / 225g) — Fresh is ideal, but frozen works well too (just thaw and drain excess liquid). The raspberries give the bars their signature tangy pop.
- Vanilla extract (1 teaspoon) — Enhances the white chocolate’s flavor and adds warmth.
- Salt (¼ teaspoon) — Balances sweetness and enhances all the flavors.
Optional add-ins: I sometimes sprinkle chopped pistachios on top for color and crunch, or mix in a handful of toasted coconut flakes into the crust for a tropical twist.
Equipment Needed
You don’t need fancy tools for these bars—just basics that you likely already own.
- 8×8-inch baking pan — I use glass or metal interchangeably. Line it with parchment paper with overhang for easy removal.
- Mixing bowls — One for the crust, one for melting chocolate.
- Microwave-safe bowl or double boiler — For melting the white chocolate gently (more on this later).
- Spatula or wooden spoon — For mixing and spreading the crust and chocolate layers evenly.
- Measuring cups and spoons — Standard kitchen tools.
- Food processor or rolling pin — For crushing graham crackers if you don’t have pre-made crumbs.
How to Make It: Step-by-Step
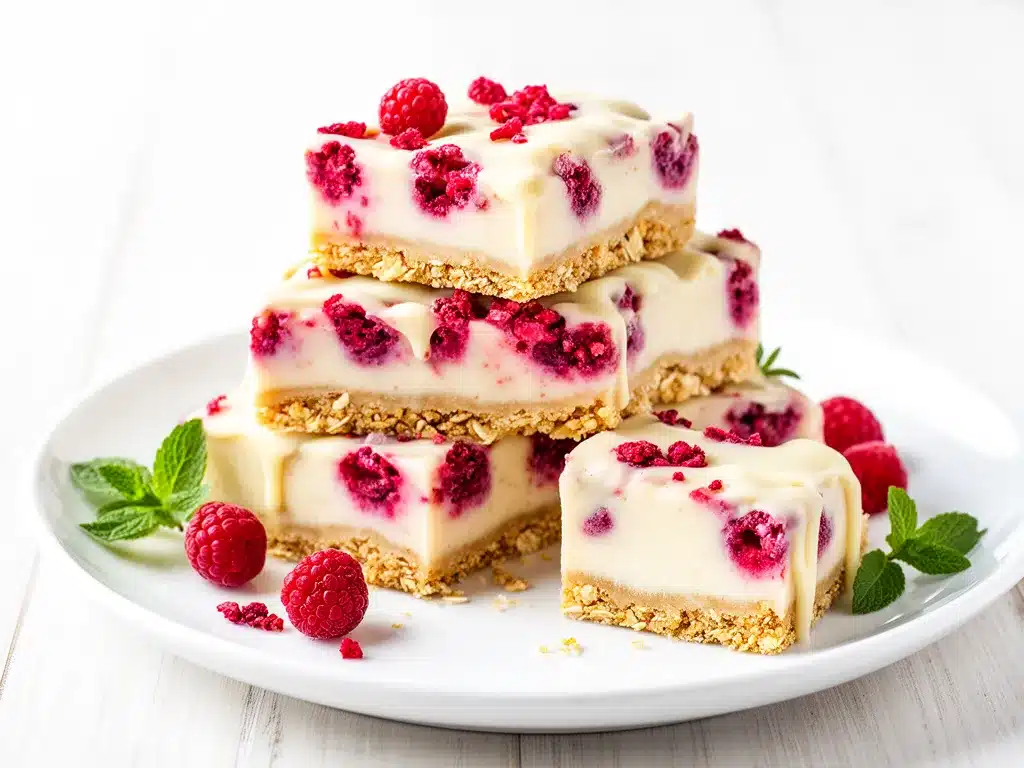
Alright, let’s make these White Chocolate Raspberry No-Bake Bars with Simple Ingredients! I’m walking you through exactly how I do it, including the little tricks that make a big difference.
Step 1: Prepare the Crust (10 minutes)
Start by melting the butter in a small saucepan or microwave. In a mixing bowl, combine graham cracker crumbs, sugar, and salt. Pour the melted butter over the crumbs and stir until everything is moistened and looks like wet sand.
Press this mixture firmly and evenly into the bottom of your prepared 8×8 pan. I like to use the bottom of a glass to pack it down tightly—this helps the crust hold together when you slice the bars.
Step 2: Melt the White Chocolate (5-7 minutes)
Using a microwave-safe bowl, melt the white chocolate in 20-second intervals, stirring between each until smooth. Be careful—it can burn easily. Alternatively, use a double boiler method by placing a heatproof bowl over simmering water, stirring until melted.
Once melted, stir in the vanilla extract.
Step 3: Add the Raspberry Layer (3 minutes)
If you’re using frozen raspberries, make sure they’re thawed and drained. Gently fold the raspberries into the melted white chocolate, trying not to crush them too much—you want those whole pops of tartness.
Step 4: Assemble and Chill (5 minutes + chilling time)
Pour the raspberry and white chocolate mixture over the crust, spreading evenly with a spatula. Don’t worry if it looks a bit uneven; it will set beautifully in the fridge.
Place the pan in the fridge and chill for at least 2 hours, or until firm. Overnight chilling works even better if you have the time.
Step 5: Slice and Serve
Once set, lift the bars out using the parchment overhang. Use a sharp knife to cut into squares—wipe the knife clean between cuts for neater slices.
These bars are best served chilled but will soften slightly at room temperature, making the white chocolate creamier.
Expert Tips & Tricks
- Don’t skip chilling: The bars need time to firm up so they hold their shape. I’ve tried cutting them too soon, and it’s a mess.
- Melting chocolate gently: White chocolate burns more easily than dark chocolate. Take your time melting it slowly for the smoothest texture.
- Use parchment paper: This makes removing the bars a breeze and keeps the crust intact.
- Fresh vs. frozen raspberries: Frozen work fine but drain them well to avoid soggy bars.
- Press the crust firmly: It helps keep the bars together when cutting and serving.
- To avoid sticky fingers: Store the bars in the fridge until right before serving, especially in warm kitchens.
Variations & Substitutions
Once you’ve nailed the basic version, here are some ways I’ve mixed things up:
- Swap Raspberries for Strawberries or Blueberries — Both work well with white chocolate. I especially love fresh strawberries chopped and folded in.
- Chocolate Base — Replace graham cracker crumbs with crushed chocolate cookies for a richer crust.
- Nutty Twist — Add a handful of chopped almonds or pecans into the crust for crunch.
- Vegan Version — Use dairy-free white chocolate and vegan butter substitutes. The flavor changes a bit, but still delicious.
- Add a Drizzle — Once chilled, drizzle melted dark chocolate over the top for contrast and a pretty finish.
Serving & Storage
I usually serve these bars straight from the fridge, cut into small squares for easy snacking. They’re perfect alongside a cup of coffee or afternoon tea—kind of like a less fussy alternative to a fall pumpkin streusel coffee cake when you want something fruity and fresh.
If you’re bringing these to a party, they travel well in a sealed container but keep them chilled until serving.
Storage: Store bars in an airtight container in the fridge for up to 5 days. They don’t freeze well because the texture changes—the white chocolate can get grainy. For leftovers, I like to take them out 10 minutes before serving so they soften slightly.
Nutrition Information
| Nutrient | Per Serving (based on 12 bars) |
|---|---|
| Calories | 230 |
| Protein | 2g |
| Carbohydrates | 25g |
| Fiber | 1g |
| Sugar | 18g |
| Fat | 13g |
| Saturated Fat | 8g |
| Cholesterol | 30mg |
| Sodium | 80mg |
This recipe delivers a sweet, creamy treat with a decent balance of carbs and fats. The fresh raspberries add a touch of fiber and natural tartness, which helps balance out the white chocolate’s sweetness. It’s not a health food, but it’s a feel-good dessert that beats store-bought anytime.
Final Thoughts
So that’s my easy homemade White Chocolate Raspberry No-Bake Bars with Simple Ingredients! I’ve probably shared way more than you expected, but when a recipe becomes a staple, you end up with lots of little tips and stories.
These bars have saved me more than once when I needed a sweet fix without the hassle of baking. Plus, they’re a total crowd-pleaser that feels fancy but isn’t. Whether you’re making them for a casual afternoon treat or a last-minute dessert, they won’t disappoint.
Make them your own—try different berries, add nuts, or pair with a cozy drink like the fall vanilla chai apple cider I love on chilly evenings. And hey, if you give them a try, drop a comment below! I’d love to hear how your bars turn out, or if you have your own twists to share.
Happy no-bake baking! I hope your kitchen smells as sweet and inviting as mine does right now.
Frequently Asked Questions
Q: Can I use white chocolate chips instead of a block of white chocolate?
A: Absolutely! White chocolate chips melt well and are convenient. Just keep a close eye on them while melting to avoid burning. I usually chop a block because it melts more evenly, but chips work fine for a quick fix.
Q: What’s the best way to melt white chocolate without it seizing?
A: Low and slow is key. Use 20-second bursts in the microwave, stirring well between each, or melt over a double boiler. Avoid any moisture getting into the chocolate because it causes it to seize. If that happens, adding a little vegetable oil can sometimes save it.
Q: Can I substitute the graham cracker crust with something else?
A: Yes! Crushed digestive biscuits, vanilla wafers, or even chocolate cookies can work. Just make sure to adjust the sugar and butter amounts slightly depending on the sweetness and texture of your crumbs.
Q: How do I prevent the raspberries from making the bars soggy?
A: Using fresh raspberries or well-drained thawed frozen ones helps. You can also gently pat them dry with paper towels before folding into the chocolate. Too much moisture can make the bars less firm.
Q: Can I make these bars vegan or dairy-free?
A: You can try using vegan white chocolate and plant-based butter substitutes. The texture and flavor will be a bit different, but it still works as a no-bake treat. Nutritional yeast won’t work here because you need the creamy sweetness of white chocolate.
Q: How long do these bars keep in the fridge?
A: They stay fresh for about 4 to 5 days in an airtight container. Beyond that, the crust can start to soften and the texture changes. I usually make them fresh within a couple of days to enjoy the best texture.
Q: Can I double the recipe for a bigger batch?
A: Definitely! Just double all the ingredients and use a larger pan—like a 9×13-inch. The chilling time remains about the same, but it might take a little longer for the bars to set completely.
Oh, and if you enjoy no-bake desserts, you might find the thick bakery-style double chocolate cookies on this site just as irresistible. They’re perfect when you want something rich but don’t want to fuss with complicated recipes.
Pin This Recipe!
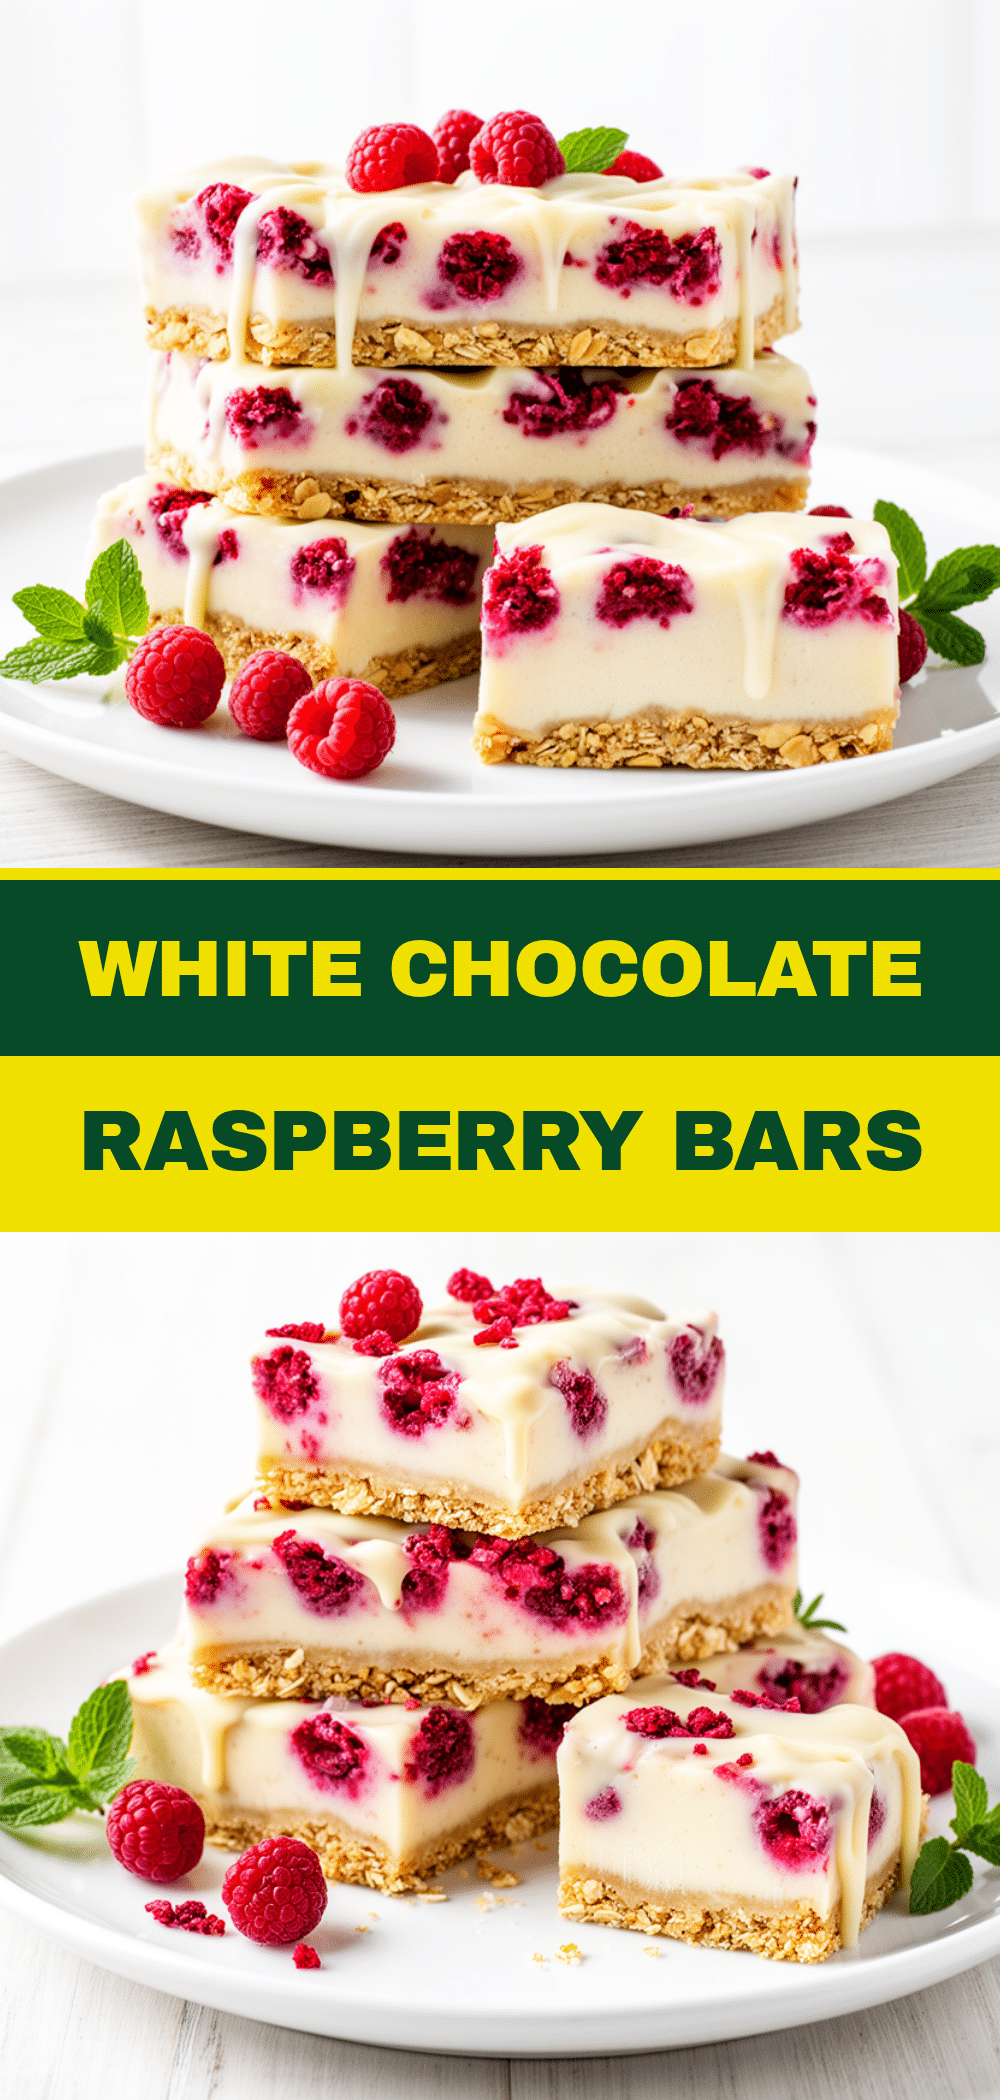
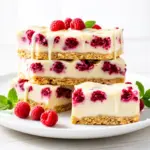
White Chocolate Raspberry No-Bake Bars
- Total Time: 2 hours 15 minutes
- Yield: 12 bars 1x
Description
These no-bake bars combine tart raspberries with sweet, creamy white chocolate on a crunchy, buttery graham cracker crust. Easy to make with simple ingredients and no oven required.
Ingredients
- 12 oz (340g) white chocolate chips or chopped white chocolate
- 6 tablespoons (85g) unsalted butter
- 1 ½ cups (150g) graham cracker crumbs
- ¼ cup (50g) granulated sugar
- 1 ½ cups (225g) fresh or frozen raspberries
- 1 teaspoon vanilla extract
- ¼ teaspoon salt
- Optional: chopped pistachios for topping
- Optional: toasted coconut flakes for crust
Instructions
- Melt the butter in a small saucepan or microwave.
- In a mixing bowl, combine graham cracker crumbs, sugar, and salt.
- Pour the melted butter over the crumbs and stir until moistened and crumbly.
- Press the mixture firmly and evenly into the bottom of a lined 8×8-inch baking pan.
- Melt the white chocolate in a microwave-safe bowl in 20-second intervals, stirring between each until smooth, or use a double boiler.
- Stir in the vanilla extract into the melted white chocolate.
- If using frozen raspberries, thaw and drain excess liquid.
- Gently fold the raspberries into the melted white chocolate, keeping them as whole as possible.
- Pour the raspberry and white chocolate mixture over the crust and spread evenly.
- Chill in the refrigerator for at least 2 hours or until firm (overnight is best).
- Lift bars out using parchment overhang and cut into squares with a sharp knife, wiping the knife clean between cuts.
- Serve chilled for best texture.
Notes
[‘Use good-quality white chocolate for best flavor.’, ‘Press the crust firmly to help bars hold together when slicing.’, ‘Melt white chocolate slowly to avoid burning.’, ‘Drain frozen raspberries well to prevent soggy bars.’, ‘Chill bars thoroughly before slicing for clean cuts.’, ‘Store bars in an airtight container in the fridge for up to 5 days.’, ‘Bars do not freeze well as texture changes.’, ‘Optional add-ins include chopped pistachios or toasted coconut flakes.’, ‘For vegan version, use dairy-free white chocolate and vegan butter substitutes.’]
- Prep Time: 15 minutes
- Cook Time: 0 minutes
- Category: Dessert
- Cuisine: American
Nutrition
- Serving Size: 1 bar (1/12 of recip
- Calories: 230
- Sugar: 18
- Sodium: 80
- Fat: 13
- Saturated Fat: 8
- Carbohydrates: 25
- Fiber: 1
- Protein: 2
Keywords: white chocolate, raspberry, no-bake, dessert, easy recipe, simple ingredients, no oven, sweet treat