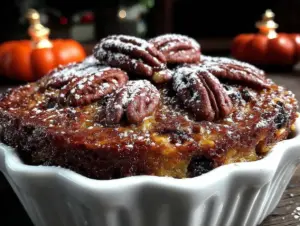
There is a specific kind of panic that sets in around 9 AM on a Tuesday when you realize you have a 10 AM meeting, a deadline at noon, and zero breakfast planned. I’ve been there. I’ve stared into the abyss of my empty pantry while my coffee brewed, realizing I had exactly four minutes to decide if I was going to eat a stale granola bar or just power through on caffeine alone.
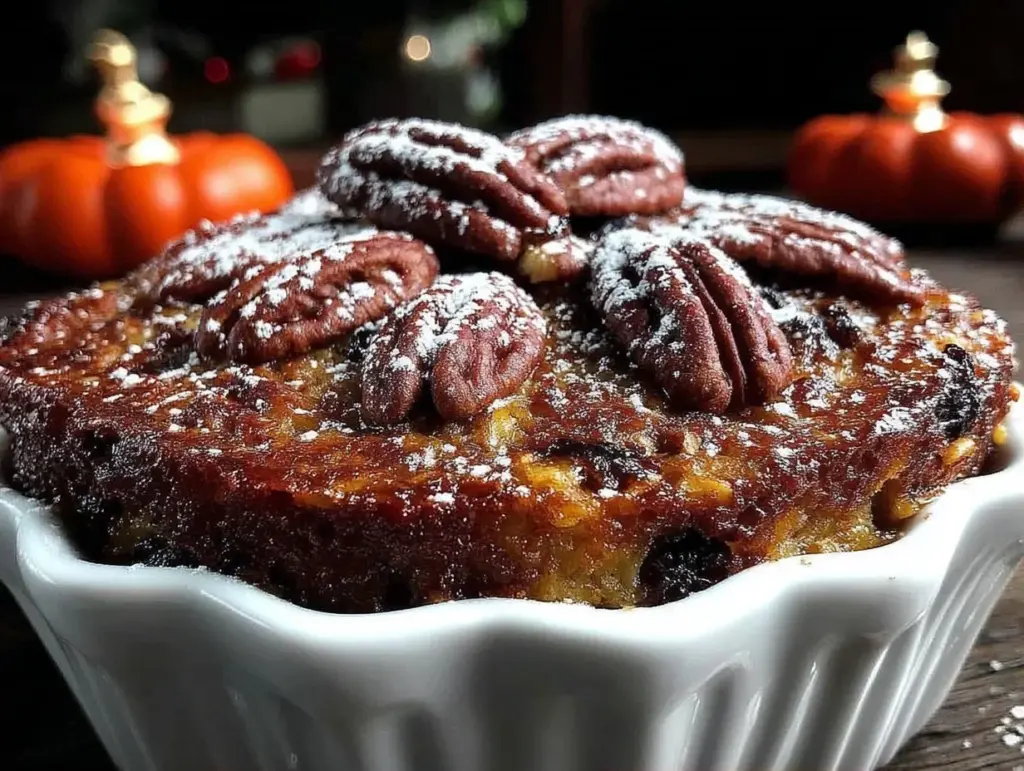
That was the moment I stopped treating breakfast like a daily chore and started treating it like a logistical operation. Enter my Cozy Fall Baked Oatmeal with Toasted Pecans and Cinnamon. This isn’t just a recipe; it’s my Sunday morning anchor. It’s the dish that lets me walk into the workweek knowing I’ve already won the morning battle.
I call this “Make Once, Eat 4x” because it’s designed for efficiency. I bake one large pan on Sunday, slice it into eight generous squares, and I have breakfast secured for four full days (or eight smaller snacks). It holds up in the fridge without turning into a soggy mess, reheats in the microwave in under a minute, and tastes like a warm, spiced dessert rather than a diet food. If you’re tired of the morning scramble, this is your new system.
Why You’ll Love This Recipe for Meal Prep
There are about ten reasons I keep this recipe in my weekly rotation, but let’s be real—you’re here because you want to save time and eat well. Here’s why this baked oatmeal actually works for busy people:
Zero Morning Stress — Seriously. The only thing you do in the morning is grab a square and pop it in the microwave for 60 seconds. That’s it. No chopping, no stirring, no waiting for water to boil. I’ve made this while rushing to get out the door, and it never fails.
Actually Stays Fresh — Most oatmeal recipes turn into a mushy brick after day two. Not this one. The eggs and binding agents keep the texture tender but firm. Day 1 is soft and cake-like; Day 3 is chewy and substantial. Both are delicious, but the texture holds up surprisingly well.
Grab-and-Go Friendly — I portion mine into reusable containers immediately after cooling. They stack perfectly in my fridge. I can literally grab one, walk out the door, and eat it in the car without making a mess. No crumbly edges, no dripping sauce.
Freezer-Proof — If I’m having a particularly chaotic week, I freeze half the batch. These squares freeze beautifully for up to three months. I keep a stash in the freezer specifically for those weeks when I just don’t have the energy to bake on Sunday.
Budget-Smart — You probably have most of these ingredients already. Rolled oats, peanut butter, maple syrup, and pecans are pantry staples. This costs less than $3 per serving if you buy in bulk, and it’s infinitely healthier than whatever coffee shop breakfast sandwich I’d otherwise buy.
Customizable Base — Once you master this method, you can swap the nuts, change the spices, or add different fruits. It’s a formula, not a rigid recipe. I’ve made this with apples, bananas, and even pumpkin puree, and it always works.
This is my go-to when I need breakfast to just work. No complicated techniques, no weird ingredients, just reliable, delicious food that fuels me for the morning ahead.
Ingredients You’ll Need
Here’s the best part: you probably have most of this already. This isn’t a list of obscure health food store items. It’s simple, wholesome stuff that tastes like fall.
For the Base:
Rolled Oats (3 cups / 270g) — Do not use instant or quick oats. They’ll turn to mush. Old-fashioned rolled oats provide the structure and chew. I use Quaker or store brand; it doesn’t matter as long as they’re the thick, flat kind.
Milk (1.5 cups / 360ml) — Dairy milk works great, but I prefer unsweetened almond or oat milk for a lighter texture. Any milk you like will work. Just avoid anything too thin like rice milk, or it might get watery.
Eggs (2 large) — These are the binder. They hold the whole thing together so it slices cleanly. Don’t try to skip them, or you’ll end up with a crumbly mess.
Maple Syrup (½ cup / 120ml) — Real maple syrup, not pancake syrup. The flavor difference is huge. I use Grade B for a deeper, richer taste, but Grade A is fine too.
Peanut Butter (¼ cup / 60g) — This adds healthy fats, protein, and that rich, savory-sweet balance. Use natural peanut butter (just peanuts and salt) if you can. It blends better. Creamy works best for mixing, but chunky adds nice texture if you’re okay with bits.
For the Flavor:
Cinnamon (2 teaspoons) — The star of the show. Don’t skimp. If your cinnamon is old and dusty, buy new. It makes all the difference.
Nutmeg (½ teaspoon) — Freshly grated if you have a microplane, but ground is fine. It adds that warm, cozy background note.
Vanilla Extract (1 teaspoon) — Pure vanilla, not imitation. It brightens up the spices.
Baking Powder (1 teaspoon) — Helps it rise slightly so it’s not dense. Standard stuff from your pantry.
Salt (½ teaspoon) — Crucial. It balances the sweetness and enhances the cinnamon flavor. Never skip the salt.
For the Toppings:
Pecans (½ cup, chopped) — Toasted pecans are non-negotiable for me. The toasting brings out the oils and makes them incredibly crunchy. Raw pecans are okay, but toasted are better.
Optional Add-ins:
Dark Chocolate Chips (¼ cup) — I add these sometimes for a dessert-like treat. They melt slightly into the oatmeal.
Dried Cranberries (¼ cup) — Adds a nice tartness that cuts through the sweetness. Great for fall.
Banana (1 ripe, mashed) — I sometimes mash a banana into the batter for extra moisture and natural sweetness. If you do this, reduce the maple syrup by 1 tablespoon.
Equipment Needed
You don’t need fancy equipment for this. Here’s what I actually use.
9×13 Inch Baking Dish — I use a glass Pyrex dish. It heats evenly and is easy to clean. Ceramic works too. Avoid dark metal pans as they might brown the top too quickly.
Large Mixing Bowl — Something big enough to whisk the wet ingredients and fold in the oats without spilling. I use a 4-quart bowl.
Whisk — For mixing the wet ingredients until smooth. A fork works in a pinch, but a whisk ensures the peanut butter blends in fully.
Measuring Cups and Spoons — Standard stuff. I keep a set on my counter for easy access.
Spatula — Silicone is best for scraping the bowl clean. You want every bit of that peanut butter mixture.
Cheese Grater — Only if you’re grating fresh nutmeg. Otherwise, skip it.
Freezer-Safe Containers — If you’re meal prepping, these are essential. I use BPA-free plastic containers with snap-on lids. They stack neatly and don’t leak.
How to Make It: Step-by-Step
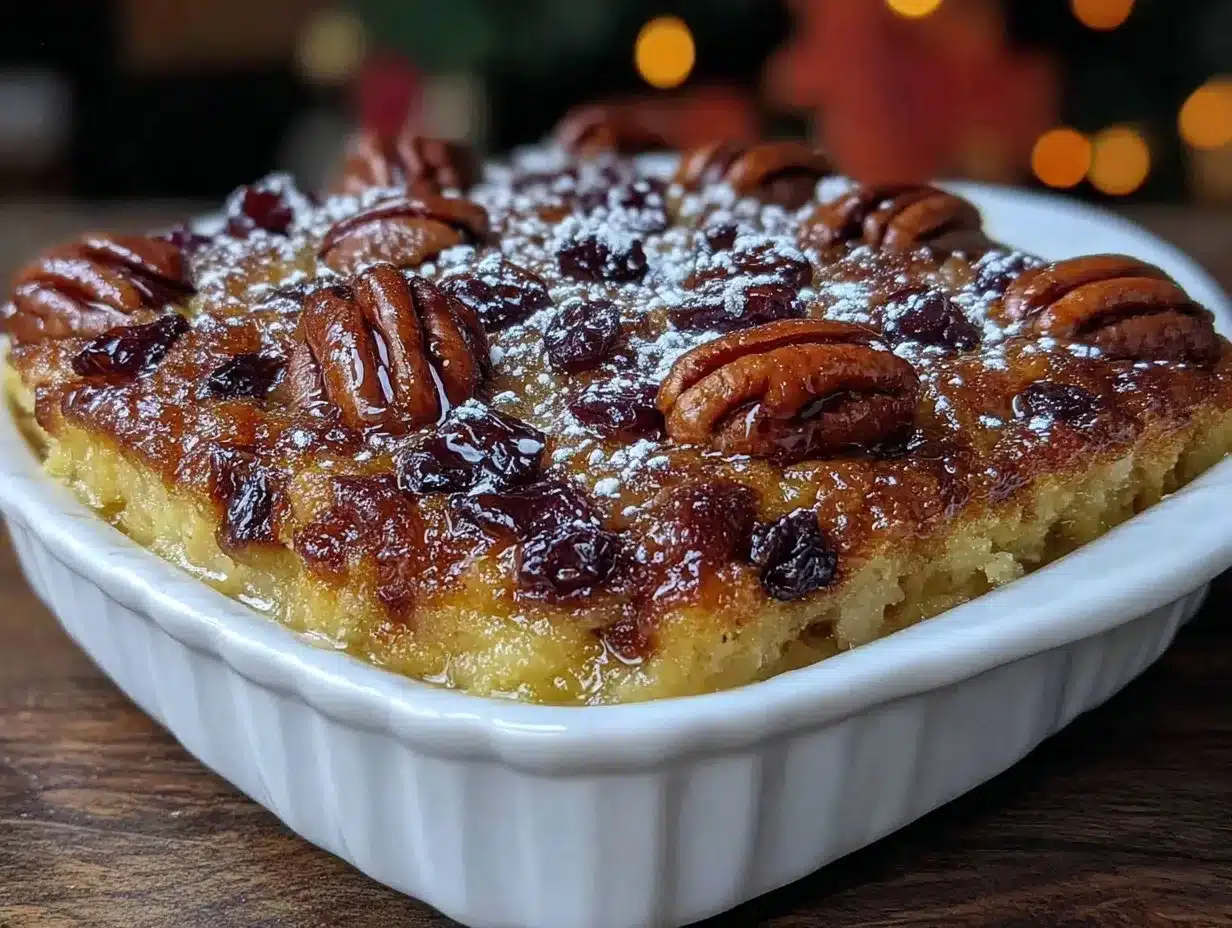
Alright, let’s make this! I’m walking you through exactly how I do it, including the little tricks I’ve picked up from making this dozens of times.
Step 1: Prep Your Pan and Oven (2 minutes)
Preheat your oven to 350°F (175°C). Grease your 9×13 baking dish with a little butter or cooking spray. I like to use butter because it adds a nice flavor, but spray works fine. Set aside.
Step 2: Toast the Pecans (5 minutes)
While the oven heats, chop your pecans. Spread them on a small baking sheet or in a dry skillet over medium heat. Toast them for 3-5 minutes, stirring frequently, until they smell fragrant and slightly browned. This step is crucial—it wakes up the nuts. Let them cool slightly while you mix the batter.
Step 3: Mix the Wet Ingredients (3 minutes)
In your large bowl, whisk together the milk, eggs, maple syrup, peanut butter, vanilla, cinnamon, nutmeg, baking powder, and salt. Whisk vigorously until the peanut butter is completely dissolved and the mixture is smooth. This might take a minute if your peanut butter is thick, but don’t rush it. Lumps of peanut butter will leave weird chunks in your oatmeal.
Step 4: Combine with Oats (2 minutes)
Stir in the rolled oats until they are fully coated in the wet mixture. Let it sit for 5 minutes. This allows the oats to absorb some of the liquid, which helps prevent a soggy texture later. If you’re adding bananas or dried fruit, fold them in now.
Step 5: Assemble and Bake (35-40 minutes)
Pour the mixture into your prepared baking dish. Spread it out evenly. Sprinkle the toasted pecans (and chocolate chips, if using) on top. Press them gently into the surface so they stick.
Bake for 35-40 minutes. You’ll know it’s done when the top is golden brown, the edges are pulling away slightly from the pan, and a toothpick inserted into the center comes out clean or with just a few moist crumbs. Do not overbake, or it will dry out.
Step 6: Cool and Slice (15 minutes)
This is the hardest part: waiting. Let the oatmeal cool in the pan for at least 15 minutes. It continues to set as it cools. If you try to slice it hot, it will fall apart. Once cooled, cut into 8 squares. This is your 4-day supply (2 squares per day) or 8-day supply (1 square per day).
Expert Tips & Tricks
Here’s everything I’ve learned from making this dozens of times. These tips will save you from my mistakes.
Don’t Skip the Resting Time
After mixing the oats with the wet ingredients, let it sit for 5 minutes. This is the #1 secret to good baked oatmeal. The oats hydrate before baking, resulting in a better texture. I’ve rushed this step before, and the oatmeal was grainy instead of tender.
Toast Your Nuts
I cannot stress this enough. Raw pecans are fine, but toasted pecans are *amazing*. The heat releases their oils and adds a depth of flavor that raw nuts just don’t have. It takes 3 minutes and elevates the whole dish.
Cool Completely Before Slicing
I know you want to eat it immediately. Resist. The structure needs time to set. If you slice it hot, you’ll get a messy, crumbly mess. Cool it for at least 15 minutes, preferably 30.
Portion Immediately
Once cooled, portion it into containers right away. If you wait, you might get distracted and eat the whole pan. I label my containers with the date so I know which ones to eat first.
Reheat with Care
When reheating, add a splash of milk to the oatmeal square before microwaving. This keeps it moist. Heat for 60-90 seconds. If it’s too dry, heat for another 30 seconds.
Freezing Strategy
If freezing, wrap each square individually in plastic wrap or parchment paper before putting them in a freezer bag. This prevents freezer burn and makes it easy to grab one at a time. Thaw in the fridge overnight or microwave from frozen (add 30 seconds to heating time).
Variations & Substitutions
Once you’ve nailed the basic version, here’s how you can mix it up. I’ve tried all of these.
Apple Cinnamon Version
Add 1 cup diced apples to the batter. Reduce maple syrup by 2 tablespoons. Top with a cinnamon-sugar streusel before baking. This is my favorite winter variation.
Pumpkin Spice Version
Replace ½ cup of milk with ½ cup pumpkin puree. Add 1 teaspoon pumpkin pie spice instead of just cinnamon. Add ½ cup chopped pecans on top. This is perfect for cozy fall meals.
Banana Nut Version
Mash 2 ripe bananas into the wet mixture. Add ½ cup walnuts instead of pecans. Reduce maple syrup by ¼ cup. This is naturally sweeter and great for kids.
Chocolate Peanut Butter Version
Add ½ cup dark chocolate chips to the batter. Drizzle melted peanut butter on top before baking. This tastes like a Reese’s Cup in oatmeal form.
Dietary Modifications:
Gluten-Free
Use certified gluten-free rolled oats. Everything else is naturally gluten-free. I’ve used Bob’s Red Mill GF oats and they work perfectly.
Dairy-Free
Use plant-based milk (almond, oat, soy) and dairy-free butter for greasing. The recipe is already dairy-free except for the butter spray, which is optional.
Nut-Free
Skip the pecans and use sunflower seeds or pumpkin seeds instead. Use sunflower seed butter or soy nut butter instead of peanut butter. Everything else is nut-free.
Vegan
Use plant-based milk and maple syrup (already vegan). For the eggs, use flax eggs (2 tablespoons ground flaxseed mixed with 6 tablespoons water, let sit for 5 minutes). The texture will be slightly denser but still delicious.
Serving & Storage
How to Serve:
I usually serve this straight from the microwave. It’s warm, comforting, and perfect for a quick breakfast. But here are other ways I’ve enjoyed it:
Side Dishes:
– A dollop of Greek yogurt or cottage cheese for extra protein
– Fresh berries on the side for brightness
– A small glass of orange juice or apple cider
Storage Instructions:
Refrigerator:
Store in an airtight container for up to 5 days. The flavor actually gets better on day 3 as the spices meld together. I usually eat mine by day 4.
Reheating:
Best method: Microwave for 60-90 seconds. Add a splash of milk if it looks dry.
Cold method: It’s also delicious cold, straight from the fridge. Think of it like an oatmeal bar. I sometimes eat mine cold on busy mornings when I’m in a rush.
Freezing:
This freezes beautifully. Wrap individual squares in plastic wrap or parchment paper, then place in a freezer-safe bag or container. They last up to 3 months. Thaw in the fridge overnight or microwave from frozen.
Meal Prep Strategy:
I make this every Sunday. I bake it Monday morning, cool it, portion it, and put it in the fridge. By Monday night, my breakfast is ready for the entire week. This saves me at least 20 minutes every morning.
Nutrition Information
I’m not a nutritionist, but here’s the breakdown if you’re tracking. This is per square (1/8 of the pan), based on standard ingredients.
Per Serving:
– Calories: 280
– Protein: 8g
– Carbs: 42g
– Fiber: 5g
– Sugar: 18g
– Fat: 10g
– Saturated Fat: 1.5g
– Cholesterol: 35mg
– Sodium: 150mg
What’s Good:
– High in fiber from the oats
– Good protein from eggs and peanut butter
– Healthy fats from pecans and peanut butter
– Whole grains for sustained energy
What to Know:
– Moderate sugar from maple syrup
– Contains nuts and gluten (unless modified)
– Can be adjusted for lower sugar by reducing syrup or using sugar-free syrup
My Take:
Look, this is breakfast food. It has oats, fruit, and nuts. It’s not a diet recipe, but it’s far better than a pastry or a sugary cereal. It fuels me for hours. When I want to make it lighter, I reduce the maple syrup and add more fruit. But usually? I just eat a reasonable portion and enjoy the comfort.
Final Thoughts
So that’s my go-to Cozy Fall Baked Oatmeal with Toasted Pecans and Cinnamon! I’ve talked your ear off at this point, but when you make a recipe this often, you have a lot to say about it.
This has saved my mornings more times than I can count. It’s my answer to “what’s for breakfast” when I’m tired, don’t want to cook, and still want something that tastes really good. My family is happy, I’m happy because I’m not stressed, and I’m happy because I know exactly what’s in it.
Make it yours! Try different nuts, swap the spices, or add your favorite fruits. The best recipes are the ones you adapt to your family’s tastes. If you make this, drop a comment and let me know what you think! I love hearing how recipes turn out in your kitchen. And if something doesn’t work, tell me that too—I’m here to help troubleshoot.
Happy cooking! And I hope your kitchen smells half as good as mine does right now.
Frequently Asked Questions
Can I use quick oats instead of rolled oats?
I don’t recommend it. Quick oats are thinner and will turn the oatmeal into a mushy, porridge-like texture. Old-fashioned rolled oats provide the structure and chew that baked oatmeal needs. If you must use quick oats, reduce the baking time by 5-10 minutes and expect a softer result.
Why did my baked oatmeal turn out dry?
This usually happens if you overbake it or use too little liquid. Ovens vary, so check it at 35 minutes. The toothpick should come out with moist crumbs, not completely clean. Also, make sure you’re using the correct amount of milk. If you prefer moister oatmeal, add an extra ¼ cup of milk.
Can I make this ahead and freeze it?
Absolutely! This is one of the best features of this recipe. Bake it, cool it, portion it, and freeze it. It lasts up to 3 months in the freezer. Thaw in the fridge overnight or microwave from frozen. I keep a batch frozen at all times for busy weeks.
Can I use almond butter instead of peanut butter?
Yes! Almond butter works perfectly and gives a slightly different flavor profile. Sunflower seed butter is a great nut-free alternative. Just make sure it’s a smooth, creamy butter so it blends well into the batter.
How do I reheat leftovers without them getting dry?
Always add a splash of milk or water to the oatmeal square before microwaving. Cover it with a damp paper towel to trap steam. Heat for 60 seconds, check, and add 15-30 seconds if needed. This keeps it moist and tender.
Can I double this recipe?
You can, but you’ll need a larger baking dish (like a 9×13 or even two 8×8 pans). The baking time might increase by 5-10 minutes. I usually stick to one batch because it’s enough for my family for the week, but doubling is fine if you’re feeding a crowd or meal prepping for two weeks.
Is this recipe gluten-free?
The base recipe is naturally gluten-free except for the oats, which can sometimes be cross-contaminated with wheat. To make it strictly gluten-free, use certified gluten-free rolled oats. Everything else is naturally gluten-free.
Pin This Recipe!
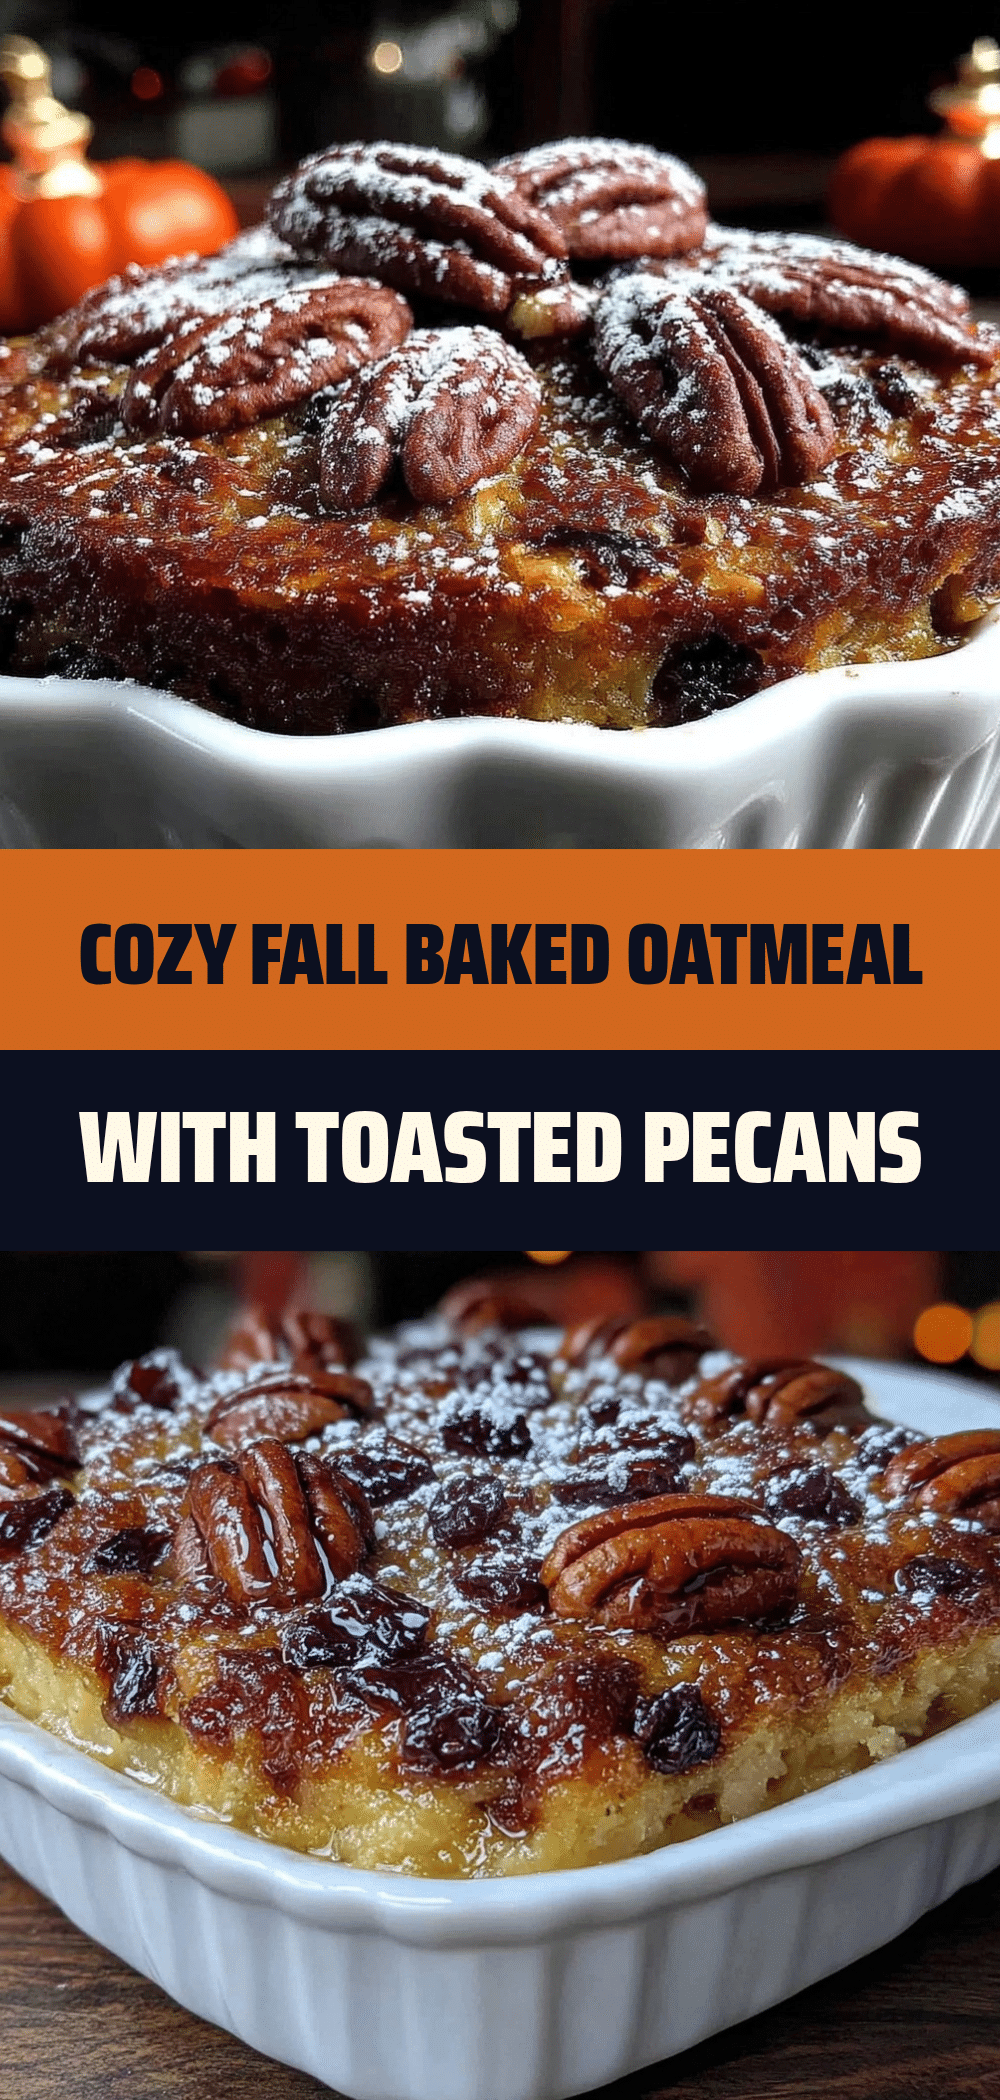

Cozy Fall Baked Oatmeal with Toasted Pecans and Cinnamon
- Total Time: 50 minutes
- Yield: 8 servings 1x
Description
A make-ahead baked oatmeal recipe designed for meal prep, yielding eight squares that provide breakfast for four days. It features rolled oats, peanut butter, maple syrup, and toasted pecans for a cozy, efficient morning routine.
Ingredients
- 3 cups rolled oats (old-fashioned)
- 1.5 cups milk (dairy or unsweetened almond/oat)
- 2 large eggs
- 1/2 cup maple syrup
- 1/4 cup peanut butter
- 2 teaspoons cinnamon
- 1/2 teaspoon nutmeg
- 1 teaspoon vanilla extract
- 1 teaspoon baking powder
- 1/2 teaspoon salt
- 1/2 cup pecans, chopped and toasted
- Optional: 1/4 cup dark chocolate chips
- Optional: 1/4 cup dried cranberries
- Optional: 1 ripe banana, mashed
Instructions
- Preheat oven to 350°F (175°C) and grease a 9×13 inch baking dish with butter or cooking spray.
- Toast chopped pecans in a dry skillet over medium heat for 3-5 minutes until fragrant, then set aside to cool.
- In a large mixing bowl, whisk together milk, eggs, maple syrup, peanut butter, vanilla, cinnamon, nutmeg, baking powder, and salt until smooth.
- Stir in rolled oats until fully coated. Let the mixture sit for 5 minutes to allow oats to hydrate. Fold in optional add-ins like banana or cranberries if using.
- Pour the mixture into the prepared baking dish and spread evenly. Sprinkle toasted pecans (and chocolate chips if using) on top, pressing gently to adhere.
- Bake for 35-40 minutes until the top is golden brown and a toothpick inserted in the center comes out clean.
- Let the oatmeal cool in the pan for at least 15-30 minutes to set before slicing into 8 squares.
Notes
Do not use instant or quick oats as they will turn mushy. Toasting the pecans is crucial for flavor. Let the oatmeal cool completely before slicing to ensure it holds its shape. For reheating, add a splash of milk to keep it moist.
- Prep Time: 10 minutes
- Cook Time: 40 minutes
- Category: Breakfast
- Cuisine: American
Nutrition
- Serving Size: 1 square (1/8 of the
- Calories: 280
- Sugar: 18
- Sodium: 150
- Fat: 10
- Saturated Fat: 1.5
- Carbohydrates: 42
- Fiber: 5
- Protein: 8
Keywords: baked oatmeal, meal prep, breakfast, fall recipe, oatmeal, healthy breakfast, make ahead, pecans, cinnamon, gluten-free option