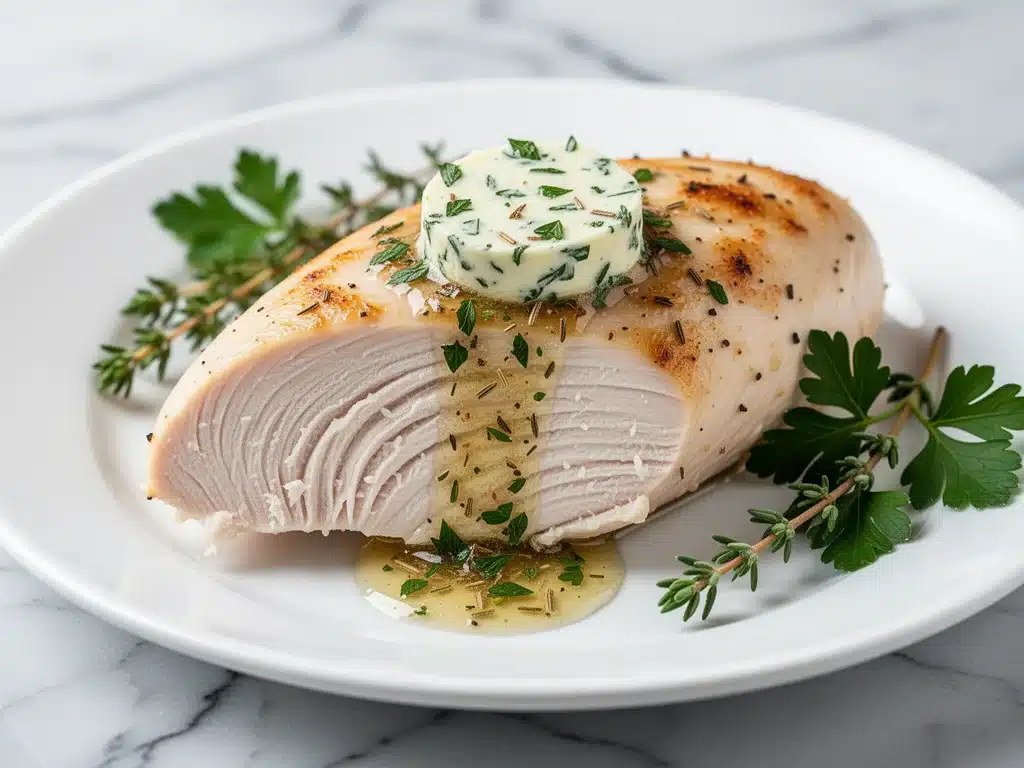
I used to think that chicken breast was the culinary equivalent of a homework assignment. You had to do it because it was “good for you,” but the experience was often dry, bland, and deeply unsatisfying. For years, I fell into the trap of cooking chicken breasts until they were essentially shoe leather. I’d pull them out of the pan looking perfectly fine on the outside, cut into them, and find a dry, chalky interior. It was frustrating. I wasted money, I wasted time, and worst of all, I wasted my family’s appetite.
That changed last winter. I was hosting a casual dinner for my sister and her husband, people who can actually cook, and I was terrified they’d judge my dinner party skills. I decided to try a new method: oven-baking with a generous slab of herb butter. I was skeptical. Butter? On chicken? Wouldn’t it just slide off? Would it make a mess? Would it actually help, or was I just adding unnecessary calories to a dry piece of meat?
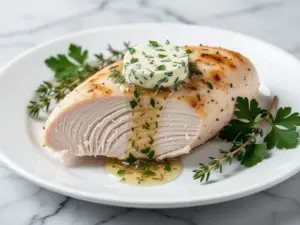
Turns out, that slab of butter is a game-changer. The fat renders slowly, basting the meat from the top as it cooks, while the herbs infuse every fiber with flavor. The result was the juiciest, most flavorful chicken I’d ever made at home. My sister asked for the recipe before the appetizers were even cleared. My husband asked for seconds. And I’ve been making this Never-Dry Oven-Baked Chicken Breast with Herb Butter ever since. It’s my go-to for weeknight dinners, meal prep lunches, and even impressing guests when I’m short on time.
If you’ve been struggling with dry chicken, or if you just want a simpler, more flavorful way to cook this staple protein, you’re going to love this method. It’s foolproof, it’s fast, and it delivers restaurant-quality results without the restaurant price tag. Let’s get into why this works and how you can make it tonight.
Why You’ll Love This Recipe
There are about a dozen reasons I keep coming back to this herb butter chicken, but here are the big ones that have completely changed our weeknight routine.
It’s Actually Juicy — Seriously. I’ve compared this to grilled chicken, pan-seared chicken, and slow-cooker chicken. The oven-baked method with butter wins every time for moisture retention. The butter creates a seal that traps the natural juices inside the meat. I’ve made this for picky eaters, and even the kids who usually push chicken around their plate ask for more.
Zero Active Stress — Once the chicken is in the oven, you’re done. You can chop vegetables, set the table, or actually relax for 20 minutes. No standing over a hot stove flipping pieces, no splattering oil, no burning your knuckles on a grill grate. It’s set-it-and-forget-it cooking at its finest.
Pantry-Friendly Herbs — You don’t need a fancy spice rack for this. I use dried thyme, rosemary, and garlic powder because I always have them. Fresh herbs are great, but dried works perfectly here and saves a trip to the store. If you have olive oil, butter, and chicken, you’re 90% of the way there.
Perfect for Meal Prep — This is my secret weapon for Sunday lunches. Because the butter keeps the meat moist, the chicken doesn’t dry out in the fridge like it does with other methods. I slice it up, toss it with some tangy broccoli bacon salad for lunch on Monday, and it’s still tender and flavorful on Wednesday. It reheats beautifully, too.
Flexible and Customizable — Love garlic? Add more. Hate rosemary? Swap it for sage or parsley. Want to go low-carb? Serve it over cauliflower mash. Want a side dish? It pairs perfectly with creamy garlic mashed cauliflower or roasted root vegetables. This recipe is a blank canvas for your favorite flavors.
Makes You Look Like a Pro — There’s something satisfying about pulling a golden, glistening chicken out of the oven that looks like you spent hours on it. But it only takes about 25 minutes total. Your guests will think you’re a genius, and you’ll be sipping a glass of wine while they eat.
Ingredients You’ll Need
This recipe relies on high-quality basics. Since there aren’t many ingredients, each one matters. Here’s what you need to gather.
Chicken Breasts (4 large, boneless, skinless) — Look for breasts that are relatively even in thickness. If you have some tiny ones and some huge ones, the small ones will overcook before the big ones are done. I like to buy them from the butcher if possible, as they tend to be fresher and less processed than the pre-packaged ones. If they’re really thick, pound them gently to an even ½-inch thickness.
Unsalted Butter (4 tablespoons / 60g) — This is the star. I use unsalted so I can control the sodium. Room temperature butter is easier to mix with herbs, but cold butter works too if you’re in a rush. The fat content is crucial for that moist texture.
Garlic Powder (1 teaspoon) — Not fresh garlic cloves here. Powder distributes evenly and doesn’t burn in the oven. If you only have fresh garlic, mince it super fine, but powder gives that consistent savory base. I use the stuff in the blue cap—it’s fresh and potent.
Dried Thyme (1 teaspoon) — Thyme pairs beautifully with chicken. It’s earthy and subtle. If you don’t have thyme, oregano or sage work well as substitutes. Just don’t use something too strong like cumin; it’ll clash with the butter.
Dried Rosemary (½ teaspoon) — Rosemary adds that piney, aromatic note. Crush it between your fingers before adding to release the oils. If your rosemary is old and dusty, it won’t taste like much, so check your spice jar freshness.
Smoked Paprika (½ teaspoon) — This gives a hint of smokiness and a beautiful golden-red color. It’s not spicy, just flavorful. If you don’t have smoked paprika, regular sweet paprika works, but you’ll miss out on that depth.
Onion Powder (½ teaspoon) — Adds a subtle sweetness and savory background note. It balances the saltiness of the butter and the sharpness of the garlic.
Sea Salt and Black Pepper (to taste) — I use kosher salt for sprinkling. Freshly cracked black pepper adds a nice bite. Don’t skip the pepper; it brightens up the rich butter.
Optional: Fresh Parsley (1 tablespoon, chopped) — Sprinkle this on right after baking. It adds a pop of color and fresh flavor that cuts through the richness. It’s not necessary, but it looks pretty.
Pro Tip: I keep a small “herb butter” mix pre-made in a tiny jar. When I need this chicken, I just scoop out a spoonful of the dry mix and stir it into softened butter. Saves me from measuring five different spices every time.
Equipment Needed
You don’t need fancy gadgets for this. Here’s what I actually use in my kitchen.
Baking Sheet or Sheet Pan — I use a standard 13×18 inch rimmed baking sheet. It’s the perfect size for four chicken breasts with room for air circulation. If you’re cooking more than four, use two sheets.
Parchment Paper — Line your baking sheet with parchment. It prevents sticking and makes cleanup a breeze. You can use foil, but parchment is non-stick and doesn’t leave those weird metallic tastes. I’m obsessed with it.
Small Mixing Bowl — Just a tiny bowl or even a large mug to mix your herb butter. You don’t need anything fancy.
Measuring Spoons — Standard stuff. The ones in my utensil drawer work fine.
Cutting Board and Knife — For prepping the chicken if you need to pound it. A sharp knife makes this much easier.
Instant-Read Thermometer — This is the most important tool for never-dry chicken. I know, I know, some people swear by timing. But ovens vary, and chicken thickness varies. A thermometer takes the guesswork out. I use the one from Thermapin—it’s fast and accurate. If you don’t have one, you’ll need to rely on visual cues, which I’ll explain.
Optional: Meat Mallet or Rolling Pin — If your chicken breasts are uneven, pounding them to an even thickness ensures they cook at the same rate. I do this about half the time, depending on how uniform the package is.
How to Make It: Step-by-Step
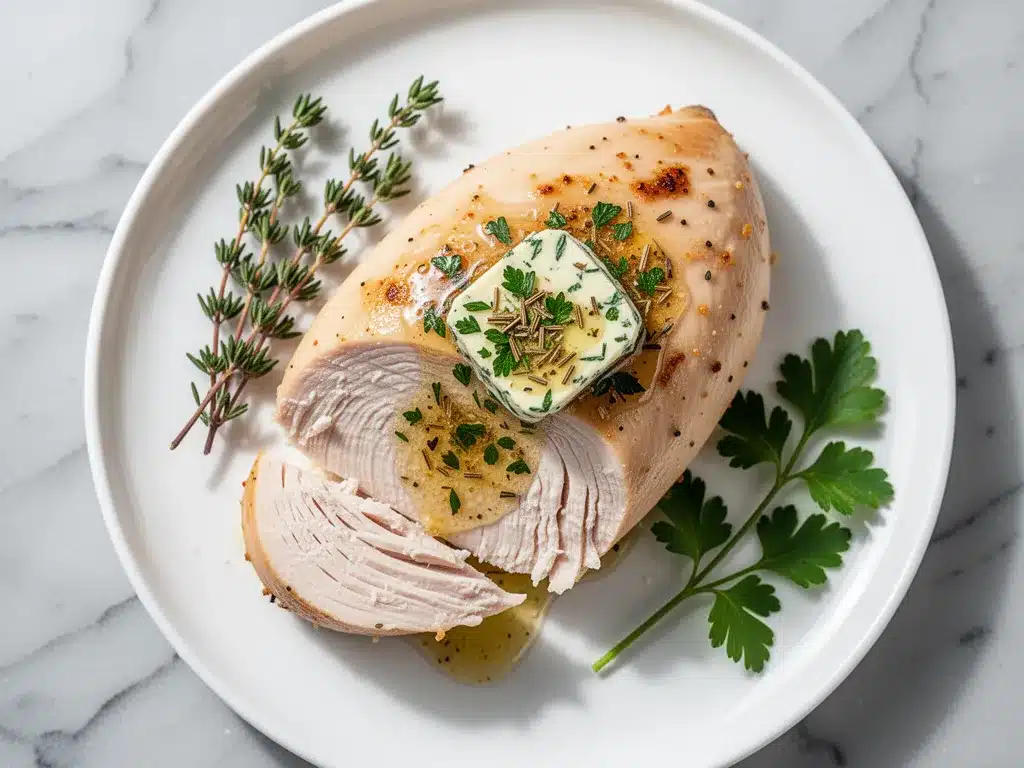
Alright, let’s make this! I’m walking you through exactly how I do it, including the little tricks I’ve picked up over the years.
Step 1: Prep the Chicken (5 minutes)
Preheat your oven to 400°F (200°C). This high heat is key. It cooks the chicken quickly, sealing in juices, rather than slowly drying it out. While the oven heats, pat your chicken breasts dry with paper towels. This seems minor, but removing surface moisture helps the seasoning stick and promotes better browning.
If your breasts are uneven, place them between two sheets of plastic wrap or in a Ziploc bag. Use a meat mallet, the bottom of a heavy pan, or a rolling pin to gently pound the thicker ends until the entire breast is about ½-inch thick. Even thickness means even cooking.
Step 2: Make the Herb Butter (3 minutes)
In your small bowl, combine the softened butter, garlic powder, thyme, rosemary, smoked paprika, onion powder, salt, and pepper. Mix it thoroughly with a fork until it’s a uniform paste. If the butter is too cold, microwave it for 5 seconds to soften it just enough to mix. This herb butter is the flavor bomb of the recipe.
Step 3: Season and Butter the Chicken (2 minutes)
Place the chicken breasts on your parchment-lined baking sheet. Don’t crowd them; leave a little space between each piece. Spread a generous amount of the herb butter mixture over the top of each chicken breast. You want to cover the entire surface. I usually use about 1 tablespoon per breast, but go by eye. Rub it in gently so it adheres to the meat.
Step 4: Bake (15-20 minutes)
Place the baking sheet in the preheated oven. Bake for 15-20 minutes. The exact time depends on the thickness of your chicken. Start checking at 15 minutes. The chicken is done when the internal temperature reaches 165°F (74°C) at the thickest part. The juices should run clear, and the meat should feel firm but not hard.
Visual Cue: The butter will bubble around the edges, and the top will be golden brown. If it’s browning too fast, you can tent it loosely with foil. If it’s not browning enough, you can broil for the last 1-2 minutes (watch it closely!).
Step 5: Rest the Chicken (5 minutes)
This is the step most people skip, and it’s the reason for dry chicken. Once you pull the chicken out of the oven, transfer it to a clean plate or cutting board. Loosely tent it with foil and let it rest for 5 minutes. This allows the juices, which have been driven to the center by the heat, to redistribute throughout the meat. If you cut into it immediately, all those juices will spill out onto the board, leaving you with dry meat.
After 5 minutes, slice against the grain and serve. The meat should be tender, juicy, and packed with flavor.
Expert Tips & Tricks
Here’s everything I’ve learned from making this dozens of times. These tips will save you from my mistakes.
Don’t Overcrowd the Pan
If you pack the chicken too tightly, steam gets trapped, and the chicken boils instead of roasts. You want dry heat circulating around each piece. If you’re cooking more than four breasts, use two pans. It’s worth the extra dish.
Room Temperature Butter is Easier
Cold butter is hard to spread evenly. If you’re short on time, microwave the butter for 10 seconds. It should be soft enough to smear but not melted into a puddle. Melted butter runs off the chicken; soft butter stays put.
Use a Thermometer
I cannot stress this enough. Chicken breasts go from perfect to dry in about 2 minutes. Relying on time alone is risky because every oven is different. An instant-read thermometer takes 3 seconds and guarantees perfection. It’s the best $15 you’ll spend.
Resting is Non-Negotiable
I know it’s tempting to cut in immediately. Don’t. The resting period is what makes the difference between good chicken and great chicken. The fibers relax and reabsorb the juices. Patience pays off.
Save the Pan Drippings
After you remove the chicken, don’t throw away that baking sheet. There’s flavorful browned butter and herbs left behind. Add a splash of chicken broth or white wine to the hot pan and scrape up the bits. Simmer for a minute to make a quick pan sauce. Pour it over the chicken. Fancy, right?
Pound for Evenness
Most store-bought chicken breasts are thick at one end and thin at the other. Pounding them ensures the thin part doesn’t dry out before the thick part is cooked. It’s a small step that makes a huge difference in texture.
Variations & Substitutions
Once you’ve nailed the basic version, here’s how you can mix it up. I’ve tried all of these.
Lemon Herb Chicken
Add the zest of one lemon to the herb butter. Squeeze a little fresh lemon juice over the chicken right before serving. It adds a bright, acidic kick that cuts through the richness. Perfect for spring.
Spicy Cajun Chicken
Swap the thyme and rosemary for Cajun seasoning. Add a pinch of cayenne pepper to the butter. It gives a nice kick without being overwhelming. Great served with creamy au gratin potatoes.
Italian Chicken
Use dried oregano, basil, and red pepper flakes instead of thyme and rosemary. Add a pinch of Italian seasoning blend. Serve with marinara sauce on the side for dipping.
Honey Garlic Chicken
Stir 1 tablespoon of honey into the herb butter. It adds a subtle sweetness and helps the butter caramelize more. Drizzle a little extra honey over the top after baking.
Dairy-Free Option
Replace the butter with olive oil or dairy-free butter. The texture won’t be quite as rich, but the flavor will still be great. Use olive oil and brush it on generously.
Gluten-Free
This recipe is naturally gluten-free. Just double-check your spice blends to ensure they don’t contain anti-caking agents with gluten (rare, but possible). I use pure spices, so I’m safe.
Protein Swaps
You can use this method for chicken thighs, too. Thighs are more forgiving and stay juicy even if slightly overcooked. Just add 5 minutes to the cooking time. You can also use this technique for pork chops or salmon, though the herb mix will need adjusting.
Serving & Storage
How to Serve:
I usually serve this chicken with a simple side of roasted vegetables or a green salad. It’s versatile enough to pair with almost anything. For a complete meal, try it with maple-glazed roasted sweet potatoes or a side of soft garlic knots to soak up the juices.
Side Dish Ideas:
– Steamed broccoli with lemon
– Quinoa pilaf with herbs
– Roasted asparagus
– Garlic mashed potatoes
– Caesar salad
Storage Instructions:
Store leftovers in an airtight container in the refrigerator for up to 4 days. The chicken will keep well, thanks to the butter. To reheat, slice the chicken and warm it gently in a skillet with a splash of broth or water, or microwave it with a damp paper towel over it to retain moisture. Avoid reheating in the oven for too long, or it will dry out again.
Freezing:
You can freeze cooked chicken breast for up to 3 months. Let it cool completely, then place it in a freezer-safe bag with as much air removed as possible. Thaw in the fridge overnight before reheating. Note that the texture may be slightly less juicy after freezing, but it’s still good for salads or sandwiches.
Meal Prep Tip:
Make a double batch on Sunday. Slice the chicken and store it in containers. Use it for salads, grain bowls, or wraps throughout the week. It’s ready to go and saves you so much time during the busy week.
Nutrition Information
I’m not a nutritionist, but here’s the breakdown if you’re tracking. This is per serving (1 chicken breast with herb butter).
Per Serving:
– Calories: 320
– Protein: 35g
– Carbs: 1g
– Fiber: 0g
– Sugar: 0g
– Fat: 18g
– Saturated Fat: 9g
– Cholesterol: 110mg
– Sodium: 350mg (varies based on salt used)
What’s Good:
– High in protein, which keeps you full
– Low in carbs, great for low-carb diets
– Good source of healthy fats from butter (in moderation)
What to Know:
– Higher in calories due to the butter
– Contains dairy
– Sodium can be adjusted by using less salt
My Take:
Look, this is comfort food. It’s not a diet recipe, but it’s far healthier than fried chicken or takeout. The butter adds flavor and moisture, making it satisfying. When I want to make it lighter, I use 2 tablespoons of butter instead of 4, or swap half for olive oil. But usually? I just enjoy a reasonable portion and appreciate the taste.
Final Thoughts
So that’s my go-to Never-Dry Oven-Baked Chicken Breast with Herb Butter! I’ve probably talked your ear off at this point, but when you make a recipe this often, you have a lot to say about it. This has saved weeknight dinners more times than I can count. It’s my answer to “what’s for dinner” when I’m tired, don’t want takeout, and still want something that tastes really good. My kids are happy, my husband’s happy, and I’m happy because I’m not stressed about cooking.
Make it yours! Try different herbs, swap in your favorite spices, or add a squeeze of lemon. The best recipes are the ones you adapt to your family’s tastes. If you make this, drop a comment and let me know what you think! I love hearing how recipes turn out in your kitchen. And if something doesn’t work, tell me that too—I’m here to help troubleshoot.
Happy cooking! And I hope your kitchen smells half as good as mine does right now.
Frequently Asked Questions
Can I use frozen chicken breasts?
You can, but it’s not recommended for this method. Frozen chicken cooks unevenly, and the butter won’t adhere well. It’s better to thaw the chicken in the fridge overnight before preparing. If you’re in a rush, you can thaw it in cold water for 30 minutes, but pat it dry thoroughly.
Why is my chicken still pink after cooking?
If the internal temperature is 165°F, it’s safe to eat. Sometimes, the presence of certain bones or the type of chicken can cause a slight pink tint, even when fully cooked. If it’s past 165°F, trust the thermometer. If it’s below 165°F, cook it for another 2-3 minutes.
Can I make this in an air fryer?
Yes! Air fryer chicken breast is delicious. Preheat to 375°F. Cook for 10-12 minutes, flipping halfway through. The butter will melt and drip, so line the basket with parchment or foil. Check temperature at 8 minutes. It’s faster but requires more attention.
What if I don’t have smoked paprika?
Regular sweet paprika works fine. You’ll miss the smoky depth, but the flavor will still be good. You can also add a tiny pinch of cumin for warmth, but don’t overdo it. The herb butter will still be tasty without it.
How do I prevent the butter from burning?
Butter burns at high heat, but 400°F is safe for 15-20 minutes. If you notice the butter browning too quickly, tent the chicken loosely with foil after 10 minutes. This reflects some heat and prevents scorching. Also, ensure the butter is spread evenly, not in thick clumps.
Can I add vegetables to the same pan?
Absolutely. Toss chopped potatoes, carrots, or broccoli with olive oil, salt, and pepper. Place them around the chicken on the baking sheet. They’ll roast in the same time and absorb the chicken juices. Just make sure the vegetables are cut to a size that cooks in 20 minutes.
Is this recipe keto-friendly?
Yes, this recipe is naturally keto-friendly. It’s high in fat and protein, with almost zero carbs. Just ensure your spices don’t contain added sugars or starches. Most pure spices are fine. Serve with low-carb veggies like cauliflower or zucchini.
Pin This Recipe!
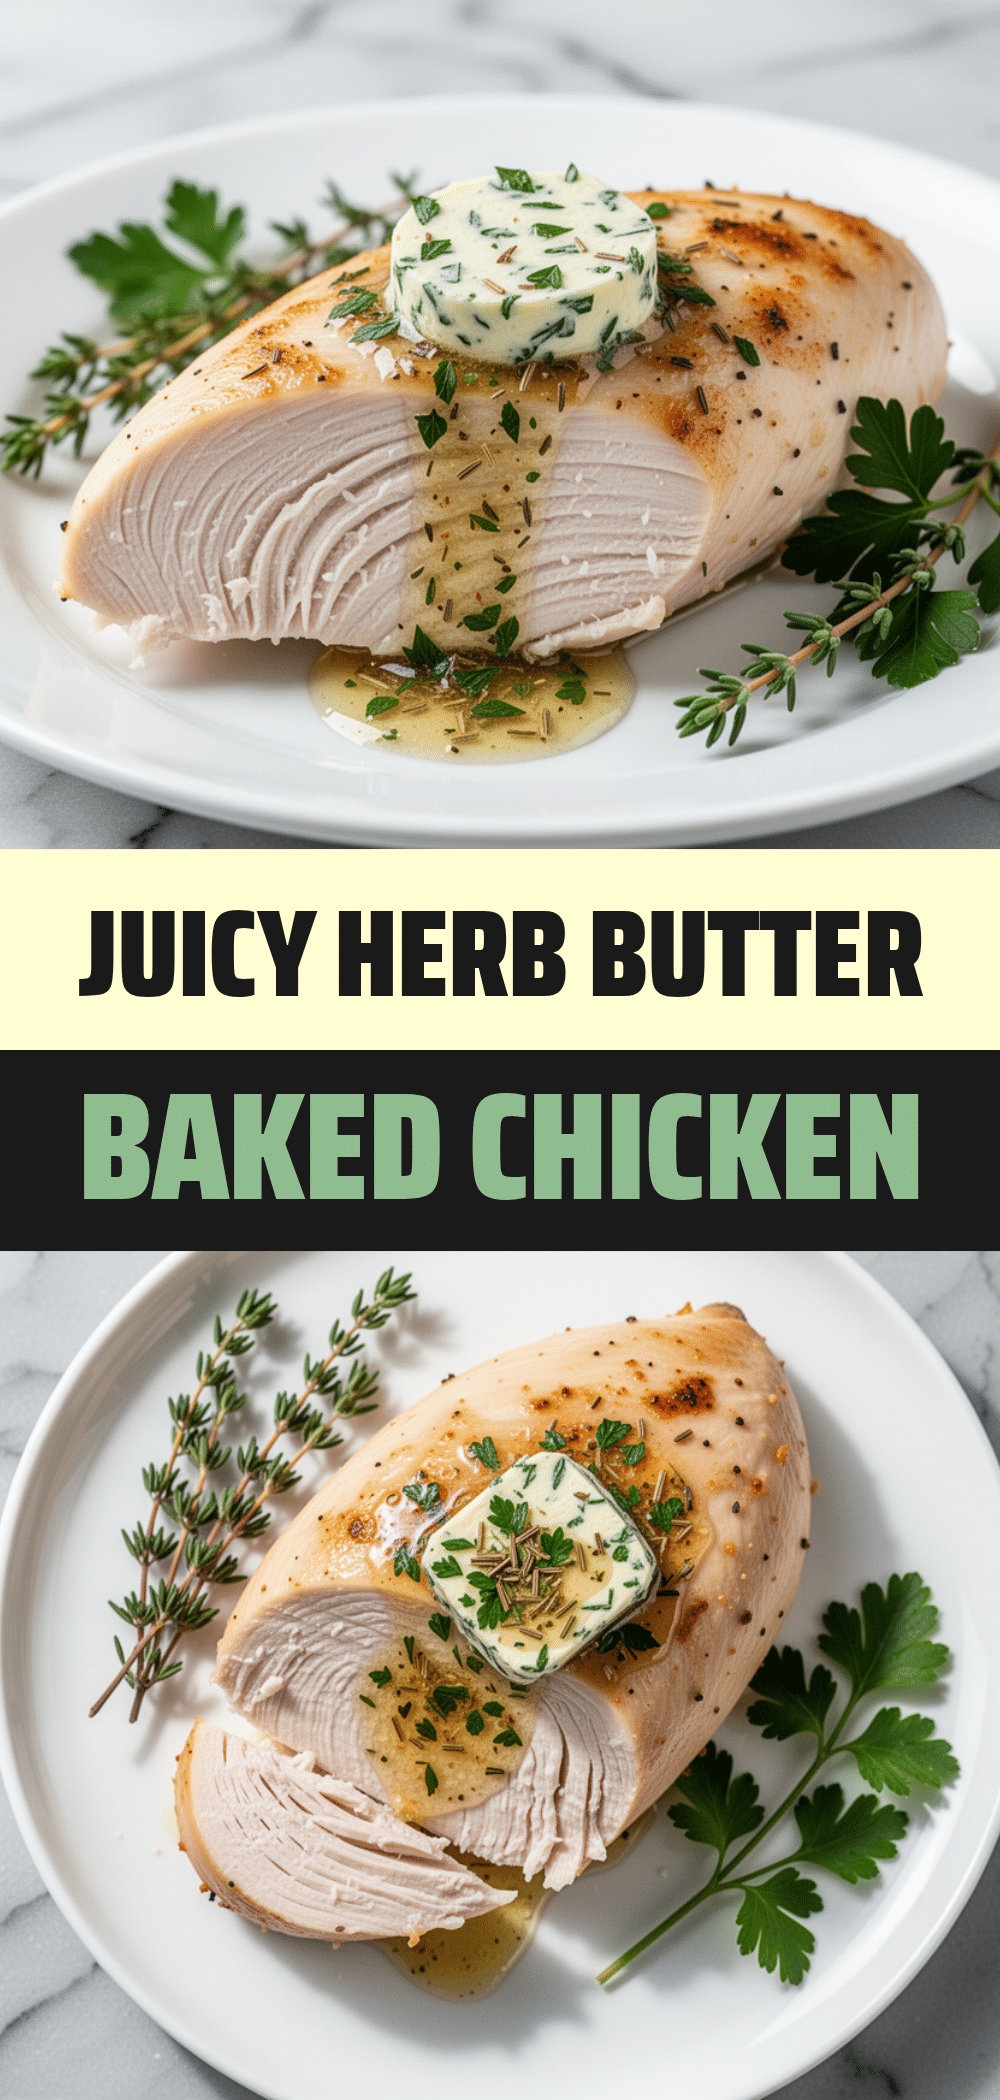
Never-Dry Oven-Baked Chicken Breast: Best Herb Butter Recipe
- Total Time: 30 minutes
- Yield: 4 servings 1x
Description
This foolproof oven-baked chicken breast recipe uses a generous slab of herb butter to ensure juicy, flavorful results every time. It’s a quick, set-it-and-forget-it method perfect for weeknight dinners and meal prep.
Ingredients
- 4 large boneless, skinless chicken breasts
- 4 tablespoons (60g) unsalted butter, softened
- 1 teaspoon garlic powder
- 1 teaspoon dried thyme
- 1/2 teaspoon dried rosemary
- 1/2 teaspoon smoked paprika
- 1/2 teaspoon onion powder
- Sea salt and black pepper to taste
- 1 tablespoon fresh parsley, chopped (optional)
Instructions
- Preheat oven to 400°F (200°C). Pat chicken breasts dry with paper towels.
- If chicken breasts are uneven, pound them gently to an even 1/2-inch thickness.
- In a small bowl, mix softened butter, garlic powder, thyme, rosemary, smoked paprika, onion powder, salt, and pepper until a uniform paste forms.
- Place chicken on a parchment-lined baking sheet. Spread the herb butter mixture evenly over the top of each breast.
- Bake for 15-20 minutes, or until internal temperature reaches 165°F (74°C).
- Remove from oven and let rest, loosely tented with foil, for 5 minutes before slicing and serving.
Notes
For best results, use an instant-read thermometer to ensure chicken reaches 165°F. Do not skip the resting step, as it allows juices to redistribute. If the butter browns too quickly, tent loosely with foil. Pan drippings can be used to make a quick sauce.
- Prep Time: 10 minutes
- Cook Time: 20 minutes
- Category: Main Course
- Cuisine: American
Nutrition
- Serving Size: 1 chicken breast wit
- Calories: 320
- Sodium: 350
- Fat: 18
- Saturated Fat: 9
- Carbohydrates: 1
- Protein: 35
Keywords: chicken breast, oven baked chicken, herb butter, juicy chicken, meal prep, easy dinner, gluten-free, keto-friendly