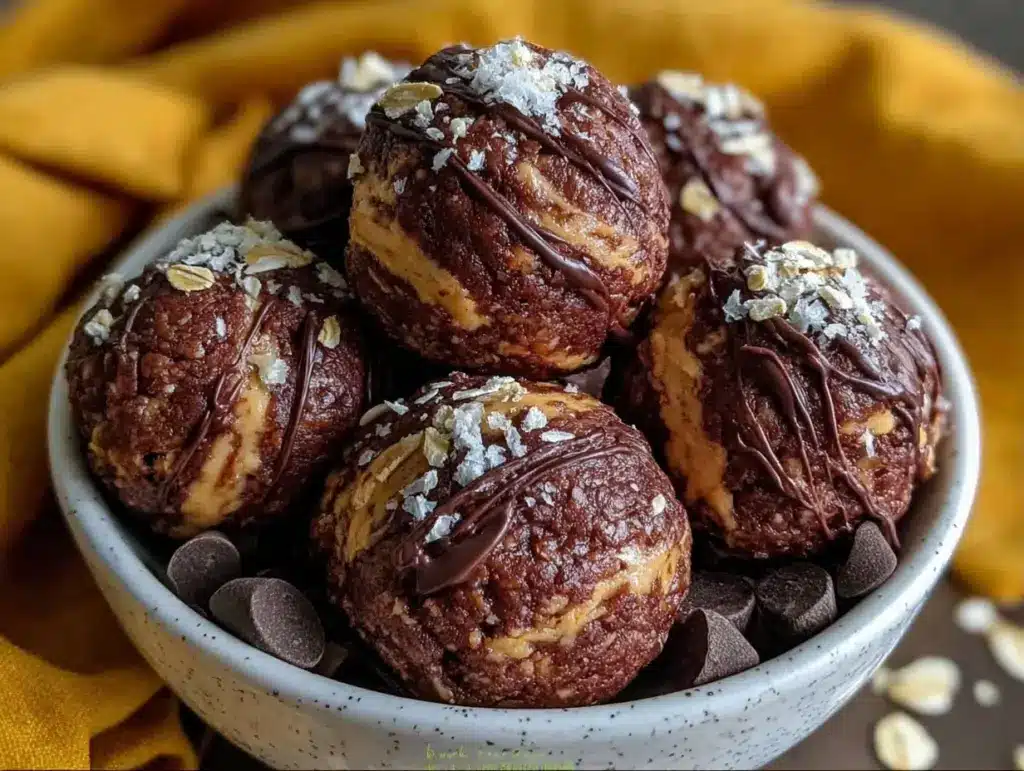
It’s 5:03 PM. The house is quiet, which usually means the kids are finally settled, or it means they’re plotting something in the other room. I’m standing in the kitchen, staring at the clock, feeling that familiar knot of dread tighten in my stomach. Dinner isn’t planned. The fridge is half-empty except for some wilted spinach and a jar of peanut butter that’s been there since October. My brain is fried from work, and the thought of chopping vegetables, heating up a stove, and then—God forbid—washing a pan makes me want to order takeout. Again.
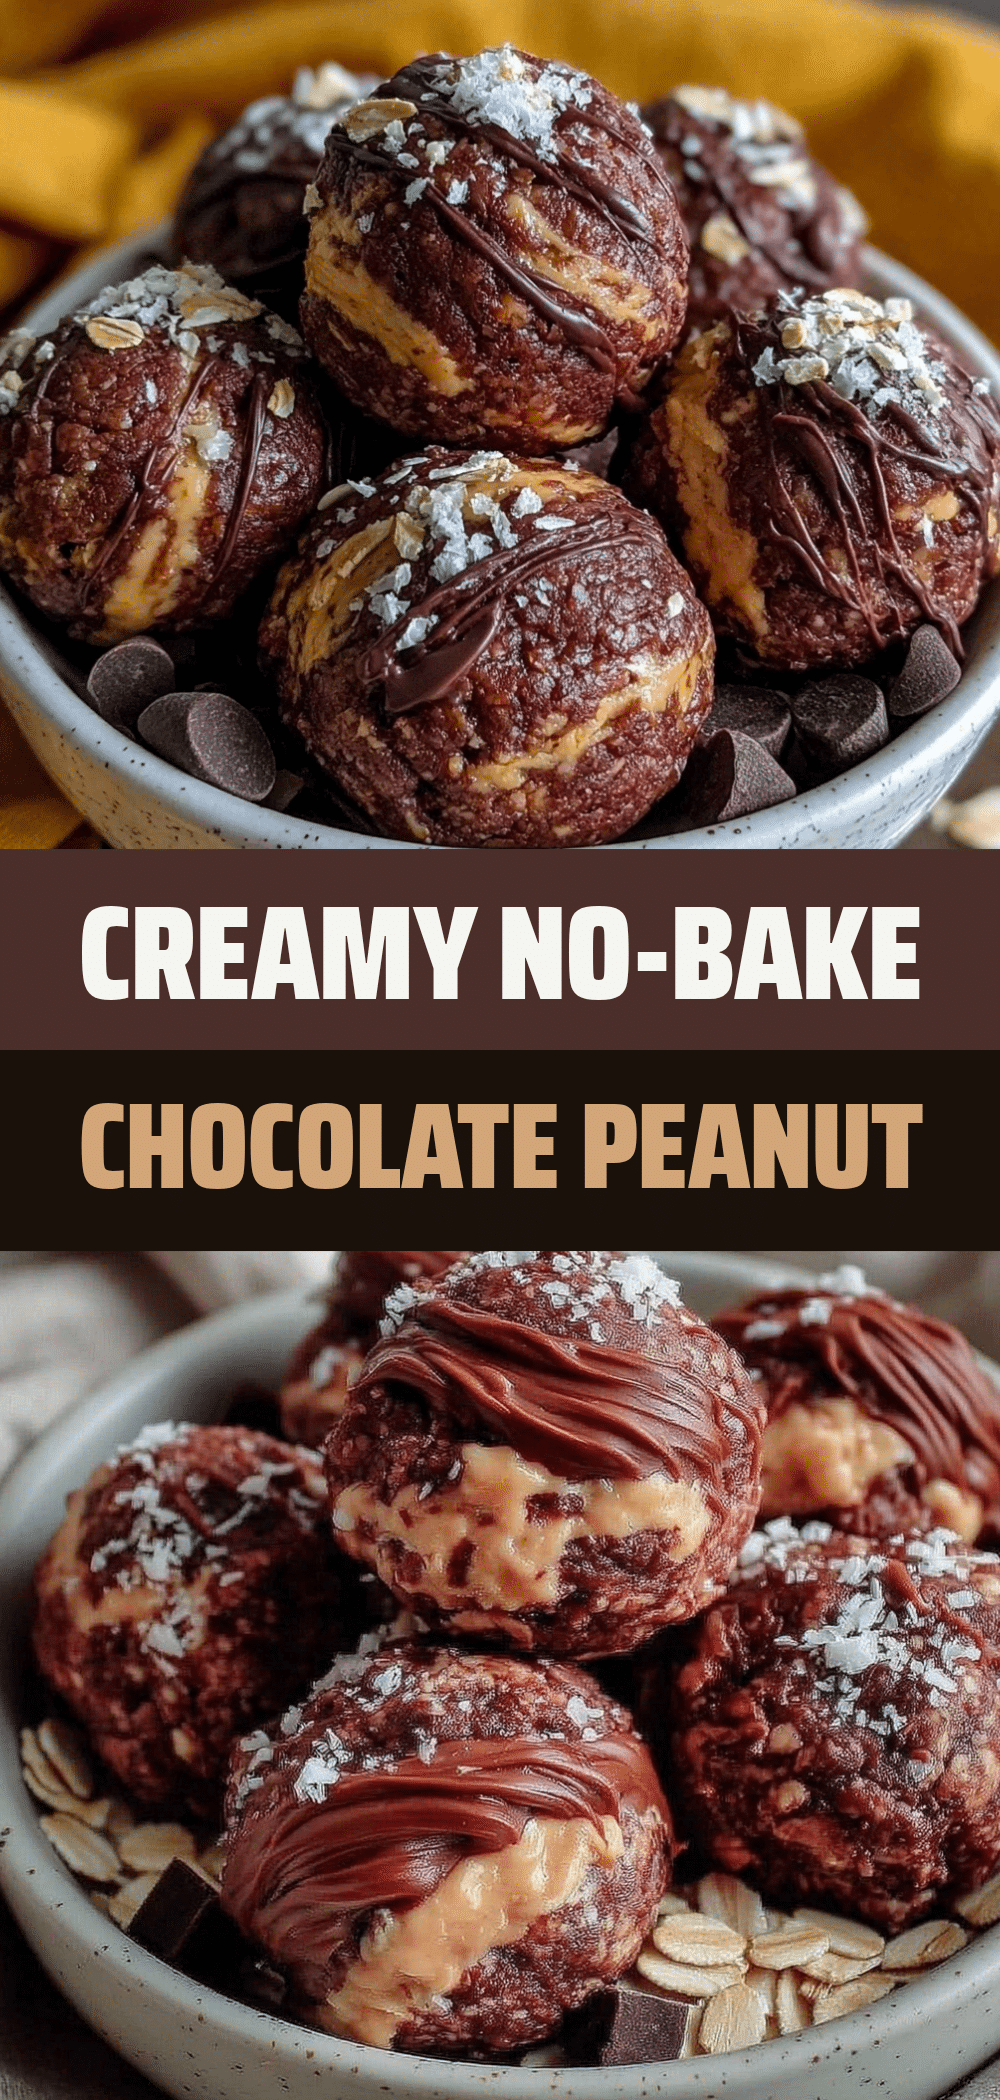
But takeout is expensive, and I know exactly what’s in it. So, instead of giving in, I did what I’ve been doing for the last six months. I reached for the oats, the chocolate chips, and that stubborn jar of peanut butter. Five minutes later, I had no-bake chocolate peanut butter protein balls in the fridge. Thirty minutes later, my kids were eating them for “dinner” (don’t judge me), and I was actually sitting down with a glass of wine while the house stayed clean.
This isn’t just a snack. It’s my secret weapon for those chaotic evenings when “nothing planned” turns into “panic mode.” I’ve made these no-bake chocolate peanut butter protein balls so many times that I can probably mix them in my sleep. And honestly? I don’t want to. They are the perfect balance of sweet, salty, and filling enough to stop the 8 PM hunger pangs that usually derail any diet I’m pretending to follow.
If you’re tired of the same old sad sandwiches or staring into the abyss of the pantry, you need this recipe in your life. It’s fast, it’s messy-free (mostly), and it tastes like dessert but acts like a meal. Let me show you how I make these no-bake chocolate peanut butter protein balls you’ll make on repeat.
Why You’ll Love This Recipe
Look, I’m not going to sit here and tell you these are going to change your life in a profound, spiritual way. But they will change your Tuesday night. Here’s the real talk on why these no-bake chocolate peanut butter protein balls have earned a permanent spot in my rotation:
- Zero Cooking Required — Seriously. No oven, no stove, no splattered grease. If you can mix things in a bowl, you can make this. I’ve made these while holding a toddler on my hip. It’s that easy.
- 10 Minutes or Less — From grabbing ingredients to rolling them into balls, it takes about 10 minutes. That’s faster than scrolling through food delivery apps and waiting for a confirmation email.
- Pantry Staples Only — You don’t need to run to the store. Oats, peanut butter, honey, chocolate chips. If you have a peanut butter sandwich in your desk drawer, you have the ingredients for this.
- Actually Keeps You Full — This is the big one. Most “snacks” leave you hungry 20 minutes later. These have oats and protein, so they stick to your ribs. I’ve used them as a legitimate dinner replacement when I’m too tired to cook a real meal.
- Kid-Approved (Even the Picky Ones) — My youngest thinks these are “magic cookies.” My oldest knows they’re basically oatmeal but eats them anyway because of the chocolate. It’s a win-win.
- Meal Prep Gold — I make a double batch on Sunday. Now I have snacks for the week, lunchbox additions, and emergency dinner fixes all in one container. It’s basically meal planning without the effort.
These no-bake chocolate peanut butter protein balls are my answer to “what’s for dinner?” when the answer is “absolutely nothing.” They’re reliable, delicious, and they save me from making bad decisions at 5:30 PM.
Ingredients You’ll Need
Here’s the best part: you probably already have 90% of this in your kitchen right now. I’m not asking you to buy exotic superfoods or weird powders from a health food store. This is real food, simple ingredients, and it tastes incredible.
Quick Oats (2 cups / 160g) — I use regular old-fashioned rolled oats. Quick oats work too, but they make the balls a bit denser. Steel-cut oats? No way. They won’t bind. If you want a finer texture, you can pulse the oats in a food processor for 10 seconds, but I like the chew.
Smooth Peanut Butter (1 cup / 250g) — Use natural or conventional creamy peanut butter. Avoid the “no-stir” stuff with the hydrogenated oils if you can help it—it’s harder to mix. I like the texture of creamy because it binds better, but chunky works if you like a crunch. Just make sure it’s soft enough to stir.
Honey (½ cup / 150ml) — This is the glue. It holds everything together. Maple syrup works too if you’re vegan or just don’t like the flavor of honey, but honey gives that nice caramel sweetness that pairs perfectly with chocolate. Don’t skimp on this, or your balls will crumble.
Dark Chocolate Chips (1 cup / 170g) — Yes, a whole cup. This is a chocolate ball, not a health food experiment. Use semi-sweet or dark chocolate chips. Mini chips distribute more evenly, but regular chips give you those satisfying gooey pockets. I buy the big bag when they’re on sale.
Vanilla Extract (1 teaspoon) — Just a splash to round out the flavors. It makes it taste less like “oats and nut butter” and more like a treat.
Pinch of Salt — Even if your peanut butter is salted, add a pinch. It boosts the chocolate flavor. I know, I know, but trust me on this.
Optional Add-ins:
Flaxseed or Chia Seeds (2 tablespoons) — For extra omega-3s. I add these when I’m trying to be extra healthy, but they’re optional.
Protein Powder (1 scoop) — If you want to turn these into a true post-workout snack, add a scoop of vanilla or chocolate protein powder. Note: this will dry out the mixture, so you might need an extra tablespoon of honey or peanut butter.
Substitutions:
Nut-Free? Use sunflower seed butter or soy nut butter instead of peanut butter. It works surprisingly well.
No Honey? Use agave nectar or maple syrup. The texture will be slightly softer, so chill them longer.
Equipment Needed
You don’t need fancy gadgets for this. Here’s what I actually use:
Large Mixing Bowl — Something big enough to hold all the ingredients. I use a 4-quart bowl. If it’s too small, you’ll end up with peanut butter on your ceiling.
Wooden Spoon or Spatula — For mixing. A sturdy spatula is better because it scrapes the sides. I use silicone because they don’t scratch my bowls.
Baking Sheet or Plate — To line with parchment paper. This is where you roll the balls. Parchment paper is key so they don’t stick.
Measuring Cups and Spoons — Standard stuff. I eyeball it sometimes, but for beginners, measuring is safer.
Refrigerator — The most important tool. These need to set up in the cold.
Food Processor (Optional) — If you want fine, cookie-dough-like texture, use this. If you like chunky, skip it.
How to Make It: Step-by-Step
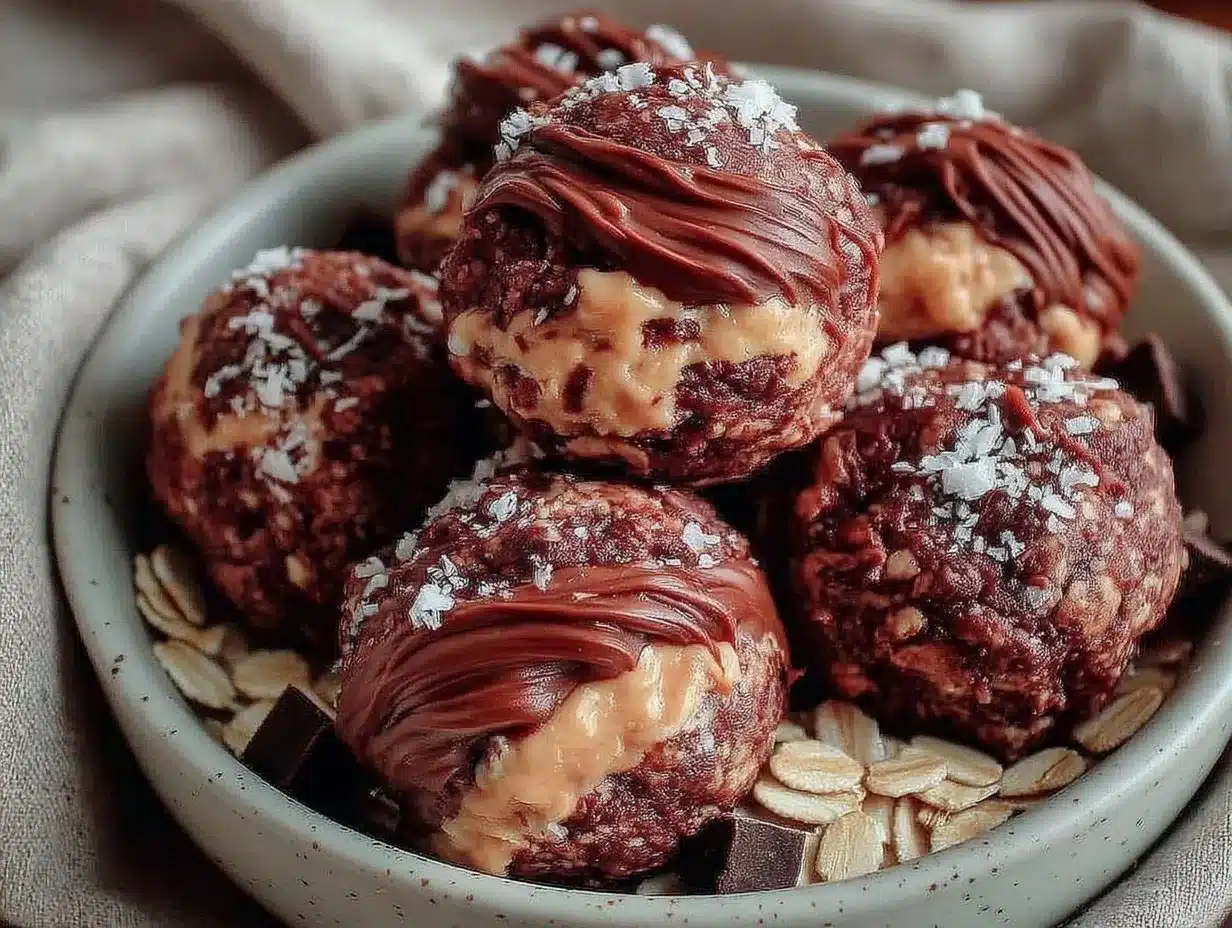
Alright, let’s make these no-bake chocolate peanut butter protein balls. I’m walking you through exactly how I do it, including the little tricks I’ve picked up over dozens of batches.
Step 1: Prep Your Station (2 minutes)
Line a large baking sheet or plate with parchment paper. This is crucial. If you skip this, you’ll be scraping sticky oats off the counter later. Set it aside. Grab your large mixing bowl.
Step 2: Mix the Wet Ingredients (1 minute)
Add the peanut butter and honey to the bowl. If your peanut butter is stiff, microwave it for 15-20 seconds to soften it up. Stir it with the honey until it’s smooth and combined. This takes about a minute. If you have a stand mixer, you can do this on low speed, but I find mixing by hand is faster because there’s less cleanup.
Step 3: Add the Dry Ingredients (2 minutes)
Pour in the oats, vanilla extract, and salt. Stir everything together. At this point, the mixture will look dry and crumbly. That’s normal. Keep stirring until every oat is coated in the peanut butter mixture. It should look like thick, sticky dough.
Step 4: Fold in the Chocolate (1 minute)
Stir in the chocolate chips. Now, if you’re using a food processor, this is when you’d pulse it for 10 seconds to break up the oats slightly. I usually just mix it by hand because I like the texture. If you want it smoother, pulse it. If you like it chunky, leave it.
Step 5: Roll the Balls (5 minutes)
Pinch off a tablespoon-sized amount of dough. Roll it between your palms to form a ball. Place it on the parchment-lined sheet. Repeat with the rest of the dough. You should get about 20-24 balls. Don’t worry if they’re not perfect spheres. These are homemade, not factory-made. My kids prefer the lumpy ones anyway.
Step 6: Chill (30 minutes)
Put the tray in the fridge. Let them set for at least 30 minutes. This hardens the peanut butter and honey, making the balls firm enough to eat without falling apart. If you’re impatient (like me), you can put them in the freezer for 15 minutes. Just don’t skip this step, or you’ll have a mess on your hands.
Total Time: About 10 minutes active, plus 30 minutes chilling.
Expert Tips & Tricks
Here’s everything I’ve learned from making these dozens of times. These tips will save you from my mistakes.
Soften Your Peanut Butter
If your peanut butter is cold and stiff, it’s a nightmare to mix. Warm it up in the microwave for 10-15 seconds. It should be pourable but not hot. This makes mixing way easier.
Don’t Over-Roll
When you’re rolling the balls, don’t overwork the dough in your hands. If you roll them too long, they can start to melt from the heat of your palms. Just shape them gently and put them on the tray.
Too Sticky?
If the mixture is too sticky to roll, add another tablespoon of oats.
Too Dry?
If it’s crumbling, add another teaspoon of honey or peanut butter. It happens depending on the humidity and the brand of oats.
Store in an Airtight Container
Once they’re chilled, transfer them to an airtight container. They last up to 2 weeks in the fridge. I usually keep them in a glass container because they smell amazing and I’m tempted to eat them all day.
Double Batch It
I always make two batches. One for now, one for later. They freeze well too! Just freeze them on the tray first, then transfer to a freezer bag. They’ll last 3 months. I keep a stash in the freezer for those “I have nothing” moments.
Variations & Substitutions
Once you’ve nailed the basic version, here’s how you can mix it up. I’ve tried all of these.
Protein Power
Add a scoop of vanilla protein powder. This makes them great for post-workout. You might need a little extra honey to bind it.
Red Velvet
Add 1 tablespoon of cocoa powder and a few drops of red food coloring. It’s weirdly delicious and looks fancy.
Snickerdoodle
Replace the chocolate chips with cinnamon sugar. Roll the finished balls in cinnamon sugar before chilling. So good.
Mini M&M’s
Swap chocolate chips for mini M&M’s. Adds a nice crunch and color. Great for parties.
Almond Butter
Use almond butter instead of peanut butter. Slightly more expensive, but tastes incredible with chocolate.
Gluten-Free
Use certified gluten-free oats. Everything else is naturally gluten-free.
Vegan
Use maple syrup instead of honey and vegan chocolate chips. Works perfectly.
Serving & Storage
How to Serve:
I usually just grab them straight from the container. They’re perfect for lunchboxes, after-school snacks, or late-night cravings. I also pack them for road trips—they don’t melt as fast as candy bars.
Storage Instructions:
Fridge: Up to 2 weeks in an airtight container.
Freezer: Up to 3 months. Freeze on a tray first, then bag them.
Reheating:
You don’t need to reheat these. Eat them cold. If they get too hard from the fridge, let them sit out for 5 minutes to soften slightly.
Nutrition Information
I’m not a nutritionist, but here’s the breakdown if you’re tracking. Keep in mind, this varies based on the brands you use.
Per Ball (approx. 20 balls):
Calories: 90
Protein: 3g
Carbs: 12g
Fiber: 1g
Sugar: 7g
Fat: 4g
They’re not a calorie-free snack, but they’re nutrient-dense. The oats provide fiber, the peanut butter has healthy fats and protein, and the chocolate gives you a mood boost. It’s a win.
Final Thoughts
So that’s my go-to no-bake chocolate peanut butter protein balls! I’ve probably talked your ear off at this point, but when you make a recipe this often, you have a lot to say about it.
This has saved weeknight dinners more times than I can count. It’s my answer to “what’s for dinner?” when I’m tired, don’t want takeout, and still want something that tastes really good. My kids are happy, my husband’s happy, and I’m happy because I’m not stressed about cooking.
Make it yours! Try different add-ins, swap in your favorite nut butter, adjust the chocolate (though more is always better in my opinion). The best recipes are the ones you adapt to your family’s tastes.
If you make this, drop a comment and let me know what you think! I love hearing how recipes turn out in your kitchen. And if something doesn’t work, tell me that too—I’m here to help troubleshoot.
Happy cooking! And I hope your kitchen smells half as good as mine does right now.
Frequently Asked Questions
Can I use crunchy peanut butter?
Yes! It adds a nice texture. I usually use creamy because it’s easier to mix, but crunchy works great if you like the bite.
Why are my balls falling apart?
They probably need more binder. Add another tablespoon of honey or peanut butter and mix well. Also, make sure you’re chilling them long enough. If they’re too soft, they won’t hold together.
Can I make these ahead for a party?
Absolutely. Make them 2 days ahead and store in the fridge. They actually taste better after they’ve had time to set. Just keep them in an airtight container.
Can I freeze them?
Yes! Freeze them on a baking sheet first, then transfer to a freezer bag. They’ll last 3 months. Thaw in the fridge for 15 minutes before eating.
Are these gluten-free?
If you use certified gluten-free oats, yes. The rest of the ingredients are naturally gluten-free.
Can I use protein powder?
Yes, but it absorbs moisture. You might need to add a little extra honey or peanut butter to get the right consistency. Start with 1 scoop and adjust as needed.
What if I don’t have chocolate chips?
You can omit them, but it won’t be the same. You could use raisins, dried cranberries, or chopped nuts instead. It’ll be more of an oat ball than a chocolate ball, but still tasty.
While these no-bake treats are perfect for quick fixes, if you’re ever in the mood for something slightly more substantial but still easy, you might enjoy our no-bake chocolate peanut butter oat bars for a chewier alternative. Or, for a warm comfort meal on a rainy day, try our cozy fall creamy wild rice and mushroom casserole which is just as comforting without the oven work.
Pin This Recipe!

No-Bake Chocolate Peanut Butter Protein Balls
- Total Time: 40 minutes
- Yield: 20-24 servings 1x
Description
A quick, no-bake recipe for chocolate peanut butter protein balls made with pantry staples. Perfect for busy weeknights, these balls are kid-approved, filling, and take only 10 minutes to prepare.
Ingredients
- 2 cups quick oats (or old-fashioned rolled oats)
- 1 cup smooth peanut butter
- 1/2 cup honey
- 1 cup dark chocolate chips
- 1 teaspoon vanilla extract
- Pinch of salt
- Optional: 2 tablespoons flaxseed or chia seeds
- Optional: 1 scoop protein powder
Instructions
- Line a large baking sheet or plate with parchment paper.
- In a large mixing bowl, combine the peanut butter and honey. If the peanut butter is stiff, microwave it for 15-20 seconds to soften. Stir until smooth.
- Add the oats, vanilla extract, and salt to the bowl. Stir until every oat is coated and the mixture resembles thick, sticky dough.
- Fold in the chocolate chips. For a finer texture, you can pulse the mixture in a food processor for 10 seconds, or leave it chunky.
- Pinch off tablespoon-sized amounts of dough and roll into balls between your palms. Place on the prepared baking sheet.
- Refrigerate for at least 30 minutes (or freeze for 15 minutes) to set before serving.
Notes
If the mixture is too sticky, add another tablespoon of oats. If it is too dry/crumbly, add another teaspoon of honey or peanut butter. Store in an airtight container in the fridge for up to 2 weeks or freeze for up to 3 months.
- Prep Time: 10 minutes
- Cook Time: 0 minutes
- Category: Snack
- Cuisine: American
Nutrition
- Serving Size: 1 ball
- Calories: 90
- Sugar: 7
- Sodium: 50
- Fat: 4
- Saturated Fat: 1.5
- Carbohydrates: 12
- Fiber: 1
- Protein: 3
Keywords: no-bake, protein balls, peanut butter, chocolate, quick dinner, kid-friendly, meal prep, gluten-free option, vegan option