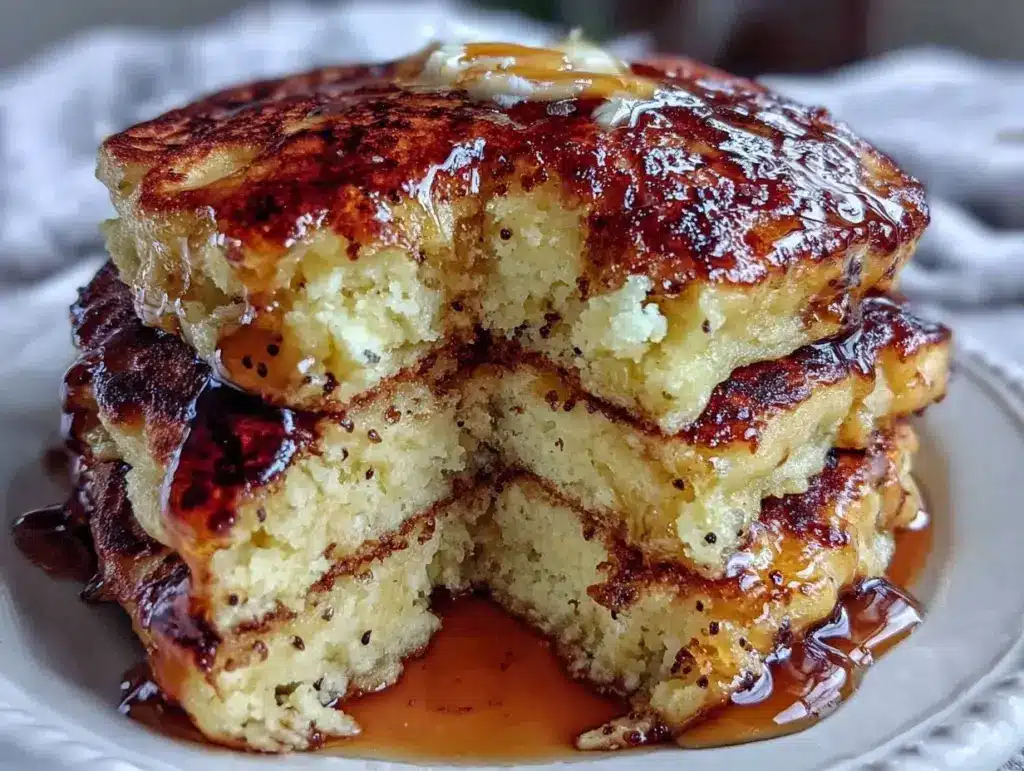
I have a confession. For years, I made pancakes that were… fine. You know the kind? Edible. Slightly dense. Perfectly acceptable for a quick breakfast before school, but never the kind that makes your kids ask for seconds on a Saturday morning. I thought that was just how pancakes were. I thought “fluffy” was a myth reserved for diner menus and food magazines.
Then last weekend, my seven-year-old looked at my stack of pancakes, poked one with his fork, and said, “Mom, these are like clouds.” That comment stuck with me. It wasn’t just about the taste; it was about the texture. I realized I had been rushing the process for a decade. I was mixing the batter too much, cooking them too fast, and ignoring the most important step in the entire recipe: resting.
These extra-fluffy buttermilk pancakes are different. They’re tall, golden, and hold their shape under a mountain of butter and syrup. And the secret isn’t a fancy ingredient or a complicated technique. It’s a ten-minute wait. Seriously. The difference between a sad, flat pancake and a towering, airy masterpiece is just patience. Once you try this method, you’ll never go back to the quick-mix version. I’ve made these at least a dozen times since that Sunday morning, tweaking the cinnamon swirl pancake ratios and buttermilk waffle batters along the way, but this classic stack remains my absolute favorite.
Why You’ll Love This Recipe
There are about ten reasons I keep making these, but here are the big ones that make them a weekend staple in our house.
- Actually Fluffy — I’m not talking about “light” fluffy. I’m talking about tall, jiggly, cloud-like fluffy. The resting trick activates the baking powder properly, creating those beautiful air pockets. My kids call them “pillow pancakes.”
- One-Bowl Wonder — Seriously, if you can whisk, you can make these. No electric mixer needed. No separate bowls for dry and wet ingredients (though you can do that if you’re OCD about it—I usually just dump it all in one big bowl). Cleanup is a breeze.
- Pantry-Friendly — You probably have 90% of these ingredients already. Flour, sugar, baking powder, salt, milk (or buttermilk), eggs, butter, and vanilla. If you don’t have buttermilk, I’ll show you how to hack it with regular milk and vinegar. It’s that easy.
- Family-Approved — I’ve served these to my coffee-snob husband (who prefers savory breakfasts) and my picky toddler. Both asked for the recipe. That’s the ultimate seal of approval. They pair perfectly with my maple banana nut muffins for a huge weekend spread.
- Freezer-Friendly — These freeze beautifully. I make a double batch on Sunday, freeze the extras, and toast them for weekday mornings. They taste fresh even after being in the freezer for a month.
This is my go-to when I want to treat the family to something special without spending hours in the kitchen. It’s reliable, delicious, and makes the house smell like vanilla and warm butter.
Ingredients You’ll Need
Here’s the best part: you probably have most of this already. I’m particular about a few things here, and I’ll tell you exactly why.
For the Batter
All-purpose flour (2 cups / 250g) — Don’t get fancy here. AP flour gives the right structure. Cake flour makes them too fragile; bread flour makes them too chewy. I use Gold Medal or King Arthur, but any standard brand works.
Sugar (2 tablespoons / 25g) — Just a little bit. It helps with browning and adds a hint of sweetness, but these aren’t dessert pancakes. They’re breakfast. If you like sweeter pancakes, you can bump it up to 3 tablespoons.
Baking powder (2 teaspoons) — This is your lift. Make sure it’s fresh! If your baking powder is older than 6 months, it might not have enough punch. I keep a fresh canister specifically for baking days.
Baking soda (½ teaspoon) — This reacts with the acid in the buttermilk to create bubbles. It’s essential for that rise.
Salt (½ teaspoon) — Flavors the batter. Don’t skip it. Sweet pancakes need salt to taste like actual pancakes.
Buttermilk (1 ¾ cups / 420ml) — This is the star. The acidity tenderizes the gluten, making them soft. If you don’t have buttermilk, mix 1 ¾ cups milk with 1 ¾ tablespoons vinegar or lemon juice. Let it sit for 5 minutes until it curdles. It’s not the same as cultured buttermilk, but it works in a pinch.
Eggs (2 large) — Room temperature is best. Cold eggs can shock the batter and make it tough. I take mine out of the fridge when I start prepping the dry ingredients.
Melted butter (3 tablespoons / 45g) — Adds richness and helps with browning. Let it cool slightly before adding so it doesn’t scramble the eggs.
Vanilla extract (1 teaspoon) — Pure vanilla, please. The cheap stuff tastes chemical. I use Nielsen-Massey or McCormick’s Best.
Vanilla bean paste (1 teaspoon, optional) — This is my secret weapon. It adds those tiny black specks and an intense vanilla flavor that pairs perfectly with the maple glaze I often serve with savory dishes, but here it makes the pancakes taste gourmet.
For the Vanilla Bean Maple Syrup
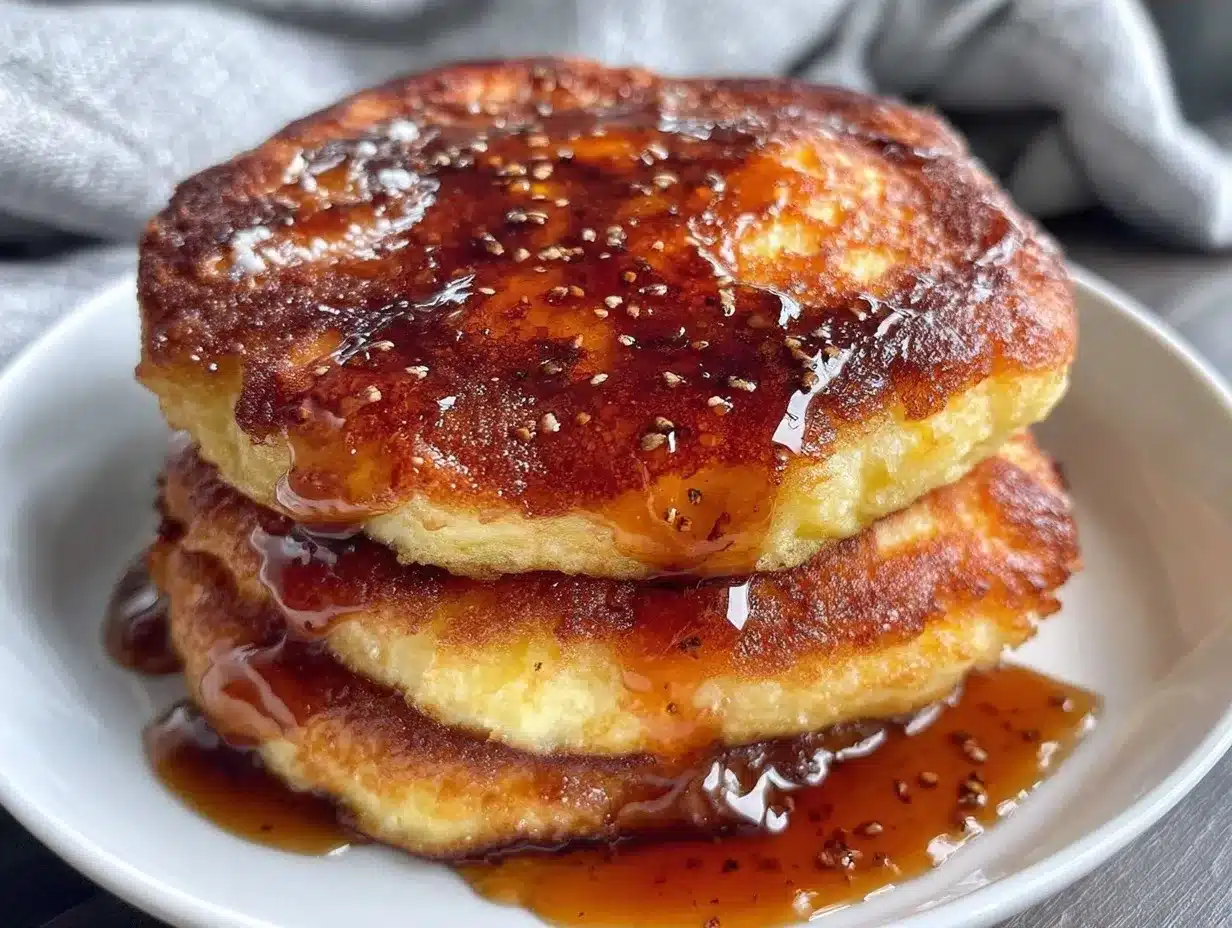
Real maple syrup (1 cup / 240ml) — Look for Grade A Amber or Dark. Avoid “pancake syrup” or “table syrup” which is mostly corn syrup. Real maple syrup has flavor.
Vanilla bean (1 small pod, or 1 tsp paste) — Split the pod and scrape the seeds. The seeds add visual appeal and deep flavor.
Butter (1 tablespoon) — Whisked in at the end for a glossy finish.
Equipment Needed
You don’t need fancy equipment for this. Here’s what I actually use.
- Large mixing bowl — I use a 4-quart glass bowl. It’s easy to see the consistency and easy to whisk.
- Whisk — A standard balloon whisk works fine. I prefer one with a rubberized handle for grip.
- Non-stick skillet or griddle — This is crucial. A good non-stick surface ensures even browning without sticking. I use a 10-inch cast iron skillet or my electric griddle.
- Spatula — A flexible silicone spatula is best for flipping without tearing the delicate pancakes.
- Mason jar or squeeze bottle — I pour the batter into a mason jar for easy pouring. It’s like having a batter dispenser.
- Pastry brush — For greasing the pan with butter.
Pro Tip: Don’t use cooking spray. It leaves a film on the pan over time. I use a little bit of butter or neutral oil brushed on the pan for each batch. It tastes better and keeps the pan clean.
How to Make It: Step-by-Step
Alright, let’s make this! I’m walking you through exactly how I do it, including the little tricks I’ve picked up.
Step 1: Mix the Dry Ingredients (2 minutes)
In your large bowl, whisk together the flour, sugar, baking powder, baking soda, and salt. I do this first because it’s easy to forget the baking soda if you mix wet and dry separately. Whisking ensures the leavening agents are evenly distributed, which means even rising.
Step 2: Combine the Wet Ingredients (2 minutes)
In a separate bowl or large measuring cup, whisk the buttermilk, eggs, melted butter, vanilla extract, and vanilla bean paste (or scraped seeds). Make sure the butter is cooled down. If it’s too hot, it will cook the eggs. You want a smooth, liquid mixture.
Step 3: The Mix (1 minute)
Make a well in the center of the dry ingredients. Pour the wet mixture into the well. Gently stir with a spoon or whisk until just combined. Stop while there are still a few lumps. This is the most important step. Overmixing develops gluten, which makes pancakes tough and rubbery. Lumpy batter = fluffy pancakes. Trust me on this.
Step 4: The Rest (10 minutes)
This is the trick. Let the batter sit for 10 minutes. Do not skip this. During this time, the flour hydrates, the baking powder activates, and the gluten relaxes. You’ll see tiny bubbles forming on the surface. This is the sign of good things to come. If you’re short on time, 5 minutes works, but 10 is better.
Step 5: Heat the Pan (2 minutes)
Preheat your skillet or griddle over medium heat. Test it by flicking a few drops of water onto the surface. If they sizzle and evaporate, it’s ready. If they dance around like ping pong balls, it’s perfect. Grease lightly with butter.
Step 6: Cook the Pancakes (3-4 minutes per batch)
Pour about ¼ cup of batter per pancake. Cook until bubbles form on the surface and pop, leaving small holes that don’t immediately fill in. This takes about 2-3 minutes. The edges will look set and matte. Flip gently. Cook for another 1-2 minutes on the other side until golden brown. Repeat with remaining batter, greasing the pan as needed.
Step 7: Make the Syrup (5 minutes)
While the pancakes cook, warm the maple syrup in a small saucepan over low heat. Add the vanilla bean seeds (and pod, if using) and simmer for 2 minutes. Remove from heat, discard the pod, and whisk in the tablespoon of butter. This creates a rich, glossy syrup with visible vanilla specks.
Expert Tips & Tricks
Here’s everything I’ve learned from making this dozens of times. These tips will save you from my mistakes.
- The Rest is the Best — I’ve made this batter without resting it, and the difference is night and day. The rested pancakes are taller, lighter, and have a better crumb. It’s the single biggest upgrade you can make.
- Don’t Press Down — When you flip a pancake, never press down on it with your spatula. You’re squeezing out the air bubbles you just worked so hard to create. Let it be.
- Keep Them Warm — Place finished pancakes on a baking sheet in a 200°F (95°C) oven while you cook the rest. This keeps them warm without steaming them in a pile, which makes them soggy.
- Adjust Heat as Needed — If the first pancake is too dark, lower the heat. If it’s too pale, increase it slightly. Every stove is different. Aim for a gentle, steady sizzle.
- Use a Squeeze Bottle — Pouring from a bowl is messy and inconsistent. A squeeze bottle gives you perfect, round pancakes every time. It also makes cleanup easier.
Variations & Substitutions
Once you’ve nailed the basic version, here’s how you can mix it up. I’ve tried all of these.
- Berry Pancakes — Fold in ½ cup fresh blueberries or raspberries after resting. Don’t add them to the batter before resting, or they’ll sink. I love these with my caramel apple crisp for a fall brunch.
- Chocolate Chip — Add ½ cup chocolate chips after resting. The chocolate melts into pockets of goodness.
- Lemon Poppy Seed — Add the zest of one lemon and 1 teaspoon poppy seeds to the batter. Bright and refreshing.
- Gluten-Free — Use a 1:1 gluten-free flour blend. The results are surprisingly good, though slightly more delicate. Handle with care when flipping.
- Dairy-Free — Use dairy-free milk (oat or almond work well) and dairy-free butter or coconut oil. The texture is still fluffy thanks to the resting step.
Serving & Storage
How to Serve: I serve these straight from the griddle, stacked high. Top with a pat of butter, a drizzle of the vanilla bean maple syrup, and maybe some fresh berries. It’s simple, elegant, and delicious.
Storage: Store leftovers in an airtight container in the fridge for up to 3 days. Reheat in a toaster or toaster oven for best texture. Microwave reheating can make them chewy.
Freezing: These freeze beautifully. Cool them completely, then stack them with parchment paper between each pancake. Freeze in a zip-top bag for up to 2 months. Toast from frozen.
Pro Tip: If you’re meal prepping, cook the pancakes, freeze them, and just toast them in the morning. Add the syrup fresh. It saves so much time on busy weekdays.
Nutrition Information
I’m not a nutritionist, but here’s the breakdown if you’re tracking. Per serving (based on 4 pancakes with 2 tablespoons syrup):
- Calories: 320
- Protein: 8g
- Carbs: 45g
- Fiber: 1g
- Sugar: 18g
- Fat: 12g
Look, these are pancakes. They’re meant to be indulgent. But they’re not loaded with sugar like boxed mixes. The real maple syrup and homemade butter make a huge difference in quality. When I want to make it lighter, I use less syrup and add fruit on top. But usually? I just enjoy a reasonable portion and savor the moment.
Final Thoughts
So that’s my go-to extra-fluffy buttermilk pancake recipe! I’ve probably talked your ear off at this point, but when you make a recipe this often, you have a lot to say about it. This has saved weekend mornings more times than I can count. It’s my answer to “what’s for breakfast” when I want to feel special but don’t want to stress.
Make it yours! Try different add-ins, swap in your favorite vanilla, or adjust the sweetness. The best recipes are the ones you adapt to your family’s tastes. If you make this, drop a comment and let me know what you think! I love hearing how recipes turn out in your kitchen. And if something doesn’t work, tell me that too—I’m here to help troubleshoot.
Happy cooking! And I hope your kitchen smells half as good as mine does right now.
Frequently Asked Questions
Can I use milk instead of buttermilk?
Yes! Make “buttermilk” by adding 1 tablespoon of vinegar or lemon juice to 1 cup of milk. Let it sit for 5-10 minutes until it curdles. It’s not the same as cultured buttermilk, but it works well for pancakes.
Why are my pancakes dense?
Usually, this means you overmixed the batter. Stir until just combined, even if there are lumps. Also, make sure your baking powder is fresh. Old baking powder won’t create enough lift.
Can I make the batter ahead of time?
I don’t recommend it. The baking powder starts working as soon as it hits the liquid. If you let it sit too long (overnight), the pancakes will be flat. It’s best to mix and cook immediately, after the 10-minute rest.
How do I keep pancakes warm while cooking the rest?
Place them on a wire rack on a baking sheet in a 200°F (95°C) oven. This keeps them warm and crisp. Don’t stack them in a pile, or they’ll steam and get soggy.
Can I freeze these pancakes?
Absolutely! Cool them completely, then freeze in a single layer on a baking sheet. Once frozen, transfer to a zip-top bag. They’ll keep for up to 2 months. Toast from frozen for the best texture.
What kind of vanilla should I use?
I prefer vanilla bean paste for the specks and intense flavor. Vanilla extract works too, but the paste adds a visual and flavor dimension that’s hard to beat. Avoid imitation vanilla at all costs.
Pin This Recipe!
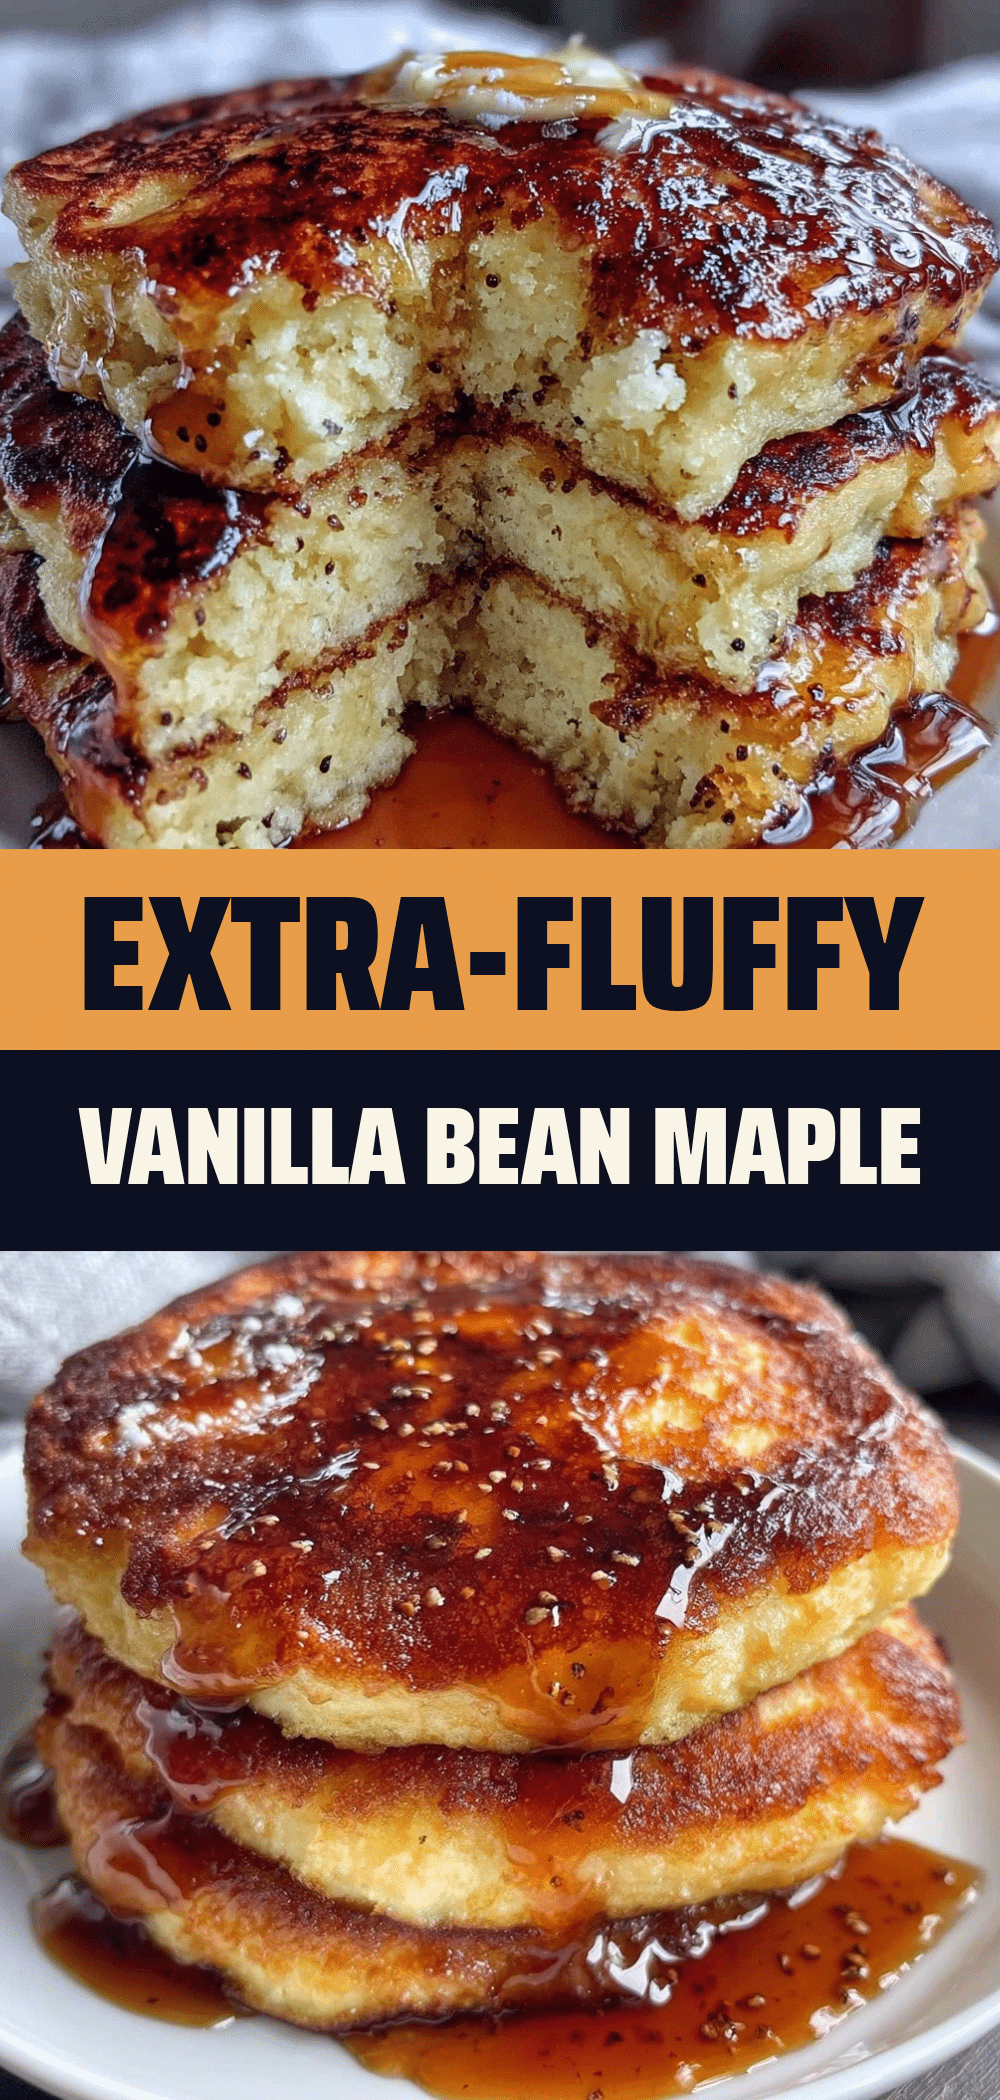
Extra-Fluffy Buttermilk Pancakes: 1 Resting Trick
- Total Time: 35 minutes
- Yield: 4 servings 1x
Description
These extra-fluffy buttermilk pancakes are tall, golden, and airy thanks to a simple 10-minute resting trick. Made in one bowl with pantry staples, they are the perfect weekend breakfast.
Ingredients
- 2 cups (250g) all-purpose flour
- 2 tablespoons (25g) sugar
- 2 teaspoons baking powder
- ½ teaspoon baking soda
- ½ teaspoon salt
- 1 ¾ cups (420ml) buttermilk
- 2 large eggs, room temperature
- 3 tablespoons (45g) melted butter, cooled slightly
- 1 teaspoon vanilla extract
- 1 teaspoon vanilla bean paste (optional)
- 1 cup (240ml) real maple syrup
- 1 small vanilla bean pod, split and scraped (or 1 tsp paste)
- 1 tablespoon butter (for syrup)
Instructions
- In a large bowl, whisk together the flour, sugar, baking powder, baking soda, and salt.
- In a separate bowl or large measuring cup, whisk the buttermilk, eggs, melted butter, vanilla extract, and vanilla bean paste until smooth.
- Make a well in the center of the dry ingredients and pour in the wet mixture. Gently stir until just combined, leaving a few lumps. Do not overmix.
- Let the batter rest for 10 minutes to allow the flour to hydrate and baking powder to activate.
- Preheat a non-stick skillet or griddle over medium heat. Test readiness by flicking water drops onto the surface; they should sizzle and evaporate.
- Lightly grease the pan with butter using a pastry brush.
- Pour about ¼ cup of batter per pancake onto the skillet.
- Cook for 2-3 minutes until bubbles form on the surface and pop, leaving small holes. The edges should look set.
- Flip gently and cook for another 1-2 minutes until golden brown.
- Repeat with remaining batter, greasing the pan as needed.
- While pancakes cook, warm maple syrup in a small saucepan over low heat. Add vanilla bean seeds and simmer for 2 minutes. Remove from heat, discard pod, and whisk in 1 tablespoon butter.
Notes
Do not overmix the batter; lumps are okay. Resting the batter for 10 minutes is crucial for fluffiness. Keep finished pancakes warm in a 200°F oven on a wire rack. For dairy-free, use oat/almond milk and dairy-free butter. For gluten-free, use a 1:1 gluten-free flour blend.
- Prep Time: 15 minutes
- Cook Time: 20 minutes
- Category: Breakfast
- Cuisine: American
Nutrition
- Serving Size: 4 pancakes with 2 ta
- Calories: 320
- Sugar: 18
- Sodium: 450
- Fat: 12
- Saturated Fat: 6
- Carbohydrates: 45
- Fiber: 1
- Protein: 8
Keywords: fluffy pancakes, buttermilk pancakes, breakfast recipe, easy pancakes, homemade pancakes, vanilla bean syrup