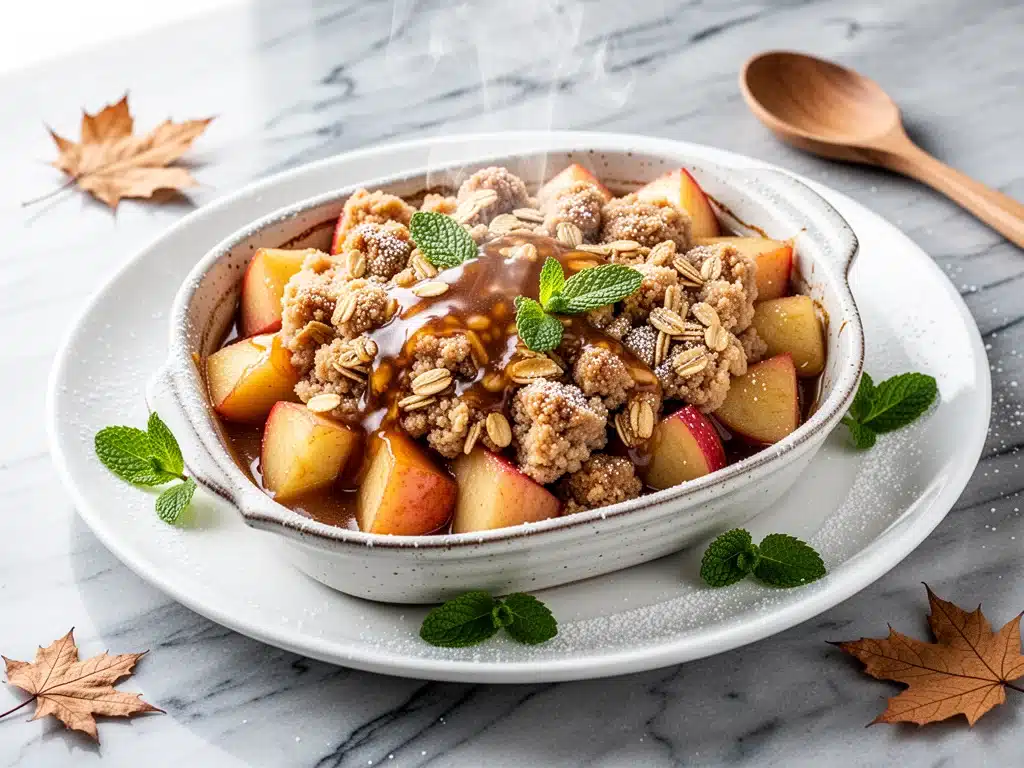
There is a specific smell that hits you the moment you open your oven door when this apple crisp is done baking. It’s part sweet apple, part toasted oat, and entirely buttery. It’s the kind of smell that pulls people out of their rooms, stops the TV noise, and makes everyone wander into the kitchen asking, “What is that?”
Last weekend, I made this Fall Caramel Apple Crisp for a casual get-together. I didn’t plan on it being a big deal. I just had a bag of apples that were starting to get a little soft and a craving for something warm. But when I pulled the dish out of the oven, my friend Sarah literally stopped mid-sentence. She grabbed a spoon, dug into the corner where the caramel pools, and said, “You have to give me this recipe. This is better than the one from that fancy bakery downtown.”
That’s the thing about this recipe. It’s not fancy. It’s not complicated. But it hits all the right notes. The apples are tender but not mushy. The caramel is salty and sweet. And that buttery oat streusel? It’s crunchy, golden, and absolutely addictive. I’ve made this at least six times in the last month—sometimes for family dinners, sometimes just because I wanted a snack. Every single time, it disappears fast.
I’ve tested a lot of apple crisp recipes over the years. Some are too soggy. Some have too much topping. Some taste like they’re missing the most important ingredient: caramel. This version strikes the perfect balance. It’s easy enough for a weeknight (seriously, five ingredients for the base), but impressive enough for a holiday table. If you’re looking for a dessert that feels like a hug in a bowl, this is it.
Why You’ll Love This Recipe
I know there are thousands of apple crisp recipes out there. So why this one? Why make this instead of buying the frozen kind or going to the store? Here’s the real talk on why this Fall Caramel Apple Crisp has taken over my kitchen routine.
It’s Stupidly Simple
I’m not exaggerating when I say this is a five-ingredient wonder (plus butter for the topping). You don’t need a stand mixer. You don’t need to whip egg whites. You just chop, drizzle, and sprinkle. I’ve made this while my kids were doing homework at the table. It’s that low-stress. If you can boil water and chop an apple, you can nail this.
The Caramel Factor
Most apple crisps are just apples and crumble. This one has caramel. And not just a drizzle on top. We’re talking caramel mixed *into* the apples so every bite is sweet and salty. It transforms the dish from a simple fruit crisp into something that feels decadent. I learned this trick from a friend who works at a diner, and it’s been a game-changer for me ever since.
Perfect Texture Contrast
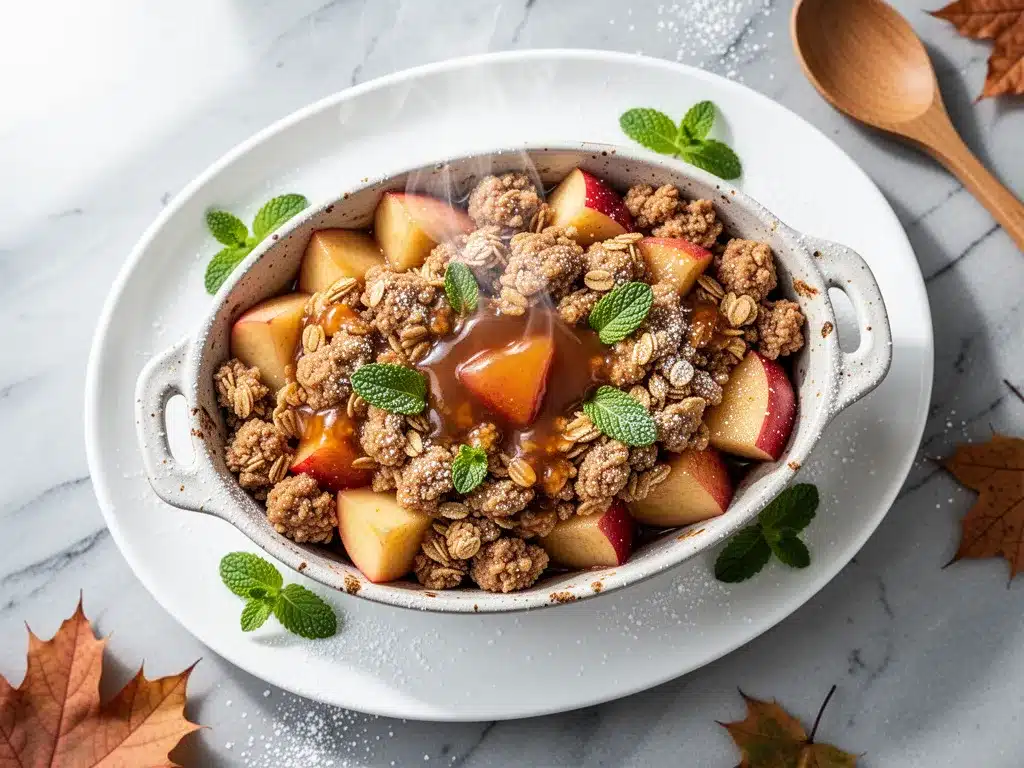
There’s nothing worse than a crisp where the topping is soggy or the apples are raw. This recipe gives you tender, juicy apples under a topping that stays crunchy. The oats in the streusel are key—they toast up beautifully in the oven. Plus, the butter in the topping adds that rich, bakery-style flavor that makes people close their eyes when they take the first bite.
Great for Meal Prep and Leftovers
Let’s be honest, apple crisp is often better the next day. The flavors meld together, the apples get even softer, and the caramel thickens. I love making this on Sunday and having it for breakfast or a snack throughout the week. It reheats beautifully in the microwave (just add a splash of milk or cream if you want it extra gooey). It’s also perfect for potlucks because it travels well and looks rustic and homemade.
This is my go-to when I need to impress guests without spending hours in the kitchen. It’s reliable, delicious, and always a crowd-pleaser. Whether you’re feeding a family of four or a crowd of twenty, this dish delivers.
Ingredients You’ll Need
Here’s the best part: you probably have most of this already. I’m particular about a few things here, but mostly, this is pantry-friendly comfort food. I keep these staples stocked just so I can throw this together on a whim.
For the Apple Filling
Apples (6 large, peeled and sliced / about 2.5 lbs or 1.1 kg) — This is the star. I use a mix of Granny Smith and Honeycrisp. Granny Smith gives that tart bite and holds its shape, while Honeycrisp adds sweetness and softness. Don’t use Red Delicious—they turn to mush. You want apples that stay tender but not watery. I always slice them about ¼-inch thick. Uniform slices mean even cooking.
Granulated Sugar (½ cup / 100g) — This helps draw out the juices from the apples and balances the tartness. If you’re using very sweet apples, you can reduce this to ¼ cup. But I like a little sweetness to contrast the cinnamon.
Ground Cinnamon (1 teaspoon) — Don’t skip this. Cinnamon is what makes it smell like fall. I use ground cinnamon, not sticks, because it distributes evenly. If you’re feeling fancy, add a pinch of nutmeg or allspice, but keep it simple. The cinnamon is key.
Caramel Sauce (½ cup / 120ml) — This is the secret weapon. I use store-bought caramel sauce (like the kind for ice cream) because it’s convenient and consistent. But if you want to go the extra mile, make your own salted caramel. Just melt ½ cup butter, 1 cup brown sugar, and ½ cup heavy cream in a saucepan until bubbly. Let it cool slightly before using. Either way, this adds that rich, gooey depth.
For the Buttery Oat Streusel
Old-Fashioned Rolled Oats (1 cup / 90g) — Do not use instant oats or steel-cut oats. Old-fashioned oats give you that chewy, toasted texture. They absorb the butter and brown nicely. I buy the big canisters because I use them for everything from chocolate peanut butter bars to this crisp.
All-Purpose Flour (½ cup / 60g) — This binds the oats and butter together so you get little crunchy clusters instead of a greasy mess. It’s a small amount, but it makes a big difference in texture.
Brown Sugar (½ cup / 100g, packed) — Brown sugar adds moisture and a deep molasses flavor. It helps the topping caramelize in the oven. Light or dark brown sugar both work, but I prefer dark for that richer taste.
Unsalted Butter (½ cup / 115g, cold and cubed) — Cold butter is non-negotiable here. When you cut cold butter into the dry ingredients, it creates little pockets that melt during baking, creating flaky, crunchy bits. If your butter is soft, the topping will be more like a cake. I cube it straight from the fridge. Unsalted lets you control the salt level.
Salt (½ teaspoon) — A pinch of salt enhances all the other flavors and balances the sweetness. If you’re using salted butter, reduce this to a quarter teaspoon.
Optional Topping — A scoop of vanilla ice cream or a dollop of whipped cream. I usually serve it warm with ice cream because the hot crisp and cold ice cream combo is heaven. But honestly? It’s delicious on its own too.
Equipment Needed
You don’t need fancy equipment for this. Here’s what I actually use, and what works.
9×13 Inch Baking Dish — I use a glass Pyrex dish. It heats evenly and I can see the bottom bubbling. A metal pan works too, but glass is easier to clean and doesn’t stick as much. Make sure it’s deep enough so the caramel doesn’t spill over.
Large Mixing Bowl — For tossing the apples with sugar and cinnamon. Any big bowl works. I like using a bowl with a rim so I don’t spill when I’m adding the caramel.
Small Mixing Bowl — For the streusel topping. I use a separate bowl so I don’t have to wash the big one.
Fork or Pastry Cutter — To cut the butter into the dry ingredients. I use a fork because it’s fast and I don’t want to get my hands too warm. A pastry cutter works if you have one, but it’s not essential.
Peeler and Knife — For prepping the apples. A Y-peeler is faster than a paring knife for peeling. For slicing, a sharp chef’s knife gives you the most control. I slice on a cutting board that’s big enough to hold all the apples at once.
Spatula — For spreading the apples evenly and stirring the streusel. Silicone spatulas are great because they don’t scratch the baking dish.
Oven Mitts — Because this dish comes out of the oven hot. I’ve burned my hands more times than I care to admit. Don’t be like me. Use mitts.
How to Make It: Step-by-Step
Alright, let’s make this! I’m walking you through exactly how I do it, including the little tricks I’ve picked up along the way. This process takes about 10 minutes of prep and 45 minutes of baking. It’s mostly hands-off, which is perfect.
Step 1: Prep Your Apples (10 minutes)
Preheat your oven to 350°F (175°C). This needs to be hot enough to cook the apples through and toast the topping. Peel, core, and slice your apples. I cut them into wedges, about ¼-inch thick. If they’re too thick, they won’t cook evenly. If they’re too thin, they turn to mush. Uniformity is key. Toss the sliced apples in a large bowl with the granulated sugar and cinnamon. Mix until every slice is coated. This draws out the juices and flavors the fruit.
Step 2: Add the Caramel (2 minutes)
Pour the caramel sauce over the apples. Gently toss everything together until the apples are well-coated. You want the caramel to distribute evenly so every bite has that sweet, salty kick. Don’t worry if it looks messy. This is where the magic happens. The caramel will bubble and thicken in the oven.
Step 3: Layer the Filling (2 minutes)
Spread the apple mixture evenly into your 9×13 inch baking dish. Press them down gently with a spatula so they’re level. This ensures the topping sits flat and bakes evenly. If you have uneven piles, some parts of the topping might burn while others stay raw.
Step 4: Make the Streusel (5 minutes)
In a small bowl, combine the oats, flour, brown sugar, and salt. Mix them with a fork until they’re evenly distributed. Add the cold, cubed butter. Use your fork to cut the butter into the dry ingredients. You’re looking for a crumbly texture with some pea-sized clumps. Don’t overmix. If it becomes a paste, your butter is too warm. You want distinct crunchy bits. I usually do this with my hands if I’m in a hurry, but wash them first! The warmth of your hands can melt the butter, so fork is safer.
Step 5: Top and Bake (45 minutes)
Sprinkle the streusel evenly over the apples. Make sure you cover the edges, because those are where the caramel bubbles up. Place the dish in the preheated oven. Bake for 40-45 minutes. You’ll know it’s done when the topping is golden brown and the caramel is bubbling vigorously around the edges. If the topping is browning too fast, you can loosely tent it with foil. But usually, 45 minutes is perfect.
Step 6: Cool and Serve (15 minutes)
Remove the crisp from the oven and let it cool for at least 15 minutes. This step is hard because it smells amazing, but it’s important. The caramel is molten hot and will burn your mouth. Cooling also lets the juices thicken slightly, so you get a nice consistency rather than a runny mess. Serve warm, topped with vanilla ice cream if you’re feeling indulgent.
Total Time: About 1 hour (15 minutes active, 45 minutes baking)
Expert Tips & Tricks
Here’s everything I’ve learned from making this dozens of times. These tips will save you from my mistakes and guarantee a perfect crisp.
Choose the Right Apples
This is the most common mistake I see. People use Gala or Fuji, which are too sweet and soft. Or they use Red Delicious, which disintegrates. Stick to Granny Smith for tartness and structure, and Honeycrisp for sweetness and crunch. A 50/50 mix is my golden ratio. If you can’t find Honeycrisp, Braeburn or Pink Lady are good alternatives.
Don’t Skip the Cooling Time
I know it’s tempting to dig in right away. But the caramel is liquid lava when it comes out of the oven. Letting it cool for 15 minutes allows the caramel to set up slightly. This makes it easier to scoop and gives you a better texture. If you rush it, you’ll get a soupy dessert. Patience pays off.
Keep the Butter Cold
For the streusel, cold butter is crucial. If your butter is soft, it will coat the flour and oats completely, resulting in a dense, cake-like topping instead of crunchy clusters. Cube the butter and keep it in the fridge until the last minute. If your kitchen is warm, put the bowl in the fridge for 10 minutes before baking.
Use Good Caramel Sauce
Don’t cheap out on the caramel. If you use a low-quality sauce, it can be overly sweet or artificial-tasting. Look for a brand like Smucker’s or store-bought salted caramel from a reputable brand. If you’re feeling ambitious, homemade caramel is incredible, but store-bought is perfectly fine and saves time. I’ve tried both, and the convenience of store-bought is worth it for weeknights.
Customize the Spice
While cinnamon is classic, don’t be afraid to experiment. Add a pinch of cardamom for a floral note, or a dash of ginger for warmth. I sometimes add a tablespoon of bourbon to the caramel for a grown-up twist. But keep it simple. The apple and caramel should shine.
Serving Suggestions
This crisp pairs beautifully with cheesy jalapeno cornbread if you’re serving it as part of a larger meal, but it’s usually a standalone dessert. I love it with a scoop of vanilla bean ice cream. The cold creaminess contrasts with the warm, crunchy crisp. Whipped cream is a lighter option. Or just eat it straight from the dish. No judgment here.
Variations & Substitutions
Once you’ve nailed the basic version, here’s how you can mix it up. I’ve tried all of these, and they all work.
Pear Crisp
Substitute pears for apples. Use Bosc or Anjou pears—they hold their shape well. Reduce the sugar slightly because pears are naturally sweeter. The caramel pairs beautifully with pears. It’s a sophisticated twist that feels fancy.
Nutty Streusel
Add ½ cup of chopped pecans or walnuts to the streusel topping. Toast the nuts in a dry pan for 2 minutes before adding them for extra flavor. The nuts add crunch and richness. I love this version with the caramel. It feels like a gourmet dessert.
Dairy-Free Option
Use dairy-free butter in the streusel. Most store-bought caramel sauces are naturally dairy-free (check the label), but some contain milk solids. Look for vegan caramel or make your own with coconut cream. The rest of the recipe is naturally dairy-free. It’s just as good, though the topping might be slightly less rich.
Gluten-Free Version
Use gluten-free oats and gluten-free flour in the streusel. Make sure the oats are certified gluten-free if you have celiac disease. The rest of the recipe is gluten-free. It works perfectly. I’ve made this for friends with gluten sensitivities, and they loved it.
Mini Crisps
Divide the mixture into individual ramekins. Bake for 25-30 minutes. This is great for portion control or for serving at dinner parties. Each person gets their own little crisp. It’s cute and convenient.
Apple Pie Filling Variation
Add 1 tablespoon of cornstarch to the apple mixture to thicken the juices. This prevents the bottom from getting too soggy. I do this if I’m using very juicy apples. It’s a small tweak that makes a big difference.
Serving & Storage
Here’s how to enjoy and store your Fall Caramel Apple Crisp.
How to Serve
I usually serve this straight from the baking dish at the dinner table. It looks rustic and cozy. But here are other ways I’ve enjoyed it:
- With Ice Cream: A scoop of vanilla bean ice cream is classic. The hot crisp and cold ice cream is a textural dream.
- With Whipped Cream: For a lighter option, top with freshly whipped cream. Add a drizzle of extra caramel if you’re feeling decadent.
- With Coffee or Tea: This crisp pairs beautifully with a warm cup of coffee or spiced chai. It’s a perfect afternoon snack.
Storage Instructions
Refrigerator: Store leftovers in an airtight container for up to 4 days. The topping will soften slightly in the fridge, but the flavors will stay delicious. Reheat in the microwave for 30-60 seconds to restore the warmth and crispness.
Freezing: You can freeze this crisp, but the texture of the topping might change. I recommend freezing it unbaked. Cover the dish tightly with plastic wrap and foil. Bake from frozen, adding 10-15 minutes to the baking time. If you freeze it baked, reheat in the oven at 350°F for 15-20 minutes to crisp up the topping.
Reheating: The best way to reheat is in the oven or toaster oven. This restores the crunch of the streusel. Microwave reheating works in a pinch, but the topping will be soft. If you microwave it, add a sprinkle of fresh oats on top for a bit of texture.
Nutrition Information
I’m not a nutritionist, but here’s the breakdown if you’re tracking. This is a treat, so enjoy it in moderation.
Per Serving (based on 8 servings):
- Calories: 320
- Protein: 3g
- Carbs: 55g
- Fiber: 4g
- Sugar: 38g
- Fat: 12g
- Saturated Fat: 7g
- Cholesterol: 30mg
- Sodium: 180mg
What’s Good: Apples provide fiber and vitamins. The oats add some protein and fiber. It’s a decent source of antioxidants from the cinnamon and apples.
What to Know: This is high in sugar due to the caramel and brown sugar. It’s also high in saturated fat from the butter. If you’re watching your intake, consider smaller portions or the dairy-free version. But honestly? It’s a dessert. Enjoy it.
Final Thoughts
So that’s my go-to Fall Caramel Apple Crisp! I’ve probably talked your ear off at this point, but when you make a recipe this often, you have a lot to say about it. This has saved my dessert game more times than I can count. It’s my answer to “what’s for dessert” when I want something homemade, comforting, and easy.
My kids are happy, my husband’s happy, and I’m happy because I’m not stressed about cooking. It’s reliable, delicious, and always a crowd-pleaser. Make it yours! Try different apples, add nuts, or swap the caramel for apple butter. The best recipes are the ones you adapt to your family’s tastes.
If you make this, drop a comment and let me know what you think! I love hearing how recipes turn out in your kitchen. And if something doesn’t work, tell me that too—I’m here to help troubleshoot. Happy cooking! And I hope your kitchen smells half as good as mine does right now.
Frequently Asked Questions
Can I use canned apples instead of fresh?
You can, but the texture will be different. Canned apples are softer and sweeter. If you use them, reduce the sugar in the recipe. I prefer fresh apples for the better texture and flavor, but canned works in a pinch. Just drain them well so the crisp isn’t too watery.
Why did my topping turn out soggy?
This usually happens if the butter was too soft or if the apples released too much juice. Make sure your butter is cold and cubed. Also, let the crisp cool for 15 minutes before serving. The juices will thicken as it cools. If you’re using very juicy apples, add a tablespoon of cornstarch to the filling.
Can I make this ahead of time?
Yes! You can prep the apple mixture and streusel separately and store them in the fridge for up to 24 hours. Assemble and bake when ready. You can also bake it ahead and reheat it. The flavor actually improves after a day or two. I often make this on Sunday for the week.
What’s the best caramel sauce to use?
I like Smucker’s or store-bought salted caramel from a reputable brand. Look for a sauce that’s thick and rich, not watery. If you want to make your own, melt ½ cup butter, 1 cup brown sugar, and ½ cup heavy cream in a saucepan until bubbly. Let it cool slightly before using. Homemade is richer, but store-bought is convenient.
Can I freeze this crisp?
You can freeze it unbaked. Cover the dish tightly with plastic wrap and foil. Bake from frozen, adding 10-15 minutes to the baking time. If you freeze it baked, reheat in the oven at 350°F for 15-20 minutes to restore the crispness. The topping might not be as crunchy as fresh, but it’s still delicious.
Can I use steel-cut oats?
No, steel-cut oats won’t work. They’re too hard and won’t toast properly. Use old-fashioned rolled oats. They have the right texture to become crunchy and golden in the oven. Instant oats are too fine and will make the topping powdery.
How do I know when the apples are done?
Insert a knife into the center of the crisp. If it goes through the apples easily, they’re done. The topping should be golden brown, and the caramel should be bubbling. If the topping is browning too fast, tent it with foil. Usually, 45 minutes is perfect.
Pin This Recipe!
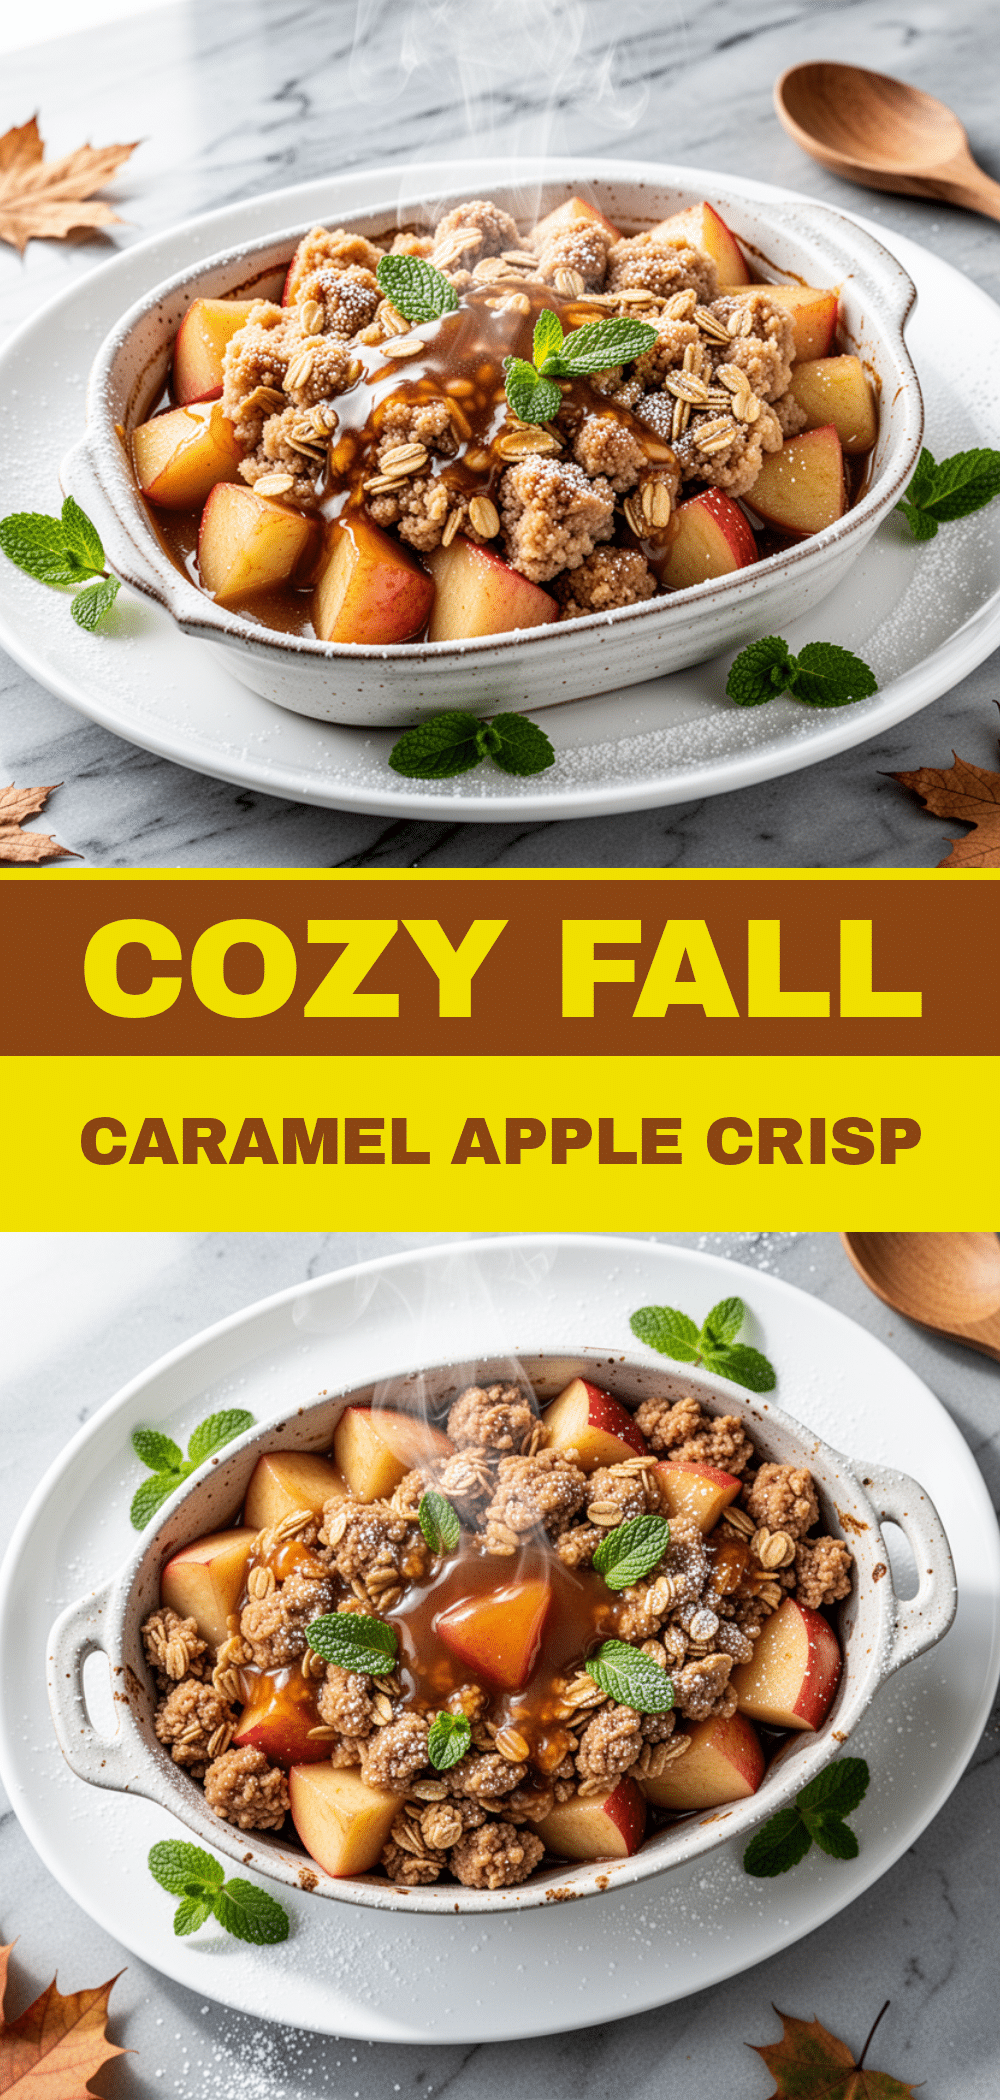

Fall Caramel Apple Crisp: Easy 5-Ingredient Best Recipe
- Total Time: 1 hour
- Yield: 8 servings 1x
Description
A simple, comforting dessert featuring tender apples mixed with sweet and salty caramel, topped with a crunchy, buttery oat streusel. This easy-to-make crisp is perfect for fall gatherings or weeknight treats.
Ingredients
- 6 large apples (peeled and sliced, approx. 2.5 lbs), mix of Granny Smith and Honeycrisp
- 1/2 cup granulated sugar
- 1 teaspoon ground cinnamon
- 1/2 cup caramel sauce
- 1 cup old-fashioned rolled oats
- 1/2 cup all-purpose flour
- 1/2 cup packed brown sugar
- 1/2 cup unsalted butter (cold and cubed)
- 1/2 teaspoon salt
- Vanilla ice cream or whipped cream (optional, for serving)
Instructions
- Preheat oven to 350°F (175°C).
- Peel, core, and slice apples into 1/4-inch thick wedges.
- In a large bowl, toss sliced apples with granulated sugar and cinnamon until evenly coated.
- Pour caramel sauce over the apples and gently toss to coat evenly.
- Spread the apple mixture evenly into a 9×13 inch baking dish.
- In a small bowl, combine oats, flour, brown sugar, and salt.
- Cut cold, cubed butter into the dry ingredients using a fork until the mixture resembles coarse crumbs with pea-sized clumps.
- Sprinkle the streusel topping evenly over the apples, covering the edges.
- Bake for 40-45 minutes, or until the topping is golden brown and caramel is bubbling.
- Let cool for at least 15 minutes before serving to allow caramel to thicken.
- Serve warm with vanilla ice cream or whipped cream if desired.
Notes
Use a mix of Granny Smith and Honeycrisp apples for the best texture and flavor balance. Ensure butter is cold for a crunchy topping. Let the crisp cool for 15 minutes to prevent burning mouth and allow caramel to set. Can be stored in the refrigerator for up to 4 days or frozen unbaked.
- Prep Time: 15 minutes
- Cook Time: 45 minutes
- Category: Dessert
- Cuisine: American
Nutrition
- Serving Size: 1 slice
- Calories: 320
- Sugar: 38
- Sodium: 180
- Fat: 12
- Saturated Fat: 7
- Carbohydrates: 55
- Fiber: 4
- Protein: 3
Keywords: apple crisp, caramel apple, fall dessert, easy dessert, oat streusel, baked apples, comfort food