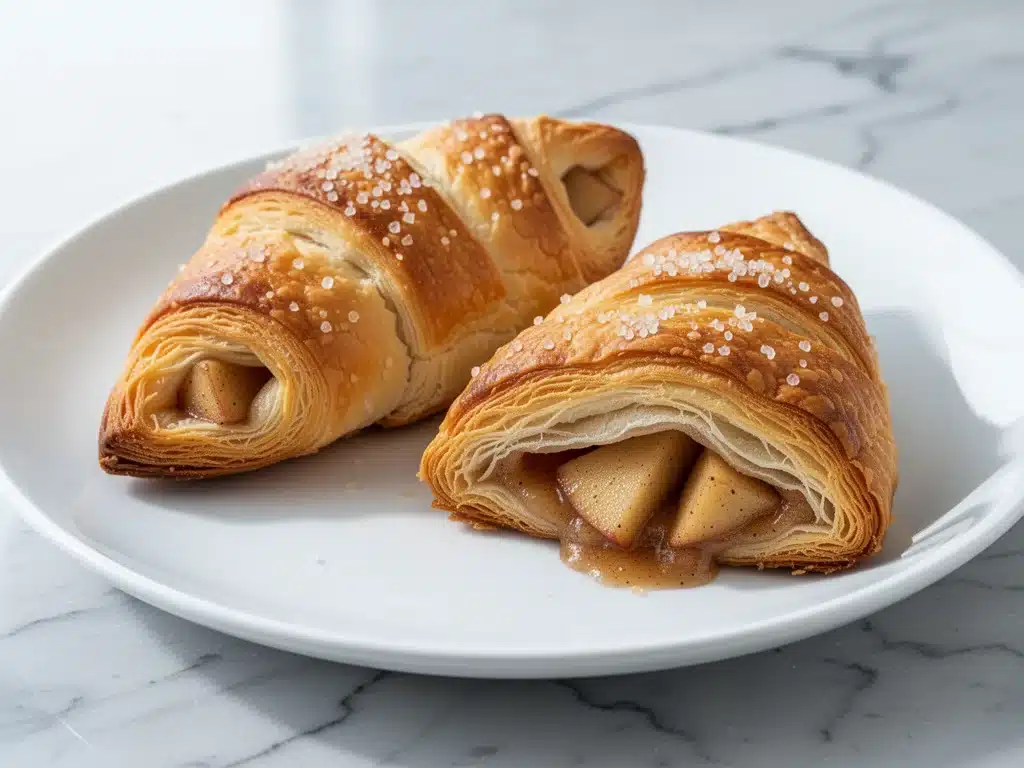
Last October, I stood in my kitchen at 11 PM, staring at a sheet of frozen puff pastry like it was a personal insult. My sister was coming over the next morning for brunch, and I had promised, with far more confidence than I possessed, that I would make homemade apple turnovers. Not the frozen, store-bought kind that taste like cardboard and regret, but the kind you see in French patisseries—golden, shattering crisp, oozing with warm cinnamon-spiced apples.
I had bought the good puff pastry. The kind that costs $7 and comes in a delicate rectangle. I thought I was ready. I was not ready.
I rolled it out too aggressively. I overfilled the centers. I brushed on the egg wash with a trembling hand. And when they came out of the oven? Well, let’s just say they were edible. They were dense. The pastry didn’t flake; it chewed. My sister ate two, complimented them, and I saw the pity in her eyes. It was humiliating.
But here’s the thing about failure: it’s just data collection. I went back to the drawing board. I read three cookbooks. I watched six YouTube videos (and ignored the ones that said you could microwave the dough). I burned two more batches. But on the fourth try, I cracked the code.
These ultra-flaky homemade apple turnovers are the result of that obsession. They are light as air, shatter when you break them open, and hold a juicy, spiced apple filling that isn’t soggy or watery. I’ve made these at least fifteen times since that October night. I’ve tested different apples, different sealing techniques, and different oven temperatures. And this method? It’s the one. It’s the one I’ll make on repeat every single fall from now until forever.
If you’ve ever been intimidated by puff pastry, put that fear down. This recipe is actually simpler than making muffins. It just requires a little patience and a few specific tricks that I’m going to share with you. Once you taste that first crunch, you’ll understand why I’m so protective of this recipe.
Why You’ll Love This Recipe
There are about ten reasons I keep coming back to these apple turnovers, but here are the big ones that changed my life (or at least my weekend brunch game).
They’re Surprisingly Simple — Seriously. If you can chop an apple and fold a piece of paper, you can make these. The puff pastry does 90% of the work. You don’t need to knead dough or worry about yeast rising. You just roll, fill, fold, and bake. I’ve made these while one hand was holding a toddler and the other was scrolling through Instagram. It happens.
The Texture is Unbeatable — I’m obsessed with the contrast. The outside is crisp, golden, and shatters into a million buttery flakes. The inside is tender, warm apple chunks that have softened just enough but still hold their shape. No mush. No soggy bottoms. Just perfect texture.
Pantry-Friendly Ingredients — You probably already have everything except the puff pastry and the apples. Flour, sugar, cinnamon, butter, egg. These are staples. I don’t have to do a special trip to the grocery store for this. It’s the perfect “I need to impress guests but don’t want to stress” recipe.
Freezer-Friendly — This is my secret weapon. I can make a double batch, freeze the unbaked turnovers, and bake them straight from the freezer when friends drop by. They come out just as good as fresh. I’ve done this multiple times, and the flakiness never suffers.
Versatile for Any Meal — Sure, they’re great for brunch. But I also eat these for breakfast on weekdays with my coffee. I serve them as a dessert after a heavy dinner. They work as a snack with a cup of tea. They’re that versatile.
This recipe has saved me more times than I can count. It’s my answer to “I need to make something special but I’m tired.” No complicated techniques, no weird ingredients, just reliable, delicious food that makes everyone happy.
Ingredients You’ll Need
Here’s the best part: you probably have most of this already. The ingredient list is short, sweet, and focused on quality over quantity.
For the Pastry:
Store-bought puff pastry (2 sheets, thawed / about 1 lb) — This is the foundation. Do not skip to homemade puff pastry unless you have 4 hours and a serious commitment to butter. I always use Pepperidge Farm or a high-quality brand from the freezer section. Make sure it’s thawed in the fridge overnight, not on the counter. You want it pliable but still cold.
For the Apple Filling:
Granny Smith apples (3 medium / about 450g) — This is non-negotiable. Granny Smiths hold their shape when baked and provide a tart contrast to the sweet pastry. If you use Honeycrisp or Gala, they turn into applesauce. I’ve tested it. Don’t do it. Peel them? I leave the skin on for texture and color, but if you hate skins, peel them. Your call.
Unsalted butter (2 tablespoons) — For sautéing the apples. Adds richness and helps caramelize the edges.
Granulated sugar (3 tablespoons) — Adjust based on how tart your apples are. If your Granny Smiths are super sour, bump this to 4 tablespoons.
Ground cinnamon (1 teaspoon) — The classic apple flavor. Freshly ground is best, but pre-ground works fine.
Nutmeg (¼ teaspoon) — Just a pinch. It adds depth. Don’t overdo it, or it’ll taste like a pumpkin pie.
Vanilla extract (1 teaspoon) — Adds a warm, aromatic note that ties everything together.
Lemon juice (1 tablespoon) — Prevents the apples from browning and adds a bright lift to the flavor.
Optional: Cornstarch (1 teaspoon) — If your apples are extra juicy, this helps thicken the filling so it doesn’t leak out during baking. I usually skip it if the apples are firm, but it’s a good safety net.
For the Finish:
Egg (1 large, beaten with 1 tablespoon water) — This is your egg wash. It gives those turnovers that professional golden-brown shine. Don’t skip it.
Sand sugar or coarse sugar (2 tablespoons) — Regular granulated sugar works, but sand sugar gives it that bakery-style crunch and sparkle. I buy it specifically for this.
Flaky sea salt (for sprinkling) — A few crystals on top after baking elevate the sweetness. It’s a small detail that makes a big difference.
Pro Tip: I keep a few sheets of puff pastry in my freezer at all times. When I’m craving something sweet, I just pull one out. It saves so much stress.
Equipment Needed
You don’t need fancy equipment for this. Here’s what I actually use.
Two baking sheets — I line them with parchment paper. This is crucial. Puff pastry expands a lot, and you don’t want it sticking. Parchment paper is your best friend.
Sharp chef’s knife — For dicing the apples. Uniform pieces cook evenly. I cut mine into ½-inch cubes. Anything smaller and they turn to mush; anything larger and they don’t cook through.
Medium skillet — For sautéing the apples. I use a 10-inch non-stick pan. It makes cleanup easier.
Paring knife — For trimming the edges of the pastry. A sharp paring knife gives you clean cuts.
Pastry brush — For the egg wash. Silicone brushes work great and are easy to clean.
Fork — To crimp the edges. You don’t need a special tool. A regular fork works perfectly to seal the turnovers and create that classic look.
Rolling pin — Optional, but helpful if your pastry sheets are too thick. Most store-bought sheets are thin enough, but a gentle roll can help them lay flat.
Cookie cutter or glass — Optional. Some people like to cut small circles out of the center before folding for a “window” effect. I skip this for simplicity, but it looks pretty.
Tip: Don’t have parchment paper? Use a silicone baking mat. It’s reusable and works just as well.
How to Make It: Step-by-Step
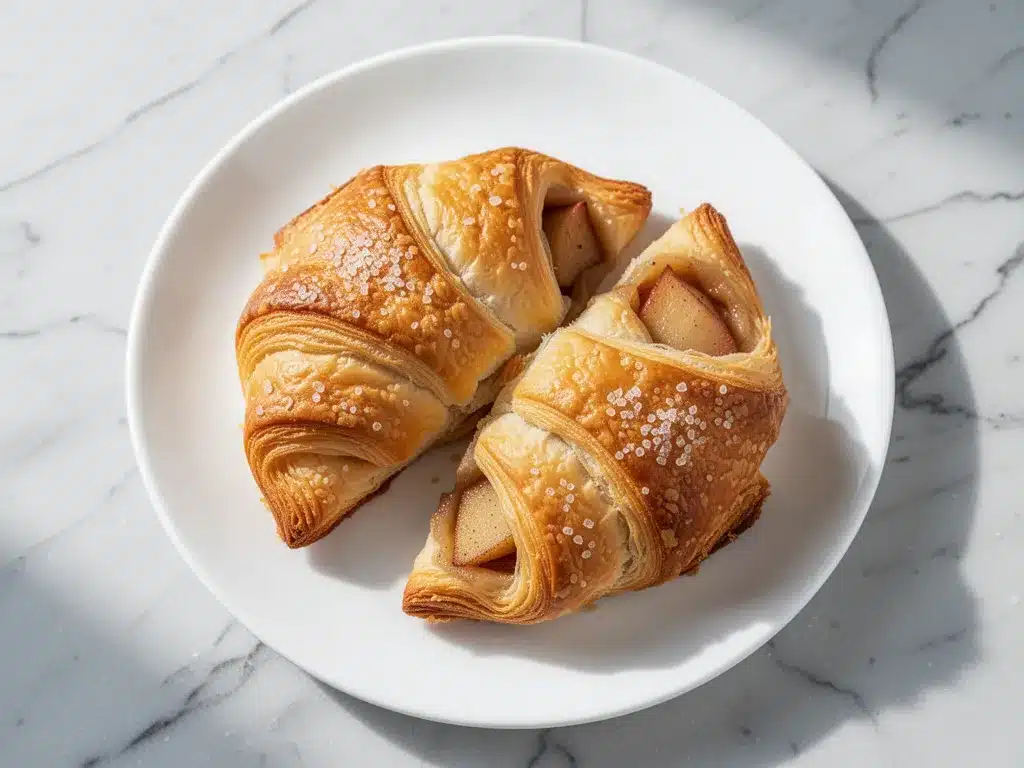
Alright, let’s make this! I’m walking you through exactly how I do it, including the little tricks I’ve picked up. This process takes about 45 minutes total, with 15 minutes of active work.
Step 1: Prep Your Apples and Filling (10 minutes)
Peel and dice your Granny Smith apples into ½-inch cubes. Toss them with the lemon juice to prevent browning. In your skillet, melt the 2 tablespoons of butter over medium heat. Add the diced apples, sugar, cinnamon, nutmeg, and vanilla. Cook for 5-7 minutes, stirring occasionally, until the apples are tender but still hold their shape. They should be soft enough to pierce with a fork but not falling apart. Remove from heat and let the filling cool completely. This step is critical—if you put hot filling on the dough, it will melt the butter and ruin the flakiness. I usually let it sit while I prep the pastry.
Step 2: Prep the Puff Pastry (5 minutes)
Preheat your oven to 400°F (200°C). Line two baking sheets with parchment paper. Take your thawed puff pastry sheets out of the fridge. If they’re sticking to the wrapper, let them sit for 5 minutes. Unfold them gently. If there are any tears, patch them with small scraps of dough. Roll each sheet out slightly to smooth out any wrinkles, but don’t roll too thin—you want to keep the layers intact. Cut each sheet into four equal squares. You should have eight squares total.
Step 3: Fill and Fold (10 minutes)
Place one square on your counter. Put 2-3 tablespoons of the cooled apple filling in the center. Leave a ½-inch border around the edges. Brush the edges with a little water (this helps the dough stick). Fold the square diagonally to form a triangle. Press the edges firmly with your fingers to seal. Then, use a fork to crimp the edges all the way around. This ensures they don’t open up in the oven. Repeat with the remaining squares.
Step 4: Chill (15 minutes)
Place the folded turnovers on the prepared baking sheets. Put them in the fridge for 15 minutes. This step is non-negotiable. Chilling the dough re-solidifies the butter, which creates those steam pockets that make the pastry flaky. If you skip this, your turnovers will spread and lose their structure. I know it’s tempting to bake them right away, but trust me—chill them.
Step 5: Egg Wash and Sugar (5 minutes)
Beat the egg with 1 tablespoon of water. Brush the tops of the chilled turnovers generously with the egg wash. This gives them that golden shine. Sprinkle the sand sugar (or regular sugar) and a pinch of flaky sea salt on top. Use a knife to cut two small slits in the top of each turnover. This lets steam escape so they don’t burst open.
Step 6: Bake (20-25 minutes)
Bake at 400°F for 20-25 minutes, rotating the pans halfway through for even browning. They’re done when they’re deeply golden brown and puffed up. The sugar should be caramelized and crunchy. Let them cool on the baking sheet for 5 minutes before serving. They’re very hot inside, so don’t bite into one immediately unless you like burned tongues.
Troubleshooting: If the edges are browning too fast, cover them loosely with foil. If they’re not brown enough, turn on the broiler for 1-2 minutes, but watch them like a hawk—they burn fast.
Expert Tips & Tricks
Here’s everything I’ve learned from making these dozens of times. These tips will save you from my mistakes.
Keep Everything Cold — This is the golden rule of puff pastry. If the dough gets warm and soft, the butter layers melt together, and you lose the flakiness. Work quickly. If your kitchen is hot, put the pastry back in the fridge between steps. Keep your filling cold. Keep your hands cool.
Don’t Overfill — It’s tempting to pile on the apples, but if you overfill, the turnovers will leak and burst. 2-3 tablespoons is the sweet spot. You want a good ratio of pastry to filling.
Seal Tight — Make sure you press the edges firmly. Use the fork to crimp well. If you see any gaps, press them closed with your fingers. Leaky turnovers are sad turnovers.
Use Parchment Paper — Do not use a bare baking sheet. Puff pastry expands and can stick. Parchment paper ensures easy removal and cleanup.
Cool Completely — I know it’s hard to wait, but let the filling cool before assembling. Hot filling melts the dough. Cold filling keeps the layers separate.
Freezing Hack — You can freeze the unbaked turnovers on the baking sheet until solid, then transfer them to a ziplock bag. Bake from frozen, adding 5-7 minutes to the bake time. They come out just as flaky.
Variations & Substitutions
Once you’ve nailed the basic version, here’s how you can mix it up. I’ve tried all of these.
Banana Walnut — Swap apples for sliced bananas and walnuts. Add a pinch of cardamom instead of cinnamon. Delicious and slightly less tart.
Pear Almond — Use ripe pears instead of apples. Add sliced almonds and a hint of almond extract. Elegant and fragrant.
Chocolate Hazelnut — Skip the fruit. Fill with Nutella and chopped hazelnuts. Drizzle with white chocolate after baking. For the kids (and the chocolate lovers).
Gluten-Free — Use gluten-free puff pastry. Most brands work well, but check the label. The technique is the same.
Vegan — Use vegan puff pastry (some brands contain butter). Brush with almond milk and sprinkle with sugar. The filling is naturally vegan.
Serving & Storage
How to Serve: I serve these warm, straight from the oven. They’re amazing with a dusting of powdered sugar or a dollop of vanilla ice cream. For brunch, they pair perfectly with soft garlic knots if you’re making a savory-sweet spread, or alongside a cup of black coffee.
Storage: Store leftovers in an airtight container at room temperature for up to 2 days. They lose some flakiness after day one, but they’re still good. Reheat in a 350°F oven for 5-7 minutes to crisp them up. Don’t microwave them—they’ll get chewy.
Freezing: As mentioned, freeze unbaked. Baked turnovers don’t freeze well because the pastry gets soggy upon thawing. Stick to freezing them raw.
Pro Tip: If you’re making them for a party, bake them in batches. They’re best served fresh and warm.
Nutrition Information
I’m not a nutritionist, but here’s the breakdown if you’re tracking. One turnover (1/8th of the recipe) contains approximately:
- Calories: 280
- Fat: 18g
- Carbs: 28g
- Fiber: 2g
- Sugar: 12g
- Protein: 4g
Look, this is a pastry. It’s buttery and sweet. It’s not a health food. But it’s a treat, and it’s made with real ingredients. When I make these, I enjoy one or two and call it a day. Balance is key.
Final Thoughts
So that’s my go-to ultra-flaky homemade apple turnovers! I’ve probably talked your ear off at this point, but when you make a recipe this often, you have a lot to say about it.
This recipe has saved my brunch reputation more times than I can count. It’s my answer to “I need to make something special but I’m tired.” My family loves them, my friends request them, and I love making them because they’re so satisfying to execute.
Make them yours! Try different apples, add different spices, or fill them with chocolate. The best recipes are the ones you adapt to your tastes.
If you make these, drop a comment and let me know what you think! I love hearing how recipes turn out in your kitchen. And if something doesn’t work, tell me that too—I’m here to help troubleshoot.
Happy baking! And I hope your kitchen smells half as good as mine does right now.
Frequently Asked Questions
Can I use frozen puff pastry?
Yes! Just thaw it in the fridge overnight. Don’t thaw it on the counter or in the microwave. If it’s too cold to roll, let it sit for 5-10 minutes. If it’s too warm, put it back in the fridge for 10 minutes. You want it pliable but cold.
Why did my turnovers spread and lose their shape?
This usually happens if the dough got too warm before baking. The butter melted instead of creating steam. Make sure you chill the assembled turnovers in the fridge for 15 minutes before baking. Also, don’t over-roll the dough when prepping it.
Can I use other apples?
You can, but Granny Smiths are best for their tartness and firmness. If you use sweeter apples like Fuji or Gala, reduce the sugar in the filling and add a bit more lemon juice. Avoid Red Delicious—they turn to mush.
How do I reheat leftovers?
Reheat in a 350°F oven for 5-7 minutes. This restores the crispiness. Don’t microwave them, or they’ll get chewy and soft.
Can I make these ahead of time?
You can assemble them and freeze them unbaked. Bake them straight from the freezer, adding 5-7 minutes to the bake time. Do not bake them ahead and store them, as they will lose their flakiness.
Do I need to peel the apples?
No, I leave the skins on for texture and color. But if you prefer, you can peel them. Just make sure to cut them into uniform cubes.
Can I double this recipe?
Absolutely! Just make sure you have enough baking sheets. You might need to bake in two batches. The technique is the same, just more turnovers.
Pin This Recipe!
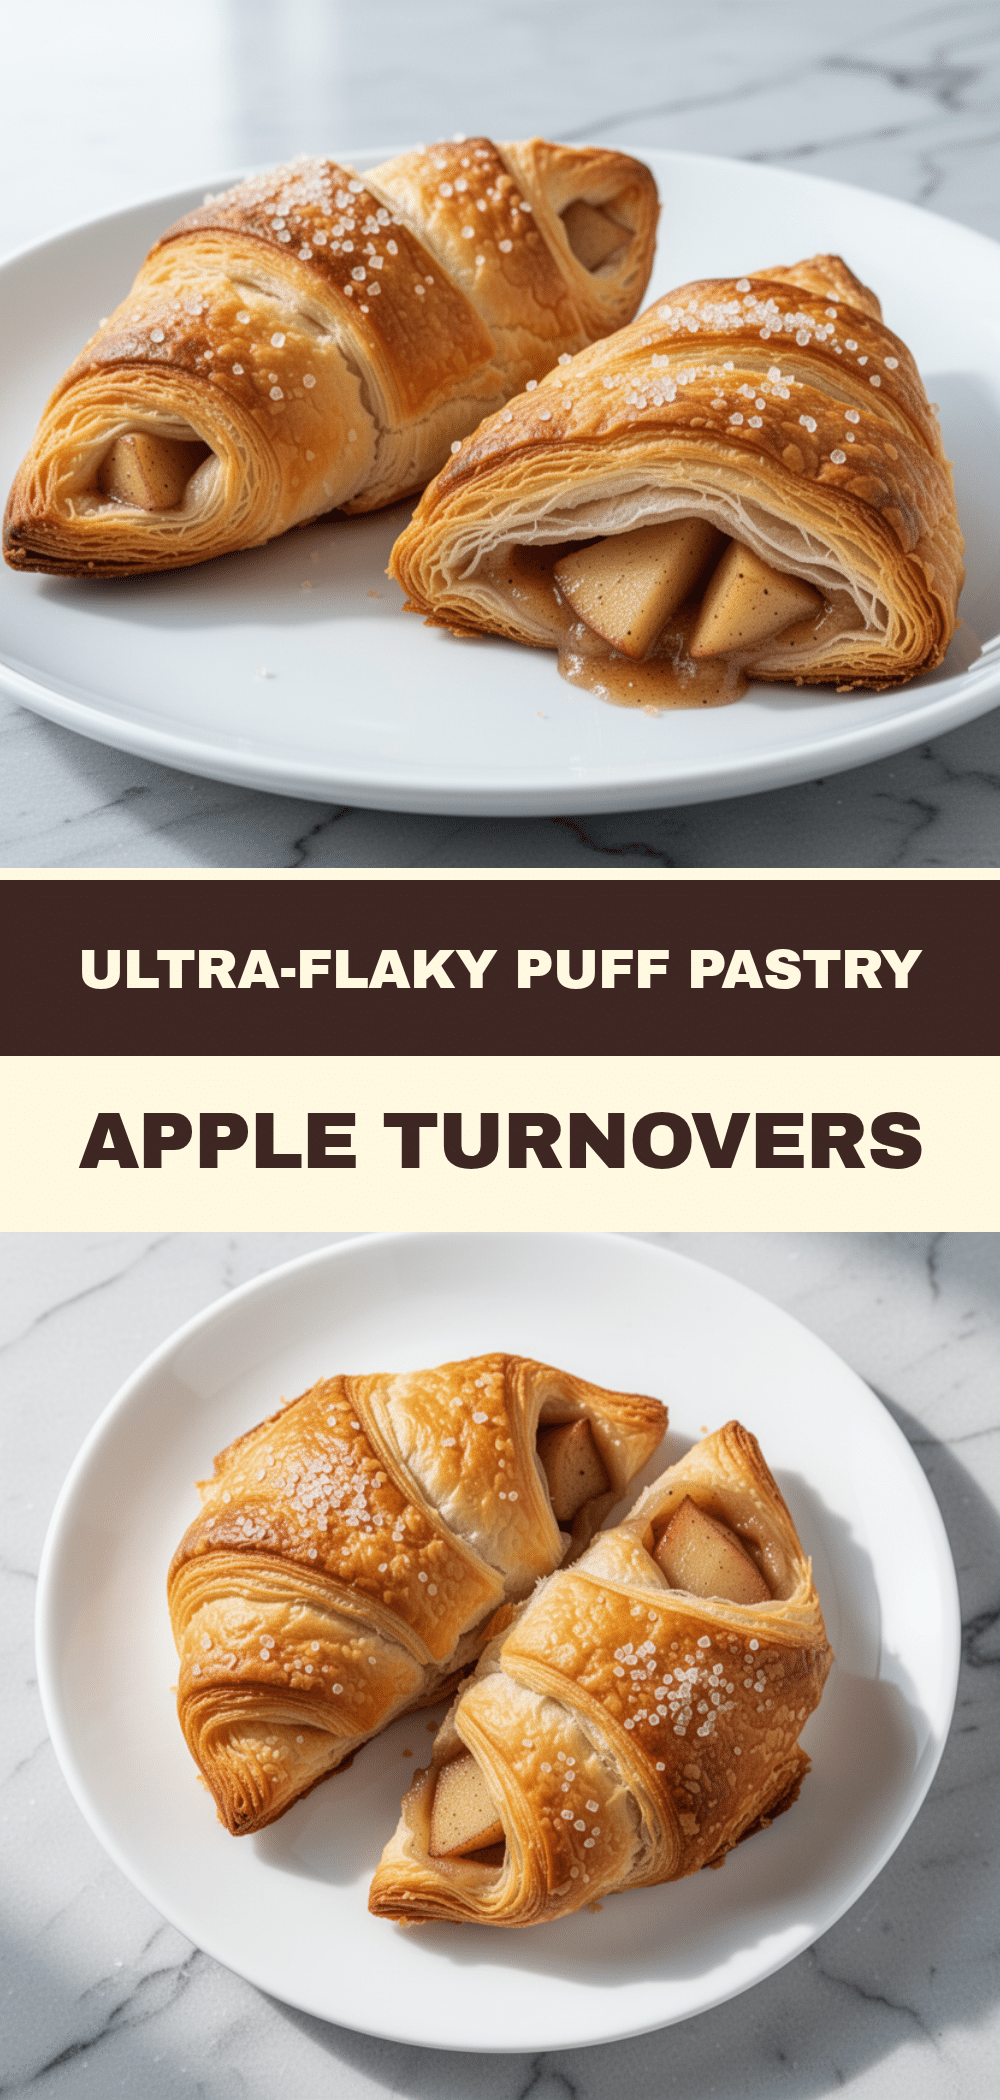
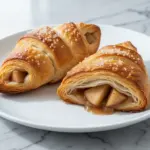
Easy Homemade Apple Turnovers: Best Flaky Puff Pastry Recipe
- Total Time: 45 minutes
- Yield: 8 servings 1x
Description
Ultra-flaky homemade apple turnovers made with store-bought puff pastry and a warm cinnamon-spiced apple filling. These golden, shattering pastries are simple to make and perfect for brunch, dessert, or snacks.
Ingredients
- 2 sheets store-bought puff pastry (thawed, about 1 lb)
- 3 medium Granny Smith apples (about 450g, peeled and diced into ½-inch cubes)
- 2 tablespoons unsalted butter
- 3 tablespoons granulated sugar (adjust to taste)
- 1 teaspoon ground cinnamon
- ¼ teaspoon nutmeg
- 1 teaspoon vanilla extract
- 1 tablespoon lemon juice
- 1 teaspoon cornstarch (optional, for extra juicy apples)
- 1 large egg (beaten with 1 tablespoon water for egg wash)
- 2 tablespoons sand sugar or coarse sugar
- Flaky sea salt (for sprinkling)
Instructions
- Preheat oven to 400°F (200°C) and line two baking sheets with parchment paper.
- In a medium skillet over medium heat, melt 2 tablespoons of butter. Add diced apples, sugar, cinnamon, nutmeg, vanilla, and lemon juice.
- Cook the apple mixture for 5-7 minutes, stirring occasionally, until tender but still holding their shape. Remove from heat and let cool completely.
- Unfold thawed puff pastry sheets. If needed, roll gently to smooth wrinkles. Cut each sheet into four equal squares (8 total).
- Place a square on a counter and add 2-3 tablespoons of cooled apple filling to the center, leaving a ½-inch border.
- Brush the edges with water, fold diagonally to form a triangle, and press edges to seal. Crimp edges firmly with a fork.
- Place turnovers on prepared baking sheets and chill in the fridge for 15 minutes.
- Brush chilled turnovers with egg wash and sprinkle with sand sugar and a pinch of flaky sea salt.
- Cut two small slits in the top of each turnover to allow steam to escape.
- Bake at 400°F for 20-25 minutes, rotating pans halfway through, until deeply golden brown and puffed.
- Let cool on the baking sheet for 5 minutes before serving.
Notes
Keep all ingredients cold to ensure flakiness. Do not use hot filling on the dough. If baking from frozen, add 5-7 minutes to bake time. Store leftovers in an airtight container at room temperature for up to 2 days. Reheat in a 350°F oven to restore crispness.
- Prep Time: 15 minutes
- Cook Time: 25 minutes
- Category: Dessert
- Cuisine: American
Nutrition
- Serving Size: 1 turnover
- Calories: 280
- Sugar: 12
- Sodium: 150
- Fat: 18
- Saturated Fat: 10
- Carbohydrates: 28
- Fiber: 2
- Protein: 4
Keywords: apple turnovers, puff pastry recipe, homemade pastries, brunch ideas, fall baking, flaky pastry, easy dessert