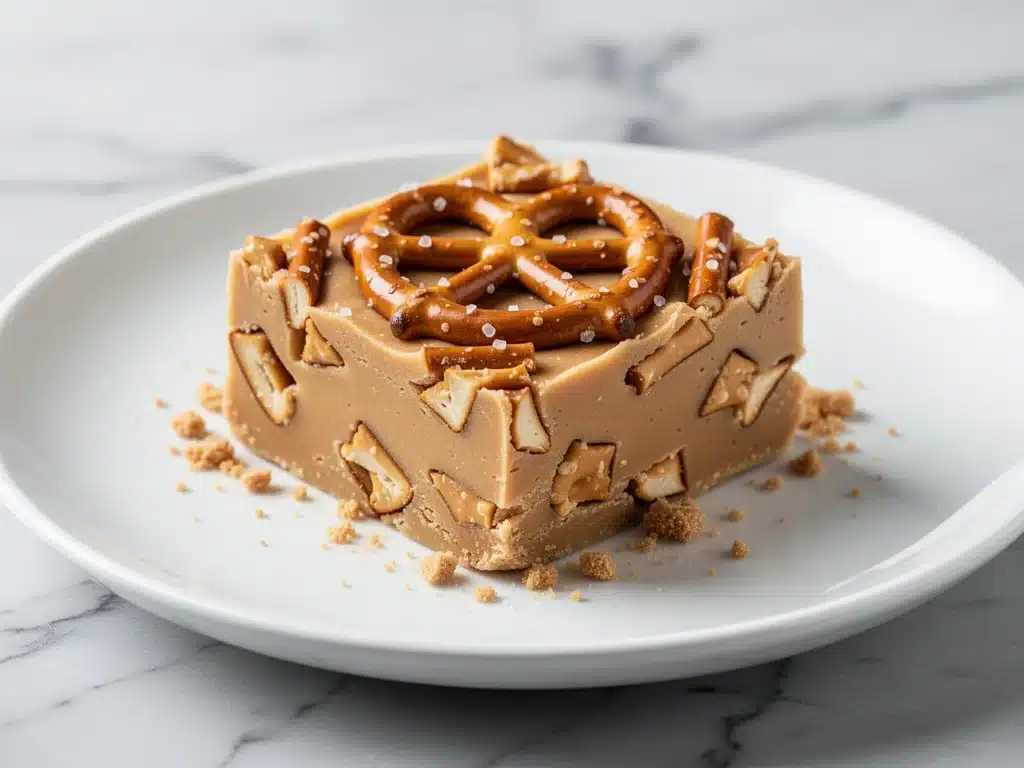
Let me confess something that might sound a little rebellious for a food blogger: sometimes, the absolute best dessert isn’t the one you spend hours perfecting. Sometimes, it’s the one you throw together in ten minutes while the TV is blaring and you’re questioning every life choice that led you to a 2 PM sugar craving.
That’s exactly how I discovered these no-bake peanut butter pretzel fudge bars. It was a Tuesday. Just a regular, exhausting Tuesday. I had come home from work, my brain was fried, and the kids had already eaten through the good snacks in the pantry. I needed something sweet, something salty, and something that didn’t require me to turn on the oven (because the house was already warm enough). I grabbed a bag of pretzels, a jar of peanut butter, and a box of powdered sugar. I mixed them in a bowl, pressed them into a pan, and stuck them in the fridge.
Twenty minutes later, I cut a square and took a bite. Crunchy. Chewy. Salty. Sweet. Rich. It was like a peanut butter cup had a baby with a brownie, and that baby was raised on pretzels. I ate half the pan before dinner. My husband walked in, saw the empty pan, and asked if I was okay. I wasn’t okay. I was just happy. These no-bake peanut butter pretzel fudge bars are now a permanent fixture in our fridge, and honestly, they might be the easiest, most crowd-pleasing dessert I’ve ever made.
If you’ve tried other no-bake chocolate peanut butter oat bars and found them too dense or too sweet, this is your redemption. This version is lighter, crispier, and hits that perfect sweet-salty balance that keeps you coming back for “just one more piece.” Plus, there’s zero baking involved. No timers, no burnt edges, no cleanup from multiple pans. Just a bowl, a spoon, and a freezer.
Why You’ll Love This Recipe
I’ve made these bars at least twelve times in the last three months. Twelve. That’s not a typo. Here’s why they’ve stolen the spotlight from more complicated desserts:
Actual Crunch, Not Just Chew — Most no-bake fudge is just soft and dense. These have texture. The pretzels provide a satisfying snap that contrasts with the creamy peanut butter layer. It’s the difference between a good snack and a gourmet treat. My kids fight over the pretzel-heavy edges.
Zero Oven Required — I live in a small apartment with a tiny oven that takes forever to heat up. In the summer, I refuse to turn it on. In the winter, I’m lazy. This recipe works in any season because it relies on chilling, not baking. It’s perfect for hot days or lazy weekends.
Pantry Staples Only — You don’t need specialty ingredients. You probably have peanut butter, pretzels, powdered sugar, and butter right now. No exotic flours, no weird gums, no expensive chocolate chips (though you can add them if you want). It’s simple, honest food.
Make-Ahead Magic — I make these on Sunday and they last all week. They actually get better after a day in the fridge because the flavors meld together. I’ve brought them to potlucks, office parties, and last-minute dinner gatherings. People always ask for the recipe, and I always say, “It’s just five ingredients.”
Budget-Friendly — This recipe costs about $5 to make for a full 9×13 pan. That’s less than $1 per bar. Compare that to the $6 snack bars at the grocery store, and this is a no-brainer. It’s indulgent without breaking the bank.
Real talk? This is my go-to when I need dessert to just work. No fuss, no stress, just reliable, delicious sweetness that makes everyone happy. And if you love easy desserts, you might also enjoy this fall no-bake pumpkin pie dessert—another simple, chill-and-eat treat that requires zero baking skills.
Ingredients You’ll Need
Here’s the best part: this recipe is incredibly forgiving. I’m particular about the quality of peanut butter, but otherwise, you can swap things around if you need to. Here’s exactly what you need and why.
Crunchy or Smooth Peanut Butter (1 cup / 250g) — This is the base. I use regular crunchy peanut butter because I like the texture, but smooth works if you prefer a softer fudge. Important: Do not use “natural” peanut butter where the oil separates. The added oils in standard brands help the fudge set properly. If you only have natural, you’ll need to adjust the butter amount.
Pretzels (2 cups / 150g, roughly chopped) — I use standard mini pretzels or broken pretzel rods. Mini pretzels are easier to chop evenly, but broken rods give you bigger, chunkier pieces. Avoid pretzel chips—they’re too small and get lost in the mix. You want visible, crunchy bits.
Unsalted Butter (½ cup / 115g, softened) — This binds everything together. Softened is key. If it’s cold, it won’t mix well with the peanut butter. If it’s melted, you’ll end up with a liquid mess. Room temperature is perfect.
Powdered Sugar (2 cups / 240g) — This provides the sweetness and structure. Don’t use granulated sugar—it won’t dissolve properly in a no-bake recipe. Sift it if it’s clumpy. I’ve used homemade powdered sugar (blended granulated sugar with a bit of cornstarch), and it works fine.
Vanilla Extract (1 teaspoon) — Enhances the flavor. Not strictly necessary, but it adds that “bakery” smell. Use pure vanilla, not imitation. The difference is noticeable in simple recipes like this.
Optional Add-ins:
- Chocolate Chips (½ cup / 85g) — Semi-sweet or milk chocolate. Stir them in at the end for pockets of melted chocolate.
- Salt (¼ teaspoon) — If your peanut butter is unsalted, add a pinch to balance the sweetness.
- Crushed Pretzel Pieces — For sprinkling on top before chilling. Looks fancy, tastes great.
Substitutions:
- Nut-Free: Use sunflower seed butter or soy nut butter instead of peanut butter. The texture will be slightly different, but still delicious.
- Lower Sugar: Reduce powdered sugar to 1½ cups. It will be less sweet and more savory. Great for adults who don’t like super-sweet desserts.
Equipment Needed
You don’t need fancy gadgets for this. Here’s what I actually use:
9×13 Inch Pan — I use a glass Pyrex pan because it’s easy to see the bottom and clean. You can also use an 8×8 pan for thicker bars, but the cutting will be harder. Line it with parchment paper for easy removal.
Large Mixing Bowl — Something big enough to hold all the ingredients. I use a 4-quart stainless steel bowl. Plastic works too, but glass is easier to clean.
Mixing Spoon or Spatula — A sturdy wooden spoon or silicone spatula. You need something that can handle thick, sticky dough.
Knife or Bench Scraper — For chopping pretzels. A bench scraper is faster, but a knife works fine.
Measuring Cups and Spoons — Standard stuff. Level off your powdered sugar for accuracy.
Refrigerator — Obviously. This recipe needs time to set. Give it at least 2 hours, but overnight is best.
How to Make It: Step-by-Step
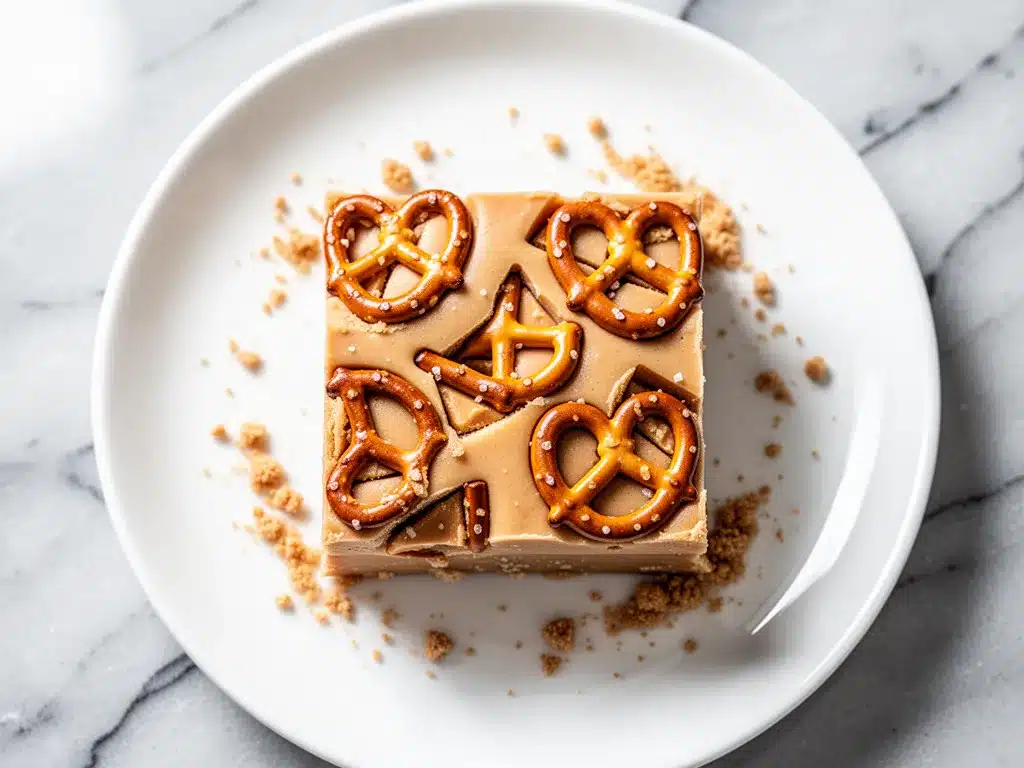
Alright, let’s make these! It’s seriously this simple. I’m walking you through exactly how I do it, including the little tricks I’ve picked up.
Step 1: Prep Your Pan (2 minutes)
Line a 9×13 inch pan with parchment paper, leaving an overhang on the sides. This is crucial for removing the bars later. If you don’t have parchment, grease the pan lightly with butter or cooking spray. Set aside.
Step 2: Chop the Pretzels (5 minutes)
If you’re using mini pretzels, you can skip this step. If you’re using pretzel rods or large twists, break them into smaller pieces. Aim for bite-sized chunks—about 1 to 2 inches. You don’t want them too small, or you lose the crunch. Toss them into your large mixing bowl.
Step 3: Mix the Wet Ingredients (2 minutes)
Add the softened butter and peanut butter to the bowl with the pretzels. If the peanut butter is very stiff, microwave it for 15-20 seconds to soften it up. Stir vigorously with your spoon or spatula until the butter and peanut butter are combined. It should look like a thick, grainy paste.
Step 4: Add the Powdered Sugar (3 minutes)
Sift in the powdered sugar and vanilla extract. Stir until everything is well combined. The mixture will be very thick and sticky. If it’s too dry and crumbly, add a teaspoon of milk. If it’s too wet, add a bit more powdered sugar. You want a dough that holds together when pressed.
Step 5: Press Into Pan (5 minutes)
Using your hands (lightly greased with butter to prevent sticking) or a spatula, press the mixture firmly into the prepared pan. Press it down evenly. The harder you press, the firmer the bars will be. Don’t skip this step—loose bars will crumble when you cut them.
Step 6: Chill (2 hours minimum)
Place the pan in the refrigerator for at least 2 hours. For best results, chill overnight. This allows the butter to solidify and the flavors to meld. If you’re impatient, you can freeze it for 30 minutes, but the fridge is more even.
Step 7: Cut and Serve
Once set, lift the bars out of the pan using the parchment paper. Use a sharp knife to cut into squares. Wipe the knife between cuts for clean edges. Enjoy!
Expert Tips & Tricks
Here’s everything I’ve learned from making this dozens of times. These tips will save you from my mistakes.
Don’t Skimp on Pressing — I’ve made this mistake twice. If you don’t press the mixture down firmly, the bars will fall apart. Use the bottom of a measuring cup to pack it down tightly.
Room Temperature Butter — Cold butter won’t mix with the peanut butter. Softened butter creates a smooth, spreadable base. If you forget to take it out, cut it into small cubes and microwave for 5 seconds at a time.
Sift the Powdered Sugar — It often clumps. Sifting ensures a smooth texture without lumps in your fudge.
Chocolate Drizzle — For a fancy touch, melt ½ cup of chocolate chips with 1 teaspoon of coconut oil. Drizzle over the top after chilling. Let it set for 10 minutes before cutting.
Storage is Key — These bars keep well in the fridge for up to 2 weeks. Store them in an airtight container with parchment paper between layers. They also freeze well for up to 3 months.
Common Mistakes:
- Messy cuts: Use a sharp knife and wipe it clean between cuts.
- Too soft: Not enough powdered sugar or not enough chilling time. Add more sugar or chill longer.
- Too dry: Add a teaspoon of milk or honey to bind it.
Variations & Substitutions
Once you’ve nailed the basic version, here’s how you can mix it up. I’ve tried all of these.
Chocolate Pretzel Fudge — Add ½ cup of mini chocolate chips to the mixture. The chocolate melts slightly into the peanut butter, creating pockets of goo.
White Chocolate Pretzel — Replace the powdered sugar with white chocolate chips (melted) and add a tablespoon of heavy cream. This creates a richer, sweeter bar.
Sea Salt Finish — Sprinkle flaky sea salt on top before chilling. The salt enhances the peanut flavor and makes it taste gourmet.
Butterfinger Bars — Crush a Butterfinger candy bar and mix it in. This is basically a homemade Butterfinger bar.
Gluten-Free — Use gluten-free pretzels and verify your peanut butter is GF. Everything else is naturally gluten-free.
Serving & Storage
How to Serve:
I usually serve these straight from the fridge. They’re best cold and firm. Pair them with a glass of milk or a cup of coffee. They also make great picnic food because they don’t melt easily.
Side Dishes:
These are dessert, so they stand alone. But if you’re having a party, pair them with fresh fruit or a light salad to balance the sweetness.
Storage:
- Refrigerator: Store in an airtight container for up to 2 weeks.
- Freezer: Freeze for up to 3 months. Thaw in the fridge before serving.
Pro Tip: If the bars get too soft in the heat, put them back in the fridge for 10 minutes. They’ll firm up again.
Nutrition Information
I’m not a nutritionist, but here’s the breakdown if you’re tracking. Keep in mind that these are indulgent bars, so portion control is key.
Per Serving (1 bar, based on 16 servings):
- Calories: 180
- Protein: 5g
- Carbs: 22g
- Fiber: 1g
- Sugar: 16g
- Fat: 9g
- Saturated Fat: 3g
- Sodium: 120mg
What’s Good:
- Protein from peanut butter
- Calcium from peanut butter
- Quick and easy to make
What to Know:
- High in sugar from powdered sugar
- High in fat from peanut butter and butter
- Contains gluten (unless using GF pretzels)
My Take:
Look, these are sweet bars. They’re not a health food. But they’re made with simple ingredients and are way better than store-bought candy bars. When I want to make them lighter, I use less powdered sugar and add more pretzels. But usually? I just enjoy a square or two and move on.
Final Thoughts
So that’s my go-to no-bake peanut butter pretzel fudge bars! I’ve probably talked your ear off at this point, but when you make a recipe this often, you have a lot to say about it.
This has saved me on lazy evenings more times than I can count. It’s my answer to “what’s for dessert” when I don’t want to bake, but I still want something sweet and satisfying. My kids are happy, my husband’s happy, and I’m happy because I’m not stressed about cooking.
Make it yours! Try different add-ins, swap in your favorite chocolate, or adjust the peanut butter. The best recipes are the ones you adapt to your family’s tastes.
If you make this, drop a comment and let me know what you think! I love hearing how recipes turn out in your kitchen. And if something doesn’t work, tell me that too—I’m here to help troubleshoot.
Happy cooking! And I hope your kitchen smells half as good as mine does right now.
Frequently Asked Questions
Can I use natural peanut butter?
It’s not recommended. Natural peanut butter has separated oils, which can make the fudge too wet or greasy. If you must use it, add more powdered sugar to compensate. Standard peanut butter works best because of the stabilizers.
Why did my fudge crumble when I cut it?
You probably didn’t press it down firmly enough, or it didn’t chill long enough. Press the mixture tightly into the pan and chill for at least 2 hours. Overnight is best.
Can I freeze these bars?
Yes! They freeze well for up to 3 months. Wrap them tightly in plastic wrap and store in an airtight container. Thaw in the fridge before serving.
Can I add chocolate chips?
Absolutely! Stir ½ cup of mini chocolate chips into the mixture before pressing it into the pan. They’ll add nice pockets of chocolate.
How long do these last in the fridge?
Up to 2 weeks in an airtight container. They actually taste better after a day or two as the flavors meld.
Can I make this nut-free?
Yes, use sunflower seed butter or soy nut butter instead of peanut butter. The texture will be slightly different, but still delicious.
Do I need to sift the powdered sugar?
It’s highly recommended. Powdered sugar often clumps, and sifting ensures a smooth texture without lumps in your fudge.
Pin This Recipe!
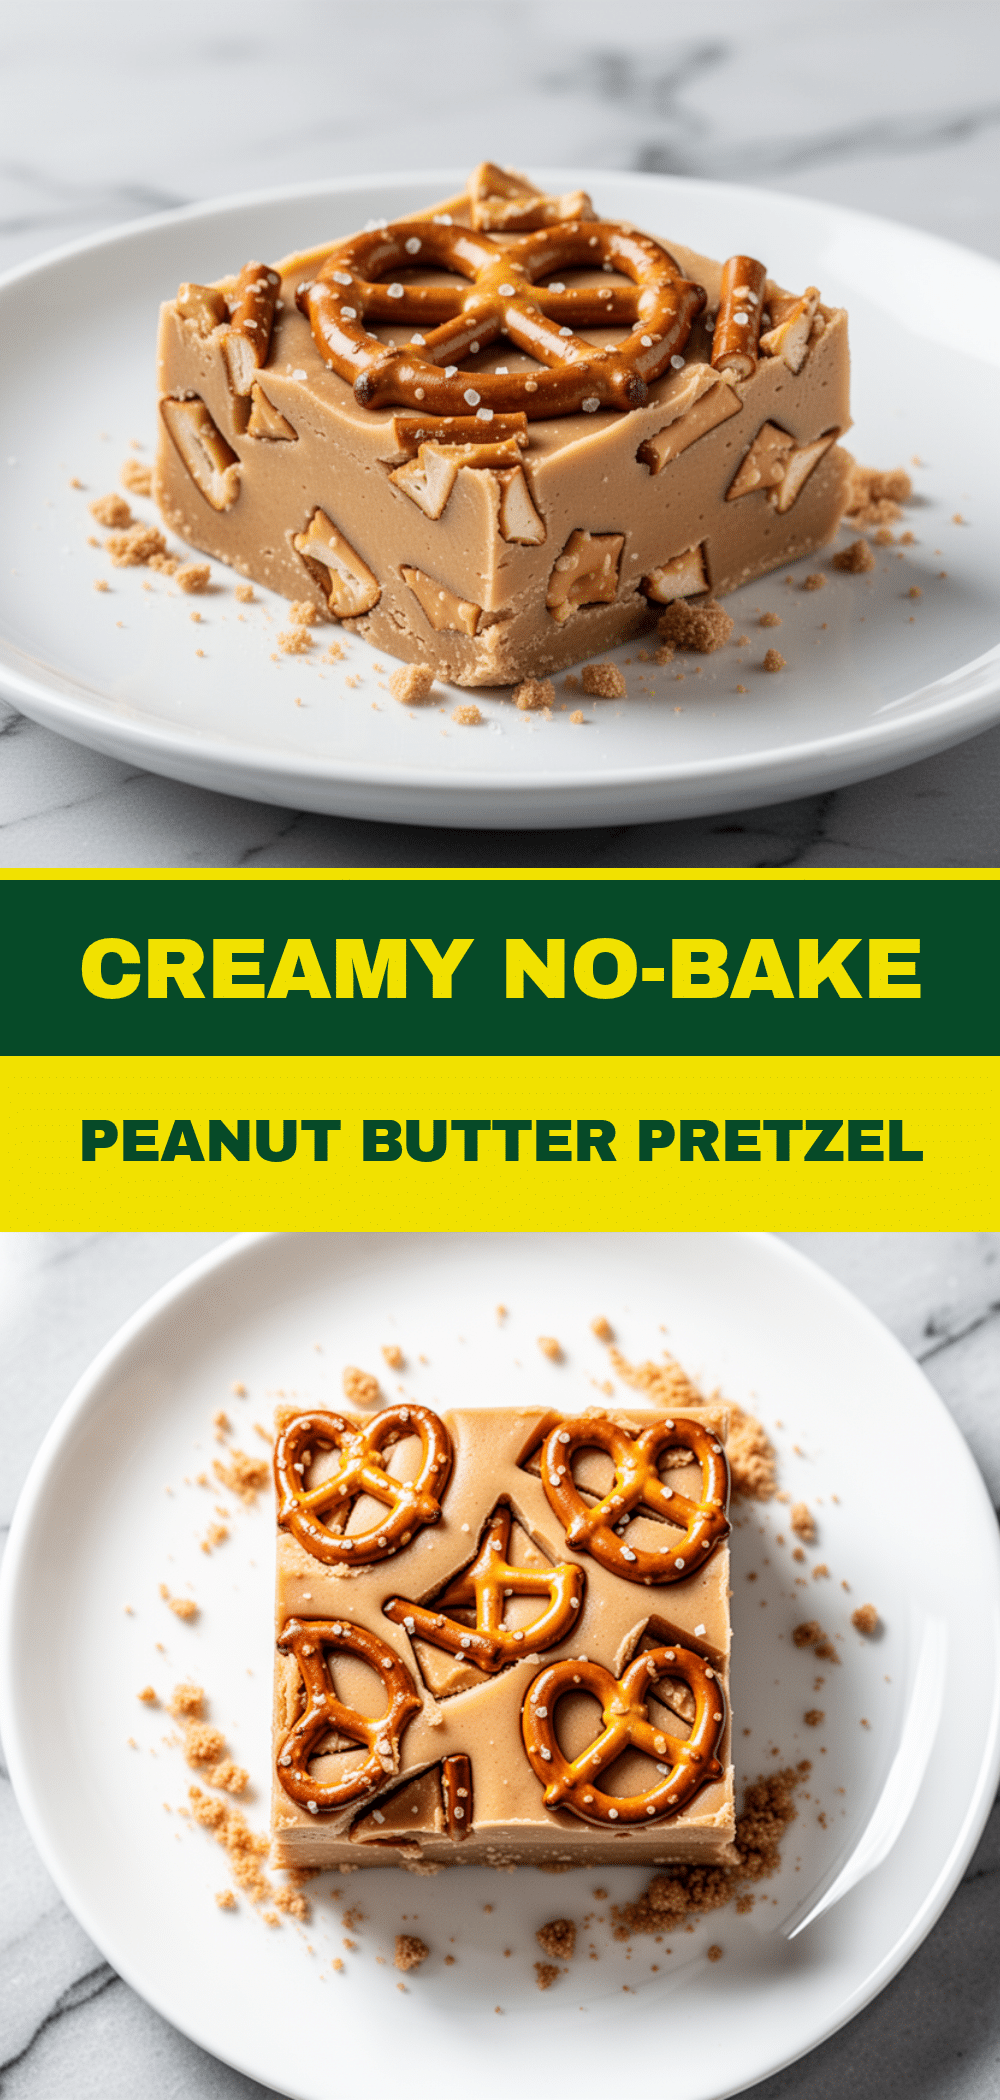
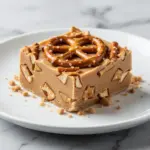
No-Bake Peanut Butter Pretzel Fudge Bars
- Total Time: 2 hours 15 minutes
- Yield: 16 servings 1x
Description
These easy no-bake peanut butter pretzel fudge bars are a crunchy, chewy, sweet, and salty dessert that comes together in minutes without using an oven. Perfect for hot days or lazy weekends, they require only pantry staples and chill in the fridge.
Ingredients
- 1 cup (250g) crunchy or smooth peanut butter (standard, not natural)
- 2 cups (150g) pretzels, roughly chopped
- ½ cup (115g) unsalted butter, softened
- 2 cups (240g) powdered sugar
- 1 teaspoon vanilla extract
- Optional: ½ cup chocolate chips
- Optional: ¼ teaspoon salt
- Optional: Crushed pretzel pieces for topping
Instructions
- Line a 9×13 inch pan with parchment paper, leaving an overhang on the sides for easy removal.
- Chop pretzels into bite-sized chunks (1-2 inches) and toss them into a large mixing bowl.
- Add softened butter and peanut butter to the bowl with the pretzels. If the peanut butter is stiff, microwave for 15-20 seconds to soften. Stir vigorously until combined into a thick, grainy paste.
- Sift in the powdered sugar and vanilla extract. Stir until well combined. The mixture will be thick and sticky; add a teaspoon of milk if too dry or more sugar if too wet.
- Using lightly greased hands or a spatula, press the mixture firmly and evenly into the prepared pan.
- Refrigerate for at least 2 hours, or overnight for best results, until the butter solidifies and flavors meld.
- Lift the bars out of the pan using the parchment paper. Use a sharp knife to cut into squares, wiping the knife between cuts for clean edges.
Notes
Do not use natural peanut butter as the separated oils can prevent the fudge from setting properly. Ensure the butter is softened, not melted, for the best texture. Press the mixture firmly into the pan to prevent crumbling. For a fancy touch, drizzle melted chocolate over the top after chilling. Store in an airtight container in the fridge for up to 2 weeks or freeze for up to 3 months.
- Prep Time: 15 minutes
- Cook Time: 0 minutes
- Category: Dessert
- Cuisine: American
Nutrition
- Serving Size: 1 bar
- Calories: 180
- Sugar: 16
- Sodium: 120
- Fat: 9
- Saturated Fat: 3
- Carbohydrates: 22
- Fiber: 1
- Protein: 5
Keywords: no-bake, peanut butter, pretzel, fudge, bars, easy dessert, quick dessert, sweet and salty, pantry staples, make-ahead