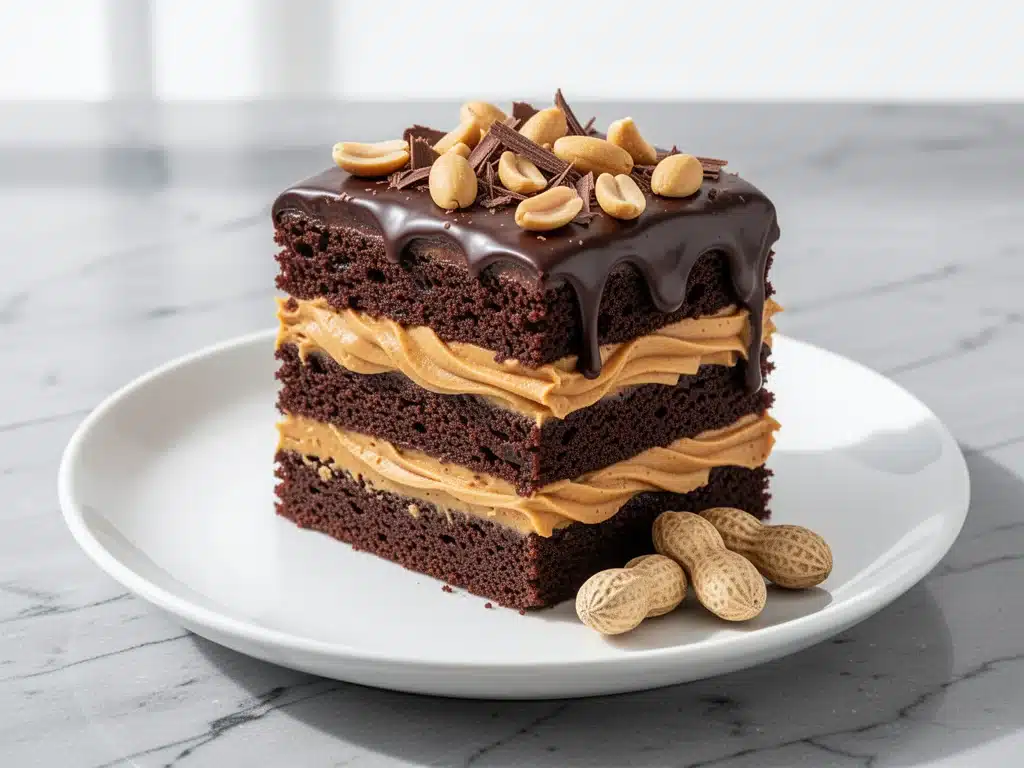
It started with a single bite at a potluck three years ago. I was standing in my neighbor’s kitchen, holding a paper plate, when I took a forkful of this dark, dense, chocolatey masterpiece. The chocolate cake was moist enough to make me close my eyes. The peanut butter layer was salty and sweet in that specific way that only Reese’s Cups can achieve. And then there was the frosting—thick, fudgy, and dripping with peanut butter swirls. I didn’t even know I was hungry until that first bite, and suddenly, I was obsessed.
My neighbor laughed when I asked for the recipe. “It’s not hard,” she said, “but you have to get the layers right.” I went home and tried to recreate it. The first attempt? Dry. The second? The peanut butter layer fell apart like a sandcastle in a tsunami. The third? Edible, but not amazing. I spent the next six months tweaking ratios, testing flours, and arguing with my husband about whether it was “too much” chocolate (spoiler: it’s never too much).
Today, I’m sharing the version that finally worked. This Reese’s Peanut Butter Layer Cake is the best homemade dessert I’ve ever made. It’s got that iconic candy bar flavor but elevated to a proper, show-stopping cake level. It’s rich, it’s decadent, and it’s the kind of dessert that makes people ask for your number so they can order it for their next party. If you’ve ever wondered how to capture that Reese’s magic in a cake, you’re in the right place. Let’s get baking.
Why You’ll Love This Recipe
I know what you’re thinking. “Another chocolate peanut butter cake? I’ve seen a million of them.” But here’s the thing—most of them are just chocolate cake with peanut butter chips thrown in. This recipe is different. It’s built from the ground up to mimic that specific salty-sweet candy experience, but with the texture and depth of a bakery-quality layer cake.
Here’s why this Reese’s Peanut Butter Layer Cake has taken over my kitchen (and my heart):
- It Actually Tastes Like the Candy — I used a combination of creamy peanut butter in the batter and a homemade peanut butter fudge frosting. It’s not just “peanut butter flavored.” It hits that specific note of salted peanut butter and milk chocolate that we all crave.
- Moist Enough to Last Days — One of the biggest complaints with peanut butter cakes is that they can be dry. I’ve cracked the code. By using buttermilk and a touch of oil alongside the butter, this cake stays incredibly moist for up to four days. In fact, I’ve found it tastes even better on day two as the flavors meld.
- Perfect for Celebrations — Whether it’s a birthday, a holiday gathering, or just because it’s Tuesday, this cake is a crowd-pleaser. I’ve served this to picky eaters who usually only eat white cake, and they couldn’t stop asking for seconds. It’s rich, but not overwhelmingly sweet.
- Make-Ahead Friendly — You can bake the layers a day ahead, wrap them tightly, and frost them the next day. This is a huge win for busy hosts who want to spend their party time actually enjoying the party, not standing over a counter piping frosting.
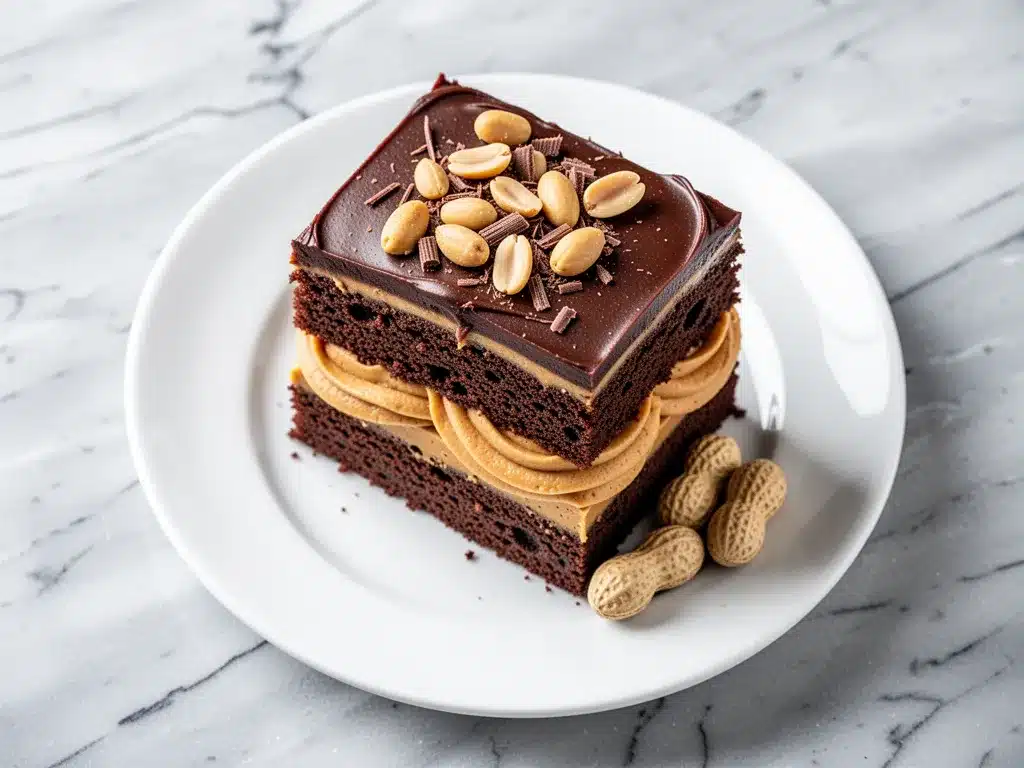
- Visual Impact — The dark chocolate cake contrasts beautifully with the golden peanut butter layers and the glossy fudge frosting. It looks like something from a high-end patisserie, but it’s totally doable at home.
This isn’t just a cake. It’s a experience. And once you make it, you’ll understand why everyone always asks for the recipe.
Ingredients You’ll Need
Before we dive into the mixing bowls, let’s talk about what goes into this beast. I’m particular about three things here: the peanut butter, the chocolate, and the buttermilk. Get these right, and you’re golden.
For the Chocolate Cake Layers
All-purpose flour (3 cups / 375g) — Don’t use cake flour here. You want a sturdy crumb to hold the heavy layers. Sift it with the cocoa powder to avoid lumps.
Unsweetened cocoa powder (1 cup / 90g) — Use good quality here. I prefer Dutch-processed cocoa for a deeper, darker color and less acidic taste. It makes the chocolate flavor richer. Note: If you’re looking for a lighter chocolate flavor, natural cocoa works, but Dutch-processed is best for this specific cake.
Granulated sugar (2 cups / 400g) — Yes, it’s sweet. But the peanut butter adds saltiness to balance it. Don’t reduce the sugar unless you want a dry cake.
Unsalted butter (1 cup / 225g, softened) — This adds richness and tenderness. Make sure it’s softened to room temperature so it creams properly with the sugar.
Heavy cream (1 cup / 240ml) — This is the secret weapon. It makes the crumb incredibly tender and moist. It’s not just milk; the higher fat content keeps the cake from drying out.
Eggs (4 large, room temperature) — Room temp eggs emulsify better. Cold eggs can cause the batter to curdle when mixed with butter.
Vanilla extract (2 teaspoons) — Pure vanilla, not imitation. It enhances the chocolate flavor.
For the Peanut Butter Layer
Creamy peanut butter (1 cup / 250g) — Use natural or conventional? I prefer conventional (like Jif or Skippy) for this because it’s sweeter and holds its structure better. If you use natural peanut butter, it might be too oily. Make sure it’s smooth.
Confectioners’ sugar (1 cup / 120g) — This sweetens the layer and helps it set.
Butter (½ cup / 115g, softened) — Helps bind the peanut butter and sugar together.
Milk (2-3 tablespoons) — Adjust as needed to get the right consistency. You want it spreadable but firm enough to hold its shape.
For the Peanut Butter Fudge Frosting
Unsalted butter (1 cup / 225g, softened) — The base of the frosting. Must be soft but not melted.
Confectioners’ sugar (4 cups / 480g) — Sift this! Lumps in powdered sugar are the enemy of smooth frosting.
Creamy peanut butter (1 cup / 250g) — Same as above. Smooth, creamy, consistent.
Vanilla extract (1 teaspoon)
Pinch of salt — Crucial. It cuts the sweetness and brings out the peanut flavor.
Heavy cream (2-4 tablespoons) — To adjust consistency. Add slowly.
Equipment Needed
You don’t need fancy gadgets, but you do need the right tools to get this right.
Three 8-inch or 9-inch round cake pans — I recommend 8-inch pans for taller layers. Grease them well and line the bottoms with parchment paper. This is non-negotiable for easy removal.
Mixer — A stand mixer is ideal, but a hand mixer works fine. You need to cream the butter and sugar properly.
Wire cooling racks — Let the cakes cool completely before frosting. Warm cake = melted frosting = mess.
Offset spatula — Essential for spreading frosting evenly between layers and on top.
Parchment paper — For lining the pans. Trust me, you’ll thank me later.
Sifter or fine-mesh strainer — For the powdered sugar and cocoa powder. Lumpy cake batter is not the vibe.
How to Make It: Step-by-Step
Alright, let’s make this! I’m walking you through exactly how I do it, including the little tricks I’ve picked up.
Step 1: Prep Your Pans and Oven (10 minutes)
Preheat your oven to 350°F (175°C). Grease your three 8-inch or 9-inch round cake pans with butter or non-stick spray. Line the bottoms with parchment circles. This ensures the cakes don’t stick and can be flipped out easily for frosting.
Step 2: Mix the Dry Ingredients (5 minutes)
In a large bowl, whisk together the flour, cocoa powder, baking powder, baking soda, and salt. Sift this mixture if you can—it aerates it and removes lumps. Set aside.
Step 3: Cream the Butter and Sugar (3 minutes)
In your mixer, beat the softened butter and granulated sugar on medium-high speed until light and fluffy. This takes about 3 minutes. Don’t rush it. This step incorporates air, which helps the cake rise.
Step 4: Add Eggs and Vanilla (2 minutes)
Add the eggs one at a time, beating well after each addition. Mix in the vanilla extract. Scrape down the sides of the bowl to ensure everything is incorporated.
Step 5: Combine Wet and Dry (5 minutes)
Alternately add the dry ingredients and the heavy cream to the butter mixture. Start and end with the dry ingredients. Mix on low speed just until combined. Overmixing leads to tough cake. The batter will be thick.
Step 6: Bake (30-35 minutes)
Distribute the batter evenly among the three pans. Bake for 30-35 minutes, or until a toothpick inserted into the center comes out clean. The cakes should spring back when touched gently.
Step 7: Cool Completely (1 hour)
Let the cakes cool in the pans for 10 minutes, then turn them out onto wire racks. Let them cool completely before frosting. This is crucial. If the cakes are warm, the frosting will melt and slide off.
Step 8: Make the Peanut Butter Layer (10 minutes)
In a medium bowl, mix the creamy peanut butter, softened butter, and confectioners’ sugar. Add milk, one tablespoon at a time, until you reach a spreadable consistency. It should be thick but pliable.
Step 9: Assemble the Cake
Place one cake layer on your serving plate. Spread the peanut butter mixture evenly over the top. Place the second cake layer on top. Repeat with the second peanut butter layer. Place the third cake layer on top.
Step 10: Make the Frosting
In a large bowl, beat the softened butter until creamy. Add the peanut butter, vanilla, and salt. Gradually add the sifted confectioners’ sugar, alternating with heavy cream. Beat on high for 3 minutes until light and fluffy. If it’s too thick, add more cream. If too thin, add more sugar.
Step 11: Frost the Cake
Spread a thin layer of frosting on top of the cake (this is a “crumb coat”). Chill for 15 minutes. Then, apply the remaining frosting to the top and sides. Smooth it out with an offset spatula. You can leave it rustic or smooth it out completely. Your call.
Expert Tips & Tricks
Here’s everything I’ve learned from making this dozens of times. These tips will save you from my mistakes.
Room Temperature Ingredients Are Key — Cold butter and eggs won’t emulsify properly. Take them out of the fridge an hour before you start. It’s worth the wait.
Don’t Overmix the Batter — Once you add the flour, mix until *just* combined. Overmixing develops gluten, which makes the cake tough. You want a tender crumb.
Use Dutch-Processed Cocoa — It’s darker and less acidic. It gives that deep chocolate flavor that pairs perfectly with peanut butter. Natural cocoa is fine, but Dutch-processed is better.
Chill Between Layers — After adding the peanut butter layer, chill the cake for 10-15 minutes before adding the next cake layer. This helps the peanut butter set and prevents it from sliding.
Crumb Coat Is Your Friend — A thin layer of frosting first traps loose crumbs. Chill it, then apply the final layer. Your cake will look professional.
Variations & Substitutions
Once you’ve nailed the basic version, here’s how you can mix it up. I’ve tried all of these.
Gluten-Free Version — Use a 1:1 gluten-free flour blend. The texture might be slightly denser, but it still works. I’ve used Bob’s Red Mill with good results.
Vegetarian — This recipe is already vegetarian. Just ensure your chocolate and peanut butter are vegetarian-friendly (most are).
Reduced Sugar — You can reduce the sugar in the cake by ¼ cup, but the cake may be slightly drier. The peanut butter layer and frosting are harder to reduce without affecting texture.
Chocolate Peanut Butter Cup Topping — Chop up actual Reese’s Peanut Butter Cups and press them into the sides of the cake before serving. It looks amazing and adds crunch.
Coffee Enhancement — Add 1 tablespoon of instant espresso powder to the dry ingredients. It enhances the chocolate flavor without making it taste like coffee.
Serving & Storage
How to Serve: — Slice with a sharp knife dipped in hot water for clean cuts. Serve at room temperature for the best flavor and texture.
Side Dishes: — This cake is rich, so pair it with a light tea or black coffee. A simple green salad or fruit platter balances the sweetness.
Refrigerator: — Store in an airtight container for up to 4 days. The cake will stay moist.
Freezing: — You can freeze the unfrosted cake layers for up to 3 months. Wrap tightly in plastic wrap and foil. Thaw in the fridge before frosting.
Pro Tip: — If the frosting gets too hard in the fridge, let the cake sit at room temperature for 30 minutes before serving. It softens the frosting and brings back the flavor.
Nutrition Information
I’m not a nutritionist, but here’s the breakdown if you’re tracking. This is a rich dessert, so portion control is key.
Per Serving (based on 12 servings):
- Calories: 650
- Protein: 10g
- Carbs: 75g
- Fat: 35g
- Sugar: 55g
- Sodium: 250mg
This cake is high in sugar and fat due to the chocolate, peanut butter, and frosting. But it’s also high in protein from the peanut butter. Enjoy in moderation!
Final Thoughts
So that’s my Reese’s Peanut Butter Layer Cake! I’ve probably talked your ear off at this point, but when you make a recipe this often, you have a lot to say about it.
This has saved my dessert game more times than I can count. It’s my answer to “what should I bring to the party?” when I want to impress without ordering from a fancy bakery. My family is obsessed, my friends beg for it, and I’m obsessed with how easy it is to make once you get the hang of it.
Make it yours! Try different toppings, swap in your favorite peanut butter brand, or add a drizzle of caramel. The best recipes are the ones you adapt to your tastes.
If you make this, drop a comment and let me know what you think! I love hearing how recipes turn out in your kitchen. And if something doesn’t work, tell me that too—I’m here to help troubleshoot.
Happy baking! And I hope your kitchen smells half as good as mine does right now.
Frequently Asked Questions
Can I use crunchy peanut butter?
You can, but it will change the texture. The peanut butter layer might be gritty, and the frosting might have chunks. For a smooth, consistent texture, creamy peanut butter is best. If you love crunch, add chopped peanuts to the frosting instead.
Why did my cake sink in the middle?
This usually happens if the oven door was opened too early, or if the batter was overmixed. Make sure your oven is fully preheated and don’t open the door for the first 20 minutes. Also, check your baking powder and soda—they might be expired.
Can I make this cake ahead of time?
Yes! Bake the layers a day ahead, wrap them tightly in plastic wrap, and store at room temperature. Frost the next day. This actually helps the layers settle and makes them easier to frost.
What if I don’t have heavy cream?
You can substitute with whole milk, but the cake might be slightly less moist. Alternatively, you can use sour cream or Greek yogurt for a tangier flavor and similar moisture content.
How do I keep the peanut butter layer from sliding?
Chill the cake after adding the peanut butter layer. This firms it up. Also, make sure the peanut butter mixture isn’t too loose. It should be thick and spreadable, not runny.
Can I freeze this cake?
The unfrosted layers freeze well. The frosted cake can be frozen, but the frosting might change texture slightly upon thawing. Wrap tightly in plastic and foil. Thaw in the fridge overnight.
Is this cake too sweet?
It’s sweet, but the salt in the peanut butter and the richness of the chocolate balance it out. If you find it too sweet, reduce the sugar in the frosting by ½ cup, but the cake layers should stay as is for moisture.
Pin This Recipe!
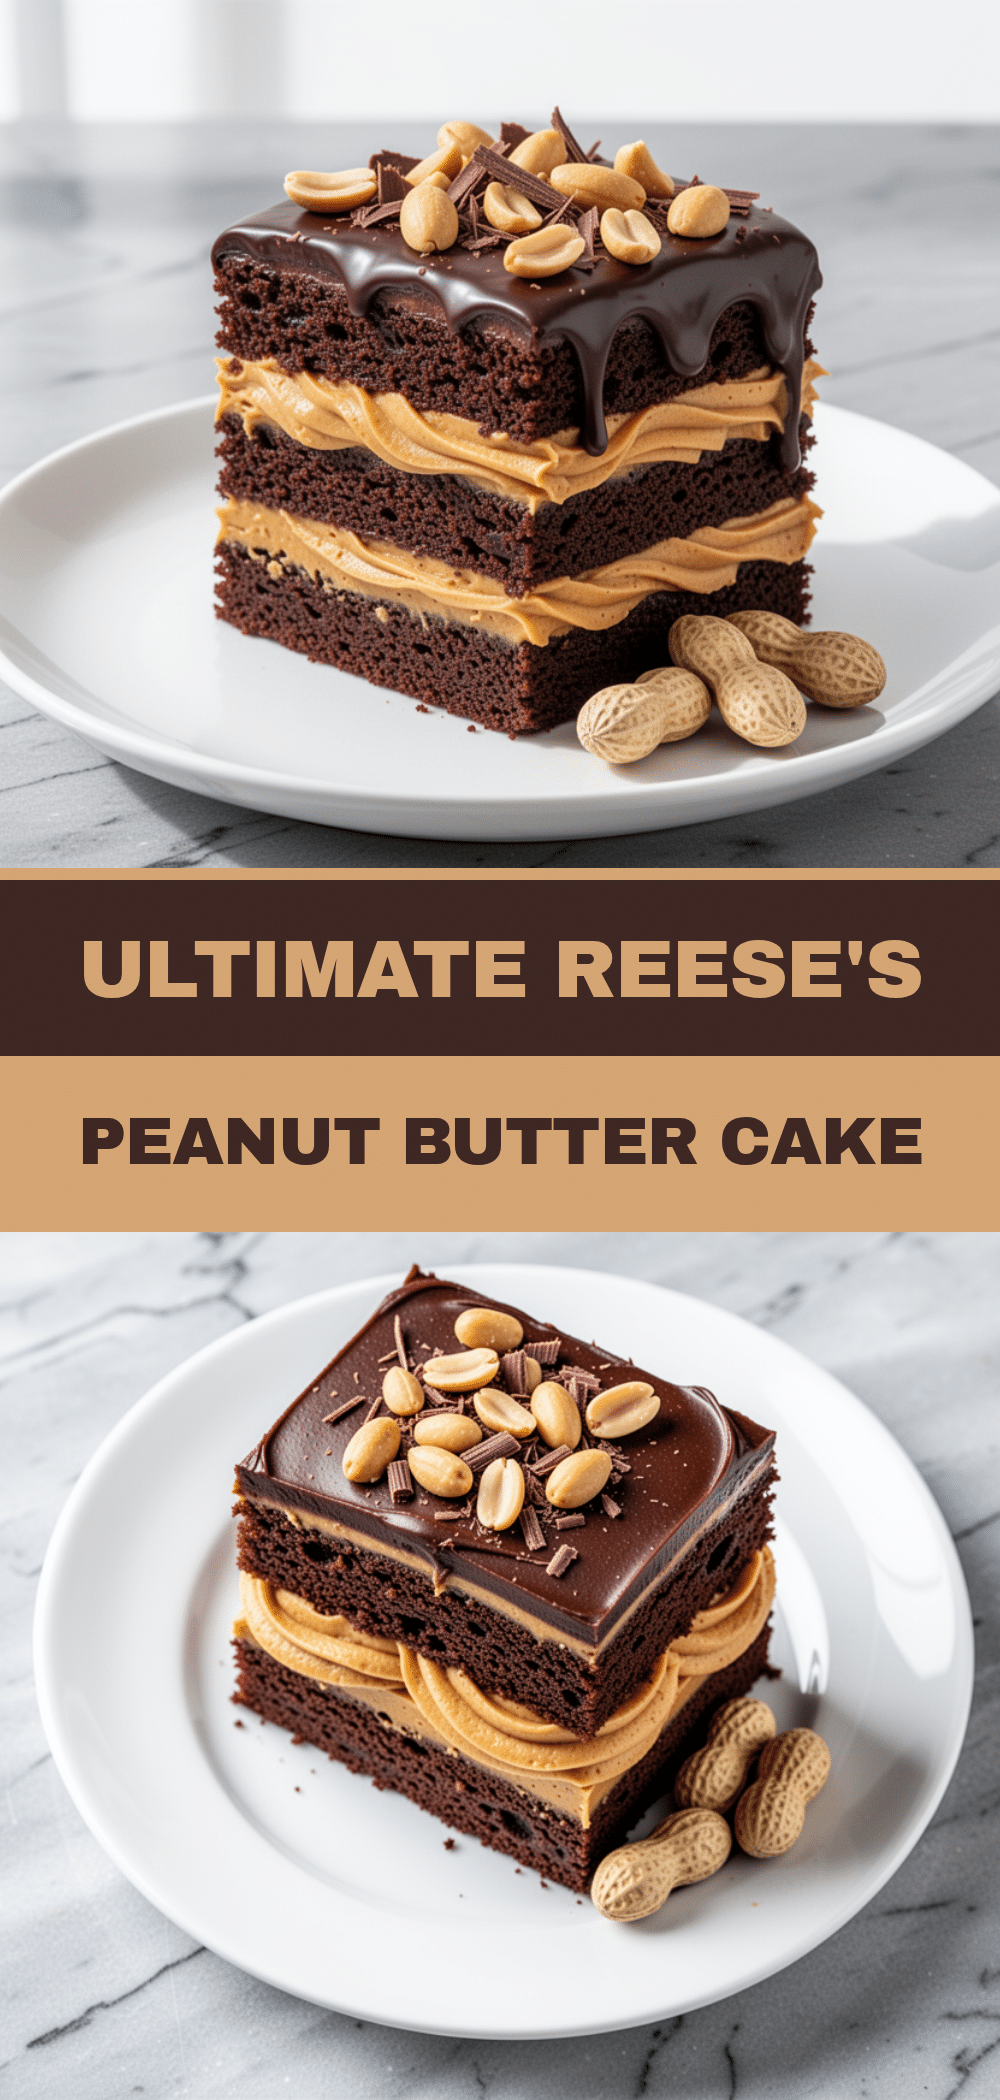
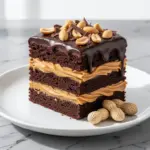
Reeses Peanut Butter Layer Cake: Best Homemade Dessert
- Total Time: 1 hour 20 minutes
- Yield: 12 servings 1x
Description
A rich, moist chocolate layer cake featuring a salty-sweet peanut butter filling and creamy peanut butter fudge frosting, designed to mimic the flavor of Reese’s Cups.
Ingredients
- 3 cups (375g) all-purpose flour
- 1 cup (90g) unsweetened cocoa powder (Dutch-processed preferred)
- 2 cups (400g) granulated sugar
- 1 cup (225g) unsalted butter, softened
- 1 cup (240ml) heavy cream
- 4 large eggs, room temperature
- 2 teaspoons vanilla extract
- 1 cup (250g) creamy peanut butter (for layer)
- 1 cup (120g) confectioners’ sugar (for layer)
- 1/2 cup (115g) butter, softened (for layer)
- 2–3 tablespoons milk (for layer)
- 1 cup (225g) unsalted butter, softened (for frosting)
- 4 cups (480g) confectioners’ sugar (for frosting)
- 1 cup (250g) creamy peanut butter (for frosting)
- 1 teaspoon vanilla extract (for frosting)
- Pinch of salt (for frosting)
- 2–4 tablespoons heavy cream (for frosting)
Instructions
- Preheat oven to 350°F (175°C). Grease three 8-inch or 9-inch round cake pans and line bottoms with parchment paper.
- In a large bowl, whisk together flour, cocoa powder, baking powder, baking soda, and salt. Sift if possible to remove lumps.
- In a mixer, beat softened butter and granulated sugar on medium-high speed for 3 minutes until light and fluffy.
- Add eggs one at a time, beating well after each addition. Mix in vanilla extract and scrape down bowl sides.
- Alternately add dry ingredients and heavy cream to the butter mixture, starting and ending with dry ingredients. Mix on low until just combined.
- Divide batter evenly among the three pans. Bake for 30-35 minutes or until a toothpick comes out clean.
- Let cakes cool in pans for 10 minutes, then turn out onto wire racks to cool completely.
- In a medium bowl, mix creamy peanut butter, softened butter, and confectioners’ sugar. Add milk gradually until spreadable.
- Place one cake layer on serving plate. Spread peanut butter mixture evenly. Add second layer, repeat peanut butter layer, then add third layer.
- In a large bowl, beat softened butter until creamy. Add peanut butter, vanilla, and salt. Gradually add sifted confectioners’ sugar, alternating with heavy cream. Beat on high for 3 minutes until fluffy.
- Spread a thin ‘crumb coat’ of frosting on the cake. Chill for 15 minutes. Apply remaining frosting to top and sides, smoothing with an offset spatula.
Notes
Ensure all ingredients are at room temperature for proper emulsification. Do not overmix the batter to avoid a tough crumb. Chill the cake between layers to help the peanut butter set. For clean slices, dip a sharp knife in hot water before cutting.
- Prep Time: 45 minutes
- Cook Time: 35 minutes
- Category: Dessert
- Cuisine: American
Nutrition
- Serving Size: 1 slice
- Calories: 650
- Sugar: 55
- Sodium: 250
- Fat: 35
- Saturated Fat: 18
- Carbohydrates: 75
- Fiber: 3
- Protein: 10
Keywords: Reese's cake, peanut butter cake, chocolate layer cake, homemade dessert, peanut butter frosting, chocolate cake recipe