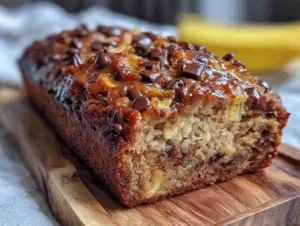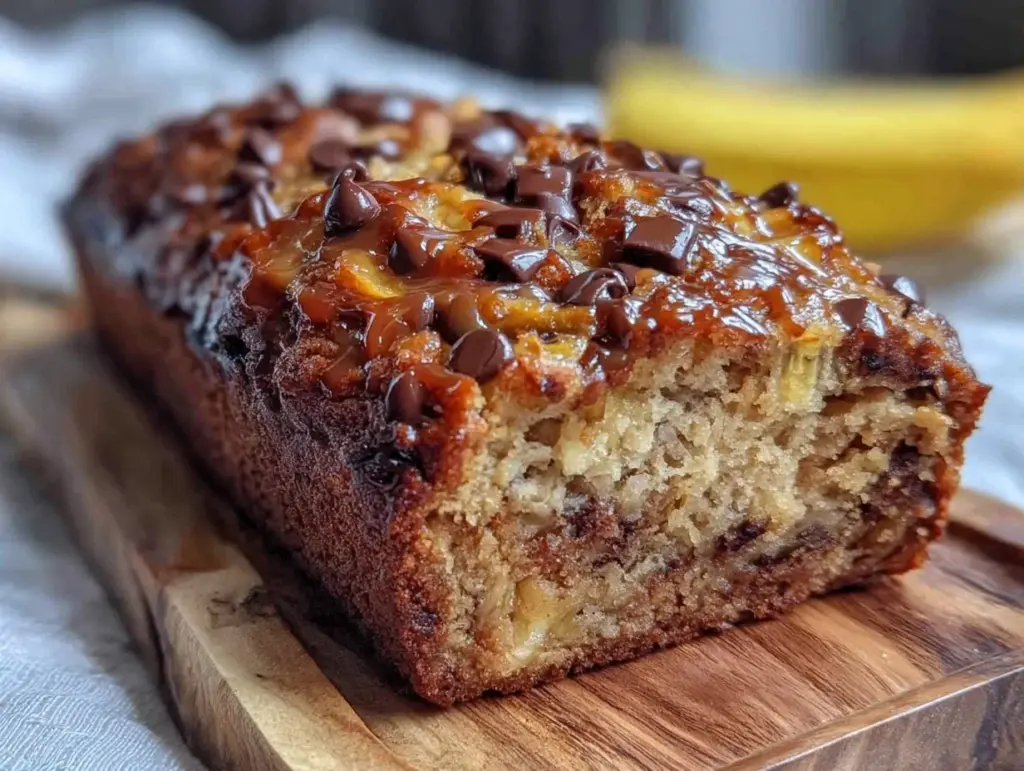
I still remember the first time I made banana bread from scratch. I was in my first apartment, armed with a cookbook that called for three different types of flour, a stand mixer, and exactly 45 minutes of “active prep time.” I followed every instruction to the letter. The result? A dense, dry brick that my roommate politely ate for three days straight while making increasingly creative excuses for why she was hungry.
I threw out the cookbook. I stopped buying banana bread from the bakery because it was always either too sweet or tasted like cardboard. Then, I stumbled onto a method that changed everything. It involved one bowl. One whisk. And ingredients I already had in my pantry.
This one-bowl banana bread with chocolate chips is the kind of recipe you make when you have overripe bananas and zero energy. It’s the recipe that saves you when you need a gift for a neighbor, a treat for a potluck, or just something warm to eat while you watch TV. I’ve made this loaf at least twenty times in the last year alone. Some batches are loaded with chocolate chips, some have walnuts, some are plain. But the base? It’s always the same. Simple. Moist. Forgiving.
If you’re intimidated by baking, put that fear away right now. You really can’t mess this up. Seriously. If you can mash a banana, you can make this bread. Let’s get into why this is the only banana bread recipe you’ll ever need.
Why You’ll Love This One-Bowl Banana Bread
There’s a reason this recipe has stuck around in my kitchen rotation for years. It’s not just about the taste (though the chocolate chips help). It’s about how easy it is to pull together.
- Zero Special Equipment — You don’t need a stand mixer. You don’t need a food processor. You need a bowl, a whisk, and a loaf pan. That’s it. I use the same bowl I make my oatmeal in. It’s that simple.
- Uses Ripe Bananas — We’ve all been there: you buy bananas for smoothies, and then they turn brown and slimy before you use them. This recipe is their happy ending. The riper the banana, the sweeter and more flavorful the bread. Black spots? Perfect.
- One Bowl Cleanup — This is the biggest selling point for me. No washing multiple bowls, no measuring cups cluttering the counter. Mix everything in one bowl, pour it into the pan, and you’re done. If you can handle the maple banana nut muffins recipe, you can handle this bread.
- Beginner-Proof — Most baking recipes require precise timing and temperature control. This one is forgiving. If you overmix it slightly, it’s still good. If you add a few extra chocolate chips, it’s still good. It’s designed to work even if you’re tired or distracted.
- Freezer-Friendly — This bread freezes beautifully. I often make two loaves at once. One for now, one for later. When I’m having a rough week, I pull a loaf from the freezer, let it thaw, and have instant comfort food ready to go.
This isn’t fancy patisserie stuff. It’s real, honest, home-baked goodness. It’s the bread that makes your house smell amazing without requiring a degree in culinary arts.
Ingredients You’ll Need
Here’s the best part: you probably have most of this already. I’m not asking you to go to three different stores for exotic ingredients. This is pantry-staple cooking.
For the Bread Base
Ripe Bananas (3 medium / about 1 ½ cups mashed) — Look for bananas with lots of brown spots or completely black peels. They’ll be soft and sweet. If they’re green or yellow, they won’t have enough flavor. Mash them with a fork until there are no big chunks left.
Butter (½ cup / 115g, melted) — Use unsalted butter. Melt it in the microwave or on the stove. Let it cool for a minute so it doesn’t cook the bananas. You can use oil if you’re out of butter, but butter tastes better.
Sugar (¾ cup / 150g) — I use a mix of white and brown sugar. Brown sugar adds moisture and a hint of caramel flavor, but white sugar works fine too. Don’t skip the sugar; it helps with the crust.
Egg (1 large) — Room temperature is best, but cold works too. Just make sure it’s fully beaten before adding it to the bowl.
Vanilla Extract (1 teaspoon) — Don’t use the cheap imitation stuff. Real vanilla makes a huge difference in baked goods. If you run out, pumpkin cinnamon rolls are another recipe where good vanilla really shines.
For the Dry Ingredients
All-Purpose Flour (1 ½ cups / 190g) — Spoon the flour into the measuring cup and level it off. Don’t scoop directly from the bag, or you’ll pack it down and get a dry loaf.
Baking Soda (1 teaspoon) — Check the expiration date. Old baking soda won’t make the bread rise properly. If it’s been in your cabinet for years, toss it and buy a new box.
Salt (½ teaspoon) — This balances the sweetness. Don’t skip it, even if you’re watching sodium. A little salt makes the chocolate taste more like chocolate.
The Star: Chocolate Chips
Chocolate Chips (1 cup / 170g) — Semi-sweet chocolate chips are my go-to. They’re not too sweet and they melt nicely. You can use dark chocolate if you prefer less sweetness, or milk chocolate if you have kids who like it sweeter. I also love adding a handful of walnuts or pecans for crunch, but the chips are essential for me.
Common Substitutions
- No Butter? Use an equal amount of neutral oil like vegetable or canola oil. The texture will be slightly denser, but still delicious.
- Gluten-Free? Use a 1:1 gluten-free flour blend. The results are surprisingly good, almost identical to the original.
- Dairy-Free? Use coconut oil instead of butter and dairy-free chocolate chips. It works well!
Equipment Needed
You don’t need fancy gadgets for this. Here’s what I actually use.
Large Mixing Bowl — Any bowl that’s big enough to hold all the ingredients comfortably. I use a 4-quart stainless steel bowl. It’s sturdy and easy to clean.
Whisk — A simple balloon whisk works perfectly. You don’t need a mixer. Just whisk the wet ingredients together, then stir in the dry. A fork works in a pinch, but a whisk is faster.
Loaf Pan — A standard 9×5 inch loaf pan. Metal pans work best because they conduct heat evenly. Glass pans take longer to bake and can result in a darker crust. If you only have glass, lower the oven temperature by 25 degrees.
Parchment Paper — I line the pan with parchment paper, leaving an overhang on the sides. This makes it super easy to lift the bread out after baking. No more struggling to get the loaf out!
Measuring Cups and Spoons — Standard stuff. If you don’t have a 9×5 pan, you can use a muffin tin and make banana bread muffins. Just reduce the baking time to 20-25 minutes.
How to Make It: Step-by-Step
Alright, let’s make this! I’m walking you through exactly how I do it. It’s so simple that you’ll be amazed at how easy it is.
Step 1: Prep Your Oven and Pan
Preheat your oven to 350°F (175°C). This is crucial. If the oven isn’t hot enough, the bread won’t rise properly. While it heats, line your 9×5 loaf pan with parchment paper. Grease the parchment lightly with butter or cooking spray so the bread doesn’t stick.
Step 2: Mash the Bananas
In your large mixing bowl, add the ripe bananas. Use a fork or potato masher to mash them until they’re smooth. You want about 1 ½ cups of mashed banana. If there are big chunks left, it’s okay, but smoother is better for a uniform texture.
Step 3: Mix the Wet Ingredients
Add the melted butter, sugar, egg, and vanilla extract to the mashed bananas. Whisk everything together until it’s well combined. The mixture will look a bit curdled at first—that’s normal. Just keep whisking until it’s smooth and glossy.
Step 4: Add the Dry Ingredients
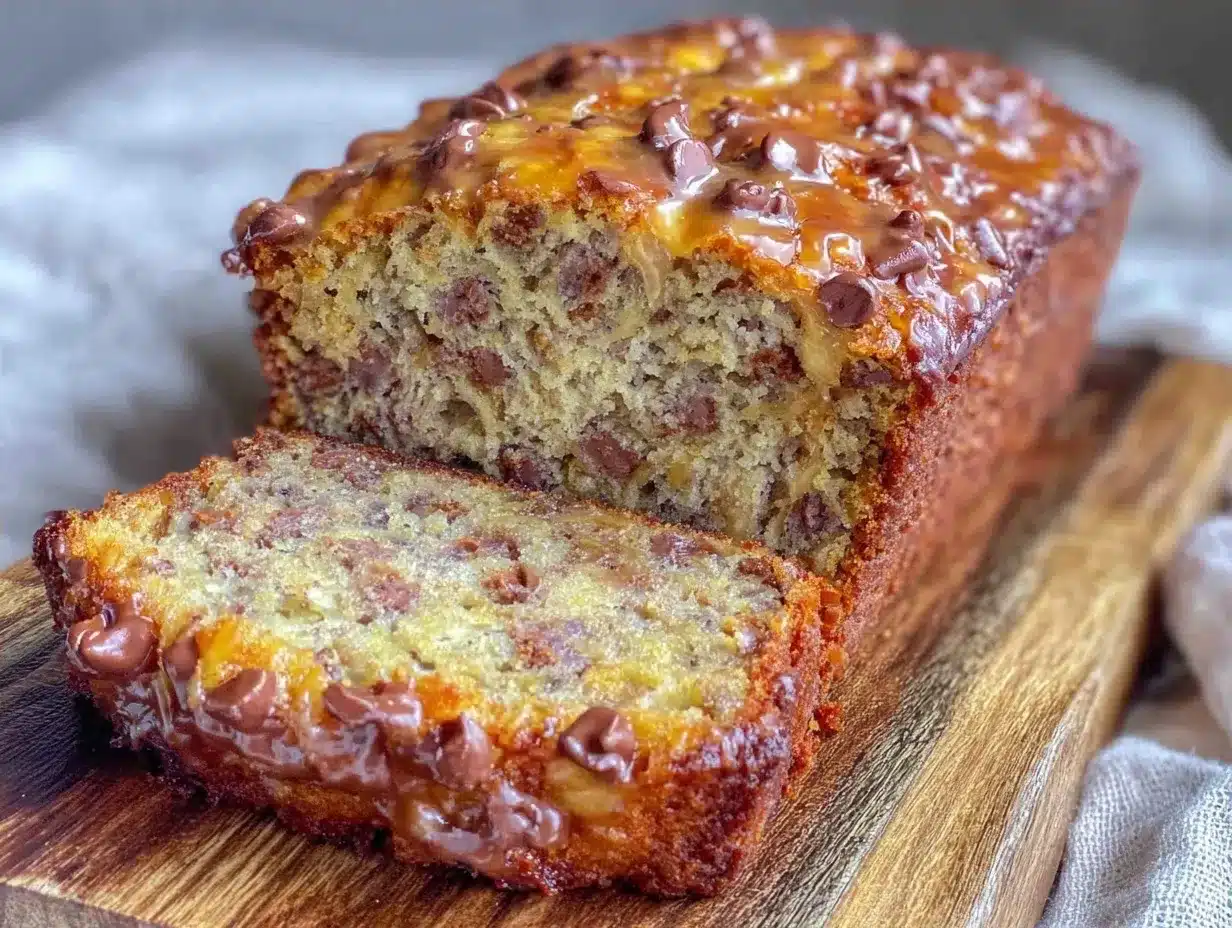
Sprinkle the flour, baking soda, and salt over the wet mixture. Use your whisk or a spatula to gently fold the dry ingredients into the wet. Stop as soon as you no longer see streaks of flour. Do not overmix. Overmixing develops gluten, which makes the bread tough. Lumps are fine. In fact, I prefer a few lumps. They indicate a tender crumb.
Step 5: Fold in the Chocolate Chips
Stir in the chocolate chips. If you’re adding nuts, add them now. Use a spatula to gently fold them in. Be careful not to crush the chips too much.
Step 6: Bake
Pour the batter into your prepared loaf pan. Smooth the top with a spatula. Bake for 55-65 minutes. Check it at 55 minutes by inserting a toothpick into the center. If it comes out clean or with just a few moist crumbs, it’s done. If it has wet batter on it, bake for another 5-10 minutes. Remember, oven temperatures vary, so keep an eye on it.
Step 7: Cool
Let the bread cool in the pan for 10 minutes. Then, use the parchment paper overhang to lift it out and place it on a wire rack to cool completely. This step is important. If you cut into it while it’s hot, it will be gummy. Patience pays off.
Expert Tips & Tricks
Here’s everything I’ve learned from making this dozens of times. These tips will save you from my early mistakes.
The Riper, The Better
I cannot stress this enough. Green bananas have almost no flavor. Yellow bananas are okay. Brown and black bananas are where the magic happens. The sugars break down as they ripen, creating that intense banana flavor. If you don’t have ripe bananas, you can bake them at 300°F for 15 minutes until the skins turn black. It’s a great hack.
Don’t Overmix
This is the #1 mistake people make. Once you add the flour, mix until it’s *just* combined. A few lumps are okay. If you mix until the batter is perfectly smooth, you’ll end up with a dense, rubbery loaf. Think of it like a pancake batter, not a cake batter.
Check Early
Ovens are unpredictable. Start checking at 55 minutes. If the top is browning too quickly but the center is still wet, cover the top loosely with aluminum foil. This lets the center finish cooking without burning the crust.
Storage Matters
Store leftover bread in an airtight container at room temperature for up to 3 days. For longer storage, wrap it tightly in plastic wrap and freeze for up to 3 months. Thaw it at room temperature or warm it in the microwave for 30 seconds.
Variations & Substitutions
Once you’ve nailed the basic version, here’s how you can mix it up. I’ve tried all of these.
Walnut Banana Bread
Replace the chocolate chips with 1 cup of chopped walnuts. Toast the walnuts in a dry pan for 2-3 minutes before adding them for extra flavor. This is my husband’s favorite version.
Banana Bread Muffins
Divide the batter into a muffin tin lined with paper cups. Bake for 20-25 minutes. These are perfect for breakfast on the go or for sharing with coworkers.
White Chocolate Macadamia
Swap semi-sweet chips for white chocolate chips and add ½ cup of macadamia nuts. It’s richer and sweeter, like a tropical vacation in a loaf.
Banana Nutella Swirl
After pouring the batter into the pan, dollop spoonfuls of Nutella on top. Use a knife to swirl it into the batter. It creates beautiful marble patterns and adds a hazelnut flavor.
Gluten-Free Version
Use a 1:1 gluten-free flour blend. The results are surprisingly good. I’ve used King Arthur’s blend, and it works perfectly.
Dairy-Free Version
Use coconut oil instead of butter and dairy-free chocolate chips. The texture is slightly denser, but the flavor is still great.
Serving & Storage
How to serve this bread is almost as important as how you make it.
How to Serve
I usually serve this warm. Slice it thick and toast it lightly in the toaster oven. The chocolate chips melt, and the crust gets crispy. It’s incredible with a cup of coffee or tea. If you’re serving it at a party, cut it into small squares. It’s easy to eat and looks elegant.
Side Dishes
This bread is a dessert or breakfast staple, so it doesn’t need much else. But if you’re having it for breakfast, pair it with fresh fruit or yogurt. For dessert, serve it with a scoop of vanilla ice cream or a dollop of whipped cream.
Storage Instructions
Refrigerator: Store in an airtight container for up to 4 days. The bread will stay moist, but it might dry out slightly if left too long.
Freezer: Wrap the whole loaf or individual slices tightly in plastic wrap, then in aluminum foil. Freeze for up to 3 months. Thaw at room temperature or microwave for 30 seconds.
Reheating
To refresh stale bread, wrap it in foil and bake at 300°F for 10 minutes. This brings back the moisture and softness. You can also microwave individual slices for 15-20 seconds.
Pro Tip: If you’re meal prepping, slice the bread before freezing. This way, you only thaw what you need. It’s so much easier than trying to slice a frozen loaf!
Nutrition Information
I’m not a nutritionist, but here’s the breakdown if you’re tracking. Keep in mind that this is an estimate based on standard ingredients.
Per Slice (1/10th of loaf):
- Calories: 220
- Protein: 3g
- Carbs: 32g
- Fiber: 1g
- Sugar: 20g
- Fat: 9g
- Saturated Fat: 5g
- Cholesterol: 35mg
- Sodium: 180mg
What’s Good:
- Contains potassium from bananas
- Relatively low in protein
- Can be made gluten-free or dairy-free
What to Know:
- Higher in sugar due to ripe bananas and chocolate chips
- Contains dairy and gluten (unless modified)
- Calorie count varies based on chocolate chip amount
My Take:
Look, this is banana bread. It’s supposed to be sweet and indulgent. It’s not a health food. But it’s better than store-bought because you control the ingredients. When I want to make it lighter, I reduce the sugar to ½ cup and use dark chocolate chips. But usually? I just enjoy a slice and call it a day.
Final Thoughts
So that’s my one-bowl banana bread with chocolate chips! I’ve probably talked your ear off at this point, but when you make a recipe this often, you have a lot to say about it.
This has saved me more times than I can count. It’s my answer to “what’s for dessert?” when I’m tired, don’t want to bake anything complicated, and still want something that tastes really good. My kids love it, my husband loves it, and I love it because it’s so easy to make.
Make it yours! Try different add-ins, swap in your favorite nuts, adjust the sugar. The best recipes are the ones you adapt to your family’s tastes. If you make this, drop a comment and let me know what you think! I love hearing how recipes turn out in your kitchen. And if something doesn’t work, tell me that too—I’m here to help troubleshoot.
Happy baking! And I hope your kitchen smells half as good as mine does right now.
Frequently Asked Questions
Can I use frozen bananas?
Yes! Frozen bananas work great. Just thaw them completely and drain any excess liquid before mashing. They’re actually easier to mash when frozen. This is a great way to save ripe bananas for later.
Why did my banana bread turn out dense?
This usually happens for two reasons: overmixing or old baking soda. Make sure you’re using fresh baking soda, and don’t mix the batter once you add the flour. A few lumps are okay! Also, if you packed the flour down into the measuring cup, you might have used too much flour. Spoon and level instead.
Can I make this in a mini loaf pan?
Absolutely. You’ll need about 2 mini loaf pans. Reduce the baking time to 30-40 minutes. Check with a toothpick at 30 minutes. They bake faster, so keep an eye on them.
Why is the center still raw after baking?
This can happen if your oven runs cool or if the loaf is very thick. Cover the top with foil and bake for another 10-15 minutes. Also, make sure your toothpick test is accurate. If it comes out wet, it needs more time. If it comes out clean, it’s done.
Can I add other mix-ins?
Of course! Try chopped pecans, walnuts, white chocolate chips, or even a swirl of peanut butter. Just don’t add too many mix-ins, or the bread might fall apart. Stick to about 1 cup total of add-ins.
How do I know when the bread is done?
The top should be golden brown, and a toothpick inserted into the center should come out clean or with a few moist crumbs. The edges should pull away slightly from the pan. If the top is browning too fast, cover it with foil.
Can I use honey instead of sugar?
You can, but the texture will be different. Honey adds moisture, so the bread might be denser. Reduce the oven temperature by 25°F to prevent burning. I recommend sticking with sugar for the best texture, but honey works in a pinch.
Pin This Recipe!
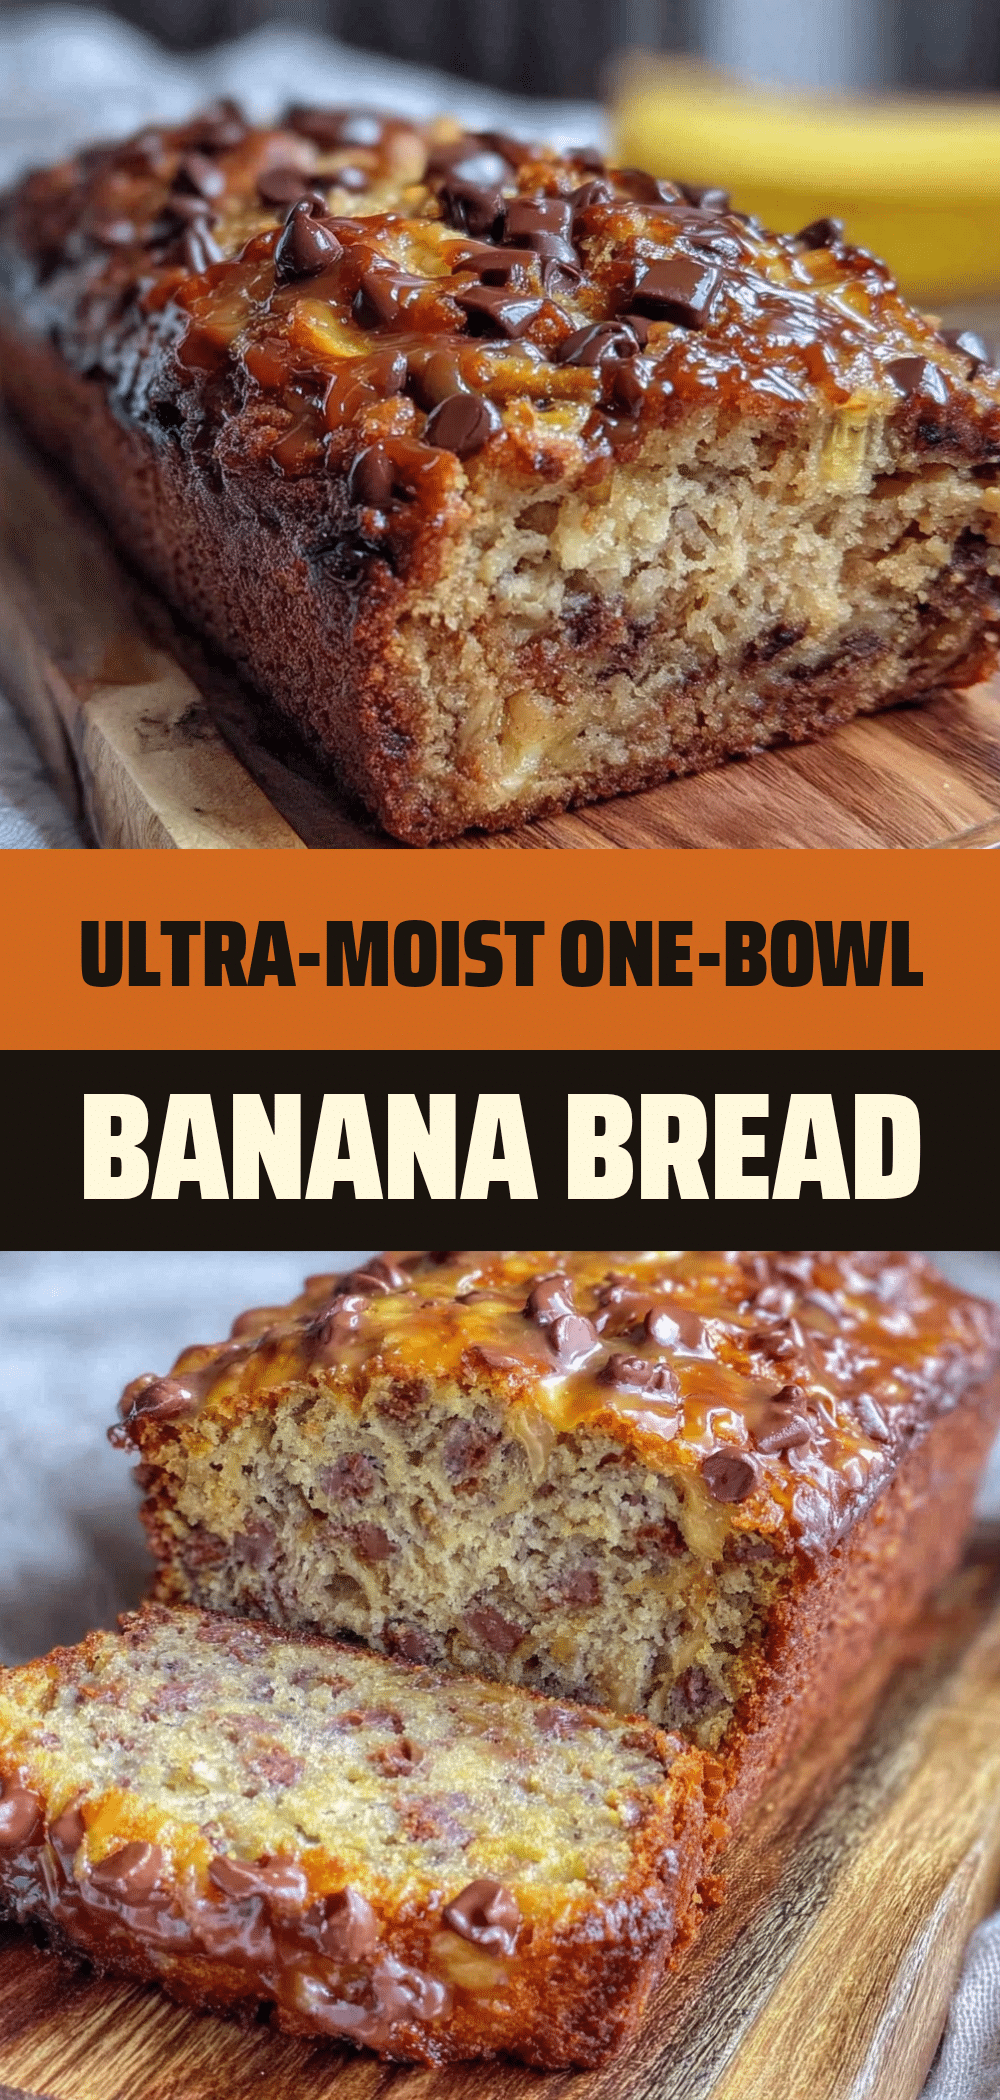
One-Bowl Banana Bread with Chocolate Chips: Beginner-Proof
- Total Time: 1 hour 15 minutes
- Yield: 10 servings 1x
Description
A simple, forgiving banana bread recipe that requires only one bowl and basic pantry ingredients. Perfect for beginners, this moist loaf is loaded with chocolate chips and ready in under an hour.
Ingredients
- 3 medium ripe bananas (about 1 ½ cups mashed)
- ½ cup (115g) unsalted butter, melted
- ¾ cup (150g) sugar (white or brown)
- 1 large egg, room temperature
- 1 teaspoon vanilla extract
- 1 ½ cups (190g) all-purpose flour
- 1 teaspoon baking soda
- ½ teaspoon salt
- 1 cup (170g) semi-sweet chocolate chips
Instructions
- Preheat oven to 350°F (175°C). Line a 9×5 inch loaf pan with parchment paper and lightly grease.
- In a large mixing bowl, mash the ripe bananas with a fork until smooth.
- Add the melted butter, sugar, egg, and vanilla extract to the bananas. Whisk until well combined and smooth.
- Sprinkle the flour, baking soda, and salt over the wet mixture. Gently fold in the dry ingredients until just combined; do not overmix.
- Stir in the chocolate chips.
- Pour batter into the prepared loaf pan and smooth the top.
- Bake for 55-65 minutes, or until a toothpick inserted into the center comes out clean or with moist crumbs.
- Let the bread cool in the pan for 10 minutes, then lift out using the parchment overhang and cool completely on a wire rack.
Notes
Use very ripe bananas with black spots for the best flavor. Do not overmix the batter once flour is added to avoid a dense texture. If the top browns too quickly, cover loosely with foil. Can be frozen for up to 3 months.
- Prep Time: 10 minutes
- Cook Time: 55-65 minutes
- Category: Dessert
- Cuisine: American
Nutrition
- Serving Size: 1 slice (1/10th of l
- Calories: 220
- Sugar: 20
- Sodium: 180
- Fat: 9
- Saturated Fat: 5
- Carbohydrates: 32
- Fiber: 1
- Protein: 3
Keywords: banana bread, chocolate chip, one bowl, beginner recipe, easy baking, gluten-free option, dairy-free option