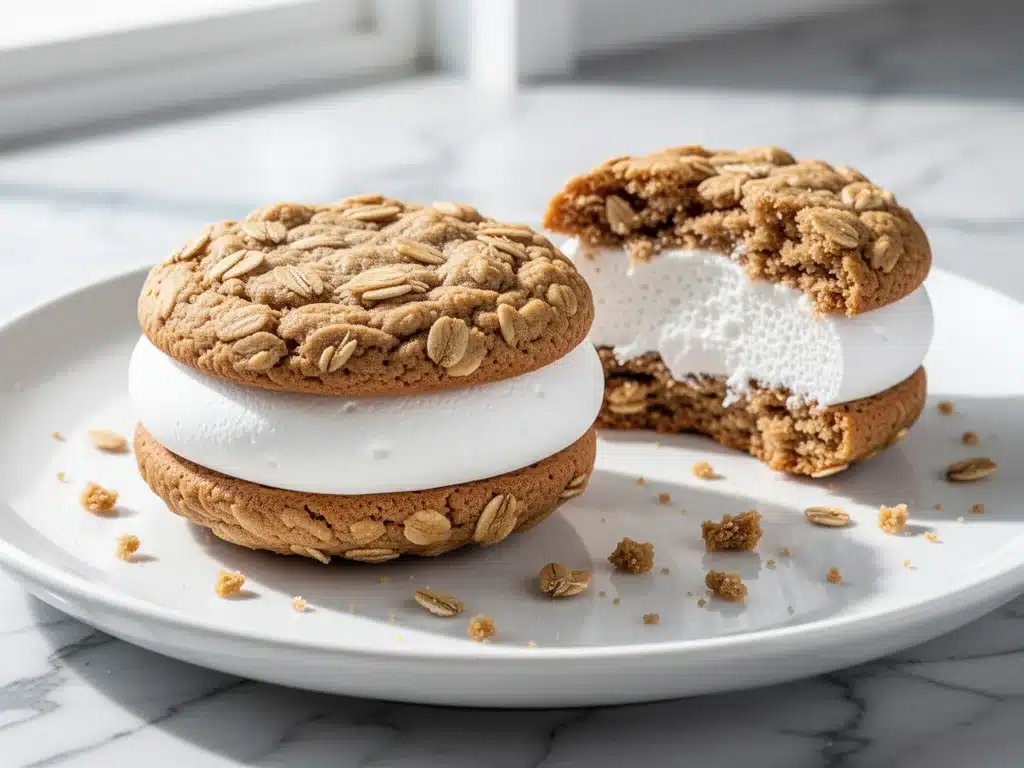
It started with a box of Little Debbie Oatmeal Cream Pies. I was standing in the grocery aisle, staring at that familiar purple packaging, and I had this sudden, overwhelming craving for that specific texture—the soft, cakey oat cookie sandwiching that weirdly perfect, sweet marshmallow fluff. I bought the box. I ate one. It was fine. But then I looked at the ingredient list. High fructose corn syrup? Partially hydrogenated oils? Preservatives that sound like a chemistry experiment?
I felt guilty eating them, but I still wanted that comfort. So, I went home and decided to hack it. I wanted the chew. I wanted the oatiness. I wanted that cloud-like marshmallow center, but made with actual butter and real vanilla, not… whatever is in that box.
What happened next was a disaster. My first batch was hard as rocks. My second batch spread into flat, crispy cookies. My third batch? The marshmallow filling wept all over my counter. But by the fifth attempt, I cracked the code. The secret isn’t just in the ingredients; it’s in the resting time and the temperature of your butter.
These homemade chewy oatmeal cream pies are everything I wanted. They’re soft, slightly chewy, and packed with warm cinnamon and oats. The marshmallow filling is light, airy, and doesn’t taste like it came from a tube. I’ve made these so many times that my kids now ask for them instead of chips after school. They’re easier to make than you think, and honestly? Once you taste the difference between fresh-baked and store-bought, you’ll never go back. This is the chewy oatmeal cream pies with marshmallow filling you’ll make on repeat.
Why You’ll Love This Chewy Oatmeal Cream Pies Recipe
There are plenty of oatmeal cookie recipes out there, but most of them are dry or too crumbly. This version is engineered to be soft. Here’s why this specific recipe has taken over our kitchen:
- Actually Chewy, Not Crispy — Most oatmeal cookies turn into crunchy biscuits if you bake them too long. These stay soft and pillowy for days because of the brown sugar ratio and the extra egg yolk. I’ve tested this texture against my grandma’s recipe, and mine wins on softness every time.
- Real Marshmallow, No Gelatin Guilt — The filling uses real marshmallow fluff or homemade Swiss meringue buttercream techniques (simplified for home cooks) to get that stretchy, sweet center without the weird aftertaste of processed candy. It’s fluffy, not sticky.
- Uses Pantry Staples — You don’t need fancy flour or obscure spices. Just oats, brown sugar, butter, eggs, and cinnamon. If you have these, you can make these pies right now.
- Perfect for Meal Prep — These taste better the next day. The cookies continue to soften as they sit, and the filling settles. I make a double batch on Sunday and pack them in my lunchbox all week. They keep in the fridge for up to a week, wrapped tightly.
- Customizable Sizes — Make them tiny for party favors, medium for snacks, or huge for dessert. I usually make medium-sized ones that fit perfectly in a standard muffin tin for portion control.
This recipe bridges the gap between a dessert and a snack. It’s sweet enough to satisfy a chocolate craving (if you add chocolate chips to the dough) but wholesome enough to feel okay eating for breakfast. Seriously. I’ve done it.
Ingredients You’ll Need for Chewy Oatmeal Cream Pies
Here’s the thing about oatmeal cookies: the quality of your oats matters more than you think. And the butter? Don’t skimp.
For the Chewy Oatmeal Cookies
Old-Fashioned Rolled Oats (3 cups / 270g) — Do not use quick oats. Quick oats turn these into mush. Old-fashioned oats give you that chewy, hearty texture. I buy the store brand; it’s the same stuff.
All-Purpose Flour (1 ½ cups / 190g) — Just standard white flour. If you’re gluten-free, you can use a 1:1 GF blend, but the texture will be slightly more tender and less chewy.
Baking Soda (1 teaspoon) — This helps them spread and brown. Don’t use baking powder; it’s a different chemical reaction.
Salt (1 teaspoon) — Crucial. Oats and sugar are bland without salt. It brings out the cinnamon flavor.
Unsalted Butter (½ cup / 113g, softened) — This needs to be softened to room temperature. If you microwave it, it melts. If it’s cold, it won’t cream properly. Softened means you can press your finger through it without it squishing into a puddle.
Brown Sugar (1 cup / 200g, packed) — This is the key to chewiness. White sugar makes cookies crisp; brown sugar makes them soft and chewy. Use dark brown sugar for a deeper molasses flavor, but light works too.
Granulated Sugar (½ cup / 100g) — Just a little bit to balance the sweetness and help with browning.
Eggs (2 large, room temperature) — Room temp eggs emulsify better into the butter. Cold eggs can cause the mixture to split. I take them out of the fridge 30 minutes before I start.
Vanilla Extract (2 teaspoons) — Use real vanilla. The artificial stuff tastes chemical in these delicate cookies.
Cinnamon (1 ½ teaspoons) — Ground cinnamon. Freshly ground is best, but pre-ground is fine.
For the Marshmallow Filling
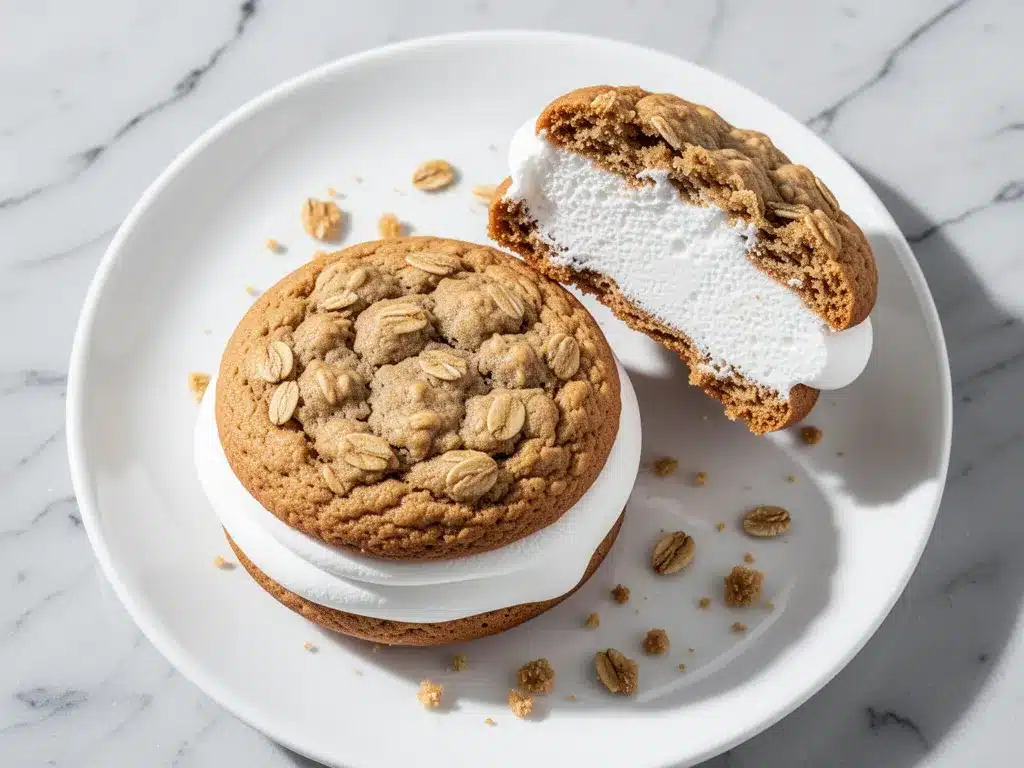
Marshmallow Fluff (1 cup / 250g) — Or you can make your own. If using store-bought fluff, it’s already sweet and airy. If making from scratch, see notes below.
Butter (¼ cup / 57g, softened) — Adds richness to the filling so it’s not just pure sugar.
Powdered Sugar (2 cups / 240g) — Sifted! You don’t want gritty chunks in your filling.
Milk or Cream (2-3 tablespoons) — To adjust consistency. You want it pipeable but thick enough to hold shape.
Vanilla Extract (1 teaspoon)
Pinch of Salt
Equipment Needed
You don’t need a fancy kitchen for this. Here’s what I actually use:
Large Mixing Bowl — I use a 5-quart stainless steel bowl. It’s big enough to mix the dough without flour flying everywhere.
Electric Hand Mixer or Stand Mixer — Creaming the butter and sugar by hand is… a workout. A mixer makes this 10 minutes easier. If you don’t have one, you’ll need strong arm muscles.
Measuring Cups and Spoons — Standard stuff. Level off your flour.
Baking Sheets — I use half-sheet pans. Line them with parchment paper. I don’t use silicone mats for these because I want a little bit of spread and browning on the bottom.
Parchment Paper — Non-negotiable. Cleanup is so much easier, and the cookies don’t stick.
Piping Bag (Optional) — If you want uniform, pretty pies, use a piping bag with a round tip. If you’re lazy (like me), just use a spoon and dollop the filling. It still tastes the same.
Cooling Rack — Essential. You need to cool the cookies completely before filling them, or the filling will melt into a puddle.
How to Make Chewy Oatmeal Cream Pies: Step-by-Step
Alright, let’s get baking. This is easier than it looks, but there are a few tricks to getting that perfect chew.
Step 1: Prep Your Dry Ingredients
In a medium bowl, whisk together the flour, baking soda, salt, and cinnamon. Whisking ensures the leavening agent is distributed evenly, so you don’t get pockets of bitter baking soda. Set this aside.
Step 2: Cream the Butter and Sugars
In a large bowl, beat the softened butter, brown sugar, and granulated sugar together on medium-high speed for about 3-4 minutes. This is the most important step. You’re looking for a light, fluffy texture. The mixture should pale in color. If you rush this, your cookies will be dense. I usually set a timer for 4 minutes so I don’t get distracted.
Step 3: Add Eggs and Vanilla
Add the eggs one at a time, beating well after each addition. Add the vanilla extract. Scrape down the sides of the bowl with a spatula. You want everything fully incorporated. The mixture should look smooth and creamy, not curdled.
Step 4: Combine Wet and Dry
Reduce mixer speed to low. Gradually add the flour mixture to the butter mixture. Mix just until the flour disappears. Do not overmix! Overmixing develops gluten, which makes cookies tough. You want tender, chewy cookies, not bread.
Step 5: Fold in the Oats
Stop mixing. Use a spatula to fold in the rolled oats. Fold gently until the oats are distributed. The dough will be thick and sticky. This is normal.
Step 6: Chill the Dough (Don’t Skip This!)
Here’s a pro tip: Chill the dough for at least 30 minutes, or up to 24 hours. This solidifies the fat, which prevents the cookies from spreading too thin in the oven. It also allows the oats to hydrate, resulting in a chewier texture. I usually chill the dough while I make the filling.
Step 7: Bake the Cookies
Preheat your oven to 350°F (175°C). Line baking sheets with parchment paper. Scoop about 2 tablespoons of dough per cookie, spacing them 2 inches apart. They will spread. Bake for 10-12 minutes. The edges should be lightly golden, but the centers should still look slightly soft and underbaked. They will firm up as they cool. Overbaking is the #1 cause of hard cookies.
Step 8: Cool Completely
Let the cookies cool on the baking sheet for 5 minutes, then transfer to a wire rack to cool completely. They must be room temperature before you add filling. If they’re warm, the filling will melt.
Step 9: Make the Filling
While cookies cool, beat the softened butter and powdered sugar together until smooth. Add the marshmallow fluff, vanilla, salt, and milk. Beat on high for 2-3 minutes until fluffy and light. If it’s too thick, add another tablespoon of milk. If it’s too runny, add more powdered sugar.
Step 10: Assemble
Take a flat cookie. Pipe or spoon a generous dollop of filling onto the bottom of the cookie. Top with another flat cookie. Press gently to spread the filling to the edges. Repeat with remaining cookies.
Expert Tips & Tricks for Perfect Oatmeal Cream Pies
I’ve burned a few batches and ruined a few fillings. Here’s what I’ve learned to save you from my mistakes.
Room Temperature Ingredients Are Non-Negotiable
If your butter is cold, it won’t cream with the sugar. If your eggs are cold, they’ll shock the butter and curdle the mixture. Take your butter and eggs out of the fridge in the morning. If you forget, microwave the butter in 5-second bursts until it’s soft but not melted. Put eggs in a bowl of warm water for 5 minutes.
Don’t Overbake
This cannot be stressed enough. When you pull the cookies out, they should look soft. They will continue to cook on the hot pan. If you wait until they look done in the oven, they’ll be hard as rocks when cool. Pull them when the edges are just turning golden.
Chill the Dough
I know it’s tempting to bake immediately, but chilling the dough makes a huge difference in texture. It also makes scooping easier. The dough firms up, so you get nice round cookies instead of flat puddles.
Filling Consistency Check
Your filling should be thick enough to hold a peak but soft enough to spread. If it’s too stiff, it’ll crack the cookie. If it’s too thin, it’ll ooze out the sides. Adjust with milk or sugar as needed.
Storage is Key
Store assembled cream pies in an airtight container at room temperature for up to 3 days. For longer storage, refrigerate for up to 5 days. They freeze well too! Freeze unbaked dough balls, then assemble and freeze after baking. Or freeze assembled pies for up to 2 months. Thaw in the fridge overnight.
Variations & Substitutions
Once you master the base recipe, here are some fun twists I’ve tried:
Chocolate Chip Oatmeal Cream Pies
Add 1 cup of semi-sweet chocolate chips to the dough. This is my personal favorite. The chocolate melts into the warm cookie, creating gooey pockets. It’s like a chocolate chip cookie sandwich.
Double Chocolate
Add ¼ cup cocoa powder to the dry ingredients. Use dark chocolate chips in the dough. The filling stays the same, but the contrast between the dark cookie and white filling is stunning.
Gluten-Free Version
Swap the all-purpose flour for a 1:1 gluten-free flour blend (like Bob’s Red Mill or King Arthur). Add ½ teaspoon xanthan gum if your blend doesn’t include it. The texture will be slightly more tender, but still delicious. I’ve made this for my GF friend, and she couldn’t tell the difference.
Dairy-Free Option
Use vegan butter in both the cookies and the filling. Use a dairy-free marshmallow fluff (many brands now make vegan fluff). The filling might be slightly less stable, so keep them refrigerated.
Mini Cream Pies
Scoop smaller amounts of dough (1 tablespoon) and bake for 8-9 minutes. Perfect for parties or lunchboxes. My kids love these little ones because they feel like a treat but aren’t as filling.
Spiced Variation
Add ½ teaspoon nutmeg and ¼ teaspoon cardamom to the dry ingredients for a warmer, more complex spice profile. Great for fall.
Serving & Storage
These are best served at room temperature. The cold makes the butter in the filling firm up, which changes the texture. If you take them out of the fridge, let them sit on the counter for 10 minutes before eating.
How to Store
- Room Temperature: In an airtight container, separated by parchment paper if stacking. Good for 3 days.
- Refrigerator: In an airtight container. Good for 5 days. Let come to room temp before eating.
- Freezer: Wrap individually in plastic wrap, then place in a freezer bag. Good for 2 months. Thaw in the fridge.
What to Serve With
These are sweet enough on their own, but they pair beautifully with a cold glass of milk. A hot cup of coffee or tea is also amazing. If you’re serving these at a party, they’re a hit. I’ve brought them to book clubs, office potlucks, and school bake sales. They always disappear fast.
For a savory contrast, you could serve them with something like soft garlic knots with parmesan if you’re having a dinner party, though that’s a bit of a flavor clash. More likely, you’ll serve these with other sweet treats. If you’re making a batch of desserts, try these alongside no-bake chocolate peanut butter oat bars for a mix of textures. Or, if you’re doing a full holiday spread, they complement things like fall no-bake pumpkin pie nicely.
Nutrition Information
I’m not a nutritionist, but here’s an estimate per pie (based on 12 pies from the recipe):
Calories: 320 | Protein: 4g | Carbs: 45g | Fat: 14g | Sugar: 32g | Fiber: 2g
These are indulgent treats. The filling is mostly sugar and butter, and the cookies are rich. But they’re made with real ingredients, so you know what’s going in. If you’re watching sugar, reduce the powdered sugar in the filling by half and use less marshmallow fluff. Or just enjoy one and call it a win.
Final Thoughts
Making chewy oatmeal cream pies with marshmallow filling you’ll make on repeat is one of those small joys in life that feels like cheating. You get the nostalgia of childhood snacks, but with better flavor and texture. There’s something deeply satisfying about sandwiching that fluffy white filling between two warm, spiced cookies.
I hope this recipe becomes a staple in your home, just like it has in mine. My kids ask for these every week, and I’m happy to oblige. It’s a fun project for weekends, a great way to use up leftover oats, and a delicious way to skip the processed stuff.
If you make these, please let me know how they turn out! Did you add chocolate chips? Did you chill the dough? I love hearing about your kitchen experiments. And if you have questions, drop them in the comments. I’m here to help.
Frequently Asked Questions
Can I use quick oats instead of old-fashioned oats?
You can, but the texture will be different. Quick oats are finer and will make the cookies softer and less chewy. Old-fashioned oats give that classic oatmeal cookie bite. If you only have quick oats, pulse them in a food processor a few times to break them up slightly, but old-fashioned is best.
Why did my cookies spread too much?
Usually, this means the butter was too soft or warm when you mixed it, or you didn’t chill the dough. Make sure your butter is just softened, not melted. And definitely chill the dough for 30 minutes before baking.
Can I make the filling ahead of time?
Yes! Make the filling up to 3 days ahead and store it in an airtight container in the fridge. Let it come to room temperature and beat it briefly before piping. It might firm up in the fridge, so whipping it again will restore the fluffiness.
How do I keep the filling from oozing out?
Use the right amount of filling. A tablespoon or two is usually enough. If you overload the cookies, the filling will squeeze out the sides. Also, make sure the filling is thick enough. If it’s too runny, add more powdered sugar.
Can I freeze the assembled cream pies?
Yes. Wrap each pie individually in plastic wrap, then place them in a freezer-safe bag. They’ll last for up to 2 months. Thaw in the fridge overnight or at room temperature for an hour. The texture might be slightly softer after thawing, but they still taste great.
What if I don’t have marshmallow fluff?
You can make a simple Swiss meringue buttercream or a marshmallow creme from scratch. Or, you can use a simple vanilla buttercream (butter + powdered sugar + milk + vanilla). It won’t have the stretchy texture, but it’s still delicious.
Do I need to sift the powdered sugar?
Yes, especially if you’re making a smooth filling. Unsifted powdered sugar can leave little lumps in your filling. Sifting ensures a silky, smooth texture.
Pin This Recipe!
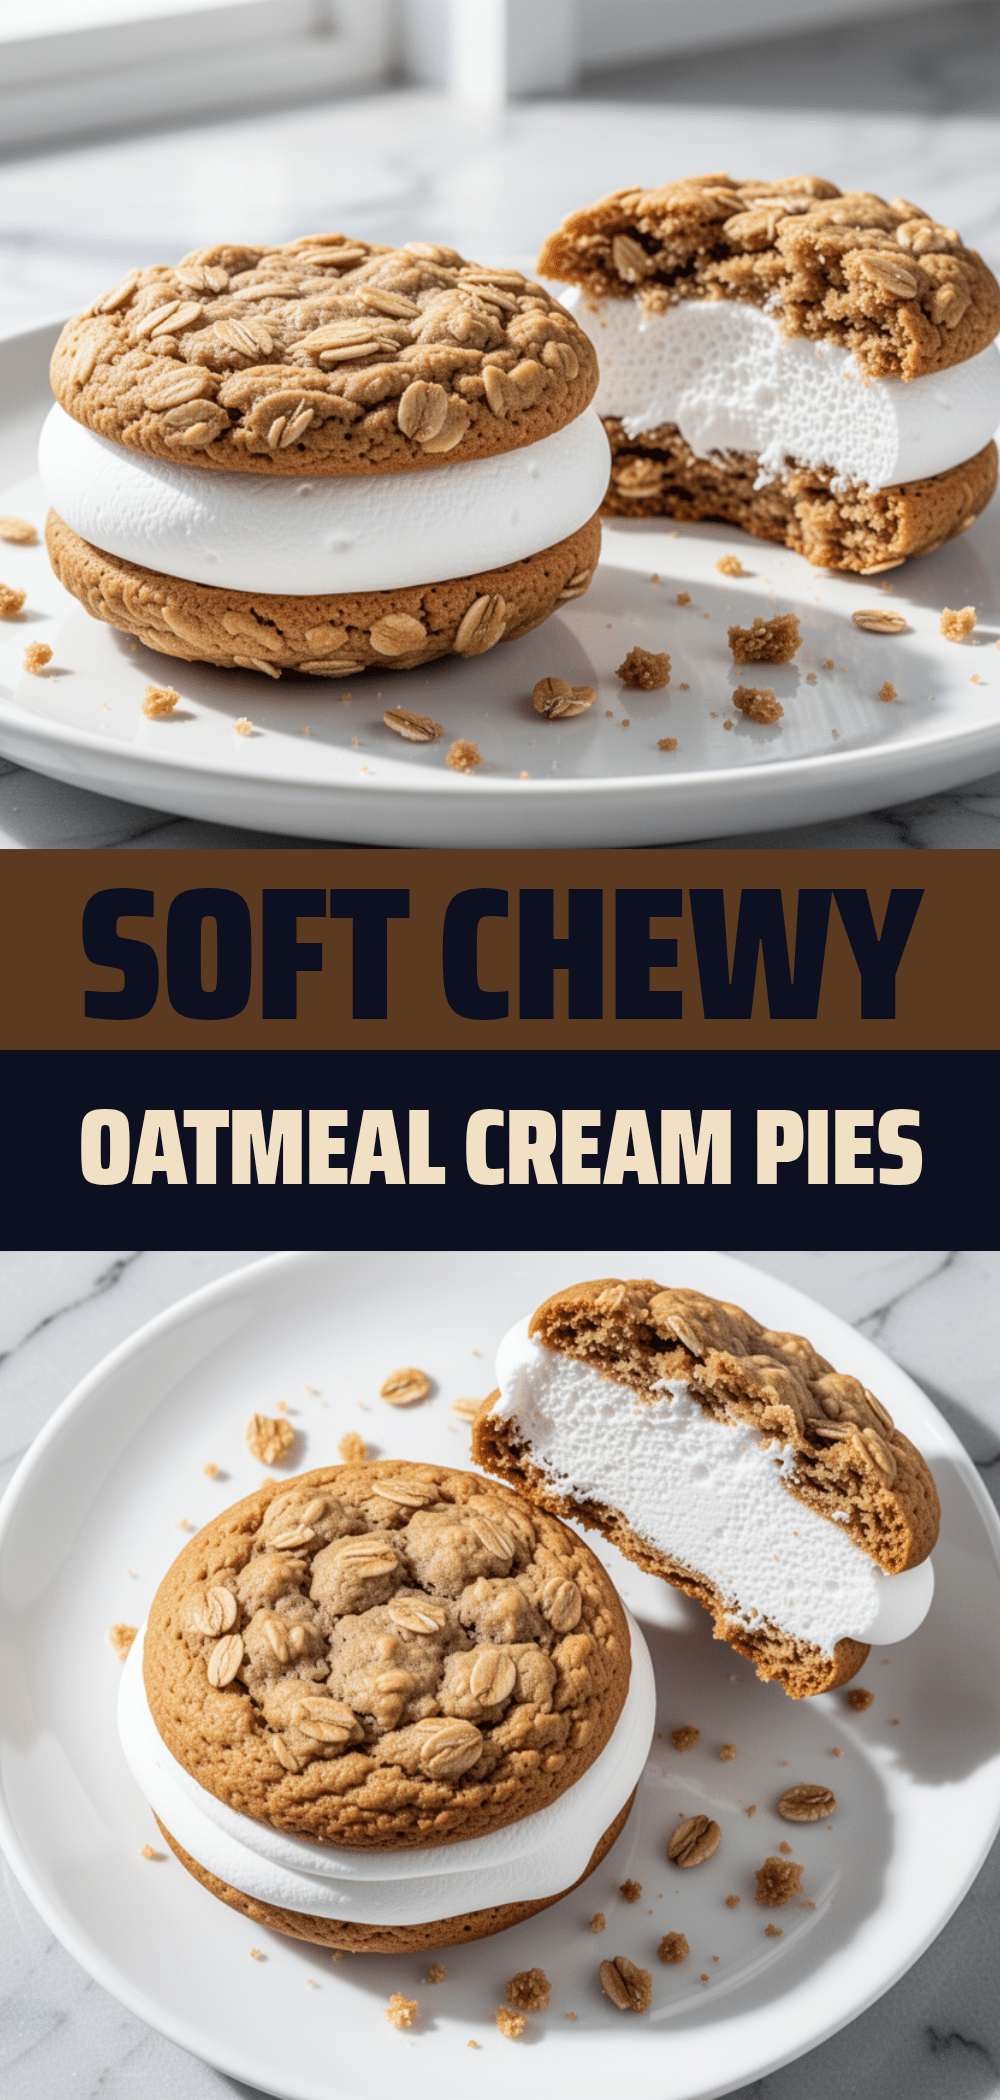
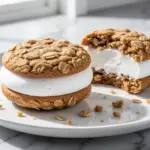
Chewy Oatmeal Cream Pies: Easy Homemade Marshmallow Recipe
- Total Time: 45 minutes
- Yield: 12 servings 1x
Description
Homemade chewy oatmeal cookies sandwiching a light, airy marshmallow filling. These treats are soft, slightly chewy, and made with real ingredients for a nostalgic comfort food experience.
Ingredients
- 3 cups (270g) Old-Fashioned Rolled Oats
- 1 ½ cups (190g) All-Purpose Flour
- 1 teaspoon Baking Soda
- 1 teaspoon Salt
- ½ cup (113g) Unsalted Butter, softened
- 1 cup (200g) Brown Sugar, packed
- ½ cup (100g) Granulated Sugar
- 2 large Eggs, room temperature
- 2 teaspoons Vanilla Extract
- 1 ½ teaspoons Cinnamon
- 1 cup (250g) Marshmallow Fluff
- ¼ cup (57g) Butter, softened
- 2 cups (240g) Powdered Sugar, sifted
- 2–3 tablespoons Milk or Cream
- 1 teaspoon Vanilla Extract
- Pinch of Salt
Instructions
- In a medium bowl, whisk together the flour, baking soda, salt, and cinnamon. Set aside.
- In a large bowl, beat the softened butter, brown sugar, and granulated sugar on medium-high speed for 3-4 minutes until light and fluffy.
- Add the eggs one at a time, beating well after each addition. Add 2 teaspoons vanilla extract and scrape down the sides of the bowl.
- Reduce mixer speed to low. Gradually add the dry ingredients to the butter mixture. Mix just until the flour disappears.
- Stop mixing and fold in the rolled oats using a spatula until distributed.
- Chill the dough for at least 30 minutes (or up to 24 hours) to solidify the fat and hydrate the oats.
- Preheat oven to 350°F (175°C). Line baking sheets with parchment paper.
- Scoop about 2 tablespoons of dough per cookie, spacing them 2 inches apart.
- Bake for 10-12 minutes until edges are lightly golden but centers look slightly soft.
- Let cookies cool on the baking sheet for 5 minutes, then transfer to a wire rack to cool completely.
- While cookies cool, beat the ¼ cup softened butter and powdered sugar until smooth.
- Add marshmallow fluff, 1 teaspoon vanilla, pinch of salt, and milk. Beat on high for 2-3 minutes until fluffy. Adjust consistency with more milk or sugar if needed.
- Take a flat cookie and pipe or spoon a generous dollop of filling onto it. Top with another flat cookie and press gently to spread filling to the edges.
Notes
Ensure butter and eggs are at room temperature for proper emulsification. Do not overbake the cookies; they should look slightly soft in the center as they firm up while cooling. Chill the dough to prevent excessive spreading and ensure chewiness. Store assembled pies in an airtight container at room temperature for up to 3 days, or refrigerate for up to 5 days. They can also be frozen for up to 2 months.
- Prep Time: 30 minutes
- Cook Time: 12 minutes
- Category: Dessert
- Cuisine: American
Nutrition
- Serving Size: 1 cream pie
- Calories: 320
- Sugar: 32
- Sodium: 250
- Fat: 14
- Saturated Fat: 8
- Carbohydrates: 45
- Fiber: 2
- Protein: 4
Keywords: oatmeal cream pies, homemade marshmallow, chewy oatmeal cookies, marshmallow filling, dessert recipe, snack recipe