Last Tuesday, I was staring at the pantry door, feeling that specific kind of 7 PM panic that every parent knows too well. The kids were home from school, the dog was begging for scraps, and I had exactly zero energy for anything that required chopping vegetables or managing a complex oven schedule. I wanted something sweet. Not a full-blown dessert that required a fork and a plate, but something handheld. Something that felt like a treat but wouldn’t wreck my diet before bedtime.
I opened the fridge and found a jar of peanut butter that had been sitting there since September and a bag of oats that was slightly stale but still usable. That’s when I remembered a hack I’d seen on a random food blog months ago: three ingredients. Just three. No eggs, no refined sugar, no weird flaxseed gels that take twenty minutes to gel up.
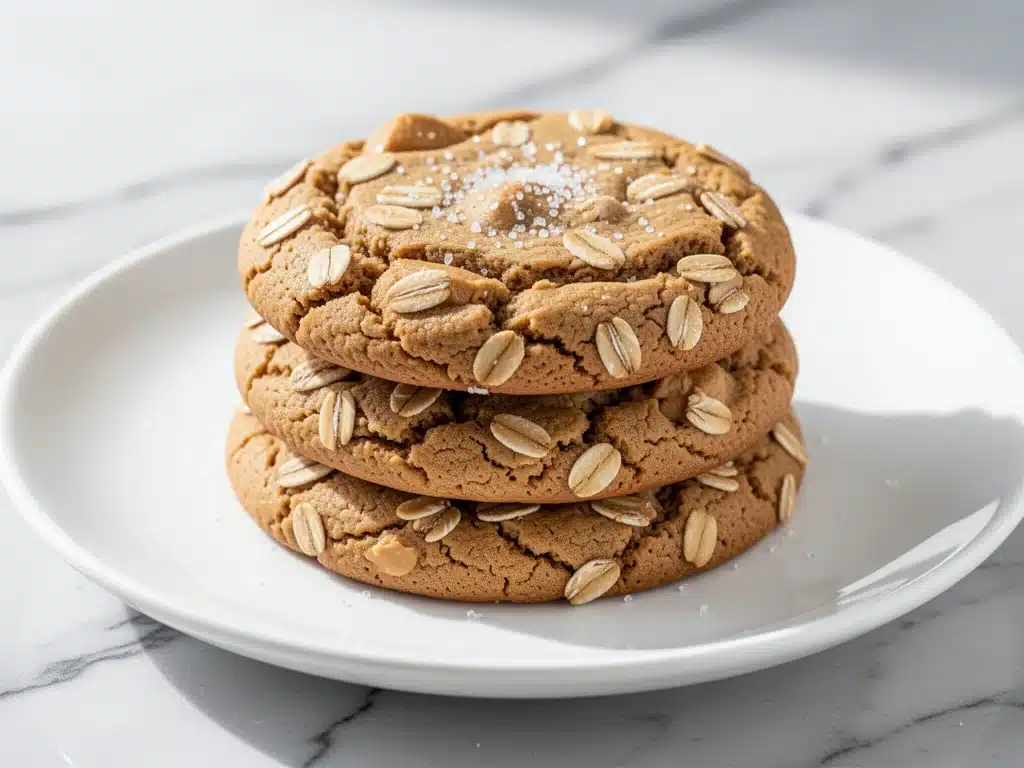
I threw together a batch of chewy vegan peanut butter oatmeal cookies right then and there. I put them in the oven for ten minutes, expecting disaster. Instead, I got the most incredible smell of roasted peanuts and vanilla filling my kitchen. When they cooled, they weren’t crispy like granola bars or cakey like muffins. They were chewy. Soft in the middle, slightly crisp at the edges, and deeply satisfying.
My daughter asked for more. Then my husband came home and asked for more. By Thursday, I made them again because I had forgotten to put them away and they were gone. By Friday, I made them a third time because I needed a win. These cookies have become my secret weapon for busy weeknights, unexpected guests, or just when I need a sugar fix that doesn’t involve driving to a bakery.
I’ve tested this chewy vegan peanut butter oatmeal cookie recipe at least a dozen times now. I’ve played with different brands of peanut butter, tried different types of oats, and even experimented with adding chocolate chips (spoiler: it works, but keep it simple first). What I’ve learned is that simplicity is actually the hardest part. When you have only three ingredients, there’s nowhere to hide. If your peanut butter is oily, you’ll know. If your oats are too coarse, you’ll feel it. But if you get it right? It’s magic. And it’s ready in 15 minutes.
Why You’ll Love This Recipe
Look, I’m not going to lie to you. I have a lot of cookie recipes saved on my phone. Some are fancy, some are seasonal, and some are just plain difficult. But this chewy vegan peanut butter oatmeal cookie recipe is different. It’s the recipe I reach for when I’m tired, when I’m running late, or when I just want to feel like a good parent without spending an hour in the kitchen.
Here’s why this has earned a permanent spot in my weekly rotation:
- Stupid Simple Ingredients — Seriously, you probably have all three of these right now. Peanut butter, oats, and a sweetener. No baking soda, no vanilla extract, no eggs. If you can stir a bowl, you can make this. I’ve taught my seven-year-old to make these while I fold laundry.
- Lightning Fast — From start to finish, these take about 15 minutes. Mix the dough, scoop the balls, bake for 10 minutes. That’s it. No chilling time. No waiting for the oven to preheat for 20 minutes (though you should preheat it, it goes fast). Perfect for when you walk in the door at 6:30 PM and need a snack ready by 6:45.
- Gluten-Free Friendly — If you use certified gluten-free oats, these are naturally gluten-free. I make these for my friend who is celiac, and she doesn’t even notice the difference. They’re hearty and filling, not dry and crumbly.
- Perfectly Chewy Texture — I’ve tried so many vegan cookie recipes that come out like rocks or like cake. These hit the sweet spot. Soft, chewy, and substantial. They feel like a real treat, not a “diet” snack.
- Budget-Smart — This recipe costs pennies per cookie. Peanut butter is cheap in bulk. Oats are one of the cheapest grains in the store. You’re making a batch of 12 cookies for less than $2. That’s a steal compared to buying a box of cookies at the gas station.
This is my go-to when I need a dessert that just works. No complicated techniques, no weird ingredients I have to order online, just reliable, delicious food that makes everyone happy. Plus, it’s vegan, so I don’t have to worry about dairy allergies at school events or family gatherings.
Ingredients You’ll Need
Here’s the best part: you probably have most of this already. Because this chewy vegan peanut butter oatmeal cookie recipe relies on just three ingredients, the quality of each one matters more than usual. There are no fillers to mask bad ingredients. Let’s break down what you need and why I’m particular about them.
The Base
Peanut Butter (1 cup / 250g) — This is the star. I use natural, creamy peanut butter. By “natural,” I mean the kind where the oil separates and you have to stir it in. Brands like Justin’s or store-brand natural peanut butter work great. Avoid the kind with hydrogenated oils and added sugar (like standard Jif or Skippy) unless you want to adjust the sweetener. The oil in natural peanut butter is what helps bind these cookies. If your peanut butter is very runny, you might need a touch more oats.
Old-Fashioned Rolled Oats (1 ½ cups / 120g) — Do not use instant oats or steel-cut oats. Instant oats turn to mush. Steel-cut oats are too hard and chewy in a bad way. You need old-fashioned rolled oats. They provide that hearty, chewy texture. If you have gluten-free oats, use those. I buy the large canisters because I use them for everything from lemon blueberry baked oatmeal to these cookies.
Pure Maple Syrup (⅓ cup / 80ml) — I love maple syrup here because it adds a deep, caramel-like flavor that complements the peanuts perfectly. It’s also a liquid sweetener, which helps bind the dough. Honey works too if you’re not strictly vegan, but maple syrup keeps it plant-based and adds that rustic flavor. Avoid light corn syrup; it’s too sweet and lacks flavor.
The Optional Boosters
Vanilla Extract (1 teaspoon) — Not strictly necessary, but I always add it. It rounds out the flavors and makes the cookies taste more “baked” and less like raw peanut butter. Just a splash.
Salt (¼ teaspoon) — Essential. Peanut butter is salty, but a pinch of salt enhances the sweetness and balances the flavor. Don’t skip this.
Chocolate Chips (½ cup, optional) — I occasionally add dark chocolate chips. If you do, use dairy-free chips to keep it vegan. But honestly? The plain version is so good that I usually skip them. It’s just me, though. My kids love the chocolate version.
Pro Tip: I always measure my oats by spooning them into the cup and leveling them off. Packing them down makes the cookies dense and heavy. Loose oats = chewy cookies.
Equipment Needed
You don’t need fancy equipment for this. Here’s what I actually use:
Large Mixing Bowl — I use a medium-sized glass bowl. It needs to be big enough to mix the sticky dough comfortably. A small bowl will just make a mess.
Measuring Cups and Spoons — Standard stuff. Dollar store versions work fine. Just make sure your measuring cup for the oats is dry.
Silicone Spatula — This is crucial. The dough is sticky. A spoon will leave bits of dough stuck to the sides. A silicone spatula scrapes the bowl clean and mixes evenly. I’m obsessed with my spatula from IKEA—it’s like $3 and makes life easier.
Baking Sheet — Any standard baking sheet works. I use a non-stick one. If you’re using a dark pan, you might want to line it with parchment paper to prevent burning.
Parchment Paper — I always line my baking sheet. Cleanup is easier, and the cookies slide off perfectly. If you’re in a rush, you can skip it, but you’ll be scraping cookies off the pan later.
Cooling Rack — Optional but recommended. These cookies continue to cook on the hot pan. Letting them sit on a rack stops the cooking and keeps them chewy. If you don’t have a rack, just leave them on the pan for 5 minutes, then move them.
Optional but nice:
– Ice cream scoop — Makes uniform cookies. If you don’t have one, just use two spoons to scoop rough balls.
– Food processor — If you want to turn your oats into oat flour for a softer cookie, you can blitz them. But I like the texture of whole oats.
How to Make It: Step-by-Step
Alright, let’s make this! I’m walking you through exactly how I do it, including the little tricks I’ve picked up over the last few weeks.
Step 1: Prep Your Oven and Pan (2 minutes)
Preheat your oven to 350°F (175°C). Line a large baking sheet with parchment paper. I know it’s tempting to skip the parchment, but trust me—it makes cleanup so much easier. These cookies are sticky! Set your baking sheet aside.
Step 2: Mix the Wet Ingredients (2 minutes)
In your large mixing bowl, combine the peanut butter and maple syrup. If your peanut butter is very cold and stiff, microwave it for 15-20 seconds to soften it up. This makes mixing way easier. Stir them together until smooth. It might look a bit grainy at first, but keep stirring. Add the vanilla extract and salt. Mix until well combined. The mixture should look like a thick, glossy paste.
Step 3: Add the Oats (1 minute)
Pour in the rolled oats. Use your silicone spatula to fold them into the peanut butter mixture. You want to make sure every oat is coated. It will look like a giant, sticky ball of dough. If it’s too dry and crumbly, add another teaspoon of maple syrup. If it’s too wet and runny, add another tablespoon of oats. You’re aiming for a consistency that holds together when you pinch it.
Step 4: Scoop the Dough (3 minutes)
Using a tablespoon or an ice cream scoop, portion the dough onto your prepared baking sheet. Roll each portion into a smooth ball with your hands. Space them about 2 inches apart because they will spread slightly. I usually get 12 cookies from this batch. Don’t flatten them too much—they’ll spread on their own. Just make sure they’re uniform in size so they bake evenly.
Step 5: Bake (10 minutes)
Place the baking sheet in the preheated oven. Bake for 10 minutes. You’ll know they’re done when the edges are lightly golden brown and the centers look set. They might still look a little soft in the middle—that’s good! They will firm up as they cool. Do not overbake them, or they’ll become crispy instead of chewy.
Step 6: Cool and Store (10 minutes)
Remove the baking sheet from the oven. Let the cookies cool on the pan for 5 minutes. This is crucial. They are very fragile when hot. After 5 minutes, transfer them to a cooling rack to cool completely. This stops the cooking process and ensures that chewy texture. Once cool, store them in an airtight container.
Total Time: About 15 minutes (5 minutes active, 10 minutes baking)
Expert Tips & Tricks
Here’s everything I’ve learned from making this dozens of times. These tips will save you from my mistakes.
Choose the Right Peanut Butter
This is the #1 tip. Use natural peanut butter with no added sugar. If you use sweetened peanut butter, you might not need the maple syrup, or you might need less. Test a small batch first. Also, make sure your peanut butter is at room temperature. Cold peanut butter is hard to mix and can leave lumps.
Don’t Overmix the Dough
Once you add the oats, mix just until combined. Overmixing can make the cookies tough. You want them tender and chewy, not dense.
Watch the Bake Time Closely
Ovens vary. My oven runs hot, so 10 minutes is perfect. If your oven runs cool, you might need 11 or 12 minutes. The key is to pull them when the edges are golden but the centers are still soft. They will continue to cook on the hot pan.
Room Temperature Ingredients
If your maple syrup is cold, it can be hard to mix. Just let it sit out for 10 minutes before you start. It makes a smoother dough.
Common Mistakes (and how to avoid them):
- Mistake: Cookies are too crumbly — Fix: You didn’t use enough peanut butter or maple syrup. Add a teaspoon of one or the other and mix again.
- Mistake: Cookies are too flat — Fix: Your peanut butter was too oily. Next time, stir the oil back into the peanut butter before measuring, or use a thicker brand.
- Mistake: Cookies are burnt — Fix: Your oven is too hot. Check them at 8 minutes. Also, dark baking sheets absorb more heat, so use parchment paper.
Pro Tricks I’ve Learned:
- For Extra Crunch — Toast the oats in a dry pan for 2-3 minutes before mixing. It adds a nutty flavor.
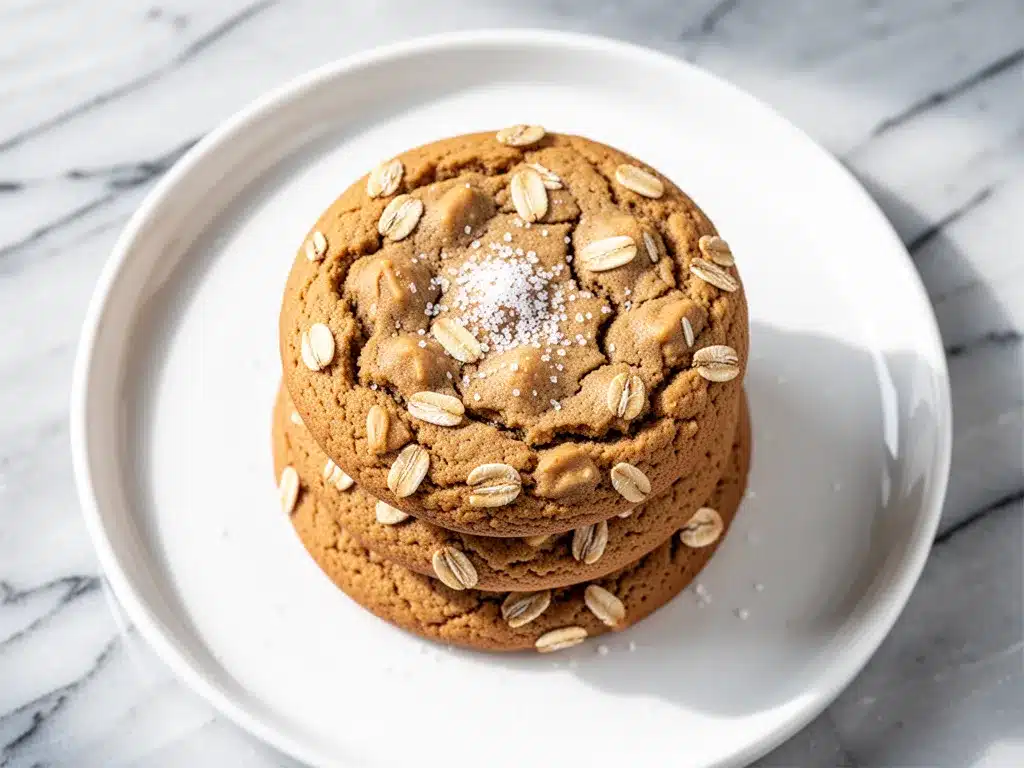
- For Better Texture — Press a few extra oats onto the top of each cookie before baking. It looks nice and adds texture.
- Make-Ahead Strategy — You can store the dough in the fridge for up to 3 days. Just scoop and bake when ready. Or freeze the dough balls and bake straight from frozen (add 2 minutes to bake time).
Variations & Substitutions
Once you’ve nailed the basic version, here’s how you can mix it up. I’ve tried all of these.
Tested Variations:
Chocolate Chip Peanut Butter Cookies
Add ½ cup of dairy-free chocolate chips to the dough. My kids love this version. It’s basically a peanut butter cup in cookie form.
Coconut Peanut Butter Cookies
Add ½ cup of shredded coconut. It adds a tropical flavor and chewy texture. Great for summer.
Spiced Peanut Butter Cookies
Add ½ teaspoon of cinnamon and a pinch of nutmeg. It adds warmth and makes them taste like fall.
Peanut Butter Banana Cookies
Mash 1 ripe banana and use it instead of maple syrup. This makes them sweeter and softer. Great for using up overripe bananas.
Dietary Modifications:
- Gluten-Free — Use certified gluten-free oats. Everything else is naturally gluten-free.
- Sugar-Free — Use a sugar-free maple syrup or stevia. Note: This changes the texture slightly, so the cookies might be chewier.
- Nut-Free — Swap peanut butter for sunflower seed butter (SunButter). It works great and is nut-free.
Serving & Storage
How to Serve:
I usually serve these straight out of the container at the dinner table. They’re perfect with a glass of almond milk or a cup of tea. But here are other ways I’ve enjoyed them:
- With Coffee — They’re great dunked in coffee, though they hold up better than regular cookies.
- As a Snack — Pack them in lunchboxes. They don’t melt easily and are healthy enough for kids.
- With Ice Cream — Serve a warm cookie with a scoop of vanilla ice cream. It’s a quick dessert.
Storage Instructions:
Refrigerator:
Store in an airtight container for up to 5 days. They stay chewy and fresh. I usually keep them in the pantry, but in hot weather, the fridge prevents the peanut butter from going rancid.
Freezing:
These freeze beautifully! Freeze the baked cookies in a freezer-safe bag for up to 3 months. Thaw at room temperature. Or freeze the dough balls and bake fresh whenever you want.
Reheating:
Microwave for 10-15 seconds to warm them up. They become extra soft and gooey.
Pro tip: If they start to dry out, add a slice of bread to the container. The bread releases moisture and keeps the cookies soft.
Nutrition Information
I’m not a nutritionist, but here’s the breakdown if you’re tracking. These are estimates based on standard ingredients.
Per Cookie (makes 12 cookies):
– Calories: 140
– Protein: 5g
– Carbs: 16g
– Fiber: 2g
– Sugar: 8g
– Fat: 7g
– Saturated Fat: 1.5g
– Cholesterol: 0mg
– Sodium: 50mg
What’s Good:
– Good source of protein from peanut butter
– High in fiber from oats
– No refined sugar
– Vegan and gluten-free friendly
What to Know:
– Higher in calories from peanut butter
– Contains peanuts (nut allergy warning)
– Moderate fat content (healthy fats)
My Take:
“Look, these are cookies. They’re not a salad. But they’re way better than store-bought cookies, and I know exactly what’s in them. They’re filling and satisfying, so one or two cookies is usually enough to satisfy a sweet tooth. When I want to make them lighter, I use less maple syrup and add more oats. But usually? I just enjoy them as a treat.”
Final Thoughts
So that’s my chewy vegan peanut butter oatmeal cookie recipe! I’ve probably talked your ear off at this point, but when you make a recipe this often, you have a lot to say about it.
This has saved weeknight snacks more times than I can count. It’s my answer to “what’s for dessert?” when I’m tired, don’t want takeout, and still want something that tastes really good. My kids are happy, my husband’s happy, and I’m happy because I’m not stressed about cooking.
Make it yours! Try different add-ins, swap in your favorite nut butter, adjust the sweetness. The best recipes are the ones you adapt to your family’s tastes.
If you make this, drop a comment and let me know what you think! I love hearing how recipes turn out in your kitchen. And if something doesn’t work, tell me that too—I’m here to help troubleshoot.
Happy cooking! And I hope your kitchen smells half as good as mine does right now.
Frequently Asked Questions
Q: Can I use crunchy peanut butter instead of creamy?
A: Yes! Crunchy peanut butter works great. The cookies will have more texture and bite. I actually prefer crunchy because it adds a nice contrast to the soft oats. Just make sure you mix it well so the chunks are distributed evenly.
Q: My dough is too sticky—what do I do?
A: This usually means your peanut butter is too wet or oily. Add more oats, one tablespoon at a time, until the dough is manageable. You can also chill the dough in the fridge for 15 minutes to firm it up before scooping.
Q: Can I use instant oats?
A: I don’t recommend it. Instant oats are too fine and will make the cookies cakey or dense. Old-fashioned rolled oats are the best for that chewy texture. If you only have instant oats, you can pulse them in a food processor a few times to make them coarser, but it’s not ideal.
Q: How do I store these cookies?
A: Store them in an airtight container at room temperature for up to 5 days. If it’s hot outside, keep them in the fridge. They can also be frozen for up to 3 months.
Q: Can I make these ahead of time?
A: Absolutely! You can make the dough and scoop it onto a baking sheet, then freeze the dough balls. When you want cookies, just pop them in the oven straight from the freezer (add 2 minutes to bake time). Or bake them ahead and store as usual.
Q: Why are my cookies flat?
A: This usually happens if the peanut butter is too oily or if the dough wasn’t chilled. Try using a thicker peanut butter, or chill the dough for 15 minutes before baking. Also, don’t flatten the dough balls too much—they will spread on their own.
Q: Can I substitute maple syrup with honey?
A: Yes, honey works well. It’s sweeter than maple syrup, so you might need a little less. It also adds a different flavor profile, but it’s still delicious. Just note that it’s not vegan if you use honey.
Q: Can I make these nut-free?
A: Yes! Swap the peanut butter for sunflower seed butter (SunButter) or soy nut butter. They have a similar consistency and work perfectly in this recipe. Just note that the flavor will be different, but still tasty.
Pin This Recipe!
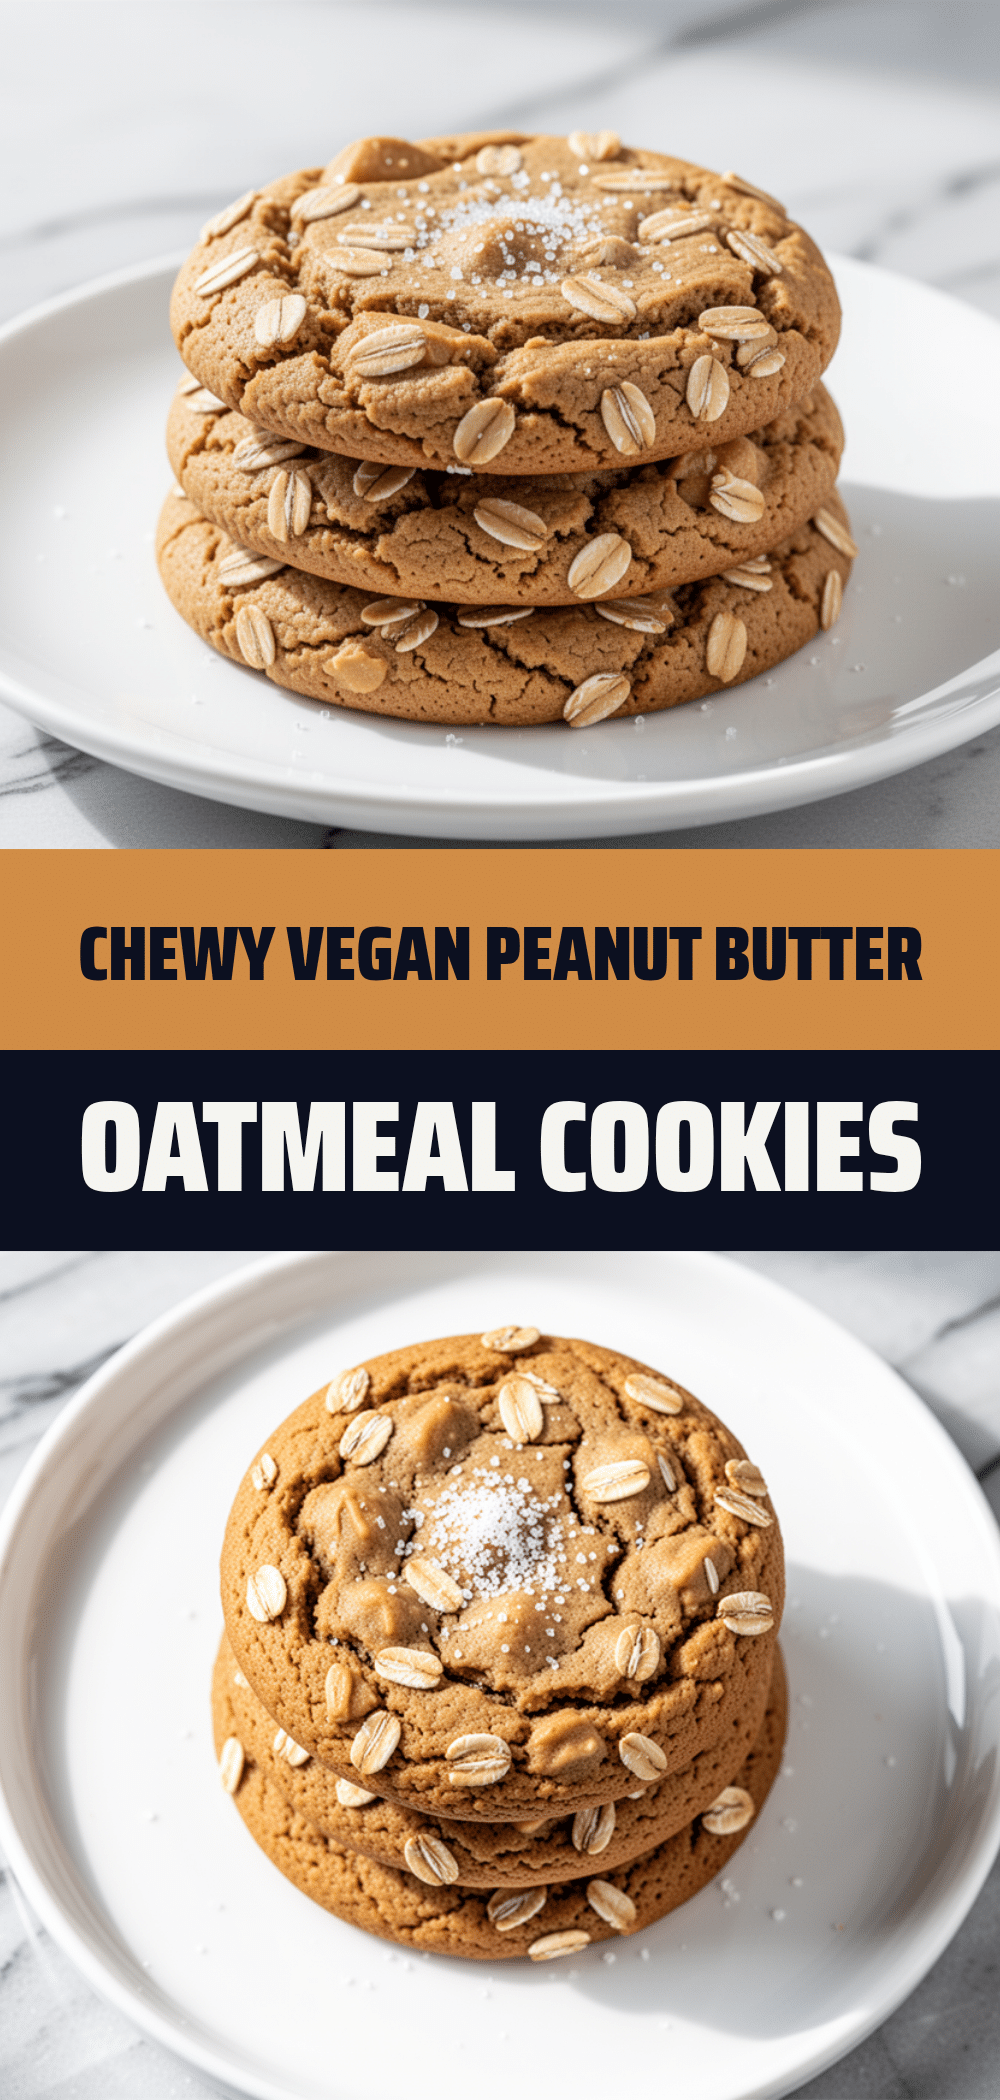
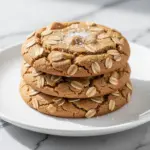
Chewy Vegan Peanut Butter Oatmeal Cookies
- Total Time: 15 minutes
- Yield: 12 cookies 1x
Description
A simple, 3-ingredient vegan cookie recipe that is ready in just 15 minutes. These cookies are chewy, gluten-free friendly, and perfect for busy weeknights or quick snacks.
Ingredients
- 1 cup (250g) natural creamy peanut butter
- 1 ½ cups (120g) old-fashioned rolled oats
- ⅓ cup (80ml) pure maple syrup
- 1 teaspoon vanilla extract (optional)
- ¼ teaspoon salt
- ½ cup dairy-free chocolate chips (optional)
Instructions
- Preheat oven to 350°F (175°C) and line a large baking sheet with parchment paper.
- In a large mixing bowl, combine the peanut butter and maple syrup. If the peanut butter is cold, microwave for 15-20 seconds to soften. Stir until smooth.
- Add the vanilla extract and salt to the peanut butter mixture and mix until well combined.
- Pour in the rolled oats and fold them into the wet ingredients using a silicone spatula until every oat is coated and the dough holds together.
- Scoop the dough onto the prepared baking sheet, rolling each portion into a ball. Space them about 2 inches apart. Do not flatten them.
- Bake for 10 minutes, or until the edges are lightly golden brown and the centers look set.
- Remove from the oven and let the cookies cool on the pan for 5 minutes to firm up.
- Transfer to a cooling rack to cool completely before storing in an airtight container.
Notes
Use natural peanut butter without added sugar for best results. Do not use instant or steel-cut oats. If the dough is too dry, add more maple syrup; if too wet, add more oats. For extra crunch, toast the oats before mixing. Store in an airtight container for up to 5 days or freeze for up to 3 months.
- Prep Time: 5 minutes
- Cook Time: 10 minutes
- Category: Dessert
- Cuisine: American
Nutrition
- Serving Size: 1 cookie
- Calories: 140
- Sugar: 8
- Sodium: 50
- Fat: 7
- Saturated Fat: 1.5
- Carbohydrates: 16
- Fiber: 2
- Protein: 5
Keywords: vegan cookies, peanut butter cookies, oatmeal cookies, 3-ingredient recipe, gluten-free, healthy snacks, weeknight treats, easy baking