There is a specific kind of panic that sets in around mid-November when you realize Thanksgiving is basically last week and Christmas is looming like a foggy mountain in the distance. You’re supposed to be planning your holiday baking schedule, but instead, you’re staring at a half-empty pantry wondering if you have enough brown sugar.
That was me last year. I had planned to make my classic pecan pie, but my oven was already booked solid for three days straight with turkeys, casseroles, and pumpkin breads. I needed something that screamed “holiday dessert” but could fit into the cracks of a chaotic schedule. I needed something portable, something that didn’t require a pie dish (which I was also short on), and something that tasted like autumn in a bite.
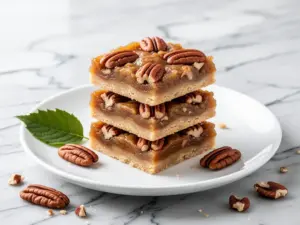
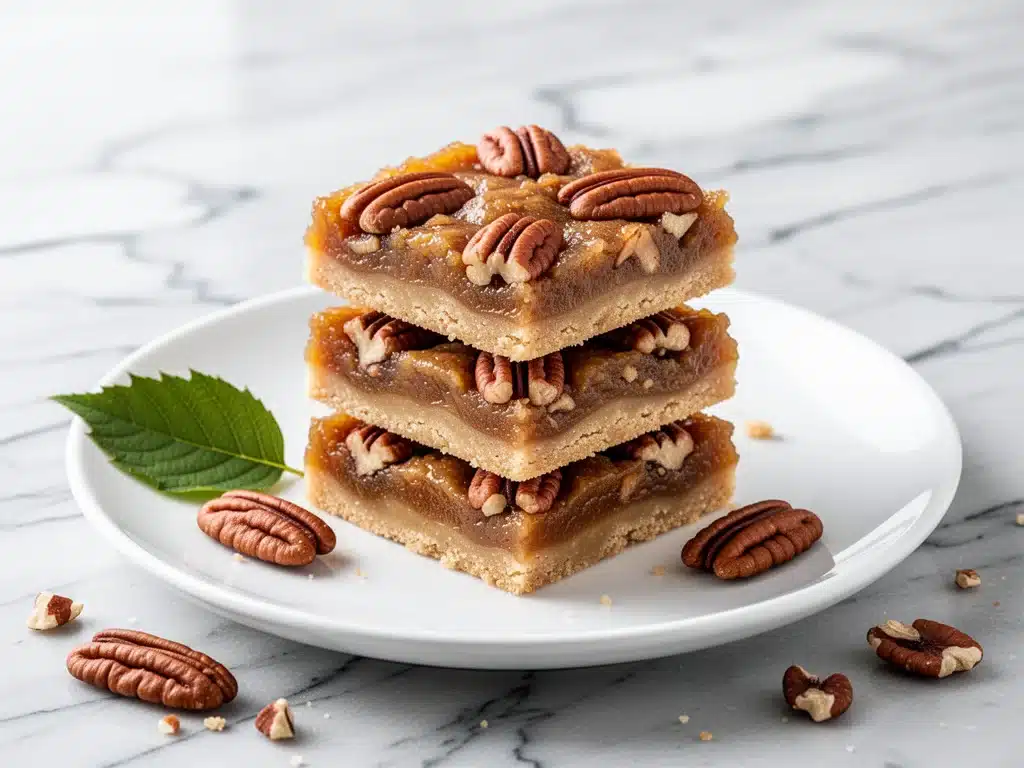
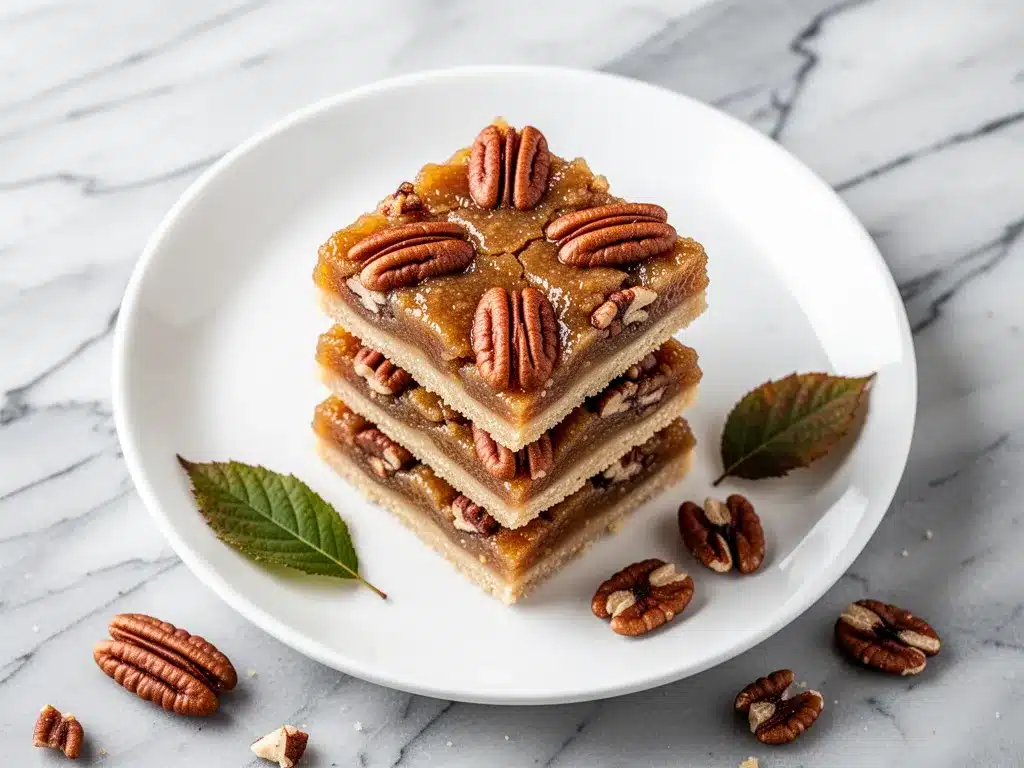
That’s when I decided to deconstruct my favorite dessert and turn it into bars. I wanted the gooey, caramelized heart of pecan pie, but with the convenience of a bar cookie. The result? Fall Maple Pecan Pie Bars. These aren’t just a substitute; they’re an upgrade. The addition of pure maple syrup instead of just corn syrup gives them a deeper, more complex flavor that tastes like a crisp November morning. And the best part? They travel beautifully. I took a pan of these to a neighbor’s house last week, and they were gone in ten minutes. No pie slices to drop. No soggy bottoms. Just perfect, chewy, nutty goodness.
I’ve tested this recipe six times in the last month alone—once with light corn syrup, once with dark, once with half-and-half, and once with way too many pecans. Each time, I tweaked it until it was undeniable. If you’re looking for the ultimate holiday baking win that looks fancy but is actually stupid simple, this is it. Trust me, your oven will thank you, and your guests will beg for the recipe.
Why You’ll Love These Fall Maple Pecan Pie Bars
I know what you’re thinking. “Another pecan dessert? I already have a pie recipe.” But hear me out. These bars solve the three biggest problems with traditional pecan pie: the soggy crust, the mess, and the oven space hogging. Here’s why these have completely replaced my standard pie recipe in my holiday rotation.
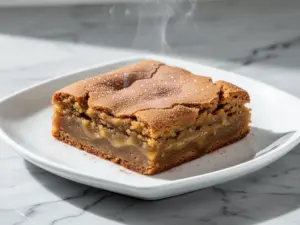
- No Soggy Bottoms — Seriously, this is the holy grail of bar cookies. Because the crust is a shortbread-style dough pressed into the pan, it stays crisp and buttery even after sitting under the gooey filling for hours. I’ve left these out on the counter for two days, and the bottom is still firm. With pie, you’re usually fighting a mushy crust by day two.
- Oven-Friendly — These bake in about 35-40 minutes. That’s it. While they’re cooling (which is the hard part), you can pull other dishes out, set the table, or just breathe. I love that I can make these no-bake pumpkin pie variations when my oven is totally full, but when I do have space, these are the fastest high-impact dessert I have.
- Maple Over Corn Syrup — Traditional pie filling can taste one-dimensionally sweet. By swapping half the sugar for real maple syrup, you get this warm, earthy flavor that pairs perfectly with the toasted pecans. It tastes like dessert, not like candy. My kids, who usually turn their noses up at “syrupy” things, fight over these.
- Portability — Take these to a potluck? Perfect. Bring them to a holiday party? No mess. I don’t have to worry about slicing a fragile pie that might slide apart. These bars hold their shape. I’ve even frozen individual bars and microwaved them for a quick dessert. Game changer.
- Make-Ahead Magic — These actually taste better the next day. The flavors meld together overnight, and the maple syrup deepens. I make these on Tuesday for a Thursday dinner party. It’s stress-free baking at its finest.
Real talk? If you’ve ever been intimidated by the precision required for a perfect pie crust, these bars are your best friend. There’s no rolling dough, no blind baking, no cracking shells. Just mix, press, pour, and bake. It’s the kind of recipe that makes you feel like a pro baker without the stress.
Ingredients You’ll Need
This recipe uses ingredients you probably already have in your pantry, except maybe the pure maple syrup if you’re strictly a pancake syrup person. But here’s the thing: the quality of your ingredients matters here because there aren’t many of them. You can’t hide bad butter or fake syrup in a dessert this simple.
For the Shortbread Crust
Unsalted butter (½ cup / 113g, softened) — This is your flavor base. Don’t use margarine. Don’t use salted butter unless you adjust the salt in the recipe. Softened butter creams better with the sugar for that tender crust. If you’re in a rush, microwave it for 10 seconds, but don’t melt it.
Granulated sugar (½ cup / 100g) — Standard white sugar. It provides structure. I’ve tried substituting with brown sugar only, and it makes the crust too cakey. Stick with white for that crisp shortbread texture.
All-purpose flour (1 cup / 125g) — I use Gold Medal or King Arthur. Spoon it into the measuring cup and level it off. Don’t scoop directly from the bag, or you’ll pack it down and get a dry crust. If you’re gluten-free, a 1-to-1 GF flour blend works perfectly here.
Pure vanilla extract (½ teaspoon) — Just a hint to round out the buttery flavor. I use Nielsen-Massey because it’s potent. Any good quality vanilla works.
For the Maple Pecan Filling
Dark brown sugar (1 cup / 200g, packed) — This is non-negotiable. The molasses in brown sugar gives that deep, caramel-like flavor that defines pecan pie. Light brown sugar works in a pinch, but dark is where the flavor is.
Maple syrup (½ cup / 120ml) — Look for “100% Pure Maple Syrup” on the label. If it says “Maple Flavored Syrup,” put it back. That’s corn syrup with flavoring, and it will make these bars cloyingly sweet and artificial-tasting. This is the star ingredient, so don’t cheap out.
Eggs (2 large) — Room temperature eggs incorporate better into the filling. If you’re rushing, crack them into a warm bowl of water for 5 minutes. Two eggs are enough to set the filling without making it rubbery.
Heavy cream (½ cup / 120ml) — Adds richness and helps the filling set into that fudgy, gooey texture. Half-and-half works if you’re trying to lighten it up slightly, but it won’t be as luxurious.
Salt (½ teaspoon) — Crucial. The salt cuts through the sweetness of the maple and brown sugar. Don’t skip it. If you’re using salted butter in the crust, reduce this to ¼ teaspoon.
Pecan halves (1 ½ cups / 150g) — Use whole halves for the best presentation. If you only have pieces, chop them roughly. Toasting them first (5 minutes in a dry skillet) intensifies their flavor, but it’s optional. I usually skip it for speed, but it’s a nice touch.
Optional: Flake sea salt — For sprinkling on top after baking. It adds a beautiful crunch and visual appeal. I love the contrast of salty crust on sweet bars.
Equipment Needed
You don’t need a fancy mixer or a pie server for this. Here’s what I actually use.
9×9 Inch Baking Pan — This is the ideal size. It gives you thick, chewy bars. If you only have an 8×8, the bars will be thinner and might bake faster, so check them 5 minutes early. I use a glass Pyrex pan because I can see the bottom browning, but metal works fine too.
Mixing Bowls — Two medium bowls. One for the crust, one for the filling. I like stainless steel because they’re easy to clean.
Fork or Pastry Cutter — For mixing the crust. I just use a fork. It’s faster than a mixer and prevents overworking the dough.
Whisk — Essential for the filling. You need to whisk the eggs and sugar vigorously to incorporate air. This helps the bars rise slightly and then settle into that fudgy texture.
Parchment Paper — I highly recommend lining your pan with a “sling.” It makes lifting the bars out for cutting infinitely easier. Grease the pan, lay the parchment, grease the parchment. It’s worth the extra 30 seconds.
Cooling Rack — Let them cool completely before cutting. This is the hardest part, but it ensures clean cuts. If you cut them warm, they’ll be a mess.
How to Make It: Step-by-Step
Alright, let’s get baking! I’m walking you through exactly how I do it, including the little tricks that keep these bars from falling apart.
Step 1: Prep Your Oven and Pan (5 minutes)
Preheat your oven to 350°F (175°C). Line your 9×9 inch baking pan with parchment paper, leaving an overhang on the sides like handles. This is crucial for removing the bars later. Lightly grease the parchment with cooking spray or a little butter.
Step 2: Make the Shortbread Crust (5 minutes)
In a medium bowl, combine the softened butter and granulated sugar. Mix with a fork or your hands until it looks like wet sand. Add the flour and vanilla extract. Mix until a dough forms. It will look crumbly at first, but keep pressing it together—it should hold when squeezed.
Pro Tip: Don’t overmix. You just want the ingredients combined. If you mix too much, the crust can become tough.
Step 3: Press and Blind Bake (15 minutes)
Press the dough firmly and evenly into the bottom of your prepared pan. Use the bottom of a measuring cup to pack it down tight. No cracks or holes. Bake for 15 minutes. The edges should be lightly golden. Remove from the oven and reduce temperature to 325°F (160°C). This pre-baking ensures the crust doesn’t get soggy under the wet filling.
Step 4: Make the Filling (5 minutes)
While the crust bakes, whisk together the brown sugar, maple syrup, heavy cream, and eggs in a large bowl. Whisk vigorously for about 1-2 minutes. You want the sugar to dissolve somewhat and the mixture to lighten in color. Stir in the salt.
Sensory Cue: The mixture should look glossy and smooth, like thick honey. If there are lumps of brown sugar, keep whisking.
Step 5: Add Pecans and Assemble (2 minutes)
Pour half of the pecans into the hot crust. Pour the filling mixture over the pecans. Sprinkle the remaining pecans on top. This layering gives you pecans in every bite, not just on top.
Step 6: Bake Until Set (30-35 minutes)
Return the pan to the oven (now at 325°F). Bake for 30-35 minutes. The edges should be bubbling vigorously, and the center should be set but still have a slight jiggle when you shake the pan. It will firm up as it cools. Do not overbake, or the filling will crack.
Step 7: Cool and Slice (1 hour)
Let the bars cool in the pan on a wire rack for at least 45 minutes, preferably 1 hour. This is non-negotiable. If you cut them warm, they will be gooey and messy. Once cooled, use the parchment sling to lift the entire block out of the pan. Cut into 16 squares with a sharp knife. Sprinkle with flake sea salt if using.
Expert Tips & Tricks
Here’s everything I’ve learned from making these dozens of times. These tips will save you from my mistakes.
- The Crust Must Be Tightly Packed — If your crust is loose, the filling will leak out the sides. Press it down hard. If it cracks, just press it back together. It’s forgiving, but tight is better.
- Don’t Skip the Salt — Maple and brown sugar are sweet. Salt balances it. If you skip it, the bars taste flat. Use flake salt on top for the best texture contrast.
- Room Temperature Eggs — Cold eggs can seize the butter in the crust if you’re not careful, and they don’t emulsify as well in the filling. Take them out of the fridge 15 minutes before you start.
- The Jiggle Test — The center should wobble like Jell-O when you take it out. It will set as it cools. If it’s firm when it comes out, it’s overbaked and will be crumbly.
- Toast Your Pecans (Optional but Recommended) — If you have time, toast the pecans in a dry pan for 3-4 minutes until fragrant. It adds a smoky depth that pairs beautifully with the maple.
Common Mistake: Cutting too soon. I know, it’s tempting. But warm bars are messy. Wait. The reward is worth the wait.
Variations & Substitutions
Once you’ve nailed the basic version, here’s how you can mix it up. I’ve tried all of these.
- Walnut Version — Swap pecans for walnuts. It’s a classic alternative, especially if you’re not a fan of the texture of pecans. I like to use half pecans and half walnuts for variety.
- Maple Bourbon Pecan Bars — Add 1 tablespoon of bourbon to the filling mixture. It adds a sophisticated kick that’s perfect for adult holiday parties. Skip the salt on top if you do this.
- Gluten-Free — Use a 1-to-1 gluten-free flour blend for the crust. The rest of the ingredients are naturally gluten-free. I’ve used Bob’s Red Mill 1-to-1 and it works perfectly.
- Maple Pumpkin Spice — Add 1 teaspoon of pumpkin pie spice to the crust. It ties in nicely with the maple and makes these perfect for October baking. They pair well with my pumpkin pie cheesecake if you’re doing a full fall spread.
- Maple Walnut Brownies — If you want something chocolatey, add ¼ cup cocoa powder to the crust. It’s weirdly good with the maple pecan topping.
Dietary Note: These contain dairy and nuts. They are not vegan or nut-free. For a nut-free version, you can use sunflower seeds or pepitas, though the texture will be different.
Serving & Storage
These bars are versatile. They’re great for holiday gift-giving, potlucks, or just a cozy night in.
How to Serve
I usually serve these at room temperature. They don’t need to be warm. A dollop of whipped cream on top is delicious but optional. I also like to serve them with a cup of strong black coffee or tea to cut the sweetness. They pair wonderfully with my maple banana nut muffins for a festive breakfast or brunch spread.
Storage Instructions
Counter: Store in an airtight container at room temperature for up to 3 days. They actually stay moist and chewy for several days. If your kitchen is hot, they might get too soft, so check them.
Refrigerator: Store in the fridge for up to 1 week. Let them come to room temperature before eating for the best texture. Cold maple bars can be a bit hard.
Freezer: Yes, these freeze beautifully! Wrap individual bars in plastic wrap, then place them in a freezer bag. They’ll last for 3 months. Thaw at room temperature. This is my go-to for meal-prepping desserts.
Pro Tip: If the bars get sticky, dust them lightly with powdered sugar before serving. It adds a nice visual touch and prevents sticking.
Nutrition Information
I’m not a nutritionist, but here’s the breakdown if you’re tracking. Keep in mind, these are rich, sweet bars, so portion control is key.
Per Serving (1 of 16 bars):
- Calories: 240
- Protein: 3g
- Carbs: 32g
- Fiber: 1g
- Sugar: 26g
- Fat: 12g
- Saturated Fat: 5g
- Cholesterol: 25mg
- Sodium: 110mg
What’s Good: The pecans provide healthy fats and some protein. The maple syrup has trace minerals. It’s a better treat than a candy bar.
What to Know: High in sugar and calories from the butter, sugar, and syrup. Enjoy as a special occasion dessert, not a daily snack.
Final Thoughts
So that’s my take on Fall Maple Pecan Pie Bars! I know I’ve talked a lot about these, but when you find a recipe that works this well, you just want to share it. These bars have saved me during every holiday season since I first created them. They’re reliable, delicious, and always a hit.
Make them your own! Try the bourbon version, add different nuts, or play with the salt. The best recipes are the ones you adapt to your taste. If you make these, drop a comment and let me know how they turned out! I love hearing from you. And if you’re looking for more easy holiday treats, check out these no-bake chocolate peanut butter oat bars for a different kind of sweet fix.
Happy baking! And I hope your kitchen smells as amazing as mine does right now.
Frequently Asked Questions
Can I use light maple syrup instead of dark?
Yes, but dark maple syrup has a stronger, more robust flavor that stands up better to the pecans and brown sugar. Light syrup is milder and might get lost. If you only have light, it will still work, but the flavor won’t be as deep.
Why did my filling crack?
Cracking usually means the bars were overbaked. The filling should be set but still jiggly in the center when you take them out. They will firm up as they cool. If you bake them until they’re firm in the oven, they’ll crack and become dry.
Can I make these in a different pan size?
You can use an 8×8 pan, but the bars will be thinner. You’ll need to reduce the baking time for the crust to about 10-12 minutes and the filling to about 25-30 minutes. Keep a close eye on them. A 9×13 pan is not recommended as the bars will be too thin and dry.
Do I need to toast the pecans?
No, it’s not required. But toasting them brings out their natural oils and makes them crunchier. If you’re short on time, skip it. If you have 5 minutes, do it. It’s worth it.
Can I substitute the maple syrup with honey?
You can, but the flavor will be different. Honey has a more floral taste. Maple syrup is the traditional flavor for pecan pie, so I recommend sticking with it for the authentic taste. If you use honey, use raw honey for the best flavor.
How do I cut clean bars?
Use a sharp knife. Wipe the knife clean between cuts. If the bars are too sticky, dip the knife in hot water and dry it before each cut. This helps the knife slice through cleanly without dragging the filling.
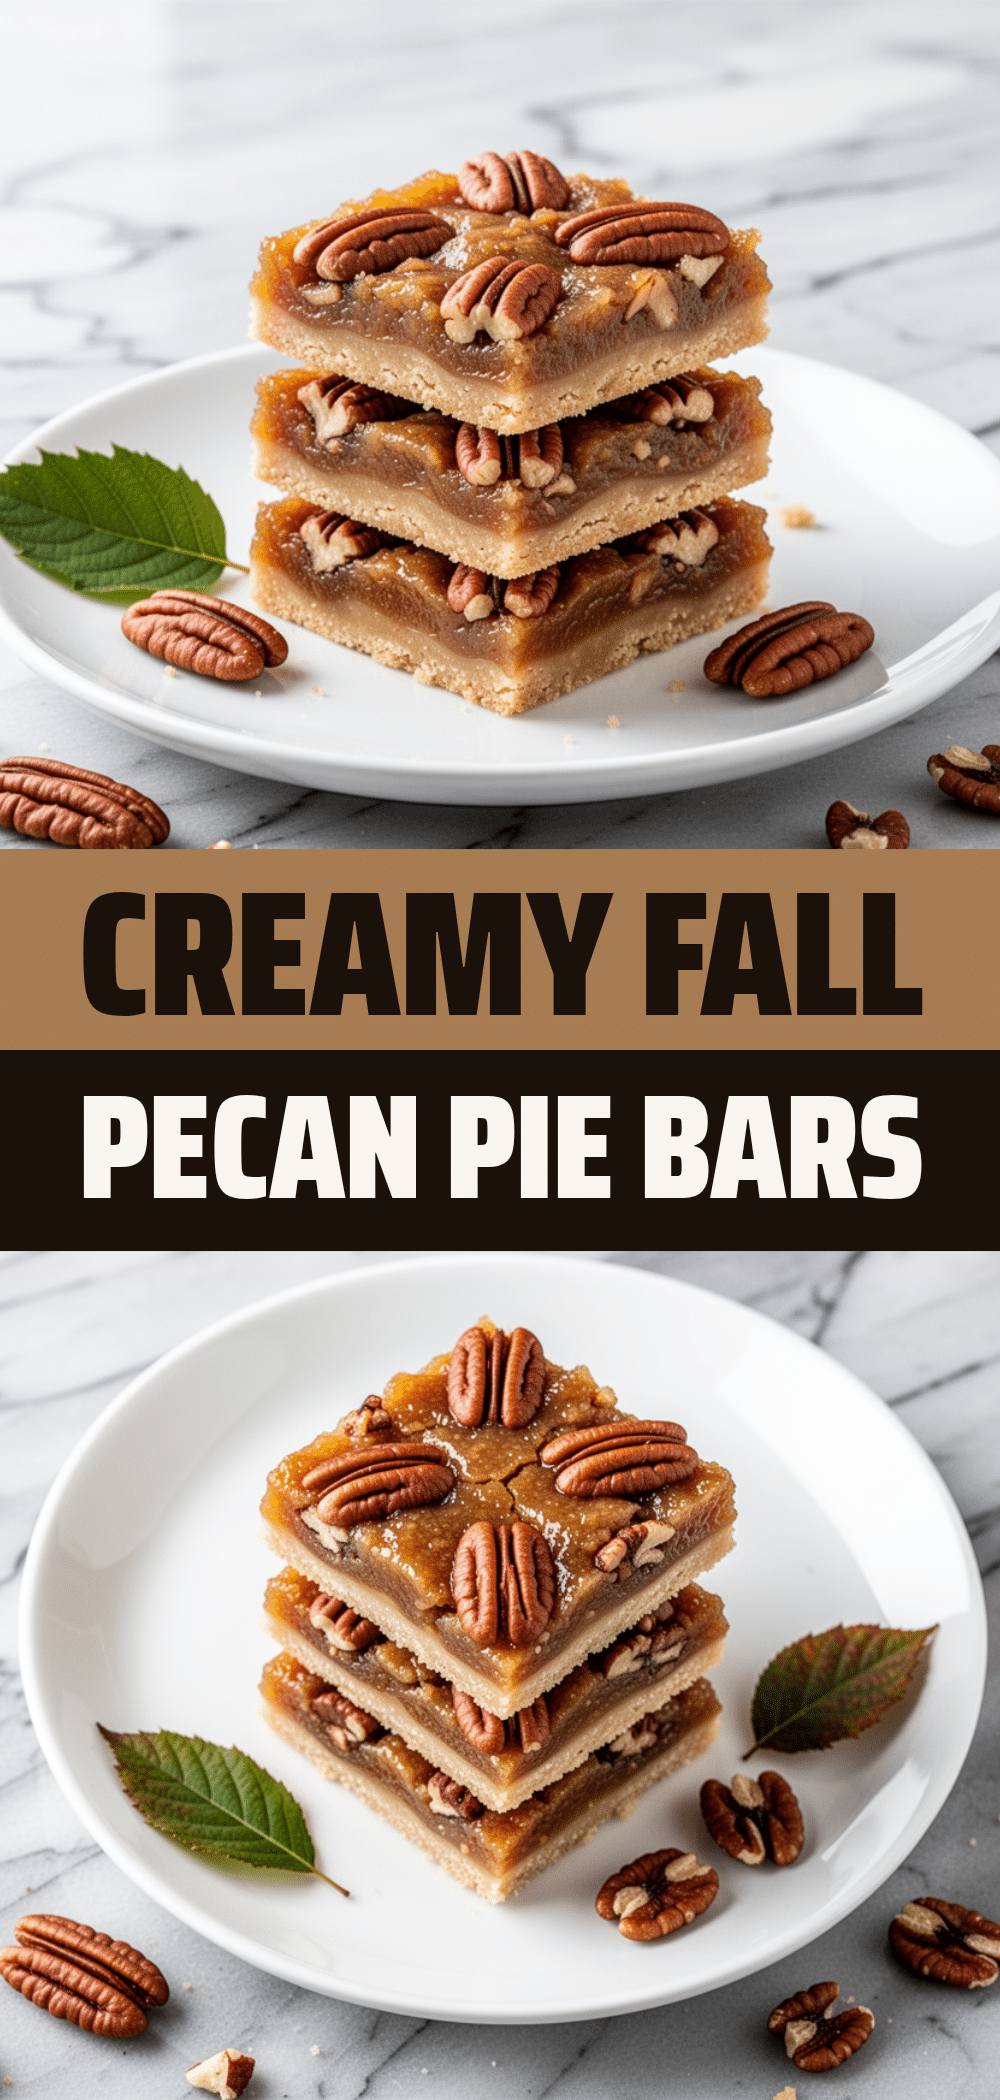
Pin This Recipe!
Fall Maple Pecan Pie Bars
- Total Time: 1 hour 15 minutes
- Yield: 16 servings 1x
Description
A convenient, portable holiday dessert that combines the gooey, caramelized flavor of pecan pie with the ease of a bar cookie. Featuring a crisp shortbread crust and a rich maple pecan filling, these bars are perfect for busy schedules and travel.
Ingredients
- 1/2 cup (113g) unsalted butter, softened
- 1/2 cup (100g) granulated sugar
- 1 cup (125g) all-purpose flour
- 1/2 teaspoon pure vanilla extract
- 1 cup (200g) dark brown sugar, packed
- 1/2 cup (120ml) 100% pure maple syrup
- 2 large eggs, room temperature
- 1/2 cup (120ml) heavy cream
- 1/2 teaspoon salt
- 1 1/2 cups (150g) pecan halves
- Flake sea salt, optional for topping
Instructions
- Preheat oven to 350°F (175°C). Line a 9×9 inch baking pan with parchment paper, leaving an overhang on the sides, and lightly grease.
- In a medium bowl, mix softened butter and granulated sugar until it resembles wet sand. Add flour and vanilla extract, mixing until a crumbly dough forms that holds together when squeezed.
- Press the dough firmly and evenly into the bottom of the prepared pan. Bake for 15 minutes until edges are lightly golden. Reduce oven temperature to 325°F (160°C).
- While the crust bakes, whisk together brown sugar, maple syrup, heavy cream, and eggs in a large bowl until glossy and smooth. Stir in salt.
- Pour half of the pecans into the hot crust. Pour the filling mixture over the pecans, then sprinkle the remaining pecans on top.
- Return to the oven and bake for 30-35 minutes. The edges should be bubbling and the center should have a slight jiggle.
- Cool completely in the pan on a wire rack for at least 45 minutes to 1 hour. Lift out using the parchment sling, cut into 16 squares, and sprinkle with flake sea salt if desired.
Notes
Ensure the crust is tightly packed to prevent filling leakage. Do not overbake, as the filling will firm up as it cools; a slight jiggle in the center is desired. For best results, use room temperature eggs and 100% pure maple syrup. These bars taste better the next day as flavors meld.
- Prep Time: 15 minutes
- Cook Time: 45-50 minutes
- Category: Dessert
- Cuisine: American
Nutrition
- Serving Size: 1 bar
- Calories: 240
- Sugar: 26
- Sodium: 110
- Fat: 12
- Saturated Fat: 5
- Carbohydrates: 32
- Fiber: 1
- Protein: 3
Keywords: pecan pie bars, maple pecan bars, holiday baking, fall dessert, no pie crust, easy dessert, make-ahead dessert