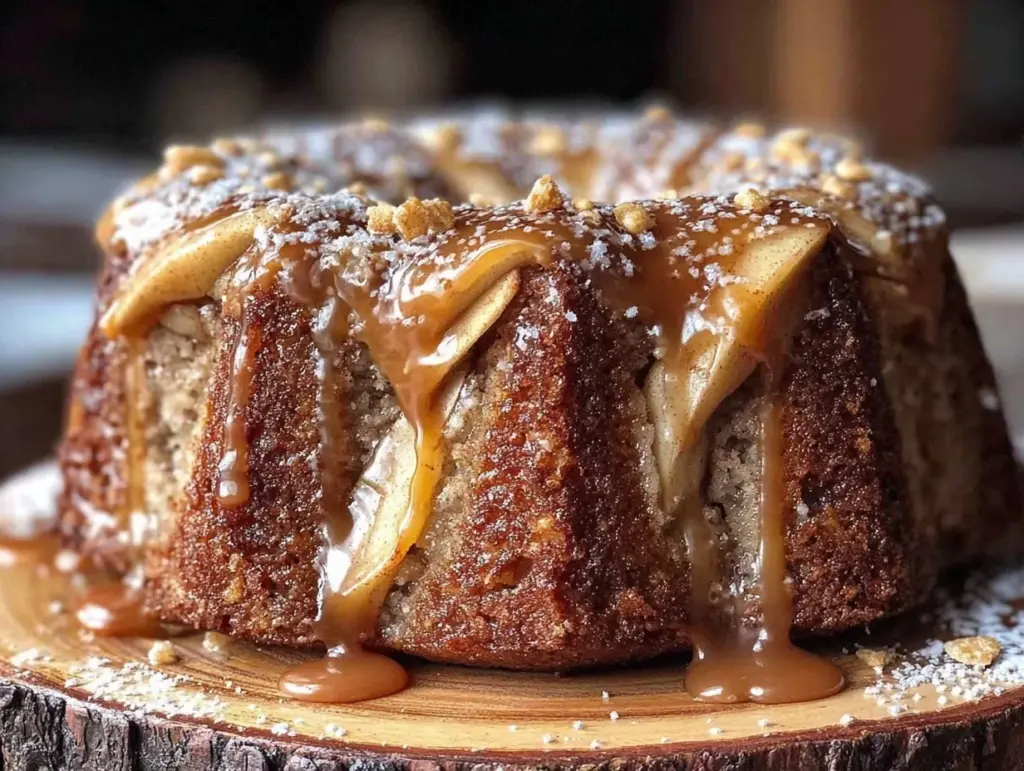
I have a confession to make. I used to be the person who baked giant, towering cakes on weekends. You know the type—the ones that require three sticks of butter, a whole carton of eggs, and enough flour to fill a wheelbarrow. The problem? I’d eat one slice, stare at the rest of the cake for three days, and then watch it slowly turn into a science project in the fridge. It was wasteful. It was expensive. And honestly? It was lonely.
Last year, right before Rosh Hashanah, I decided to stop baking for an army and start baking for myself. I wanted that warm, sweet, symbolic comfort of the holiday without the guilt of throwing away half a cake. That’s when I stumbled upon the single-serving version of Rosh Hashanah Honey Apple Cake. Just one. One bowl. One mug (or small ramekin). One slice of life, literally.
It sounds almost too simple, right? But here’s the thing: making this cake for one has changed how I approach holiday cooking. It’s not just about saving money—though saving $15 on ingredients I’d otherwise toss is pretty great—it’s about mindfulness. It’s about taking ten minutes to honor the tradition of sweetness for the new year without spending your entire weekend in the kitchen or breaking the bank.
I’ve tested this single-serving recipe probably a dozen times. Sometimes I use a microwave because I’m lazy. Sometimes I bake it in the oven because I want that crispy top. Both work. But the flavor? It’s exactly what you remember from grandma’s house, just scaled down to fit my life, my schedule, and my budget. If you’ve ever felt overwhelmed by holiday prep or just want a treat that doesn’t require a party of twelve to justify, this is your recipe. Let’s get into it.
Why You’ll Love This Single-Serving Cake
Look, I know what you’re thinking. “A cake for one? Really?” Yes, really. And here is why this little cake has earned a permanent spot in my rotation, especially during the busy fall season.
It Costs Pennies — Seriously. If you buy the ingredients from scratch, this cake costs about $1.25 to make. That’s less than a dollar store snack. If you already have pantry staples (which I bet you do), it might cost you nothing but a few minutes of your time. I’ve been stretching my grocery budget for months, and finding recipes like this is a lifesaver.
Zero Waste — This is the biggest win. No open boxes of almond flour sitting in your cupboard for six months. No half-used jars of honey. You use exactly what you need. It’s sustainable cooking, whether you’re trying to be eco-friendly or just trying to stop throwing money in the trash.
Ready in 10 Minutes — I make this on weeknights when I’m stressed about work or tired after chores. It doesn’t require creaming butter for twenty minutes or waiting for a full rise. You mix, you heat, you eat. It’s instant gratification that actually tastes homemade.
Perfectly Portioned — I love sweets, but I don’t love feeling stuffed or sluggish. This gives me my fix. It’s a proper dessert experience—a warm, moist cake with a sweet glaze—but it stops right when I’m satisfied, not when I’m regretful.
Holiday Spirit Without the Stress — Rosh Hashanah is about sweetness, hope, and new beginnings. You don’t need a banquet to honor that. Sometimes, a small, intentional ritual is more powerful than a big, chaotic event. This cake lets me participate in the tradition in a way that feels personal and manageable.
If you’re looking for other ways to bring that cozy fall vibe into your kitchen without overspending, I’ve also got a great recipe for fall apple cider donut muffins that uses similar seasonal flavors but makes a bigger batch. But for now? Let’s focus on this perfect little solo treat.
Ingredients You’ll Need (For Just One Person)
Here’s the best part: you probably have almost all of these in your kitchen right now. I’m not asking you to go to the store for anything fancy. This is a “stretch your grocery budget” recipe, which means it relies on cheap, versatile staples.
For the Cake Base
All-purpose flour (4 tablespoons / 30g) — This is your structure. Don’t go buying expensive gluten-free blends for a single-serving cake unless you have to. Regular AP flour is cheap and works perfectly. If you have a bag of flour that’s been sitting there for a while, this is the way to use it up.
Baking powder (¼ teaspoon) — Just a tiny pinch. This is what makes it rise in that small ramekin. Make sure it’s not expired; if it doesn’t fizz when you add water, toss it and buy a new box. Cheap as they are, expired baking powder ruins everything.
Salt (a tiny pinch) — Yes, even in a sweet cake. Salt makes the honey taste more like honey. It’s a non-negotiable for me.
Unsalted butter (1 tablespoon / 14g) — Softened. If you’re measuring this by weight, great. If not, just grab a knob of butter the size of a large grape. I usually just slice it off the stick. No need to waste the whole block.
Granulated sugar (2 tablespoons / 25g) — Standard white sugar. If you’re using brown sugar, go for it—it adds a molasses note that’s delicious with the apples. But white works fine and is often cheaper.
Honey (1 tablespoon / 15ml) — This is the star. For Rosh Hashanah, honey symbolizes a sweet year. Use whatever honey you have. The cheap plastic bear? It works. The fancy artisanal jar? Also works. I use whatever is on sale.
Milk (2-3 tablespoons / 30-45ml) — Whole milk is best for richness, but I’ve used skim milk and it’s still good. Don’t waste the fancy oat milk unless you’re vegan; dairy milk is cheaper and gives a better texture here.
Vanilla extract (½ teaspoon) — Pure vanilla, if you can afford it. Fake vanilla works, but it tastes a bit chemical in such a small, delicate cake. A little goes a long way.
For the Apples & Glaze
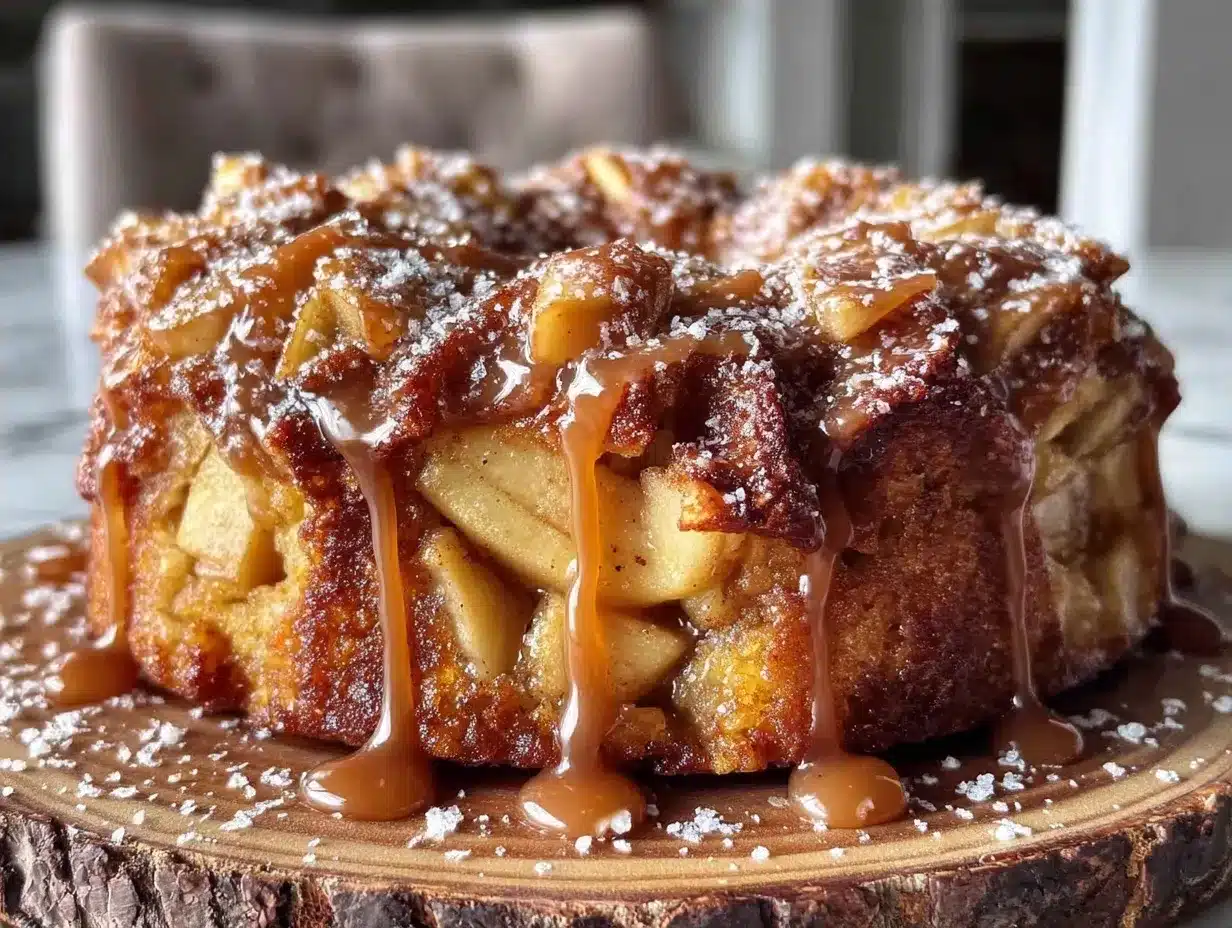
Fresh apple (½ medium apple, diced / about 60g) — This is where you get creative. I use whatever apple is cheapest. Sometimes it’s Gala, sometimes it’s a cheap Granny Smith. Just make sure it’s not mushy. Dice it small so it cooks evenly in that tiny cake.
Butter (1 teaspoon / 5g) — For melting with the honey in the glaze.
Honey (1 teaspoon / 5ml) — For the glaze.
Cinnamon (¼ teaspoon) — Ground cinnamon. This is cheap, so don’t skimp. It ties the apple and honey together.
Pinch of salt — For the glaze too.
Pro Tip: If you don’t have fresh apples, you can use 2 tablespoons of applesauce, but the texture will be denser. Fresh diced apple is better because you get those little sweet bursts in every bite. Also, if you want to try other seasonal treats on a budget, check out my fall caramel apple crisp for a bigger batch option.
Equipment Needed
You don’t need fancy gadgets. I’m not going to lie to you—most people don’t need a stand mixer for a single-serving cake.
Microwave-safe mug or ramekin — This is your main vessel. I use a 12-ounce ceramic mug. It’s the perfect size. If you’re baking in the oven, use a small ramekin (like the kind for crème brûlée). Any ceramic or glass dish that can go in the microwave or oven works.
Small bowl — For mixing the dry ingredients. A tiny prep bowl or just use the mug itself if you’re being lazy (I do this often).
Fork or small whisk — To mix everything up. You don’t need a hand mixer. A fork is fine.
Small spoon — For stirring the glaze and dicing the apple.
Knife and cutting board — For chopping the apple. Dull knives make chopping tedious. Use whatever knife you’re comfortable with.
Optional: Small saucepan — If you want to warm the glaze gently on the stove. But honestly? You can just microwave the honey and butter together for 10 seconds.
How to Make It: Step-by-Step
Alright, let’s make this! I’m walking you through exactly how I do it, including the little tricks I’ve picked up over time.
Step 1: Prep Your Apple (2 minutes)
Peel your half apple. I leave the skin on if it’s a nice Gala or Fuji, but if it’s a Granny Smith, I peel it because the skin can be tough in a small cake. Dice it into tiny cubes—about ¼ inch. Smaller pieces cook faster and distribute better. Set them aside.
Step 2: Mix the Dry Ingredients (1 minute)
In your mug or ramekin, add the flour, baking powder, salt, and sugar. Whisk them together with a fork. Make sure there are no big clumps of flour. You want it evenly distributed so the cake rises uniformly.
Step 3: Add the Wet Ingredients (1 minute)
Add the softened butter, honey, milk, and vanilla extract to the dry mix. Stir vigorously with your fork. You want a thick, smooth batter. If it’s too dry, add another teaspoon of milk. If it’s too runny, add a sprinkle of flour. It should look like thick cake batter, not pancake batter.
Step 4: Fold in the Apples (30 seconds)
Gently fold the diced apple into the batter. Push it down a little so it’s submerged. This prevents the apple from drying out during cooking.
Step 5: Cook It (2-4 minutes)
Microwave Method: Place the mug in the microwave. Cook on high for 2 minutes. Check it. If the top is still wet, cook for another 30-60 seconds. It’s done when a toothpick inserted in the center comes out clean. Don’t overcook it, or it’ll get rubbery.
Oven Method: Preheat your oven to 350°F (175°C). Place the ramekin on a baking sheet and bake for 15-18 minutes. The top should be golden and spring back when you touch it lightly.
Step 6: Make the Glaze (1 minute)
While the cake cooks, mix the 1 teaspoon of honey, 1 teaspoon of butter, and ¼ teaspoon of cinnamon in a tiny bowl. Microwave for 10 seconds or warm it in a small pan until the butter melts and it’s smooth.
Step 7: Serve Immediately
Let the cake cool for just 1 minute—it’s hot! Drizzle the warm cinnamon honey glaze over the top. Eat it straight out of the mug. It’s messy, it’s warm, and it’s perfect.
Total Time: About 10 minutes (2 minutes active, 8 minutes cooking).
Expert Tips & Tricks
Here’s everything I’ve learned from making this dozens of times. These tips will save you from my mistakes.
Don’t Skip the Salt — I know it’s a sweet cake, but the salt balances the honey. Without it, the cake tastes flat. I learned this the hard way with a bland mug cake that tasted like cardboard.
Apple Size Matters — If your apple cubes are too big, you’ll get raw apple in the center. Dice them small. I aim for pea-sized pieces. This ensures every bite has apple flavor.
Watch the Microwave — Microwaves vary wildly. My microwave is 1100 watts; yours might be 700. Start with 2 minutes and check. Overcooked mug cake is tough and chewy. Undercooked is gooey (which some people like, but I prefer done-through).
Use Softened Butter — Hard butter doesn’t mix well into a small amount of batter. If your butter is cold, microwave it for 5 seconds to soften it before adding. It incorporates easier and makes a smoother cake.
Glaze While Warm — The glaze needs to be warm to drizzle properly. If it cools down, it gets thick and sticky. Warm it up again if needed. The warmth helps it soak into the cake slightly.
Clean Up is Easy — One mug to wash. That’s it. This is why I love single-serving recipes. I don’t have to deal with a mountain of dishes for one piece of cake.
Variations & Substitutions
Once you’ve nailed the basic version, here’s how you can mix it up. I’ve tried all of these.
Nutty Version — Add 1 tablespoon of chopped walnuts or pecans. They add crunch and richness. I buy nuts in bulk to keep costs down, so this is a cheap upgrade.
Spiced Version — Add ¼ teaspoon of nutmeg or cardamom to the dry mix. It makes it taste more like a holiday spice cake. Great for Rosh Hashanah.
Berry Swap — No apples? Use 2 tablespoons of fresh or frozen blueberries. They burst in the heat and make little pockets of juice. Just fold them in gently.
Vegan Option — Use coconut oil instead of butter, maple syrup instead of honey, and almond milk instead of dairy milk. It works surprisingly well. I’ve made this for friends who are vegan, and they loved it.
Gluten-Free — Use a 1:1 gluten-free flour blend. The texture will be slightly more tender, but it’s still delicious. I’ve used Bob’s Red Mill and King Arthur, and both work.
Chocolate Twist — Add 1 tablespoon of cocoa powder to the dry mix. It makes a chocolate apple cake. Weird? Maybe. Delicious? Yes. My kids love it.
If you’re looking for more ways to use up seasonal produce on a budget, you might also enjoy my cozy fall butternut squash soup, which is another cheap, filling meal perfect for one or two.
Serving & Storage
How to Serve: I usually serve this straight out of the mug. It’s rustic and cozy. But if you have guests, you can flip it onto a small plate and drizzle the glaze over the top for a fancier presentation. It looks like a proper dessert, even though it took 10 minutes.
Side Dishes: This cake is rich, so it doesn’t need much. Maybe a cup of tea or coffee. If you want something savory to balance it, I’ve got a great recipe for creamy garlic mashed cauliflower that pairs well if you’re having a larger meal. But for dessert? Just the cake is enough.
Storage: Honestly, this cake is best eaten immediately. It doesn’t store well because it’s so small. If you have leftovers (which is rare), cover the mug with plastic wrap and store it in the fridge for up to 2 days. Reheat it in the microwave for 15 seconds before eating. It will be softer, but still tasty.
Freezing: I don’t recommend freezing mug cakes. The texture changes, and it’s just not worth the effort for one serving. Make it fresh. It’s that easy.
Pro Tip: If you’re meal prepping for the week, you can make the dry mix in a small jar ahead of time. Just add the wet ingredients when you’re ready to cook. This saves even more time on busy nights.
Nutrition Information
I’m not a nutritionist, but here’s the breakdown if you’re tracking. Keep in mind, this is an estimate for one serving.
Per Serving (1 cake):
- Calories: 280
- Protein: 4g
- Carbs: 45g
- Fiber: 2g
- Sugar: 28g
- Fat: 10g
- Saturated Fat: 6g
- Cholesterol: 20mg
- Sodium: 150mg
What’s Good: It has some fiber from the apple and flour. It’s a reasonable portion size for a dessert.
What to Know: It’s higher in sugar due to the honey and apple, which is typical for Rosh Hashanah treats. But since it’s just one cake, it’s not excessive. Use less honey in the glaze if you’re watching sugar.
My Take: Look, this is a treat. It’s sweet. It’s meant to be enjoyed. Don’t stress over the calories. Enjoy the symbolism, the warmth, and the flavor. That’s what matters.
Final Thoughts
So that’s my go-to Rosh Hashanah Honey Apple Cake for one! I’ve probably talked your ear off at this point, but when you make a recipe this often, you have a lot to say about it.
This has saved me from so much holiday stress. It’s my answer to “I want something sweet for the new year” when I don’t want to bake a whole cake. My budget is happy, my kitchen is clean, and my heart is full. It’s small, but it means a lot.
Make it yours! Try different apples, swap the honey for maple syrup, or add a pinch of spice. The best recipes are the ones you adapt to your life. If you make this, drop a comment and let me know what you think! I love hearing how recipes turn out in your kitchen. And if something doesn’t work, tell me that too—I’m here to help troubleshoot.
Happy cooking! And I hope your kitchen smells half as good as mine does right now.
Frequently Asked Questions
Can I use frozen apples instead of fresh?
You can, but thaw them first and pat them dry with a paper towel. Frozen apples release a lot of water, which can make the cake soggy. If you don’t dry them, the cake might not cook through. Fresh is better, but frozen works in a pinch.
Why did my cake turn out rubbery?
Most likely, it was overcooked. Microwaves vary, so start with 2 minutes and check. If the top is dry and hard, it’s done. If it’s wet, add 15-30 seconds. Overcooking is the enemy of mug cakes.
Can I make this in the oven?
Yes! Preheat to 350°F (175°C) and bake for 15-18 minutes. It will have a slightly crispier top than the microwave version. I prefer the oven method because it feels more like “real” baking.
Is this recipe gluten-free?
Not as written, but you can easily make it gluten-free by using a 1:1 gluten-free flour blend. The texture will be slightly more tender, but it’s still delicious.
Can I double this recipe?
Absolutely! Just double the ingredients and use two mugs or ramekins. Cook them at the same time. I often make two when I have a friend over, so we can share the sweetness.
What kind of apple is best?
I like Gala or Fuji for their sweetness, but Granny Smith adds a nice tart contrast. Use whatever is on sale. The type of apple doesn’t matter as much as the dice size.
Can I use oil instead of butter?
Yes, use 1 tablespoon of neutral oil (like vegetable or canola) instead of butter. It will make the cake slightly denser, but it works fine if you’re out of butter or vegan.
Pin This Recipe!
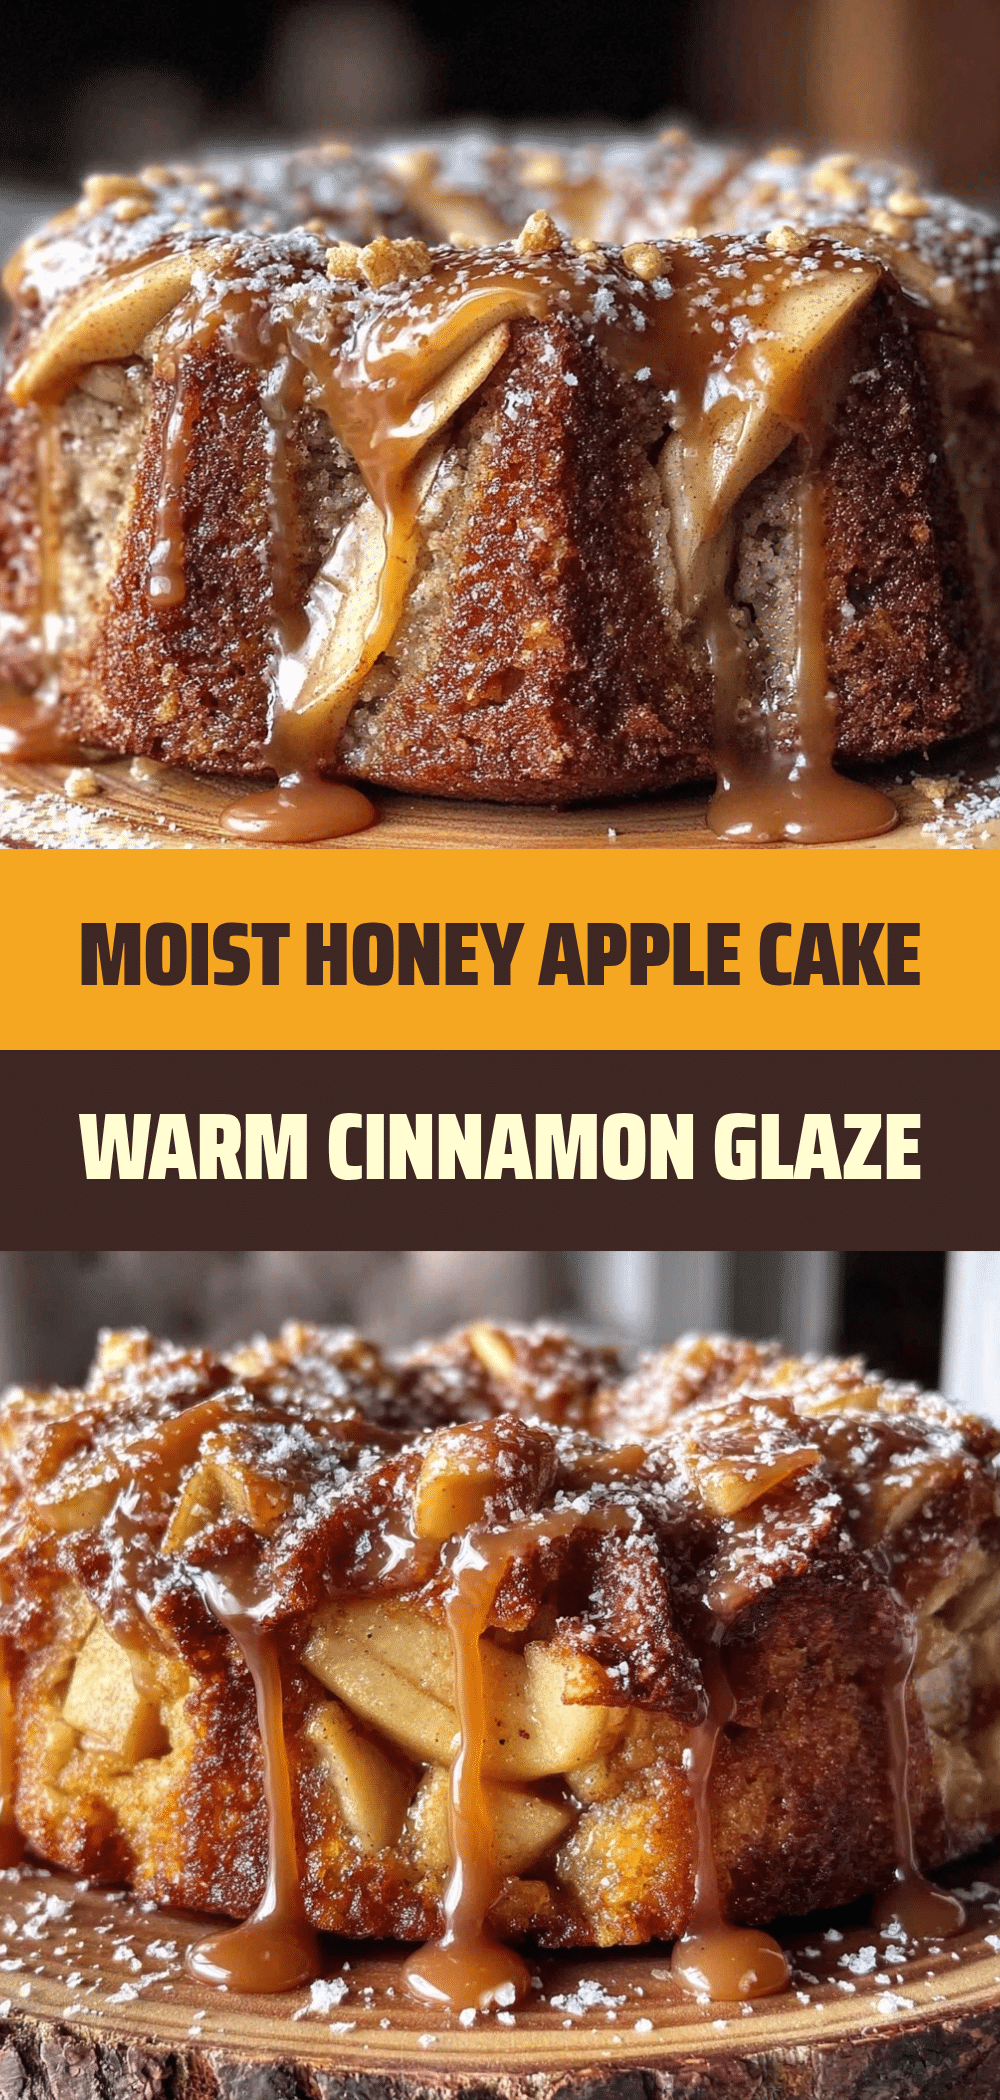
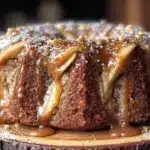
Rosh Hashanah Honey Apple Cake: 1-Serving Budget Recipe
- Total Time: 10 minutes
- Yield: 1 serving 1x
Description
A single-serving, budget-friendly honey apple cake that honors Rosh Hashanah traditions without the waste or stress of baking a full-sized cake. Ready in just 10 minutes.
Ingredients
- 4 tablespoons (30g) all-purpose flour
- 1/4 teaspoon baking powder
- 1 pinch salt
- 1 tablespoon (14g) unsalted butter, softened
- 2 tablespoons (25g) granulated sugar
- 1 tablespoon (15ml) honey
- 2–3 tablespoons (30-45ml) milk
- 1/2 teaspoon vanilla extract
- 1/2 medium apple, peeled and diced small
- 1 teaspoon (5g) butter (for glaze)
- 1 teaspoon (5ml) honey (for glaze)
- 1/4 teaspoon ground cinnamon (for glaze)
- 1 pinch salt (for glaze)
Instructions
- Peel and dice the apple into small cubes (about 1/4 inch) and set aside.
- In a microwave-safe mug or ramekin, whisk together the flour, baking powder, salt, and sugar.
- Add the softened butter, honey, milk, and vanilla extract to the dry ingredients. Stir vigorously with a fork until a thick, smooth batter forms.
- Gently fold the diced apple into the batter, pushing it down slightly to submerge it.
- Microwave on high for 2 minutes. Check if done; if the top is wet, cook for another 30-60 seconds until a toothpick comes out clean. Alternatively, bake in a preheated 350°F (175°C) oven for 15-18 minutes.
- While the cake cooks, mix the glaze ingredients (1 tsp butter, 1 tsp honey, 1/4 tsp cinnamon, pinch of salt) in a small bowl. Microwave for 10 seconds or warm in a pan until smooth.
- Let the cake cool for 1 minute, then drizzle the warm glaze over the top and serve immediately.
Notes
Ensure apples are diced small to cook evenly. Use softened butter for better mixing. Watch microwave times closely as wattages vary. The cake is best eaten immediately but can be stored in the fridge for up to 2 days.
- Prep Time: 2 minutes
- Cook Time: 8 minutes
- Category: Dessert
- Cuisine: Jewish
Nutrition
- Serving Size: 1 cake
- Calories: 280
- Sugar: 28
- Sodium: 150
- Fat: 10
- Saturated Fat: 6
- Carbohydrates: 45
- Fiber: 2
- Protein: 4
Keywords: Rosh Hashanah, single serving, budget recipe, honey apple cake, mug cake, holiday dessert, quick dessert, gluten-free option, vegan option