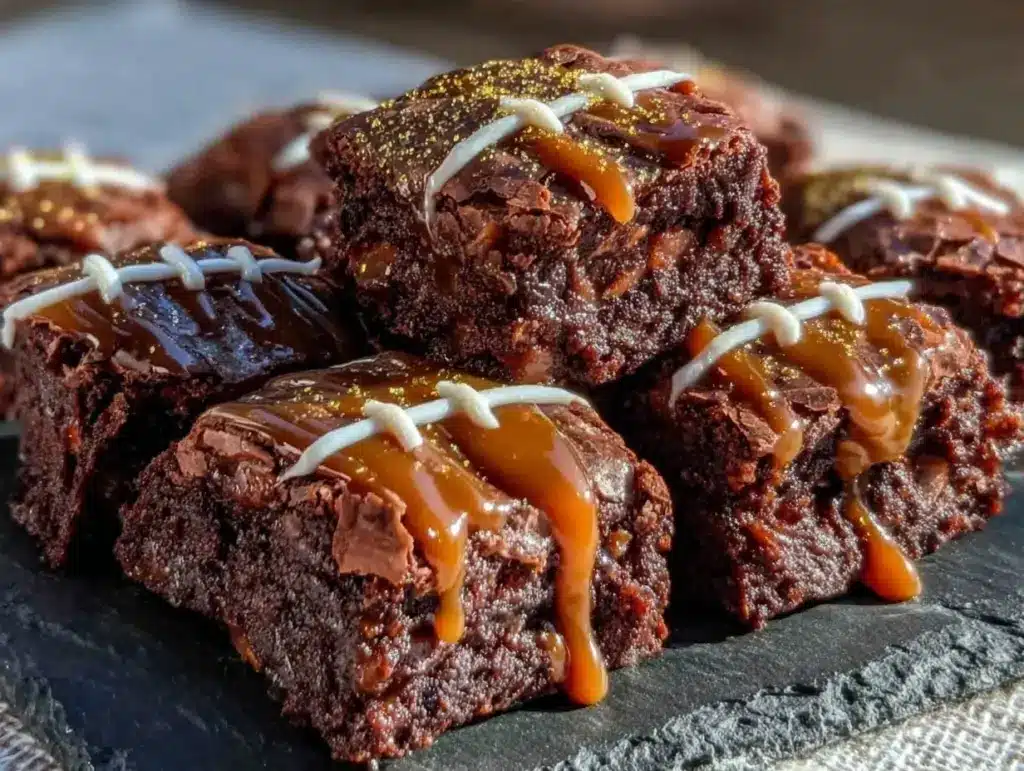
Let’s be real for a second. Game day snacks usually fall into two categories: either they’re salty, greasy, and make you feel like you need a shower before the next quarter starts, or they’re some complicated, artisanal charcuterie board that looks great in photos but tastes like cardboard. I used to struggle with this every time the big game came around. I’d spend hours trying to make something “fancy” that ended up being a pain in the neck, or I’d just cave and buy a bag of chips that left me feeling sluggish by halftime.
Then, about three years ago, I was scrolling through Pinterest looking for something easy to make for a small watch party. I stumbled across a concept for brownie bites shaped like footballs. My first thought was, “That sounds cute, but brownies are messy. And peanut butter? That’s going to be a nightmare to pipe.” But curiosity got the better of me, and I decided to try it with the simplest ingredients I had on hand. I expected a disaster. Instead, I got something that was actually delicious, incredibly easy to make, and totally foolproof.
These football chocolate peanut butter brownie bites have been on repeat ever since. Seriously. I’ve made them for Super Bowl parties, tailgates, and even random Tuesday nights when I just wanted a chocolate fix without the guilt of a whole pan of brownies. The best part? You don’t need any special piping skills, fancy molds, or a degree in pastry arts. If you can mix ingredients in a bowl and roll them into balls, you can make these. They’re rich, they’re chocolatey, they have that perfect salty-sweet kick from the peanut butter, and they look like little works of art. Plus, they’re the perfect size for grazing while you watch the game. No crumbs on your lap, no messy fingers ruining the remote. Just pure, portable dessert joy.
Why You’ll Love This Recipe
There are a lot of game day snacks out there, but these brownie bites hit a sweet spot that most things miss. Here’s why they’ve become my go-to, and why I think they’ll become yours too.
- Zero Baking Required — This is the big one. You don’t need to turn on the oven. You don’t need to wait for batter to set. You don’t need to clean a mixing bowl full of sticky chocolate batter. It’s all no-bake. I can whip these up in 15 minutes while the game is on, and they’re ready to eat immediately.
- Only 5 Ingredients — I’m not exaggerating. You need brownies, peanut butter, chocolate chips, white chocolate, and sprinkles. That’s it. If you have those in your pantry (or can grab them on a quick run), you’re good to go. It’s so simple that you won’t stress if you’re missing something.
- Beginner-Proof — I’ve made these for friends who swear they can’t cook. They were shocked at how easy it was. There’s no tempering chocolate, no precise temperature checks, no fussy decorating techniques. You just melt, mix, roll, and dip. It’s hard to mess up.
- Perfect Portion Control — Brownies can be heavy. A whole square can leave you feeling stuffed. These bites are bite-sized, so you can have two or three without feeling like you need a nap. They’re indulgent but manageable.
- They Look Impressive — I’m not going to lie, I did some research on how to make them look like actual footballs, and the result is surprisingly professional. Your guests will ask how you made them, and you can just shrug and say, “Oh, it was super easy.”
These are the kind of treats that disappear fast. I’ve had them vanish within an hour of arriving at a party. They’re sweet, they’re fun, and they fit the theme perfectly without being cheesy (pun intended).
Ingredients You’ll Need
Here’s the best part: you probably already have most of this in your house. This recipe is designed for minimalism. We’re using simple, accessible ingredients that work together to create something rich and flavorful. Let’s break down what you need and why.
For the Brownie Base
Boxed Brownie Mix (one standard 18-19 oz box) — I use a standard box mix because it’s consistent and easy. Devil’s Food or Dark Chocolate works best for a rich flavor. You’ll need to follow the package instructions to bake them, but let them cool completely before crumbling. I usually bake them in a 9×13 pan so they’re easy to break apart later.
Cream Cheese (4 oz, softened) — This is the secret weapon. Adding softened cream cheese to the crumbled brownies acts as a binder. It holds everything together so the balls don’t fall apart. It also adds a slight tang that cuts through the sweetness. Don’t skip it; it makes all the difference.
For the Coating
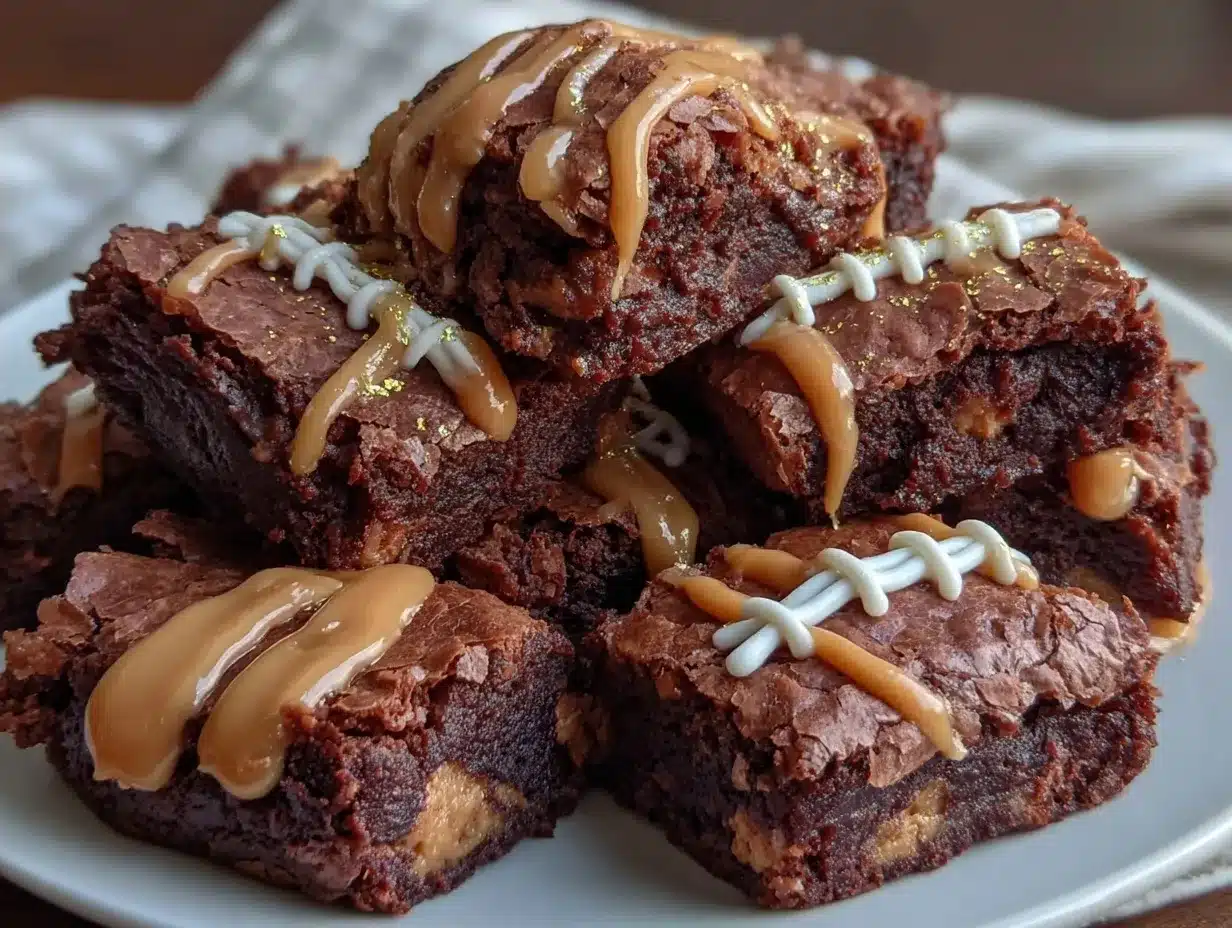
Chocolate Chips (1 cup, semi-sweet or dark) — I prefer semi-sweet because it’s not too sweet. You’ll melt this down to coat the brownie bites. If you can’t find chips, chopped chocolate bars work too, but chips are easier because they melt evenly.
Peanut Butter Chips (½ cup) — Or you can use regular chocolate chips and stir in a tablespoon of peanut butter. The peanut butter flavor is key to the football theme, and it pairs perfectly with the chocolate. If you use regular chips, the peanut butter adds that necessary salty-sweet note.
Shortening or Coconut Oil (1 tablespoon) — This is optional but highly recommended. When you melt chocolate, adding a little shortening or coconut oil makes it thinner and smoother. It helps the coating go on evenly and prevents it from cracking. It’s a small step that makes a big difference in texture.
For the Decoration
White Chocolate Chips (½ cup, melted) — You’ll use this to pipe the laces. White chocolate contrasts beautifully against the dark brownie and peanut butter coating. If you don’t have white chips, you can use white icing, but chips taste better.
Brown Sprinkles (or mini chocolate chips) — For the stitching detail. Brown sprinkles are traditional, but I’ve used mini chocolate chips too, and they look great. They add a fun texture and visual detail.
Peanut Butter (optional, for dipping) — Some people like to dip the top of the brownie bite in peanut butter before coating it in chocolate for extra flavor. It’s delicious but adds a step. I usually keep it simple.
Tips for Success:
- Make sure your brownies are completely cool. If they’re even slightly warm, they’ll get mushy when you crumble them.
- Use softened cream cheese, not melted. Melted cream cheese can make the mixture too wet.
- Don’t rush the melting process. Low and slow is the rule for chocolate. High heat burns it and makes it grainy.
Equipment Needed
You don’t need fancy gadgets for this. Here’s what I actually use. Keep it simple.
9×13 Baking Pan — For baking the brownies. Any standard pan works. I use a glass pan because I can see the edges easily.
Microwave-Safe Bowl — For melting the chocolate chips. Glass or ceramic works best. Just make sure it’s big enough to stir the chocolate.
Mixing Bowls — One medium bowl for crumbling and mixing the brownie base. A larger bowl for holding the brownie balls while you coat them.
Small Piping Bag or Ziploc Bag — For piping the white chocolate laces. A small Ziploc bag works perfectly. Just snip off a tiny corner. No need for a fancy piping bag unless you have one.
Toothpicks or Fork — For dipping the brownie bites into the chocolate. Toothpicks are easier for handling small bites.
Parchment Paper — To line your baking sheet. This is crucial so the coated bites don’t stick. You’ll need a full sheet or two.
Optional: Offset Spatula — For smoothing out the chocolate coating. It helps if you want them to look really neat.
How to Make It: Step-by-Step
Alright, let’s make these! I’m walking you through exactly how I do it. It’s straightforward, and you’ll be done before the first quarter ends.
Step 1: Bake and Cool the Brownies (30 minutes active, plus cooling time)
Follow the box instructions to bake your brownies. I usually bake them at 350°F for the time listed on the box. Once they’re done, let them cool completely in the pan. This is important. If you try to crumble warm brownies, you’ll get a mushy mess. I usually bake them the night before, but if you’re in a hurry, you can speed up cooling by putting the pan in the fridge for 20 minutes. Just make sure they’re solid and cool.
Step 2: Crumble the Brownies
Once the brownies are cool, take them out of the pan and crumble them into a large bowl. Use your hands or a fork to break them into small pieces. You want fine crumbs, not big chunks. Aim for a texture like coarse sand. I usually crumble about 1.5 cups of brownie crumbs. Save the rest for eating while you work (don’t judge me).
Step 3: Mix the Brownie Base
Add the softened cream cheese to the brownie crumbs. Mix it with a spatula or your hands until everything is well combined. The mixture should hold together when you squeeze it. If it’s too dry, add a little more cream cheese. If it’s too wet, add a few more crumbs. You’re looking for a dough-like consistency that you can roll into balls. It should feel like playdough.
Step 4: Roll the Bites
Take small amounts of the mixture (about 1 teaspoon each) and roll them into balls. You should get about 30-35 bites. Place them on a parchment-lined baking sheet. Don’t worry if they’re not perfect spheres. They’ll be coated in chocolate, so slight imperfections won’t matter. Pop them in the fridge for 15 minutes to firm up. This makes them easier to handle and coat.
Step 5: Melt the Chocolate Coating
While the balls are chilling, melt the chocolate chips and peanut butter chips (or chocolate chips with peanut butter) in a microwave-safe bowl. Microwave in 30-second intervals, stirring in between, until smooth. Add the shortening or coconut oil and stir until incorporated. The mixture should be thin and fluid. If it’s too thick, microwave for another 10 seconds. Don’t overheat it.
Step 6: Coat the Bites
Take a brownie ball out of the fridge. Hold it by the top with a toothpick or fork. Dip it into the chocolate mixture, turning it to coat all sides. Let the excess chocolate drip off for a few seconds. Place it back on the parchment paper. Repeat with the remaining balls. Work quickly so the chocolate doesn’t set too fast. If the chocolate gets too thick, microwave it for 5 seconds to loosen it up.
Step 7: Add the Football Details
Once all the bites are coated, let them sit for a minute so the chocolate starts to set. Then, melt the white chocolate chips in a small bowl. Transfer them to a Ziploc bag and snip off a tiny corner. Pipe two parallel lines down the center of each brownie bite to create the laces. Press a few brown sprinkles or mini chocolate chips onto the white chocolate to mimic the stitching. Do this quickly before the white chocolate hardens.
Step 8: Set and Serve
Place the finished bites in the fridge for 10 minutes to let the chocolate set completely. Once set, they’re ready to eat! Store them in an airtight container in the fridge or at room temperature. They’re best eaten within 2-3 days, but I doubt they’ll last that long.
Total Time: About 45 minutes (including cooling and setting time). Most of this is hands-off.
Expert Tips & Tricks
Here’s everything I’ve learned from making these dozens of times. These tips will save you from my mistakes.
- Cool Your Brownies Completely — I cannot stress this enough. Warm brownies = mushy balls. If you’re in a rush, freeze them for 10 minutes, but make sure they’re solid.
- Use Softened Cream Cheese — If your cream cheese is too cold, it won’t mix well with the crumbs. Take it out of the fridge 15 minutes before you start.
- Chill Before Coating — Rolling the balls and chilling them in the fridge makes them firmer, so they don’t fall apart when you dip them in chocolate. It’s a small step that prevents a big mess.
- Don’t Overheat the Chocolate — Chocolate burns easily. Microwave in short bursts (15-30 seconds) and stir well. If it gets too hot, it becomes grainy and won’t coat smoothly.
- Use a Toothpick for Dipping — It keeps your fingers clean and makes it easier to handle the small balls. Just remember to remove the toothpick before eating!
- Work in Batches — If you’re making a large batch, coat 10-15 at a time. This prevents the chocolate from getting too thick or setting too fast on the balls you’re waiting to dip.
Variations & Substitutions
Once you’ve nailed the basic version, here’s how you can mix it up. I’ve tried all of these.
- Gluten-Free — Use a gluten-free brownie mix. The rest of the ingredients are naturally gluten-free. I’ve used King Arthur Gluten-Free Brownie Mix, and it works great.
- Dairy-Free — Use dairy-free brownie mix, dairy-free chocolate chips, and dairy-free cream cheese (or coconut cream cheese). It’s a bit trickier, but it works.
- Vegan — Use vegan brownie mix, vegan chocolate chips, and a vegan binder like coconut oil or applesauce instead of cream cheese. It’s not exactly the same, but it’s still tasty.
- Almond Butter Coating — Swap the peanut butter chips for almond butter chips. It’s a slightly more sophisticated flavor.
- Mini M&M’s — Instead of sprinkles, press a few mini M&M’s into the white chocolate laces for a colorful touch.
- Mini Cupcakes — If you don’t want to make brownies, you can use mini cupcake liners and fill them with brownie batter, bake, and then follow the same coating steps. It’s a fun alternative.
Serving & Storage
These are perfect for game day, but they’re also great for any occasion. Here’s how to serve and store them.
How to Serve
I usually serve these on a platter with a few other snacks. They look great on a white plate because the chocolate contrasts nicely. I also like to put them in a bowl with a spoon, so people can help themselves. They’re easy to grab and eat while watching the game.
Storage Instructions
Refrigerator: Store in an airtight container for up to 5 days. They taste best when cold, so keep them in the fridge. If they get too cold, let them sit at room temperature for 10 minutes before eating.
Freezing: Yes, you can freeze them! Place them in a single layer on a baking sheet and freeze until solid. Then transfer to a freezer bag. They’ll last for up to 3 months. Thaw in the fridge overnight before serving.
Room Temperature: If you’re serving them immediately, you can leave them out for up to 4 hours. But if it’s hot, they might get soft, so the fridge is safer.
Pro Tip
If you’re making these ahead of time, coat them and store them in the fridge. Add the white chocolate laces the day of serving. This prevents the white chocolate from getting sticky or melting in the fridge.
Nutrition Information
I’m not a nutritionist, but here’s the breakdown if you’re tracking. Keep in mind that these are rich, chocolatey treats, so they’re higher in calories and sugar.
Per bite (based on 30 bites):
- Calories: 65
- Protein: 1g
- Carbs: 8g
- Fiber: 1g
- Sugar: 6g
- Fat: 3g
- Saturated Fat: 2g
- Cholesterol: 2mg
- Sodium: 25mg
What’s Good: Small portion size means you can enjoy them without overdoing it. They’re a great way to satisfy a sweet tooth.
What to Know: They contain dairy and gluten (unless you use substitutes). They’re higher in sugar and fat, so enjoy in moderation. But hey, it’s game day. We’re here to have fun.
Final Thoughts
So that’s my go-to football chocolate peanut butter brownie bites! I’ve probably talked your ear off at this point, but when you make a recipe this often, you have a lot to say about it. These have saved my game day desserts more times than I can count. They’re my answer to “what’s for dessert” when I want something special but don’t want to spend hours in the kitchen. My kids are happy, my friends are happy, and I’m happy because I’m not stressed about cooking.
Make it yours! Try different sprinkles, swap in your favorite chocolate chips, or add a drizzle of caramel. The best recipes are the ones you adapt to your tastes. If you make this, drop a comment and let me know what you think! I love hearing how recipes turn out in your kitchen. And if something doesn’t work, tell me that too—I’m here to help troubleshoot.
Happy cooking! And I hope your kitchen smells half as good as mine does right now.
Frequently Asked Questions
Can I use homemade brownies instead of boxed?
Absolutely! Homemade brownies work great. Just make sure they’re completely cool before crumbling. I’ve used my favorite no-bake chocolate peanut butter oat bars recipe base for inspiration, but for these, baked brownies give a better texture. Just crumble them finely and proceed with the recipe.
Why did my chocolate coating crack?
This usually happens if the chocolate was too thick or if the brownie bites were too cold. When you dip a very cold ball into warm chocolate, the chocolate can set too quickly and crack. Let the brownie bites sit at room temperature for 5 minutes before dipping. Also, make sure your chocolate is smooth and fluid before dipping.
Can I make these ahead of time?
Yes! You can make the brownie balls and coat them up to 2 days ahead. Store them in the fridge in an airtight container. Add the white chocolate laces the day you serve them. This prevents the white chocolate from getting soft or melting.
What if I don’t have white chocolate chips?
You can use white icing or white chocolate melting wafers. Icing is easier to pipe but doesn’t taste as good. Melting wafers work well but can be expensive. If you don’t have any of these, you can skip the laces and just call them chocolate peanut butter balls. They’ll still be delicious.
Can I freeze these?
Yes, but only after they’re fully coated and set. Place them in a single layer on a baking sheet and freeze until solid. Then transfer to a freezer bag. They’ll last for up to 3 months. Thaw in the fridge overnight before serving. Don’t freeze them before coating, as the texture might change.
Why did my brownie balls fall apart?
This usually means the cream cheese wasn’t soft enough or the brownies were too dry. Make sure your cream cheese is softened to room temperature. If the mixture is too dry, add a little more cream cheese or a teaspoon of milk. It should hold together when you squeeze it.
Can I use almond butter instead of peanut butter?
Yes! Almond butter works great. You can use almond butter chips or regular chocolate chips with a tablespoon of almond butter stirred in. It’s a slightly more sophisticated flavor, but it’s still delicious.
Pin This Recipe!
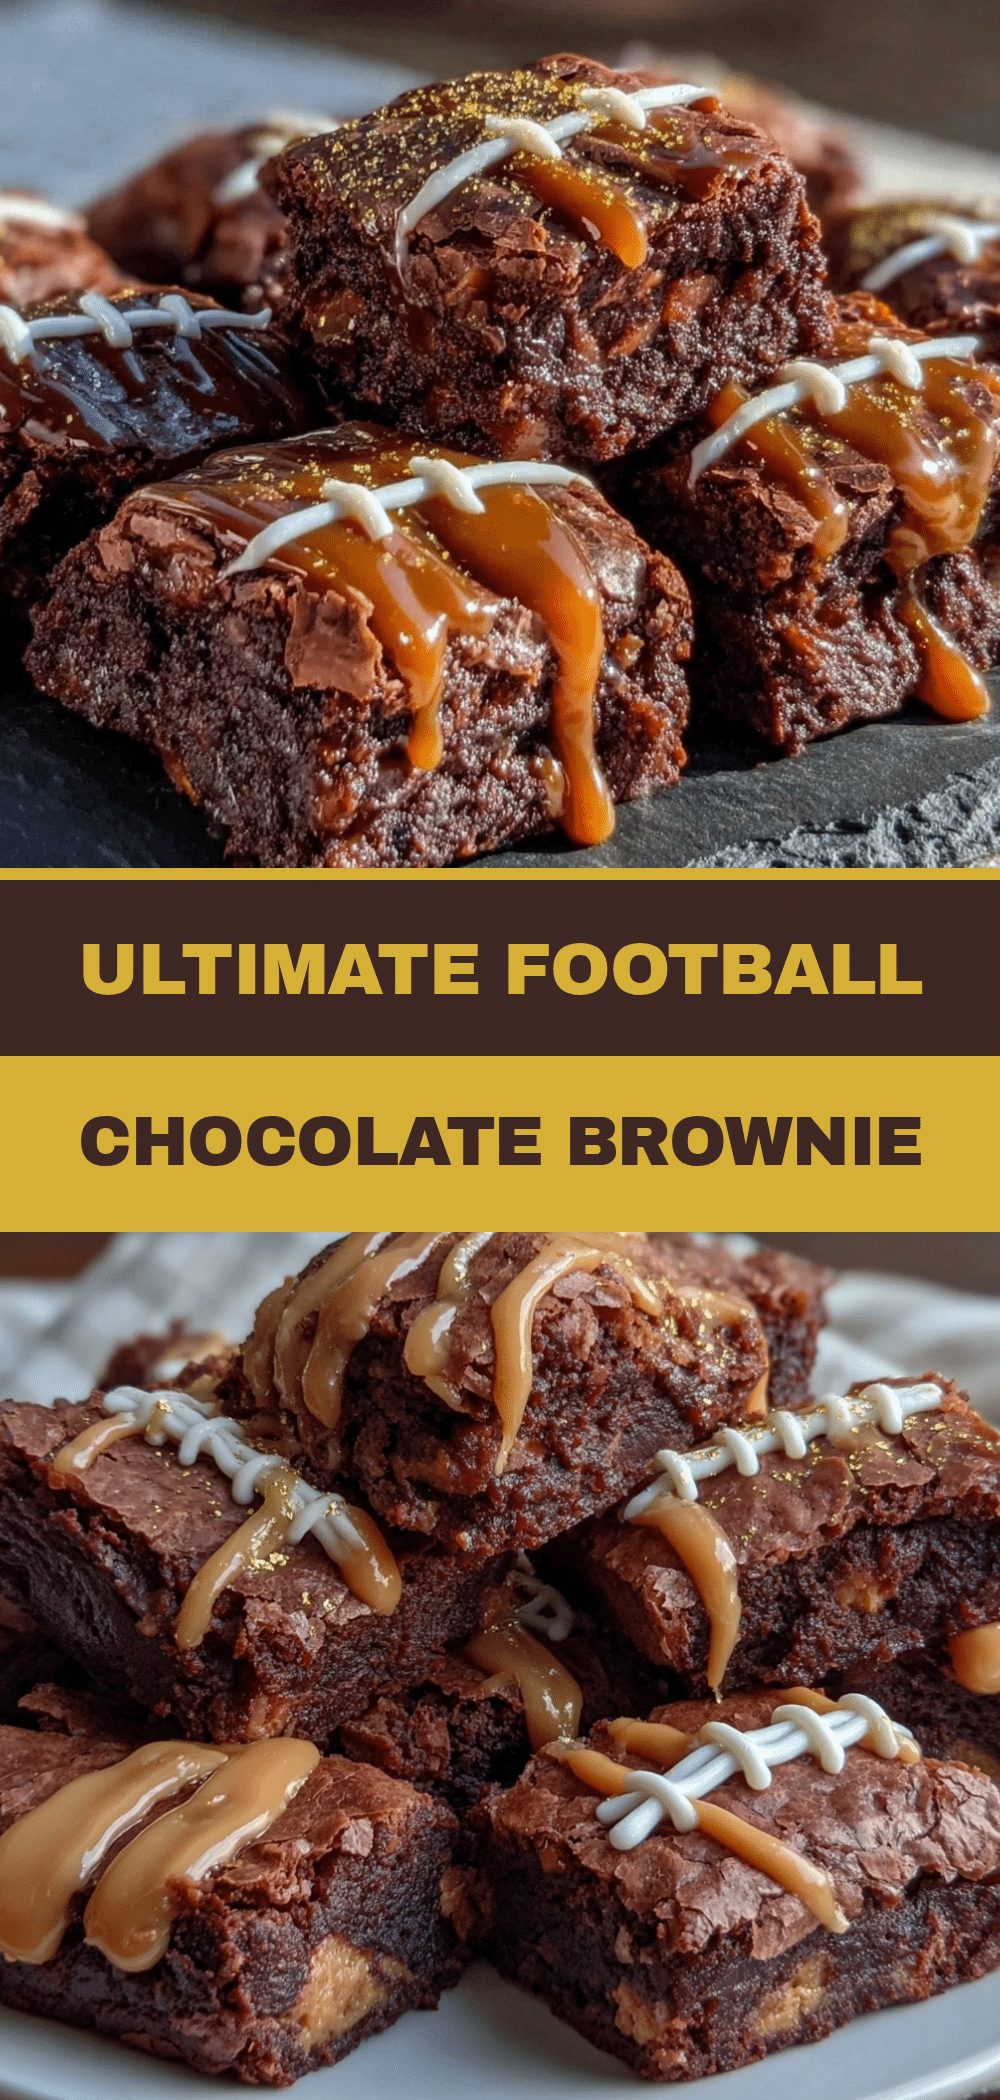
Football Chocolate Peanut Butter Brownie Bites
- Total Time: 45 minutes
- Yield: 30-35 servings 1x
Description
No-bake, bite-sized brownie balls coated in chocolate and peanut butter, decorated to look like footballs. These easy, foolproof treats are perfect for game day snacking.
Ingredients
- 1 standard 18-19 oz box brownie mix (Devil’s Food or Dark Chocolate)
- 4 oz cream cheese, softened
- 1 cup semi-sweet or dark chocolate chips
- ½ cup peanut butter chips
- 1 tablespoon shortening or coconut oil
- ½ cup white chocolate chips, melted
- Brown sprinkles or mini chocolate chips
- Peanut butter (optional, for dipping)
Instructions
- Bake brownies according to box instructions (usually 350°F). Let them cool completely in the pan.
- Crumble the cooled brownies into a large bowl until they resemble coarse sand.
- Add the softened cream cheese to the brownie crumbs and mix until well combined and dough-like.
- Roll the mixture into small balls (about 1 teaspoon each), yielding 30-35 bites.
- Place the balls on a parchment-lined baking sheet and chill in the fridge for 15 minutes to firm up.
- Melt the chocolate chips and peanut butter chips in a microwave-safe bowl in 30-second intervals, stirring until smooth. Stir in shortening or coconut oil.
- Dip each chilled brownie ball into the chocolate mixture using a toothpick or fork, coating all sides. Place back on parchment paper.
- Melt the white chocolate chips and transfer to a Ziploc bag with a snipped corner.
- Pipe two parallel lines down the center of each coated bite to create laces.
- Press brown sprinkles or mini chocolate chips onto the white chocolate to mimic stitching.
- Refrigerate for 10 minutes to set completely before serving.
Notes
Ensure brownies are completely cool before crumbling to avoid a mushy texture. Use softened cream cheese, not melted. Melt chocolate slowly to prevent burning. Chill brownie balls before dipping to make handling easier. Add white chocolate laces on the day of serving to prevent melting.
- Prep Time: 15 minutes
- Cook Time: 30 minutes
- Category: Dessert
- Cuisine: American
Nutrition
- Serving Size: 1 bite
- Calories: 65
- Sugar: 6
- Sodium: 25
- Fat: 3
- Saturated Fat: 2
- Carbohydrates: 8
- Fiber: 1
- Protein: 1
Keywords: football snacks, game day dessert, no-bake brownies, peanut butter brownies, easy party treats, chocolate bites