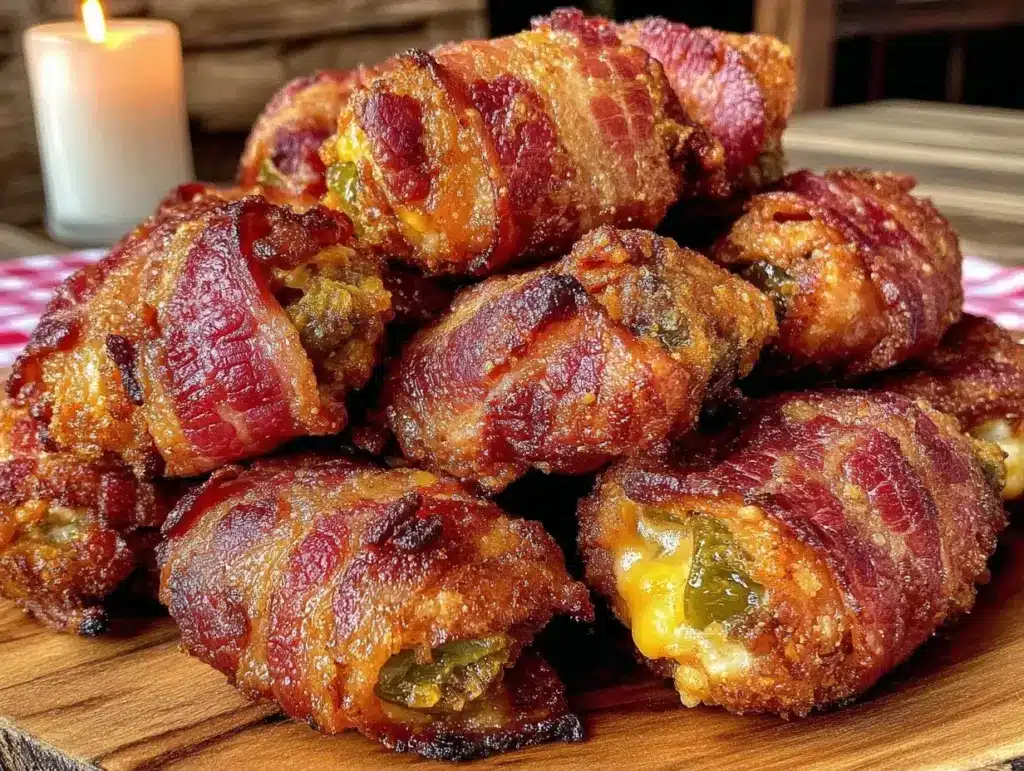
I still remember the first time I tried to make jalapeno poppers for a crowd. It was a college tailgate, and I had convinced myself that “cheap appetizer” meant buying a pre-made bag of frozen ones from the gas station. Big mistake. They came out soggy, the cheese had separated into a weird oily mess, and honestly? They tasted like regret and old fryer oil. I ended up eating three of them just to prove a point, and spent the rest of the day wishing I’d just made something from scratch.
Fast forward a few years. I’m living on my own, working a job that doesn’t pay nearly what it should, and trying to figure out how to make my food budget stretch without eating plain rice every night. That’s when I discovered the magic of tailgate bacon wrapped jalapeno poppers. Not the store-bought kind, but the real deal. The kind where you wrap a spicy, creamy, cheesy bite in salty, crispy bacon.
Here’s the thing about being a one-person household: buying ingredients for fancy recipes often feels like a waste. You buy a block of cream cheese, use half, and watch the other half slowly mold in the back of your fridge. But these poppers? They’re different. You can buy a small pack of bacon, a few jalapenos, and a modest block of cheese, and you’ll have enough for a massive snack or even a light dinner. And because they freeze so well, you can make a big batch on a lazy Sunday and have tailgate bacon wrapped jalapeno poppers ready to go for weeks. It’s basically the ultimate budget hack.
I’ve made these at least twenty times since figuring out my solo-living strategy. Some times I add a little extra spice, some times I use a cheaper cheese blend. But the core recipe stays the same because it’s reliable, cheap, and absolutely delicious. If you’re tired of spending $20 on takeout appetizers that disappear in five minutes, this is your new best friend. Let’s get into it.
Why You’ll Love This Recipe
There are a lot of reasons I keep coming back to these poppers, but they all boil down to one thing: value. Seriously, if you can boil water and handle a knife, you can make these. I’ve made them while watching TV, while listening to podcasts, and even once while helping my neighbor carry groceries (okay, maybe not that last one, but you get the idea).
Incredibly Cheap Per Serving — Let’s talk numbers. A pack of bacon might run you $5, a dozen jalapenos $2, and a small block of cream cheese $3. That’s about $10 total. If you make 20 poppers, that’s 50 cents each. Compare that to a single piece of loaded nacho cheese fries from a restaurant, which costs more than this entire batch. You’re saving money and eating better.
Freezer Friendly — This is huge for one-person households. I make a double batch, freeze half on a baking sheet, and then transfer them to a bag. When I’m hungry at 10 PM and don’t want to cook, I grab six poppers and air fry them for 8 minutes. It feels like cheating, but it’s just smart meal prep.
Customizable Heat — Jalapenos vary wildly in spiciness. Some are mild, some are fiery. I’ve learned to taste one before stuffing. If you like it mild, remove all the seeds. If you want a kick, leave some in. You’re in control.
Minimal Cleanup — Just one baking sheet (or two) and a knife. That’s it. I don’t have to wash a dozen pots and pans. For someone who hates doing dishes after a long day, this is a game-changer.
This recipe has saved me from so many late-night takeout impulses. It’s filling enough to satisfy a craving, cheap enough to make on a whim, and tasty enough to make you forget you’re eating “budget food.” Plus, if you’re looking for other cheap snacks, my crispy baked parmesan crackers are also great for stretching a dollar.
Ingredients You’ll Need
Here’s the best part: you probably have most of this already. The ingredient list for these tailgate bacon wrapped jalapeno poppers is short, sweet, and budget-friendly. No fancy specialty stores needed.
For the Filling:
Block Cream Cheese (8 oz / 225g) — Do not buy the tub stuff. The pre-whipped version has too much air and won’t hold its shape when baked. Buy the plastic-wrapped block from the dairy section. It’s cheaper and melts better. Let it sit on the counter for 15 minutes before using so it’s soft enough to mix.
Sharp Cheddar Cheese (1 cup / 100g, shredded) — I use a block of sharp cheddar and grate it myself. Pre-shredded cheese has potato starch coated on it to prevent clumping, which means it doesn’t melt as smoothly. If you’re on a tight budget, a “Mexican blend” cheese block is often cheaper and works perfectly here. Save the wrapper; you can freeze the rest.
Green Onions (3-4 stalks) — Just the green and white parts, finely chopped. They add a fresh oniony bite that cuts through the richness. If green onions are too expensive at your store, a little bit of regular white onion works, but green onions are usually pretty cheap.
Garlic Powder (½ teaspoon) — Not fresh garlic. Fresh garlic can burn in the bacon wrap. Garlic powder distributes evenly and adds that savory depth without the risk of burning. I keep a bottle that’s been in my cabinet for two years because it never goes bad.
Salt and Black Pepper — To taste. Usually about ¼ teaspoon each. Remember, the bacon is salty, so don’t overdo it.
For the Wrap:
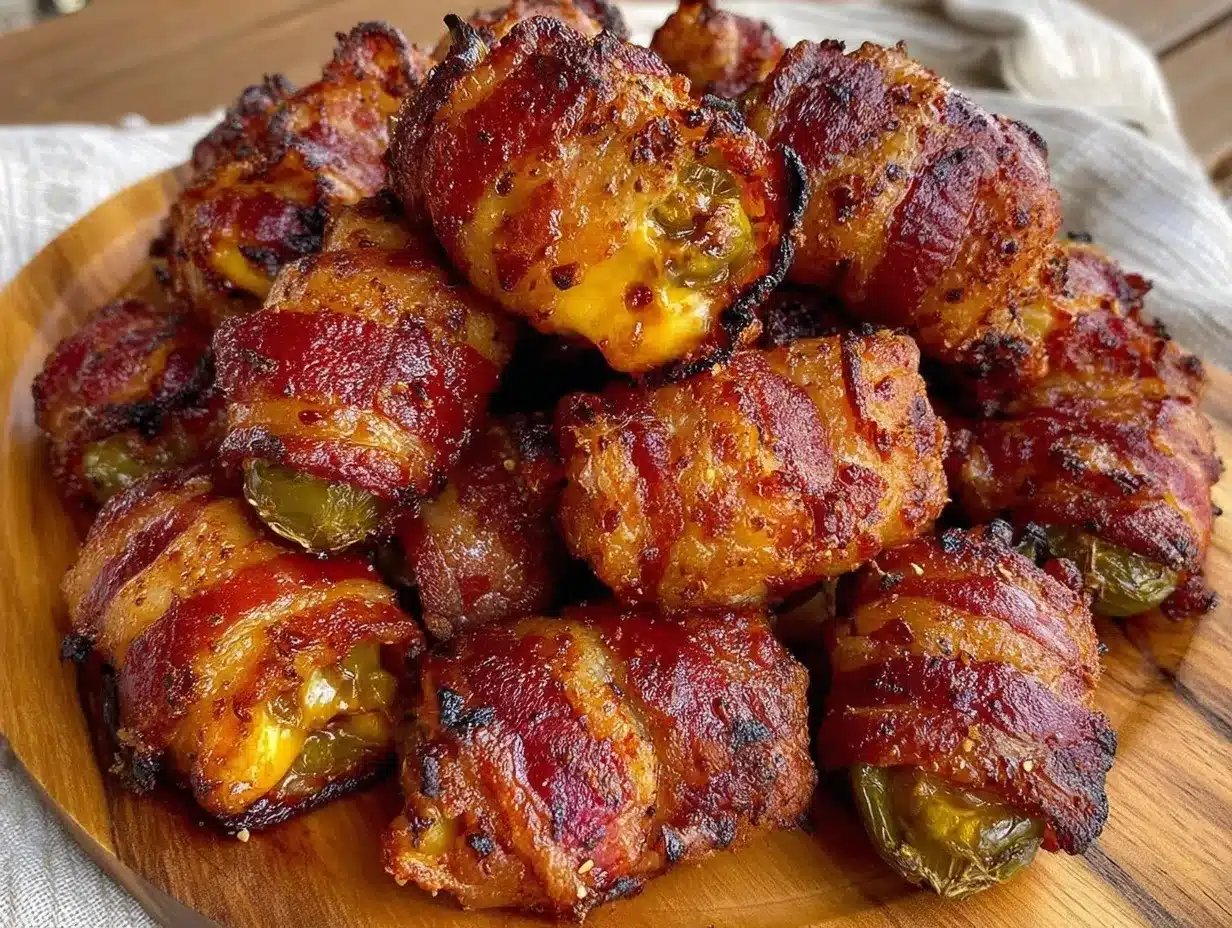
Jalapeno Peppers (12 large) — Look for firm, bright green peppers. Avoid any with soft spots or wrinkling. You want about 12-14 peppers for this batch. If you can’t find large ones, use smaller ones and adjust the count. You’ll need about 1 ounce of filling per pepper.
Bacon (12-14 slices) — Standard thick-cut bacon works best. It holds up better during baking. If you’re really watching the budget, you can use regular thin-cut bacon, but you might need two slices per popper to get full coverage. I usually buy the store-brand bacon on sale.
Optional Add-ins:
Cooked Bacon Bits — If you have leftover bacon from breakfast, crumble it into the cream cheese mixture. Adds extra smokiness.
Hot Sauce — A few dashes of your favorite hot sauce (like Frank’s or Cholula) mixed into the filling if you want more heat without adding more seeds.
Equipment Needed
You don’t need fancy gadgets for this. Here’s what I actually use.
Baking Sheet — I use a standard 13×18 inch rimmed baking sheet. Line it with parchment paper or aluminum foil for easy cleanup. Parchment is better because the bacon grease doesn’t stick as much.
Paring Knife — A small, sharp knife is perfect for slicing the jalapenos. I have a cheap one from the dollar store that works fine.
Small Spoon or Melon Baller — To scoop out the seeds. A teaspoon works, but a melon baller is faster and gets the seeds out more cleanly. I’ve also just used the tip of my knife.
Mixing Bowl — Small is fine. I use a 2-cup bowl.
Tongs — Helpful for turning the poppers halfway through baking so they cook evenly.
How to Make It: Step-by-Step
Alright, let’s make these tailgate bacon wrapped jalapeno poppers. It’s easier than it looks, and I promise it won’t take long.
Step 1: Prep the Oven and Pan (5 minutes)
Preheat your oven to 400°F (200°C). Line your baking sheet with parchment paper. This step is crucial because bacon grease will drip, and you don’t want to scrub a pan later.
Step 2: Slice the Jalapenos (10 minutes)
Wash the jalapenos and pat them dry. Slice them in half lengthwise. Be careful—don’t touch your eyes! If you have sensitive skin, wear gloves. If you don’t have gloves, wash your hands immediately after handling the peppers.
Step 3: Remove the Seeds (5 minutes)
Use the small spoon or the tip of your knife to scrape out the white ribs and seeds. The ribs hold most of the heat. If you want mild poppers, remove all of them. If you like it spicy, leave a little bit. Scrape them into a bowl or trash can.
Step 4: Make the Filling (5 minutes)
In your mixing bowl, combine the softened cream cheese, shredded cheddar, chopped green onions, garlic powder, salt, and pepper. Mix it well with a fork or spoon until it’s smooth and creamy. If it’s too stiff, add a teaspoon of milk. If it’s too runny, add a bit more cheese.
Step 5: Stuff the Peppers (10 minutes)
Take a spoonful of the cream cheese mixture and press it firmly into each jalapeno half. You want to fill it to the brim. Don’t be shy—pack it in. If you have leftover filling, you can make a few extra “cheese balls” and wrap them in bacon too. No waste!
Step 6: Wrap the Bacon (10 minutes)
Take a slice of bacon and wrap it around the stuffed jalapeno. Usually, one slice is enough if you wrap it snugly. If the bacon is thin, you might need a second slice to cover the whole pepper. Secure the end with a toothpick if needed, though usually, the wrapping holds itself.
Step 7: Bake (20-25 minutes)
Place the wrapped poppers on the prepared baking sheet, leaving a little space between them. Bake for 20-25 minutes. You want the bacon to be crispy and browned, and the peppers to be tender. If the bacon isn’t crisp enough after 25 minutes, turn the broiler on for 1-2 minutes, but watch it closely—it burns fast!
Step 8: Cool and Serve
Let them cool for 5 minutes before eating. The cheese will be molten hot, and you don’t want to burn your mouth. Serve with ranch dressing or a spicy mayo for dipping.
Expert Tips & Tricks
Here’s everything I’ve learned from making these dozens of times. These tips will save you from my mistakes.
Don’t Skimp on the Cheese — If the filling is too loose, it might leak out. Use enough cheddar to help bind the cream cheese. A 50/50 mix of cream cheese to cheddar is ideal.
Freeze Before Baking — If you’re meal prepping, freeze the raw, wrapped poppers on the baking sheet for an hour. Once they’re solid, transfer them to a freezer bag. You can bake them straight from frozen, just add 5-10 minutes to the cook time. This is my favorite hack for busy weeks.
Use Thick-Cut Bacon — Thin bacon cooks too fast and might burn before the pepper is tender. Thick-cut bacon gives you that perfect chewy-crispy texture.
Watch for Leaks — If you see cheese bubbling out, it’s usually fine, but it can burn. If it’s leaking a lot, you might need more bacon to hold it in.
Pair with Dipping Sauce — These are rich and salty. A cool, tangy dip balances it out. I like a mix of sour cream and lime juice, or just good old ranch.
Variations & Substitutions
Once you’ve nailed the basic version, here’s how you can mix it up. I’ve tried all of these.
Smoked Gouda Version — Swap the cheddar for smoked gouda. Adds a deeper, smokier flavor that pairs amazing with the bacon. I bought a small block of gouda on sale and used it here—it was worth every penny.
Buffalo Chicken Style — Mix shredded rotisserie chicken into the cream cheese filling and add a tablespoon of buffalo sauce. It’s like a deconstructed buffalo wing. This is great if you have leftover chicken.
Southwest Style — Add black beans and corn to the filling. Use pepper jack cheese. It’s a bit more filling, like a mini meal.
Gluten-Free — This recipe is naturally gluten-free, as long as your bacon and cheese don’t have added fillers. Always check labels if you’re celiac.
Serving & Storage
How to Serve:
I usually serve these warm, straight from the oven. They’re great as an appetizer, but honestly? They make a perfect light dinner for one if you add a side salad. I often pair them with a simple creamy garlic mashed cauliflower for a low-carb, budget-friendly meal.
Refrigerator:
Store leftovers in an airtight container for up to 3 days. The bacon might get a little soft, but it’s still good.
Reheating:
The microwave makes the bacon soggy. Reheat in the oven or air fryer at 350°F for 5-7 minutes to crisp it back up. If you’re in a rush, the microwave works, but pat them dry with a paper towel first.
Freezing:
As mentioned, freeze raw for up to 3 months. Cooked poppers can be frozen, but the texture of the bacon might suffer slightly. Raw freezing is best.
Nutrition Information
I’m not a nutritionist, but here’s the breakdown if you’re tracking. Keep in mind, this is a rich snack, so portion control matters.
Per Serving (2 poppers):
– Calories: 180
– Protein: 8g
– Carbs: 3g
– Fiber: 1g
– Fat: 14g
– Sodium: 320mg
It’s high in fat and sodium, which is expected with bacon and cheese. But it’s low in carbs, which makes it a decent option for low-carb diets. The biggest benefit? It’s cheap. You’re getting protein and flavor without breaking the bank.
Final Thoughts
So that’s my go-to tailgate bacon wrapped jalapeno poppers! I know I’ve talked a lot about budget, but that’s because I live it. These poppers are proof that you don’t need to spend a lot to eat well. They’re fun, they’re flavorful, and they make you feel like a pro cook.
I’ve made these for friends, for myself, and for lazy Sundays. They always get compliments. If you make them, drop a comment and let me know how they turned out! Did you add extra spice? Did you use a different cheese? I love hearing how you tweak recipes.
Happy cooking! And I hope your kitchen smells half as good as mine does right now.
Frequently Asked Questions
Can I make these in an air fryer?
Yes! Air fryer tailgate bacon wrapped jalapeno poppers are amazing. Cook at 375°F for 10-12 minutes, flipping halfway. They get extra crispy. Just make sure they fit in your basket.
Why did my cheese leak out?
Usually means the filling was too loose or you didn’t pack it in tight enough. Make sure your cream cheese is softened but not melted. Pack it firmly into the peppers.
Can I use regular bacon instead of thick-cut?
You can, but it might burn before the pepper is cooked. If you use thin bacon, wrap two slices around each pepper or reduce the oven temp slightly.
How do I store leftovers?
In an airtight container in the fridge for up to 3 days. Reheat in the oven or air fryer to keep the bacon crispy.
Are these spicy?
It depends on the jalapenos. I recommend tasting a raw piece before stuffing. If you want mild, remove all seeds and ribs. If you want heat, leave some in.
Can I freeze cooked poppers?
Yes, but the texture might change. Raw freezing is better. Thaw in the fridge before baking.
What dip goes best with these?
Ranch is classic. But I also like a spicy mayo, or even a simple salsa. Try my smoky chipotle queso dip if you want something extra cheesy!
Pin This Recipe!
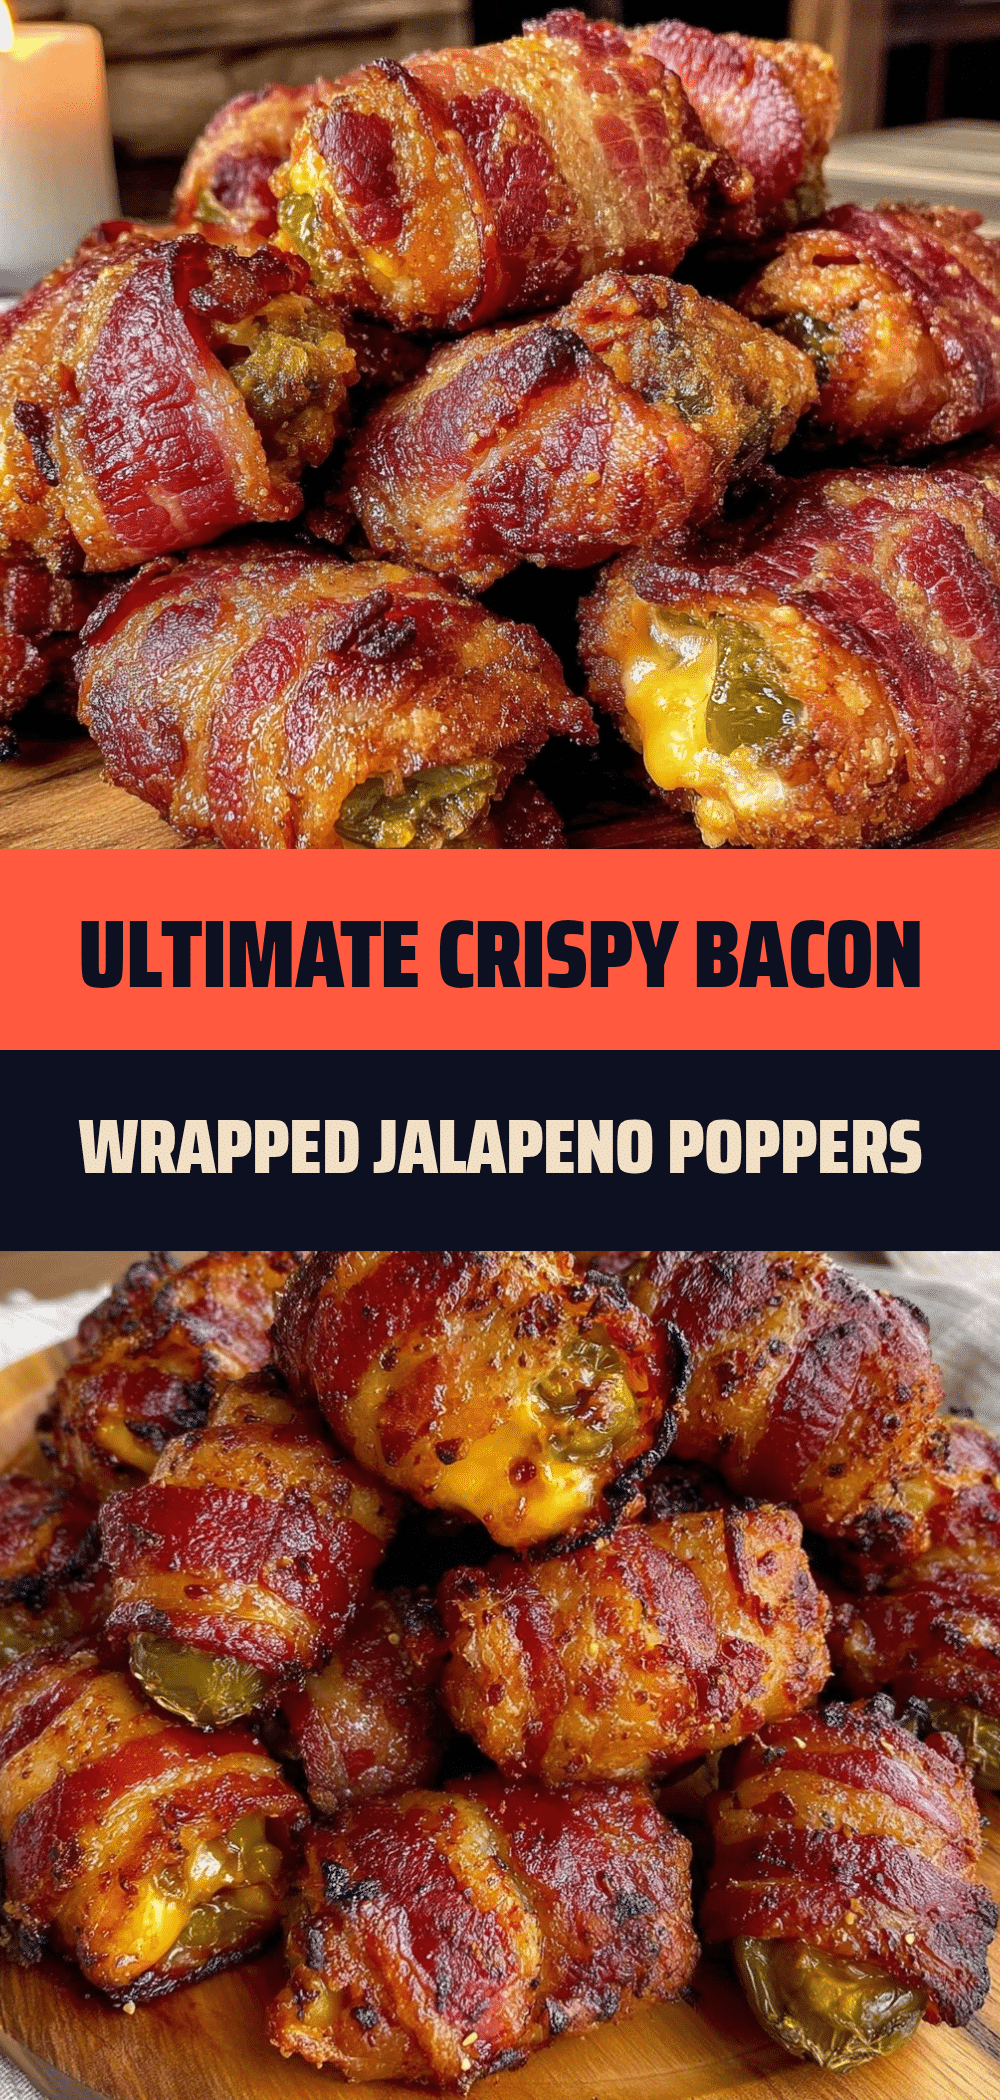
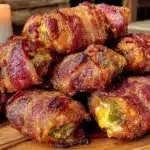
Tailgate Bacon Wrapped Jalapeno Poppers: One Person Budget Meal
- Total Time: 60 minutes
- Yield: 20 poppers 1x
Description
A budget-friendly, freezer-friendly recipe for crispy bacon-wrapped jalapeno poppers with a creamy cheddar and cream cheese filling, perfect for solo living or tailgating.
Ingredients
- 8 oz block cream cheese (softened)
- 1 cup sharp cheddar cheese (shredded)
- 3–4 stalks green onions (finely chopped)
- 1/2 teaspoon garlic powder
- 1/4 teaspoon salt
- 1/4 teaspoon black pepper
- 12 large jalapeno peppers
- 12–14 slices thick-cut bacon
Instructions
- Preheat oven to 400°F (200°C) and line a baking sheet with parchment paper.
- Wash and pat dry jalapenos, then slice them in half lengthwise.
- Use a spoon or knife tip to scrape out seeds and white ribs from the jalapeno halves.
- In a mixing bowl, combine softened cream cheese, shredded cheddar, green onions, garlic powder, salt, and pepper until smooth.
- Press the cheese mixture firmly into each jalapeno half to fill it to the brim.
- Wrap one slice of bacon around each stuffed jalapeno half, securing with a toothpick if necessary.
- Place poppers on the baking sheet and bake for 20-25 minutes until bacon is crispy and peppers are tender.
- Let cool for 5 minutes before serving.
Notes
For mild poppers, remove all seeds and ribs. For spicy, leave some in. You can freeze raw, wrapped poppers for up to 3 months; bake from frozen adding 5-10 minutes to cook time. Reheat leftovers in oven or air fryer to maintain crispiness.
- Prep Time: 35 minutes
- Cook Time: 25 minutes
- Category: Appetizer
- Cuisine: American
Nutrition
- Serving Size: 2 poppers
- Calories: 180
- Sugar: 1
- Sodium: 320
- Fat: 14
- Saturated Fat: 7
- Carbohydrates: 3
- Fiber: 1
- Protein: 8
Keywords: jalapeno poppers, bacon wrapped jalapenos, budget meal, tailgate food, freezer friendly, one person meal, spicy appetizer, cream cheese filling