I still remember the first time I had a sopapilla. It was at a little roadside stand in New Mexico, the kind of place where the air smells like dust and desert sage, and the menu is written on a chalkboard that’s seen better days. The server dropped a hot, puffy square of fried dough in front of me, dusted it with cinnamon sugar, and drizzled a little honey on top. I dipped it in the honey, took one bite, and literally closed my eyes. It was like eating a cloud that had been dipped in heaven. That single bite stuck with me for years.
Fast forward to last month. I was scrolling through my feed, tired and craving something sweet but substantial, when the idea hit me like a ton of bricks. What if I could bottle that magic? What if I could take the flaky, fried dough of a sopapilla, mix it with the creamy, tangy richness of cheesecake, and bake it into a bar that’s easy to make but tastes like a vacation? That’s exactly what happened. I spent the next week testing, tweaking, and eating way too much dough until I nailed it.
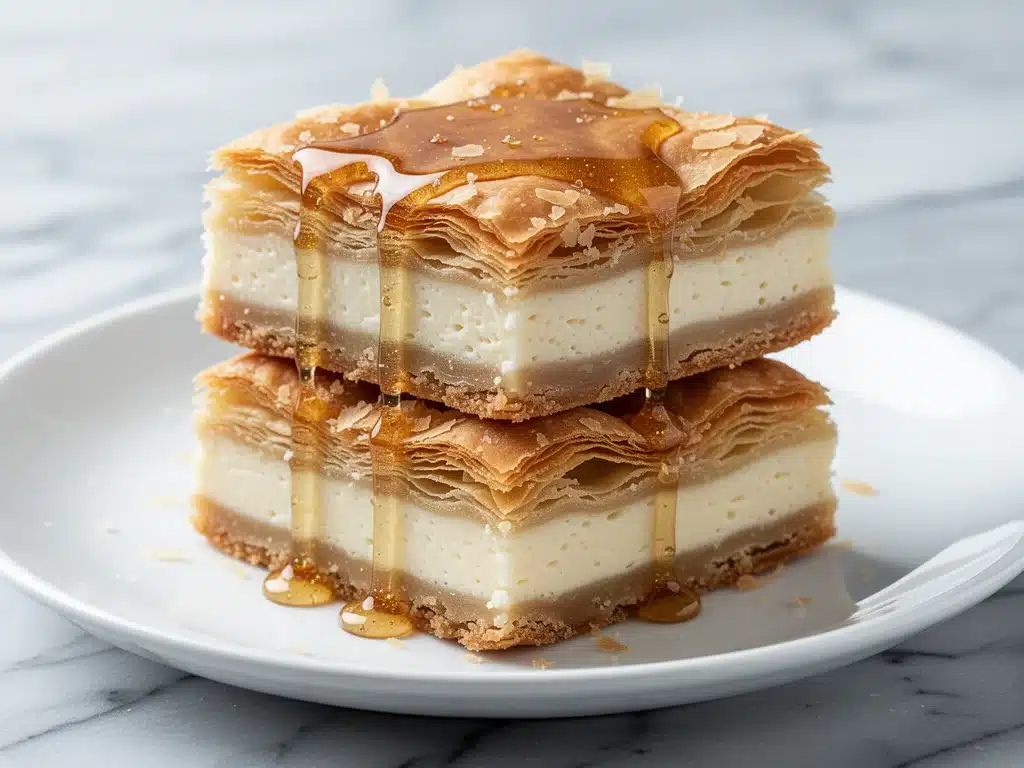
These honey butter sopapilla cheesecake bars are the result. They’re not just a dessert; they’re an experience. You get the crisp, buttery edges, the soft, pillowy interior, and that incredible honey butter drizzle that ties everything together. I’ve made these for brunch, for after-dinner dessert, and even for a random Tuesday snack because, let’s be honest, life is too short for boring treats. If you’re a dessert lover who thinks “more is more,” this is your new obsession.
I’ve tested this recipe at least eight times. I’ve tried different flours, different cheeses, different honey ratios. I’ve burned the edges (oops), and I’ve undercooked the centers (also oops). But this version? This is the one. It’s foolproof, it’s delicious, and it’s going to make your kitchen smell like a bakery. Let’s get into why you’re going to love these bars so much.
Why You’ll Love This Recipe
There are a lot of dessert bars out there. You’ve got your lemon bars, your brownies, your pumpkin bars (which are amazing, by the way—check out my fall no-bake pumpkin pie if you’re in the mood for something lighter). But honey butter sopapilla cheesecake bars? They’re in a league of their own. Here’s why I keep making them over and over:
- It’s Fried Dough Meets Cheesecake — Seriously, think about it. Flaky, buttery pastry layers? Check. Creamy, tangy cheesecake filling? Check. Cinnamon sugar dusting? Double check. It’s like pumpkin cinnamon rolls had a baby with a classic cheesecake, and that baby is adorable and delicious.
- Stupid Simple to Make — You don’t need to fry anything. No hot oil, no splattering, no danger of burning yourself. You just layer, bake, and drizzle. I made these while my kids were doing homework at the table. If I can do it, you can definitely do it.
- The Honey Butter Drizzle is Life-Changing — This isn’t just a garnish. It’s a flavor bomb. The warm honey butter soaks into the warm bars, creating this glossy, sweet, salty-sweet finish that keeps you coming back for another slice. I’ve tried glazes, icings, and powders, but this honey butter? It’s the winner.
- Perfect for Any Occasion — I’ve served these at potlucks, at family dinners, and even as a late-night snack with a glass of milk. They travel well, they reheat nicely, and everyone, from my picky nephew to my food-snobby aunt, loves them.
- Makes Amazing Leftovers — Okay, real talk: leftovers don’t last long in my house. But if they do, they’re actually better the next day. The flavors meld together, the texture softens just a bit, and the honey butter permeates every layer. I deliberately make a double batch for this reason.
This is my go-to dessert when I want to impress but don’t want to spend hours in the kitchen. It’s reliable, it’s tasty, and it’s going to become a staple in your rotation too.
Ingredients You’ll Need
Here’s the best part: you probably have most of this already. This recipe uses simple, pantry-friendly ingredients. I’m particular about a few things here, and I’ll tell you exactly why.
For the Dough Layer
Refrigerated biscuit dough (1 can, 16 oz / 450g) — This is the secret weapon. I use buttermilk biscuits for their flakiness. Don’t use the refrigerated crescent rolls; they’re too buttery and won’t hold the structure. I like Pillsbury or store-brand, but make sure they’re the classic buttermilk kind.
Unsalted butter (½ cup / 115g, melted) — You’ll use this to brush between the layers. It creates those flaky, golden edges. Don’t skimp here; the butter is what makes the dough crisp.
Cinnamon sugar (½ cup sugar, 1 tablespoon cinnamon) — Mix these together. I use granulated white sugar for that classic crunch. Brown sugar works too, but it makes it a bit chewier. I like the crunch.
For the Cheesecake Layer
Cream cheese (8 oz / 225g, softened) — Full-fat only. Low-fat cream cheese won’t set right and will be grainy. Take it out of the fridge 30 minutes before you start so it mixes smoothly.
Sugar (½ cup / 100g) — Granulated white sugar blends best here. Powdered sugar can make it too sweet and dense.
Egg (1 large) — Just one egg. It binds the cheesecake layer without making it too eggy or custardy. Room temperature is best for smooth mixing.
Vanilla extract (1 teaspoon) — Pure vanilla, please. I don’t use imitation. It makes a huge difference in the flavor profile.
Sour cream (¼ cup / 60g) — This adds tang and moisture. It balances the sweetness and keeps the cheesecake layer tender. Don’t skip it!
For the Honey Butter Drizzle
Butter (2 tablespoons / 30g) — Unsalted, melted.
Honey (2 tablespoons / 30ml) — Use a good quality honey. Clover or wildflower tastes great. If you’re in a pinch, corn syrup works, but honey adds that floral note.
Milk (1-2 teaspoons) — Just enough to thin the honey butter to a drizzle-able consistency.
Pinch of salt — This is crucial. It cuts through the sweetness and makes the honey flavor pop.
Equipment Needed
You don’t need fancy equipment for this. Here’s what I actually use:
9×9 inch baking pan — I use a glass pan because it browns the bottom evenly. A metal pan works too, but watch the edges so they don’t burn. A 9×13 pan works if you want thinner bars, but you’ll need to adjust baking time.
Mixing bowls — Two medium bowls. One for the cheesecake filling, one for mixing the cinnamon sugar.
Electric mixer — Hand mixer or stand mixer. You want the cream cheese and sugar to be completely smooth. No lumps allowed.
Pastry brush — Or just use a fork to brush the melted butter between layers. A brush makes it easier to get into the nooks.
Spatula — For spreading the cheesecake layer evenly. A rubber spatula works best.
Small saucepan or microwave-safe bowl — For melting the honey butter. Microwave is faster, but saucepan gives you more control.
How to Make It: Step-by-Step
Alright, let’s make this! I’m walking you through exactly how I do it, including the little tricks I’ve picked up.
Step 1: Prep Your Pan and Oven (5 minutes)
Preheat your oven to 350°F (175°C). Grease your 9×9 inch baking pan with non-stick spray or butter. I line it with parchment paper for easy removal later, but it’s not strictly necessary if you’re confident in your greasing skills. I learned this the hard way with a bar that stuck to the bottom. Don’t be like me.
Step 2: Prepare the Dough Layer (5 minutes)
Open your can of biscuit dough. Separate the biscuits. You want to press them into the bottom of the pan to form an even layer. Use your fingers to press them down firmly, making sure there are no gaps. If you have leftover pieces, just tuck them in. You want a solid base.
Brush a thin layer of melted butter over the biscuit layer. Then, sprinkle half of your cinnamon sugar evenly over the top. This is your first layer of flavor.
Step 3: Add the Second Dough Layer (5 minutes)
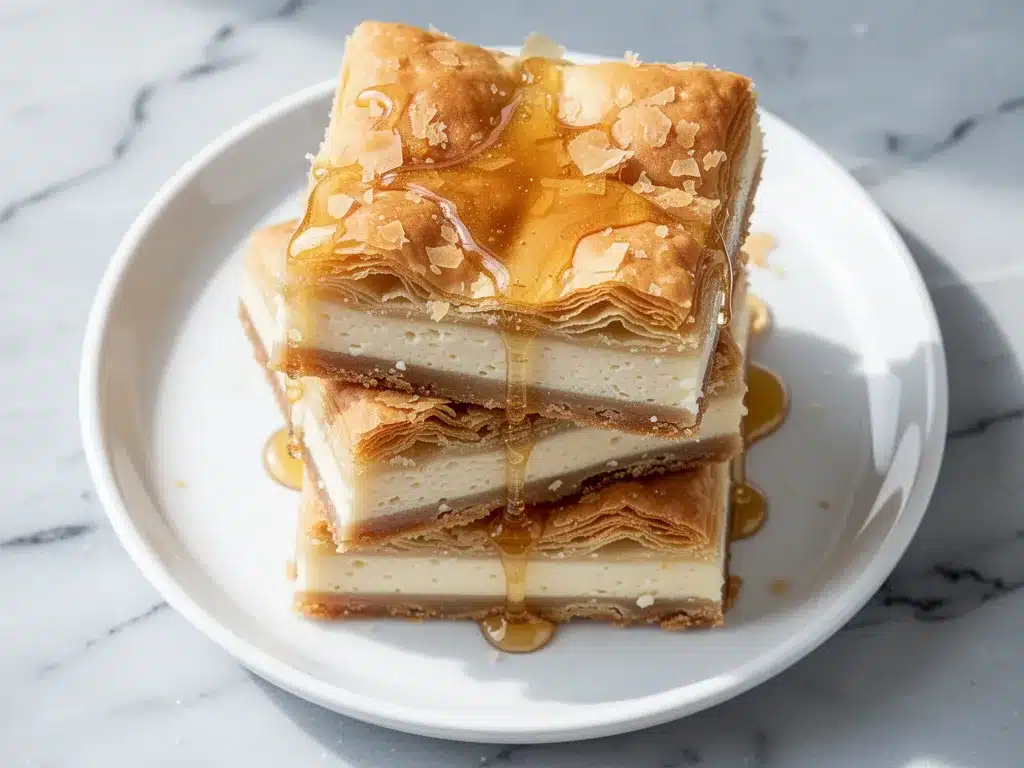
Take the remaining biscuits and press them on top of the cinnamon sugar layer. Press them down firmly again. Brush with more melted butter and sprinkle the remaining cinnamon sugar on top. You should now have three distinct layers: biscuit base, cinnamon sugar, biscuit top. This is what creates that flaky, layered texture.
Step 4: Make the Cheesecake Filling (5 minutes)
In a medium bowl, beat the softened cream cheese and sugar until smooth and creamy. This should take about 2 minutes. Add the egg, vanilla, and sour cream. Mix until just combined. Don’t overmix, or you’ll incorporate too much air, which can cause cracking.
Step 5: Assemble and Bake (30-35 minutes)
Spread the cheesecake mixture evenly over the top of the dough layers. Use a spatula to smooth it out. You want it to cover the entire surface.
Bake for 30-35 minutes, or until the top is golden brown and the center is set. The center should jiggle slightly but not be liquid. If the edges are browning too fast, cover them with foil for the last 10 minutes.
Step 6: Make the Honey Butter Drizzle (5 minutes)
While the bars bake, make the drizzle. In a small saucepan over low heat, or in a microwave-safe bowl, melt the butter and honey together. Whisk in the milk and salt until smooth. It should be a thin, pourable consistency. If it’s too thick, add another teaspoon of milk. If it’s too thin, let it cool slightly.
Step 7: Finish and Serve (5 minutes)
Let the bars cool in the pan for 10 minutes. This is important—it allows the cheesecake to set slightly so they hold together when cut. Then, drizzle the warm honey butter over the top. Slice into squares and serve warm. I like to add a dollop of whipped cream on top, but it’s optional.
Total Time: About 50 minutes (15 minutes prep, 35 minutes bake).
Expert Tips & Tricks
Here’s everything I’ve learned from making these dozens of times. These tips will save you from my mistakes.
Press the Dough Firmly
This is the #1 tip. If you don’t press the biscuits down firmly, they’ll rise too much and create air pockets. You want a dense, even base. Use the bottom of a measuring cup to press them down if your fingers aren’t strong enough.
Room Temperature Ingredients
Make sure your cream cheese and egg are at room temperature. Cold ingredients create lumps in the cheesecake filling. I keep my cream cheese out on the counter while I prep the dough.
Don’t Overbake
Cheesecake continues to cook as it cools. If you bake it until it’s completely firm in the center, it’ll be dry and crumbly. Look for a slight jiggle. It should look set but still have a little give.
Warm Drizzle Only
The honey butter needs to be warm to drizzle properly. If it cools down, it’ll thicken and clump. Make it right before you take the bars out of the oven so it’s ready to go.
Cool Completely for Clean Cuts
I know it’s tempting to cut them immediately, but wait at least 20 minutes. If you cut them hot, they’ll fall apart. For clean, pretty squares, let them cool completely or refrigerate for an hour.
Variations & Substitutions
Once you’ve nailed the basic version, here’s how you can mix it up. I’ve tried all of these.
Fruit Add-Ins
Spread a thin layer of raspberry jam or strawberry preserves over the biscuit base before adding the cheesecake. It adds a nice tartness. I also like adding fresh blueberries on top before baking.
Pumpkin Spice Version
Add 1 teaspoon pumpkin pie spice to the cinnamon sugar. Swap the vanilla extract for 1 teaspoon pumpkin extract. It’s like a fall version of this recipe. Similar to my fall pumpkin pie cheesecake, but with a sopapilla twist.
Gluten-Free
Use gluten-free biscuit dough. Not all brands work the same, so check reviews. I’ve had success with Bob’s Red Mill gluten-free biscuits. The rest of the recipe is naturally gluten-free.
Dairy-Free
Use dairy-free butter and dairy-free cream cheese. The texture might be slightly different, but it still tastes great. Use maple syrup instead of honey for the drizzle.
Chocolate Lover’s
Drizzle chocolate sauce over the honey butter drizzle. Or add chocolate chips to the cheesecake layer. It’s a game-changer if you’re a chocoholic.
Serving & Storage
These bars are best served warm, right after you drizzle the honey butter. I usually serve them with a side of whipped cream or a scoop of vanilla ice cream. It’s a simple green salad or some fresh fruit if you want to balance it out.
Refrigerator: Store leftovers in an airtight container for up to 4 days. The honey butter will make them a bit sticky, so just let them come to room temperature before eating.
Reheating: Microwave for 15-20 seconds to warm it up. The honey butter will soften, and the texture will be perfect. Don’t bake them to reheat; they’ll dry out.
Freezing: You can freeze these bars! Wrap them tightly in plastic wrap and foil. They’ll last for up to 2 months. Thaw in the fridge overnight and drizzle with fresh honey butter before serving.
Pro Tip: If you’re making these for a party, make the bars ahead of time. Store them in the fridge. Reheat them gently, make the honey butter fresh, and drizzle right before serving. It saves you stress and tastes just as good.
Nutrition Information
I’m not a nutritionist, but here’s the breakdown if you’re tracking. This is a rich, indulgent dessert, so enjoy in moderation.
Per Serving (based on 16 bars):
- Calories: 280
- Protein: 4g
- Carbs: 35g
- Fiber: 0g
- Sugar: 22g
- Fat: 14g
- Saturated Fat: 8g
- Cholesterol: 35mg
- Sodium: 280mg
What’s Good: It’s satisfying, so you won’t feel like you need three servings. The cream cheese provides some protein and calcium.
What to Know: Higher in sugar and saturated fat. Use the honey butter drizzle sparingly if you’re watching your sugar intake. But honestly? It’s a treat. Treat it like one.
Final Thoughts
So that’s my honey butter sopapilla cheesecake bars! I’ve probably talked your ear off at this point, but when you make a recipe this often, you have a lot to say about it. These bars have saved dessert nights more times than I can count. They’re my answer to “what’s sweet?” when I’m tired, don’t want to order takeout, and still want something that tastes really good. My kids are happy, my husband’s happy, and I’m happy because I’m not stressed about cooking.
Make it yours! Try different fruit jams, swap the cinnamon sugar for pumpkin spice, or add chocolate chips. The best recipes are the ones you adapt to your family’s tastes. If you make this, drop a comment and let me know what you think! I love hearing how recipes turn out in your kitchen. And if something doesn’t work, tell me that too—I’m here to help troubleshoot.
Happy baking! And I hope your kitchen smells half as good as mine does right now.
Frequently Asked Questions
Can I use frozen biscuit dough?
You can, but it needs to be thawed completely before you use it. Frozen dough is too cold to press evenly, and it won’t stick together properly. Thaw it in the fridge overnight or at room temperature for an hour.
Why did my cheesecake layer crack?
Usually means you overmixed the batter, incorporating too much air. Or you overbaked it. Remember, cheesecake continues to cook as it cools. Take it out when it still has a slight jiggle in the center.
Can I make this in a different pan?
Yes! A 9×13 pan works, but you’ll get thinner bars. Adjust the baking time to 25-30 minutes. A 8×8 pan will give you thicker bars, so bake for 35-40 minutes. Just keep an eye on the edges so they don’t burn.
Can I use maple syrup instead of honey?
Yes, maple syrup works great. It has a stronger flavor, so use a little less if you don’t like the maple taste. It’s a good substitution if you’re avoiding honey for dietary reasons.
How do I store the honey butter drizzle?
Make it fresh. It hardens quickly as it cools. If you need to make it ahead, store it in a sealed container in the fridge. Reheat gently before drizzling.
Can I add nuts to the topping?
Absolutely! Chopped pecans or walnuts add a nice crunch and pair well with the cinnamon sugar. Sprinkle them on top before baking or after drizzling the honey butter.
Is this recipe kid-friendly?
Yes! Kids love the sweetness and the texture. It’s like a fancy version of a cinnamon roll. I’ve made these for school bake sales and birthday parties, and they’re always a hit. Just maybe skip the honey butter drizzle for very young kids if you’re worried about stickiness.
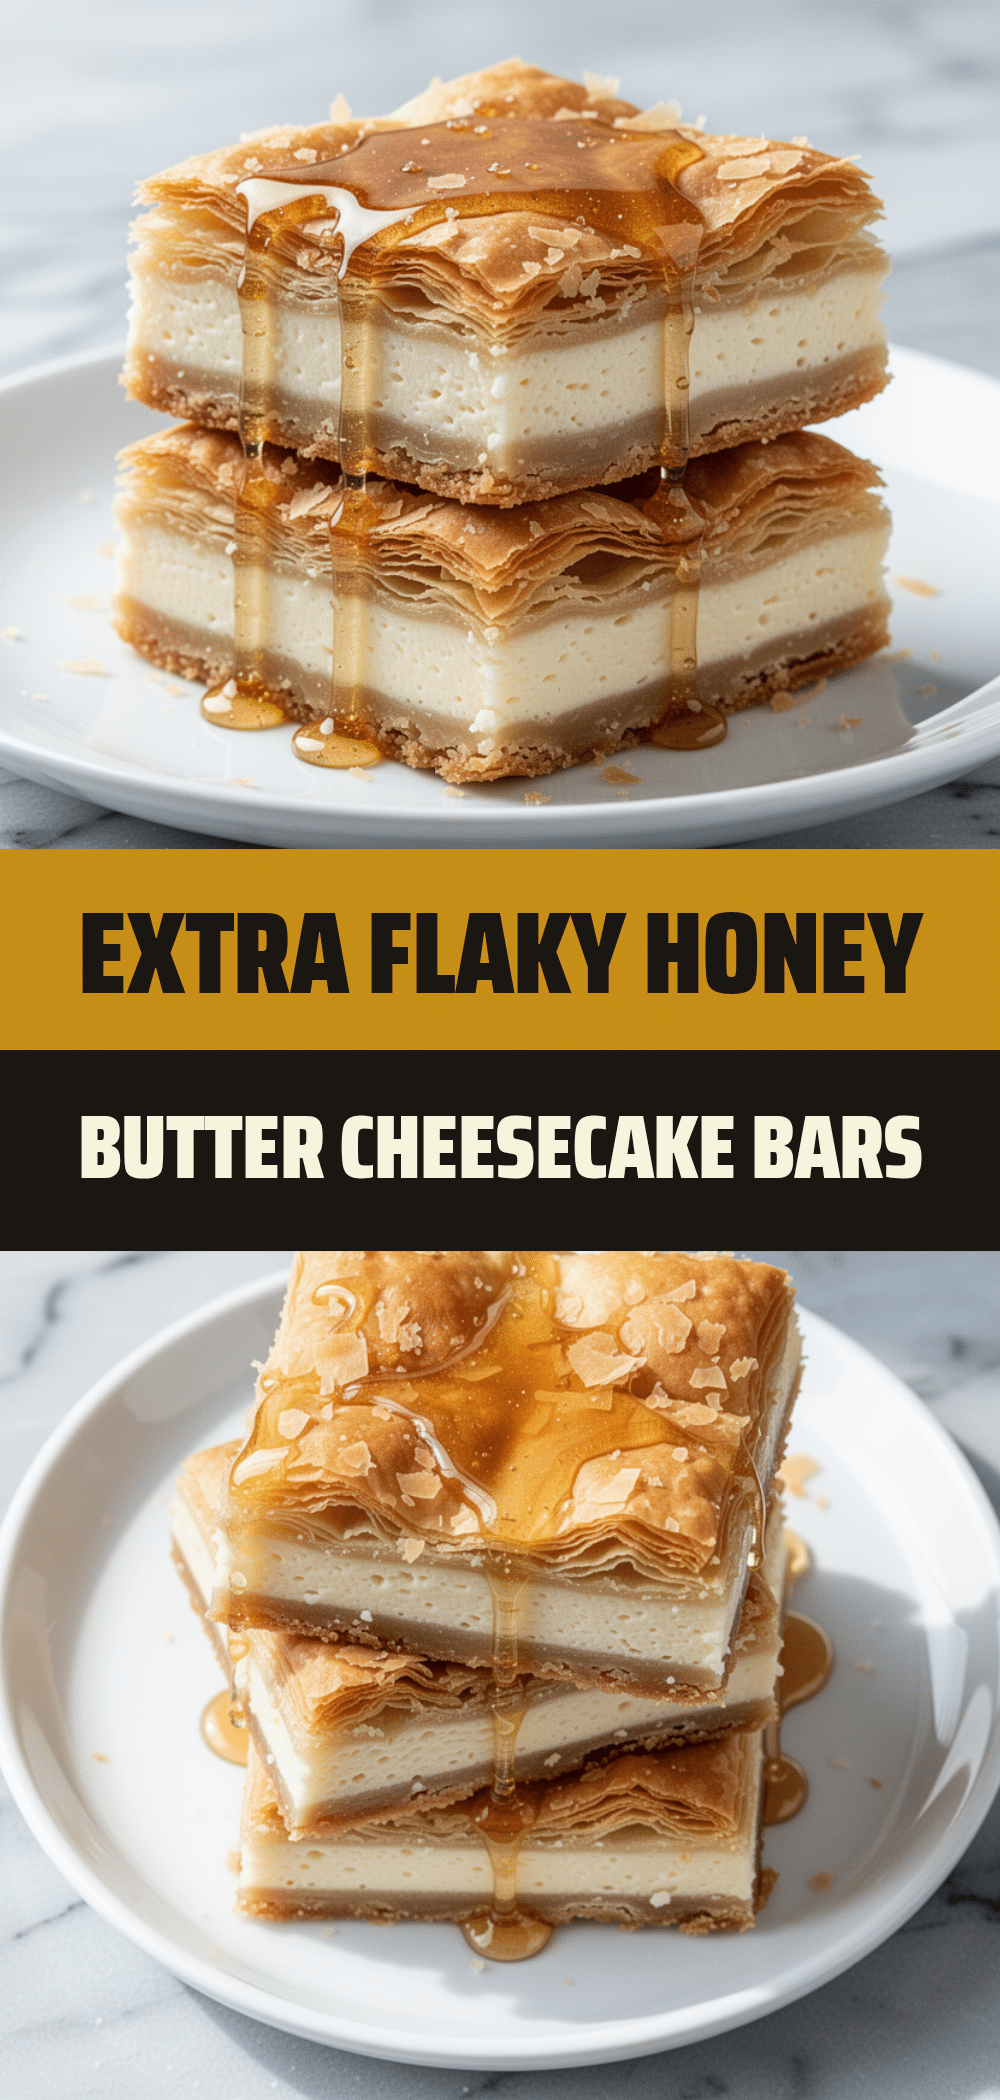
Pin This Recipe!
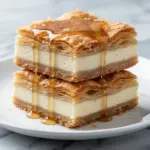
Honey Butter Sopapilla Cheesecake Bars
- Total Time: 50 minutes
- Yield: 16 servings 1x
Description
These honey butter sopapilla cheesecake bars combine flaky, buttery biscuit dough with a creamy, tangy cheesecake filling, finished with a warm honey butter drizzle. They are easy to make, require no frying, and taste like a delicious vacation treat.
Ingredients
- 1 can (16 oz / 450g) refrigerated buttermilk biscuit dough
- ½ cup (115g) unsalted butter, melted
- ½ cup granulated white sugar
- 1 tablespoon ground cinnamon
- 8 oz (225g) full-fat cream cheese, softened
- ½ cup (100g) granulated white sugar
- 1 large egg, room temperature
- 1 teaspoon pure vanilla extract
- ¼ cup (60g) sour cream
- 2 tablespoons (30g) unsalted butter, melted
- 2 tablespoons (30ml) honey
- 1–2 teaspoons milk
- Pinch of salt
Instructions
- Preheat oven to 350°F (175°C). Grease a 9×9 inch baking pan and line with parchment paper if desired.
- Open the biscuit dough and separate the biscuits. Press them firmly into the bottom of the pan to form an even base layer.
- Brush a thin layer of melted butter over the biscuit base, then sprinkle half of the cinnamon sugar mixture evenly over the top.
- Press the remaining biscuits on top of the cinnamon sugar layer to form a second dough layer. Brush with more melted butter and sprinkle the remaining cinnamon sugar on top.
- In a medium bowl, beat the softened cream cheese and ½ cup sugar until smooth. Add the egg, vanilla, and sour cream, mixing until just combined.
- Spread the cheesecake mixture evenly over the top of the dough layers.
- Bake for 30-35 minutes, or until the top is golden brown and the center is set but still has a slight jiggle. Cover edges with foil if browning too quickly.
- While bars bake, melt 2 tablespoons butter and honey together. Whisk in milk and salt until smooth to create a drizzle.
- Let bars cool in the pan for 10 minutes. Drizzle with warm honey butter.
- Cool completely or refrigerate for an hour for clean cuts before slicing into squares.
Notes
Press the dough firmly to avoid air pockets. Ensure cream cheese and egg are at room temperature for a smooth filling. Do not overbake; the center should jiggle slightly. For clean cuts, let bars cool completely or refrigerate. The honey butter drizzle should be warm to pour easily.
- Prep Time: 15 minutes
- Cook Time: 35 minutes
- Category: Dessert
- Cuisine: American
Nutrition
- Serving Size: 1 bar
- Calories: 280
- Sugar: 22
- Sodium: 280
- Fat: 14
- Saturated Fat: 8
- Carbohydrates: 35
- Protein: 4
Keywords: sopapilla, cheesecake bars, honey butter, dessert bars, easy dessert, baked sopapilla, cream cheese bars, cinnamon sugar